Like my list of semi-abandoned hobbies didn’t need to grow, I just replaced my Nespresso Vertuo Breville machine with a cheap set of coffee grinder and espresso machine with a steam wand which included a nice tamper and a chrome frothing jug along other small accessories. Since then, I’ve added a “bottomless” portafilter and a kit that contained a portafilter funnel, a WDT tool, a filter plate and a brush. I just received a tamping/knock box station. How did it go? I’ll go back to this in a bit.
Don’t get me wrong, the Nespresso Vertuo Breville machine is EXTREMELY convenient and precise, you insert the pod, and the barcode reader on the machine does its magic identifying it setting up all parameters for a consistent brew, always exact on size, temperature, timing and variable speed within it. The texture was also amazing, it is not the same as traditional espresso, but the centrifugal extraction created a long-lasting coffee “froth” (not actual crema) that added to the taste. BUT, all that convenience and precision come at a price, each coffee pod goes for around $1.40USD which adds up if you drink several cups a day. Also, if you recycle your pods, takes away from the convenience storing and then mailing/dropping at boutique (if close), if you dispose of them, the guilt builds up. So, what do you do?

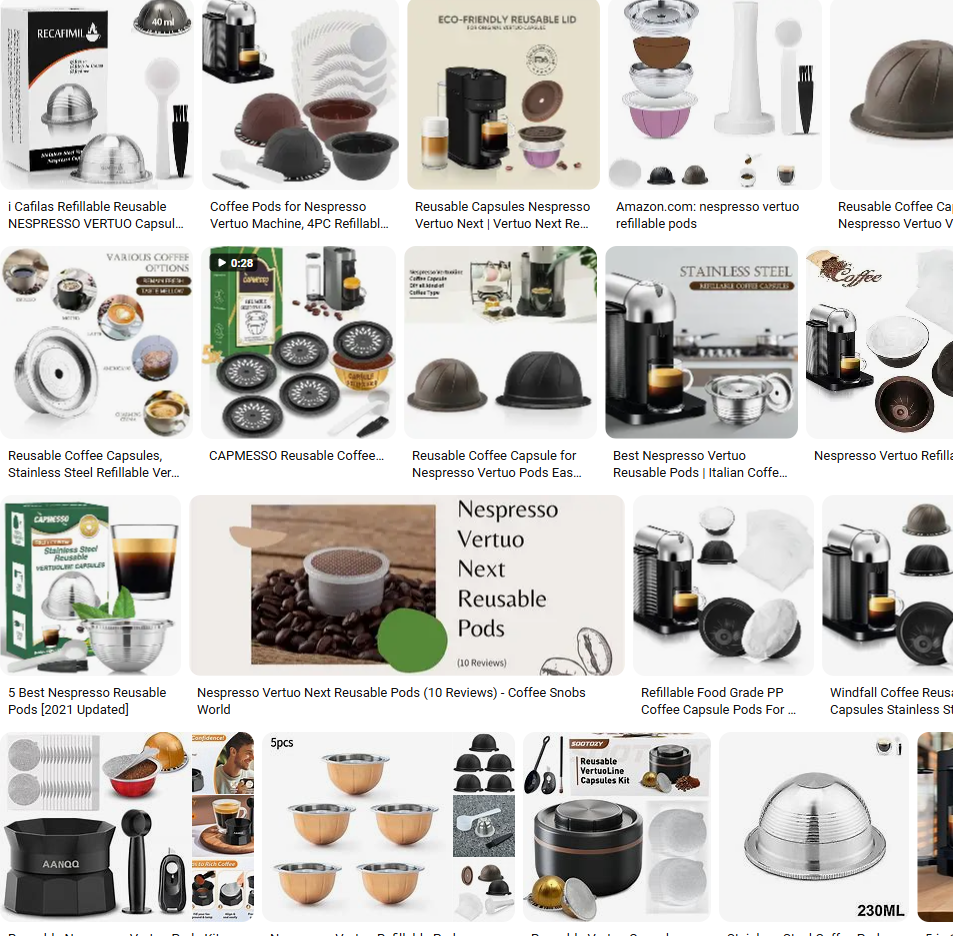
Reusable pod kits!!!! Some let you reuse the original used pods which you reseal, there’s metal and plastic reusable plastic or aluminum pods with either disposable seals or reusable silicone ones, and plenty others. Now you’re saving plenty of money on coffee and you get to use the exact coffee you want at the cost of some of the convenience, you can spend 1/2 – 1 hour a week prepping 30-40 pods. This is also messy, there’s always the pod cleanup and spilled coffee grounds afterwards which gets old with time and gets you rethinking your overall experience, I still reminisce of my old $10USD Walmart single cup coffee brewer many years ago with a reusable mesh filter, it was cheap, it was all plastic, but it did one job and did it OK, not the best, not the worst, but it did it.
No, I didn’t go back to that $10USD coffee machine because I wanted nice cappuccinos and lattes and I’ve been background watching 1-2 hour long first-person-view videos of baristas making coffee in coffee shops and James Hoffmann on YouTube. I was ready, BRING IT ON!
So I went looking for the cheapest OK experience, found that the De’Longhi Dedica clones are good overall and cheap enough to have a good starting point. Started drooling to the nice $500, $1000 and then $5000 espresso setups but it didn’t make sense for me to go all-in when I’m not a coffee afficionado and didn’t care for subtle differences, I was hoping that just upgrading my experience from fancy pods to freshly ground beans and a traditional brewing process would really make a difference.
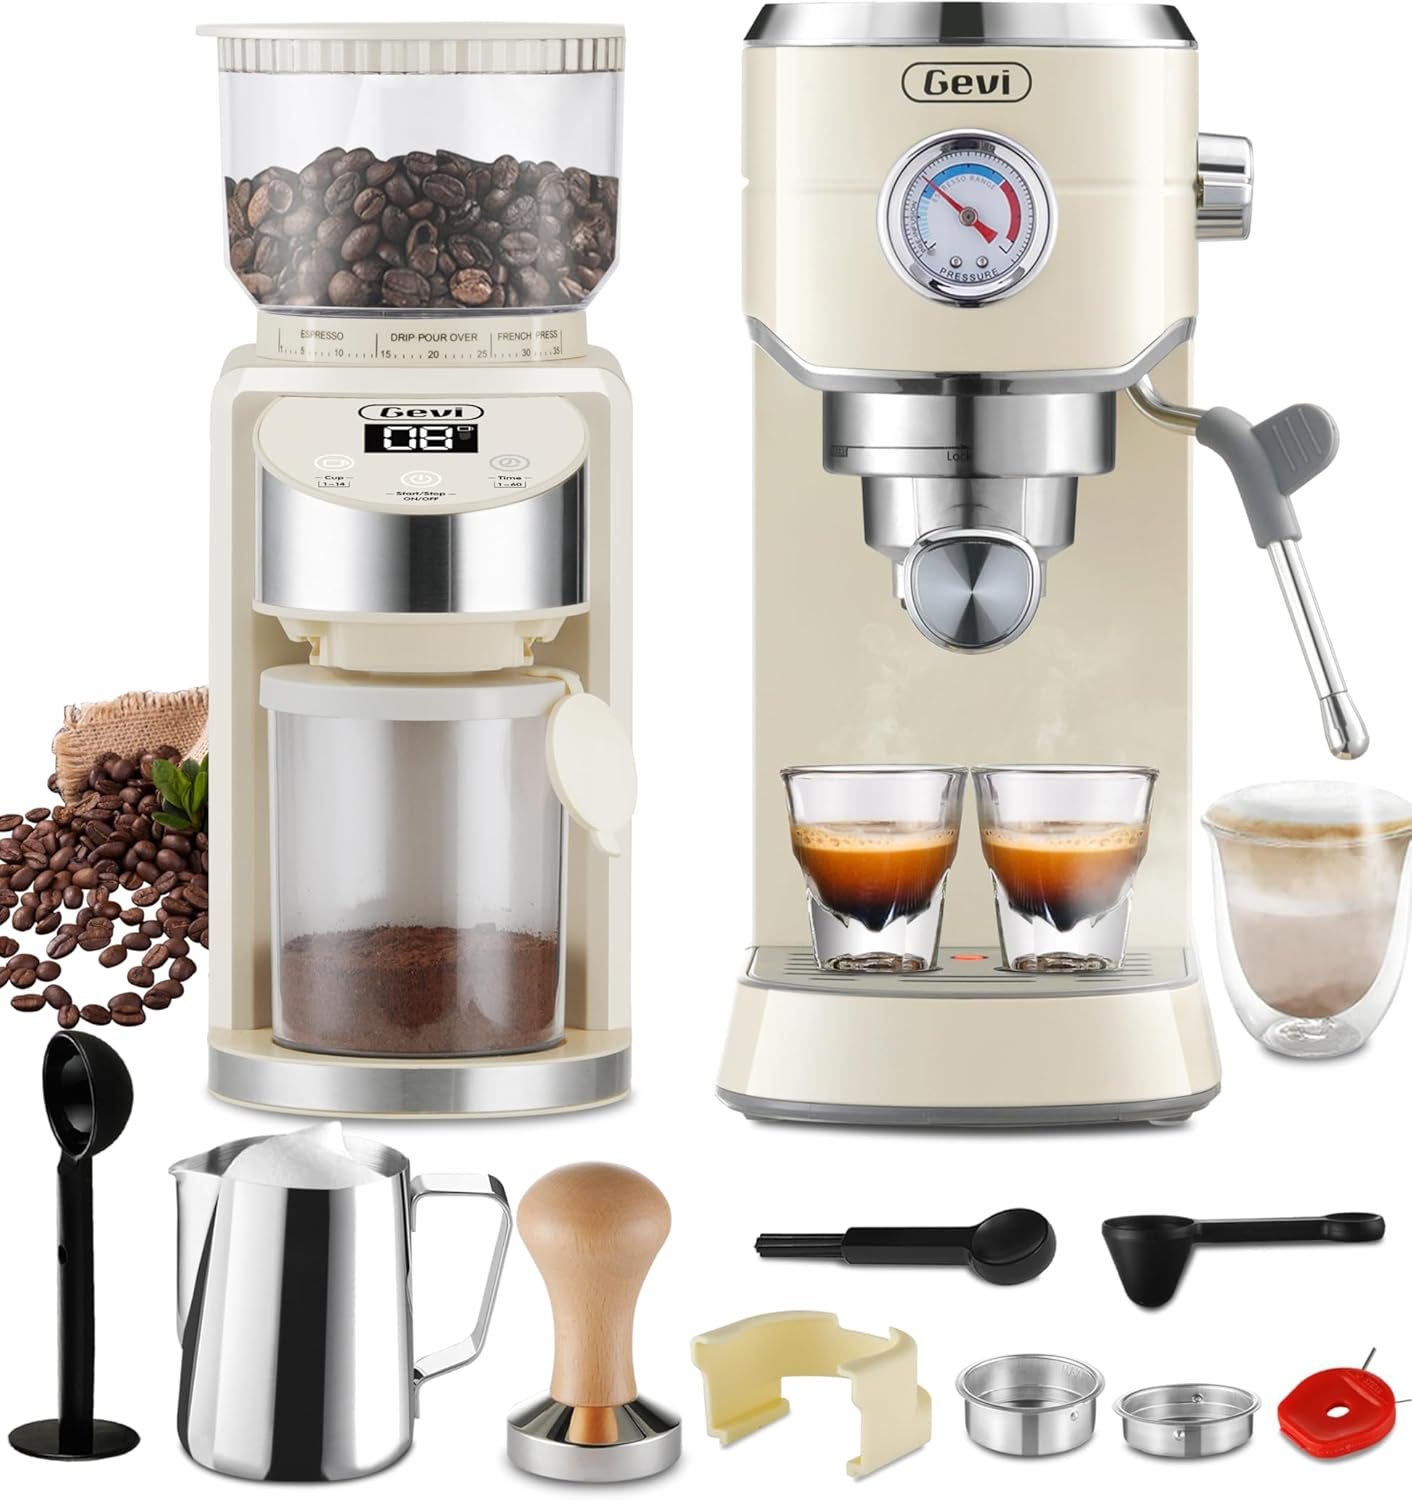
So, yeah, I got the Gevi espresso machine and coffee grinder for $203USD, it came with a pressurized portafilter and two cup sizes, a very nice solid metal tamper with a wooden handle, the grinder comes with a conical burr and portafilter holder, the machine has a small water tank and a steam wand for milk frothing. It’s an awesome value for a complete beginner’s setup! Did I mention it came with two double-wall insulated glass cups?
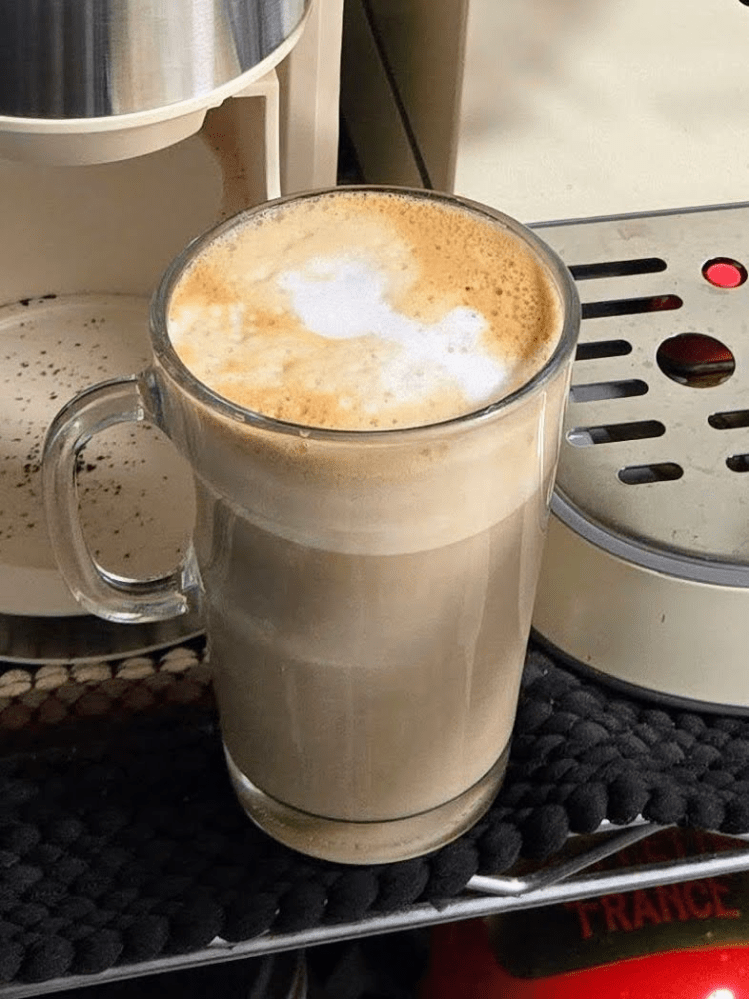
After a couple of weeks, I’ve found out that I enjoy the coffee making process, I look forward to drink coffee just because of it, and I know I’m getting a very similar experience to a fancy coffee shop! A small investment for hopefully years of good coffee experience return. If it breaks and I can’t fix it, I’ll look into used fancy machines. I still suck at latte art, so don’t ask about it, it will take lots of time, my progress is not progressing :p
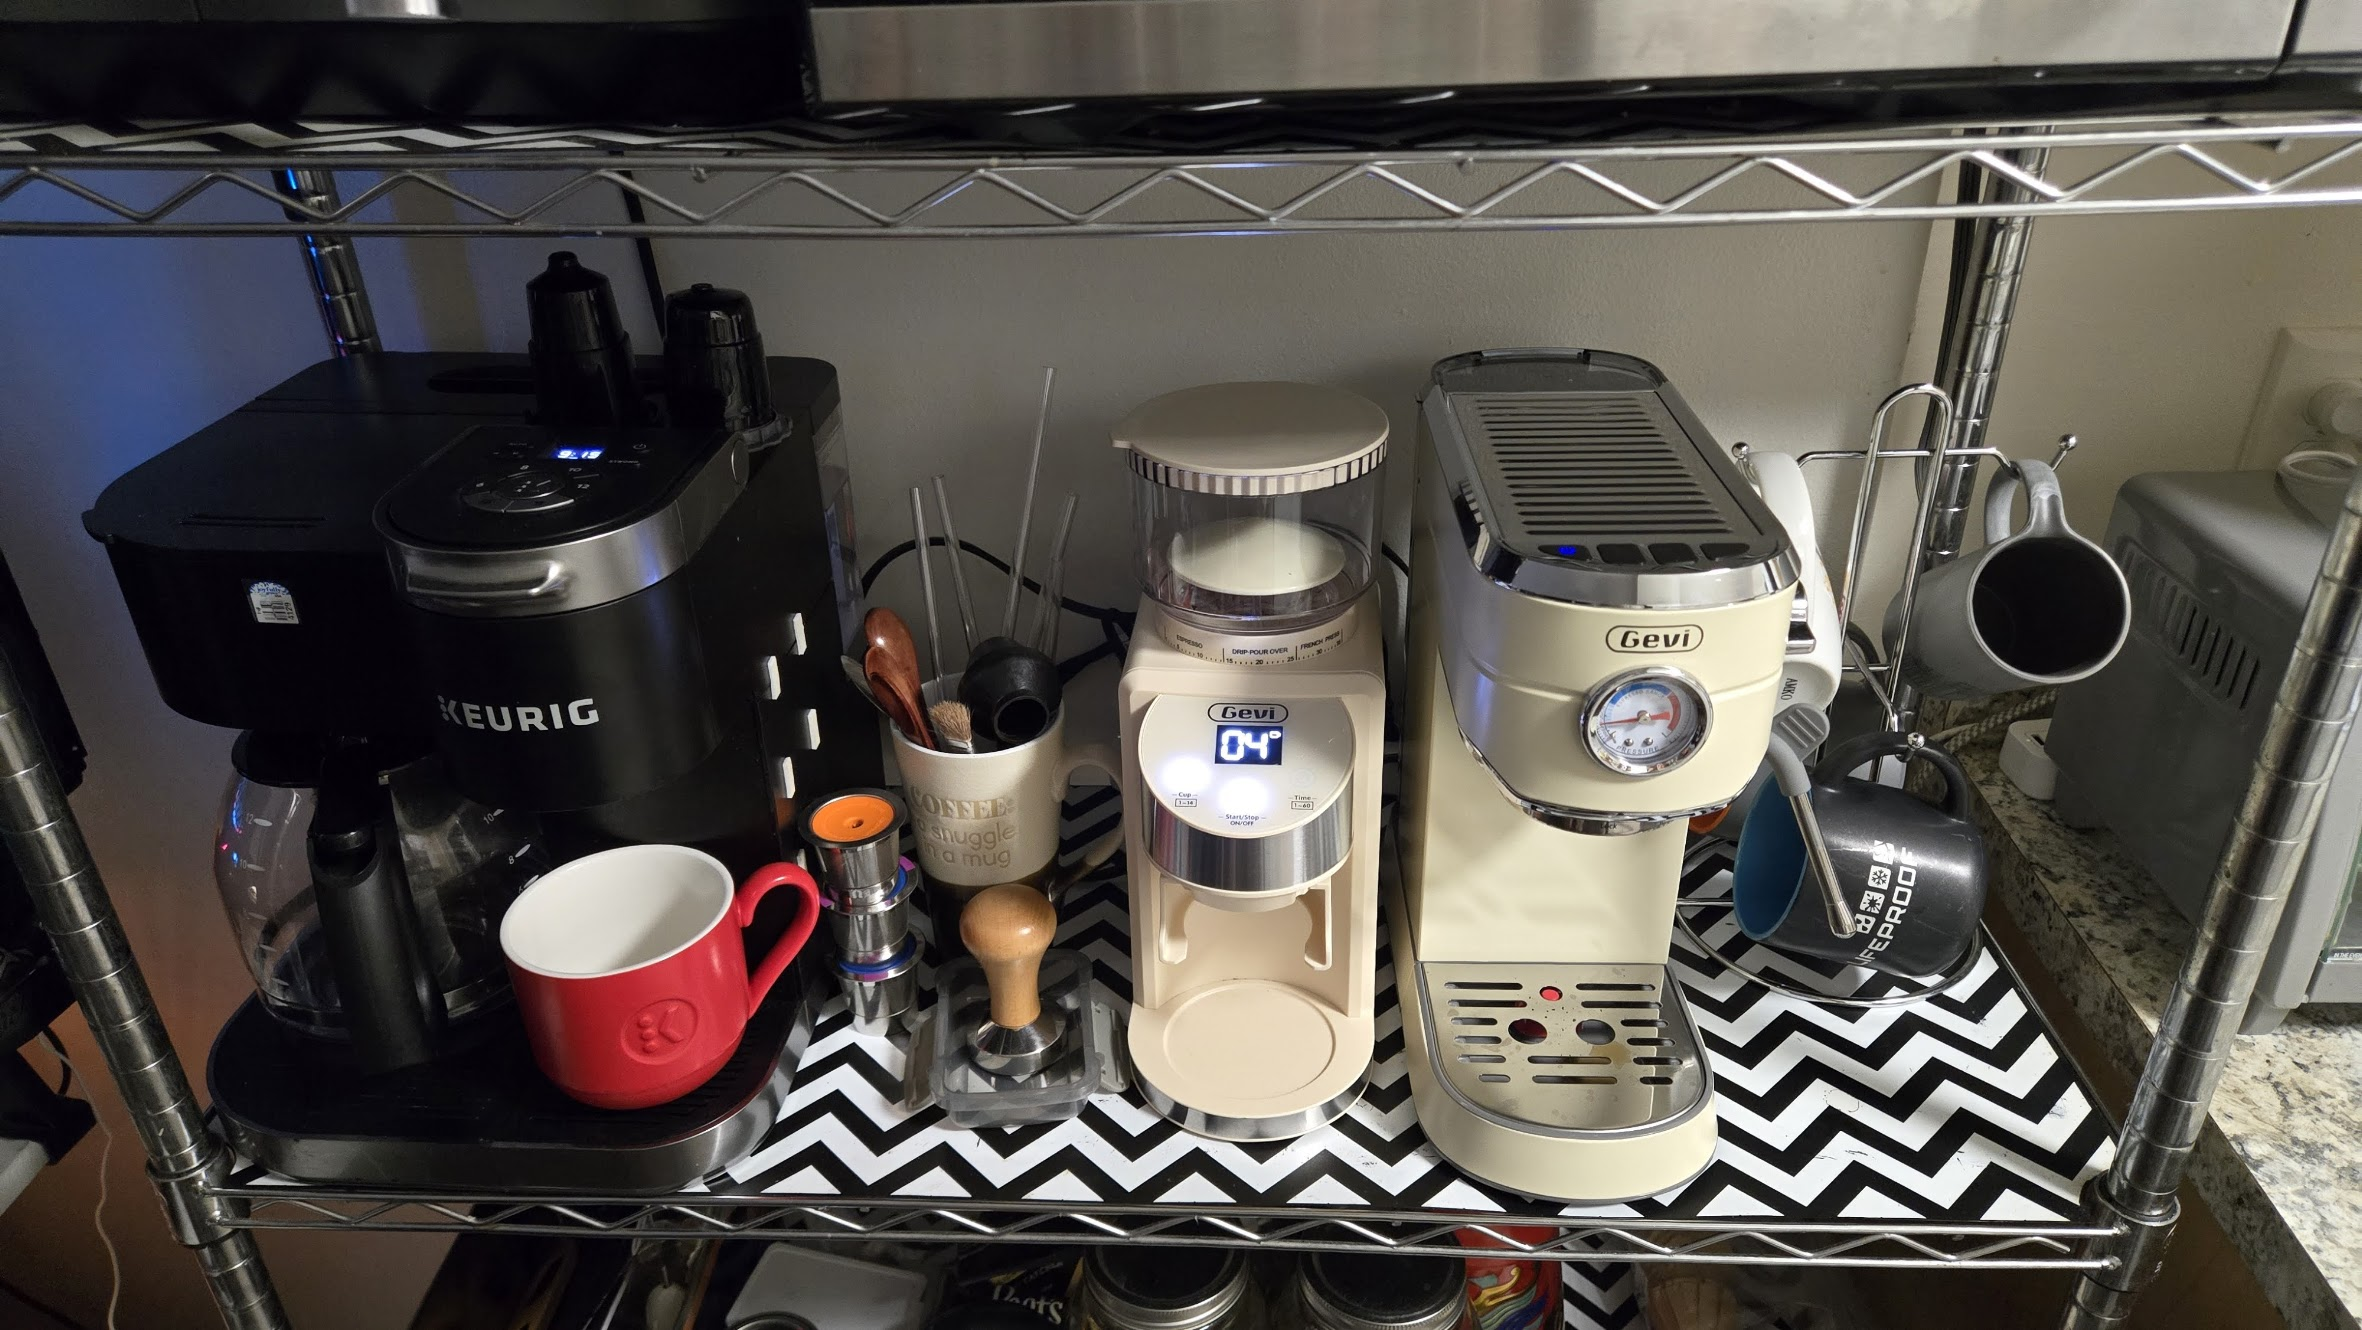
That Keurig Duo is very nice and a good middle-ground (get it? ground?) between pods and actual ground coffee, which also made the Nespresso Breville doubly redundant. Wife likes Keurig so I think that with this setup we got all coffee enjoying and sharing scenarios covered.
Oh, what is a WDT tool? It sounds fancy but it’s a handle with long needles that help distribute the coffee grounds evenly in the coffee basket (portafilter) for better extraction, it stands for Weiss Distribution Technique in reference to its creator. How deep does the rabbit hole go?