
Story time
This is a simple one but solved elegantly and quickly because of CAD and 3D printing, I have an old bike repair stand that was falling apart, still working but overall wobbly and unreliable. I’ve been thinking about restoring it, but I got my hands on a much nicer and reliable one.
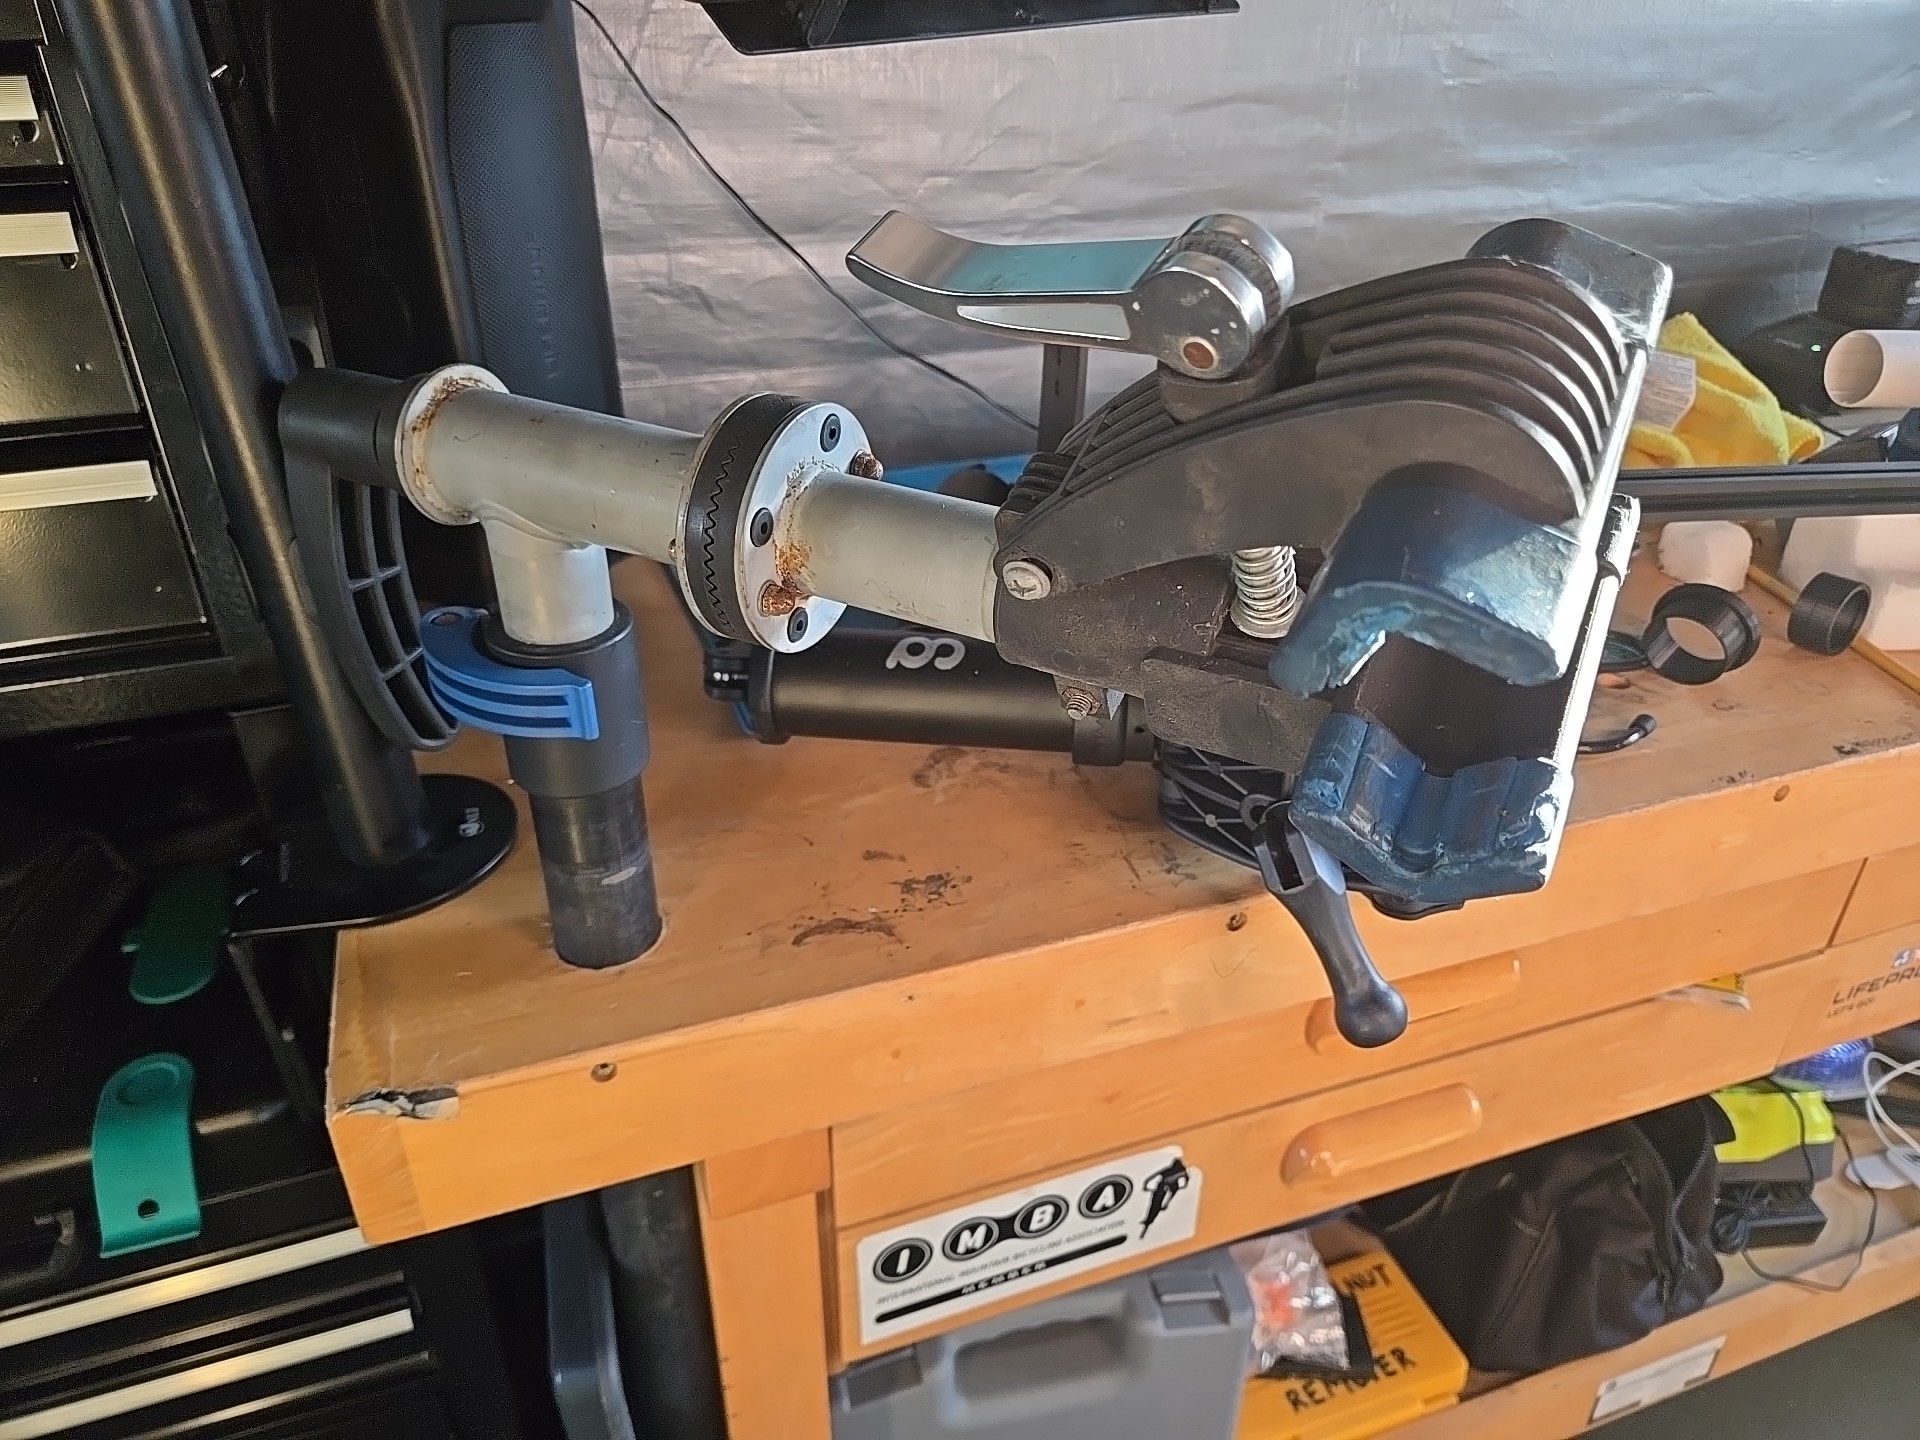
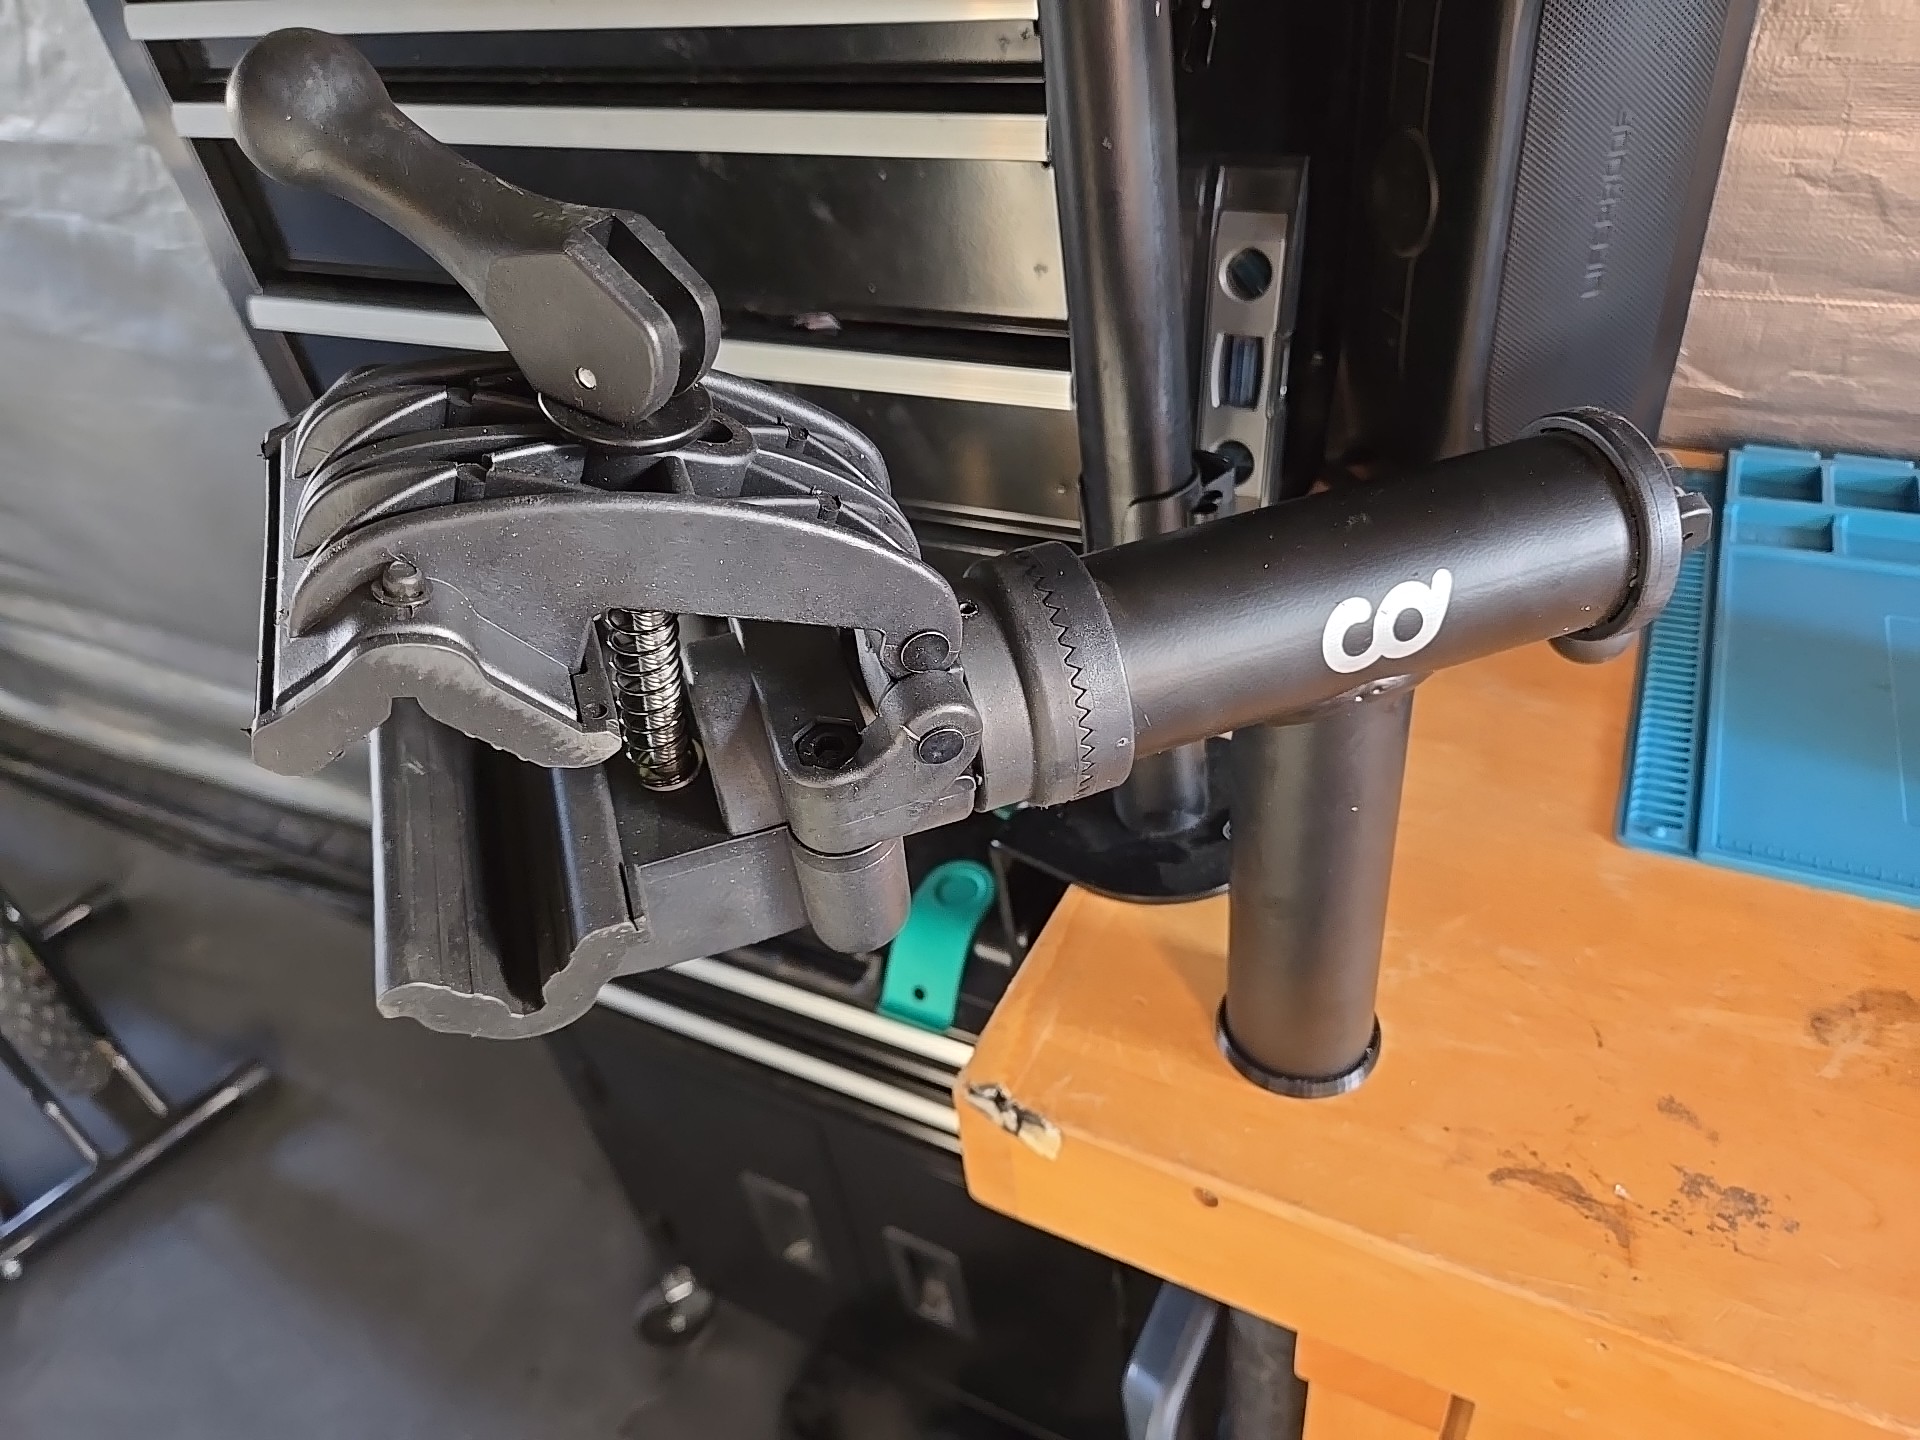
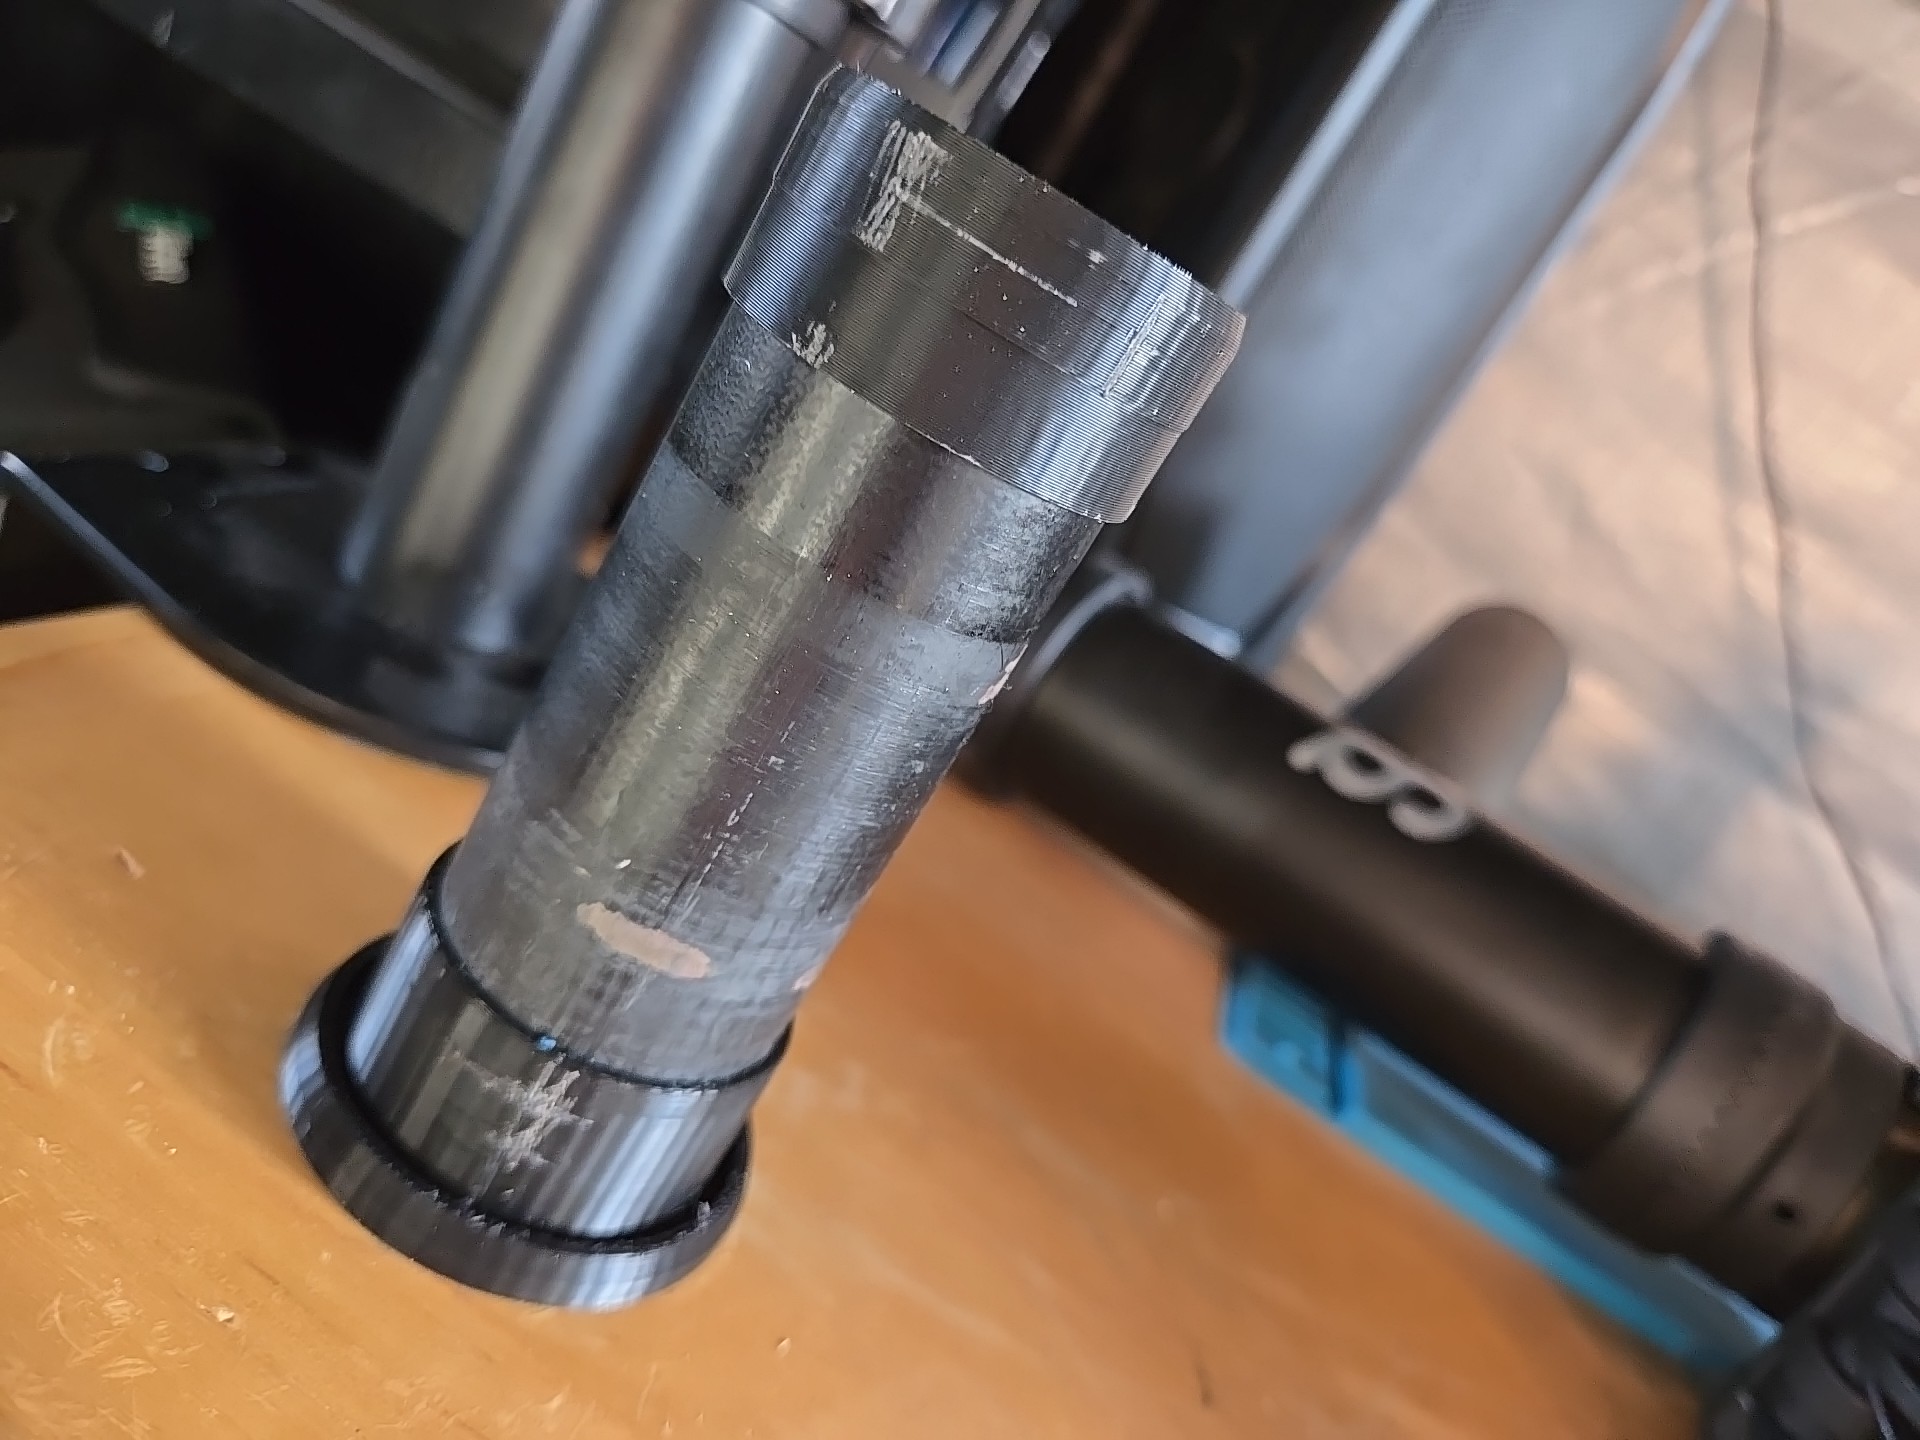
The old one was mounted by getting its main tube through the top and hose clamps to the leg. The new one had a huge bracket that could either be screwed to the wall or to a countertop. I already had a big tube firmly attached to the bench so I wanted to reuse that. Well, the new stand’s tube is bigger than the old one’s so I needed to add a spacer to it and there’s a million ways to do that. I have CAD and a 3D printer so I took that route.
I was going to write something simple and short; this is just a solution to fit one tube over a smaller one but here I am, starting SolidWorks and a design walkthrough. I can’t stop now, sorry.
Design
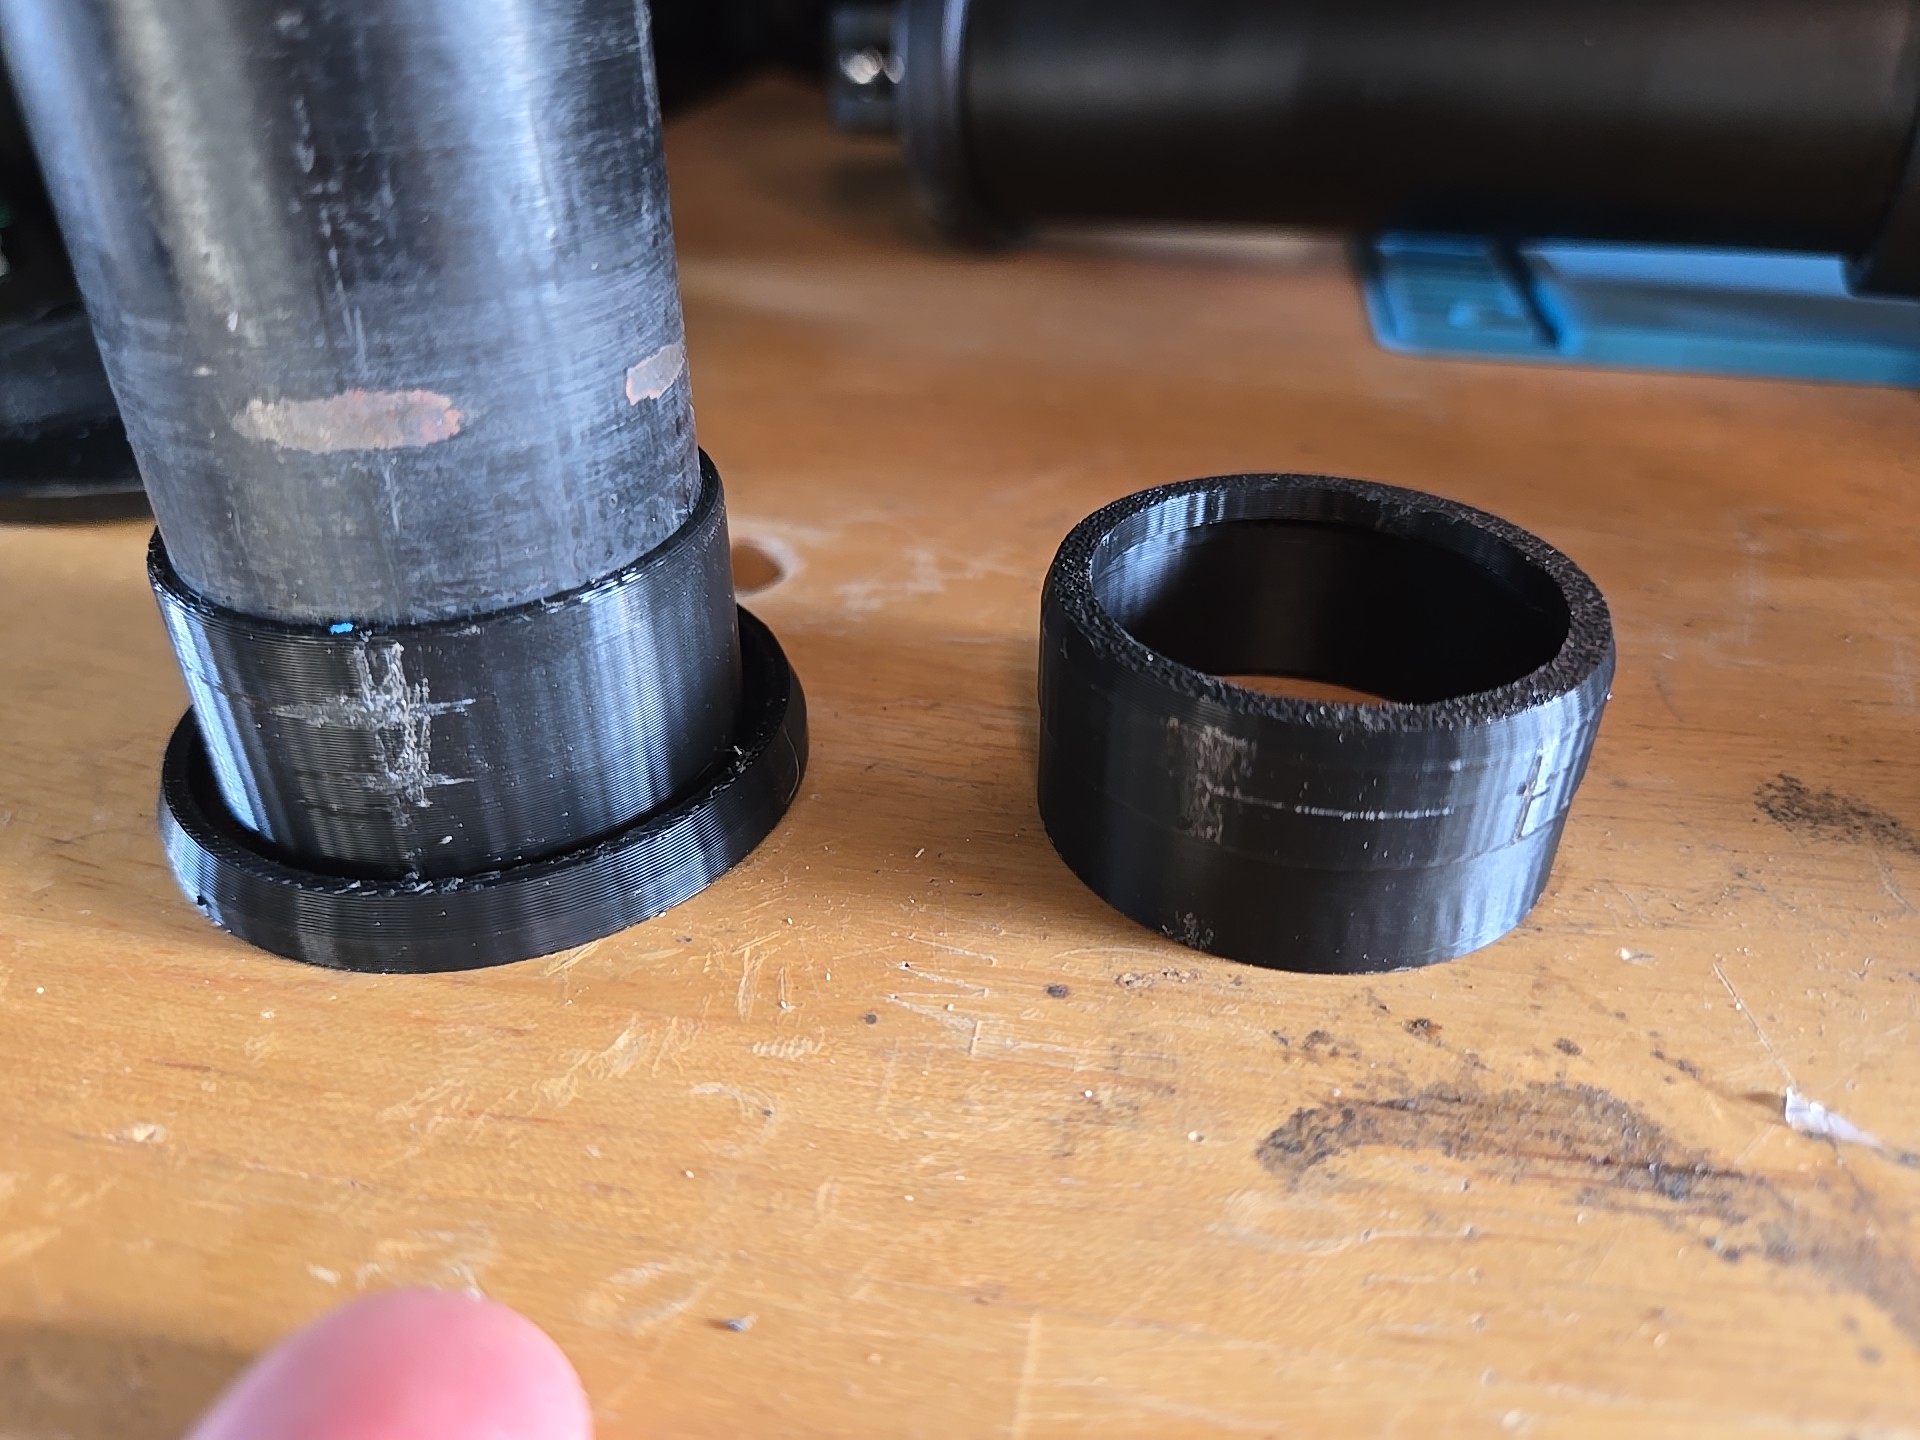
The fixed tubing protruded about 5 inches from the benchtop, but the spacer didn’t have to go the whole way through, I didn’t want both to bind and also it was an unneeded waste of material and time, so I thought of making it in two parts, a base and a cap.
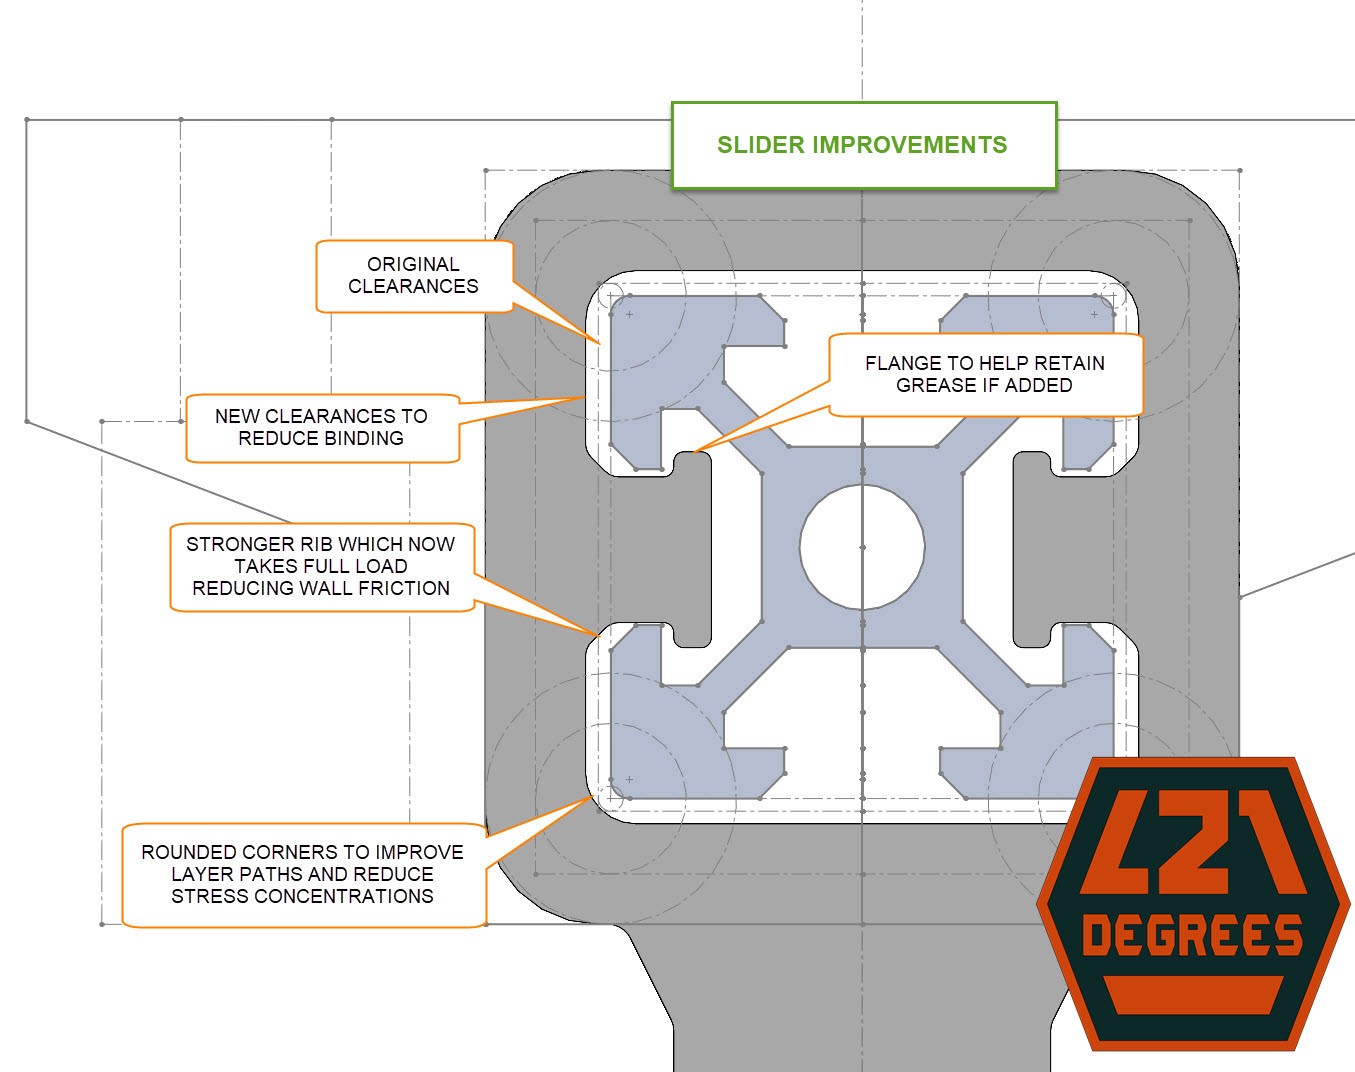
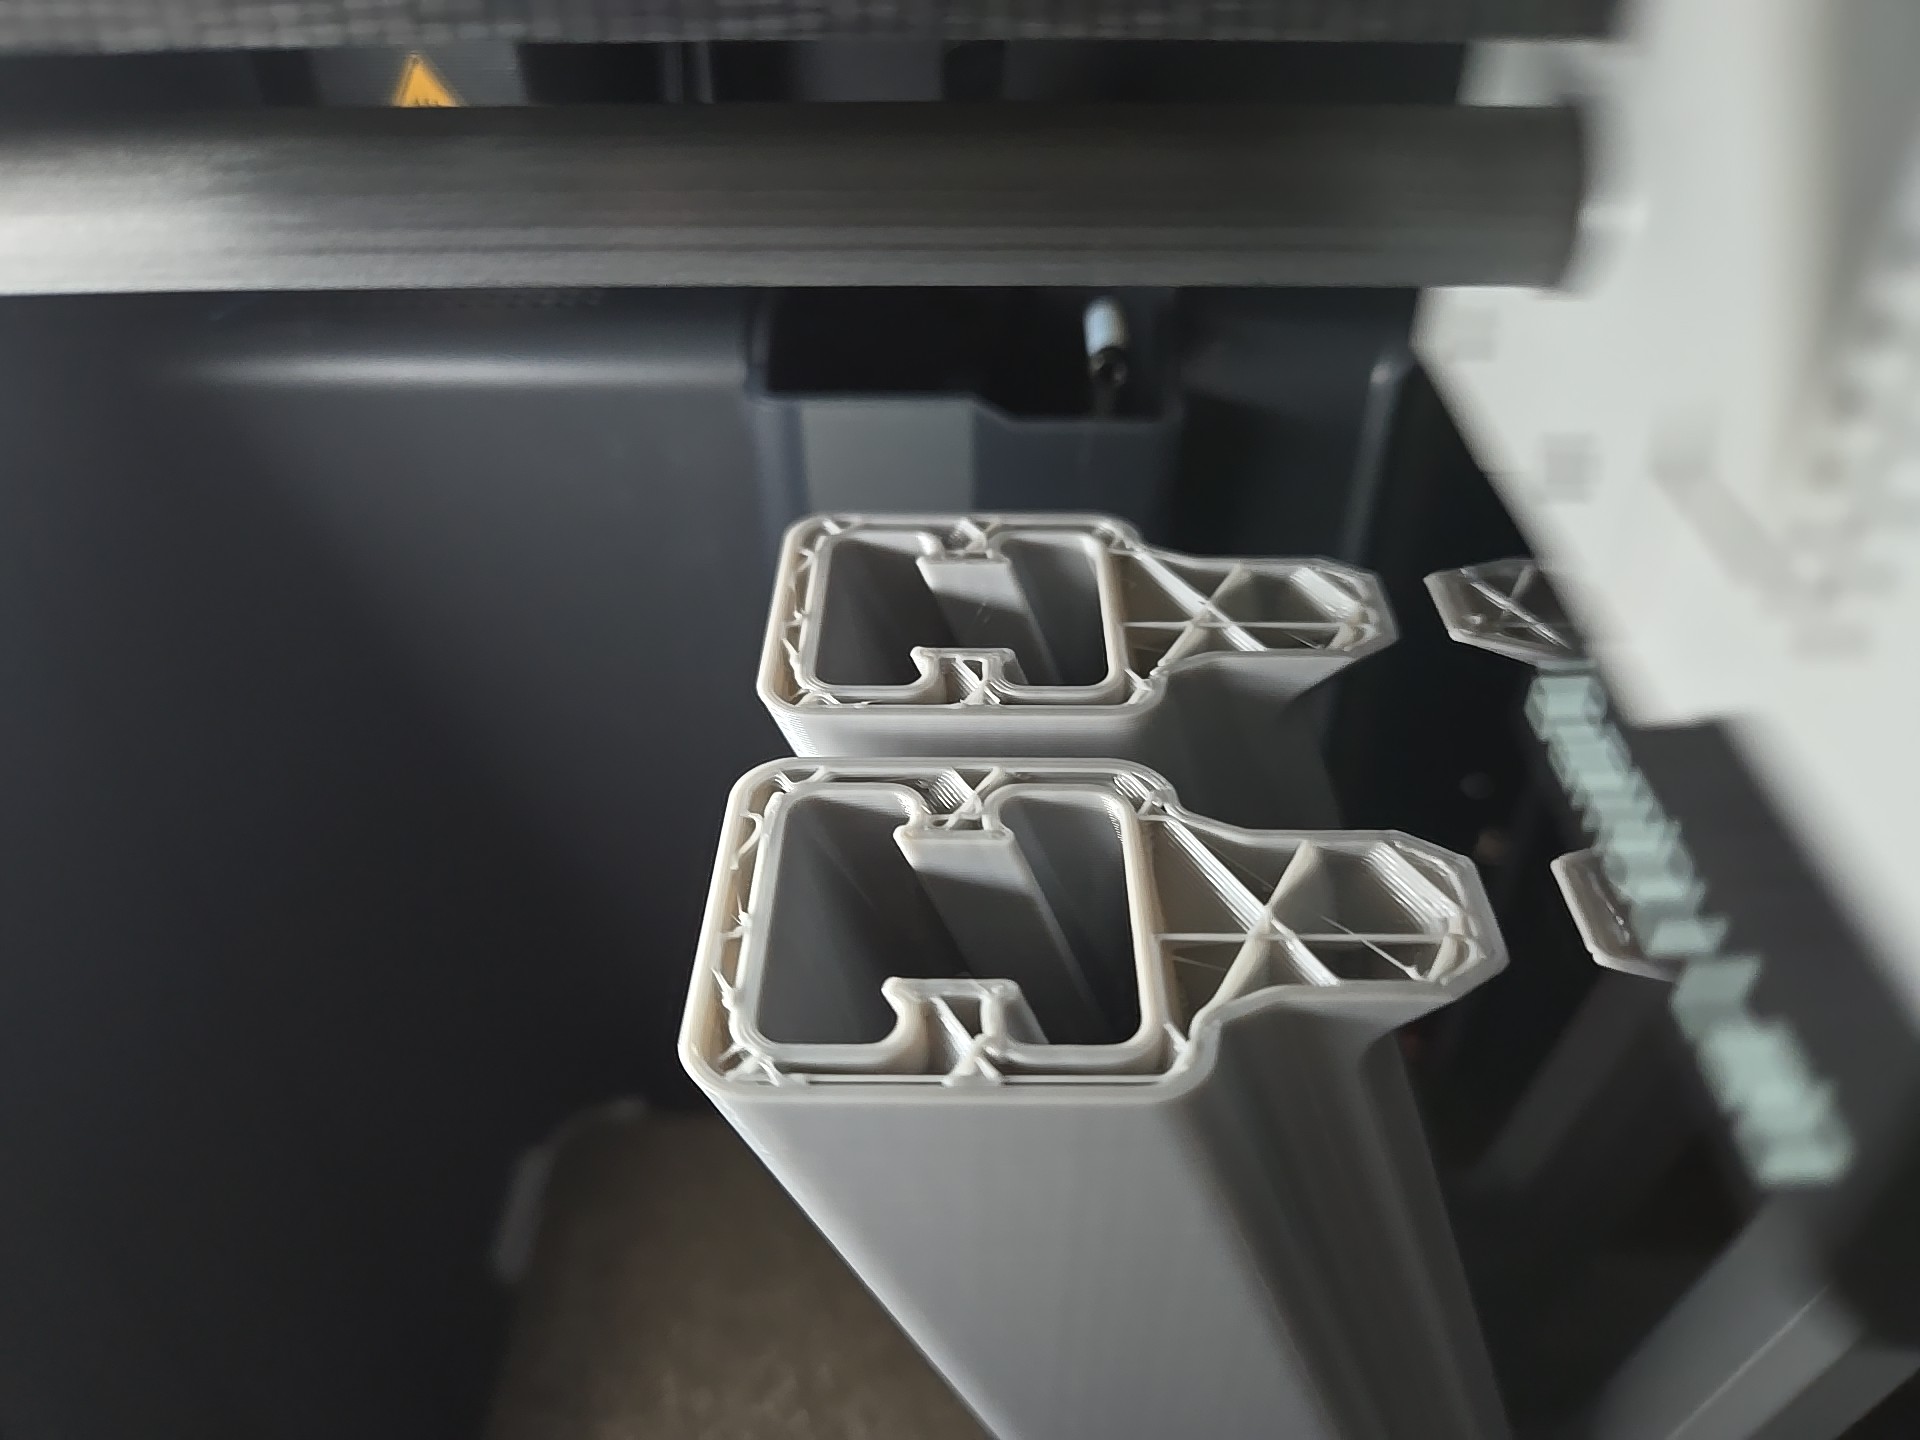
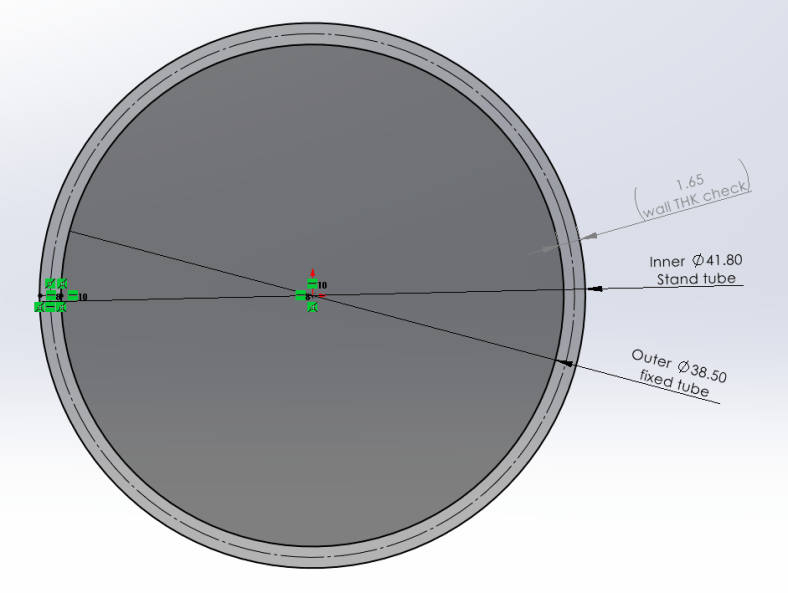
I usually start by sketching and sometimes modeling the reference material, in this case it would be the fixed tube and the new stand tubing but it was supposed to be something quick so I sketched the outer diameter + clearance of the fixed tube and the inner diameter plus clearance of the new stand tubing to use as reference for the cross-section.
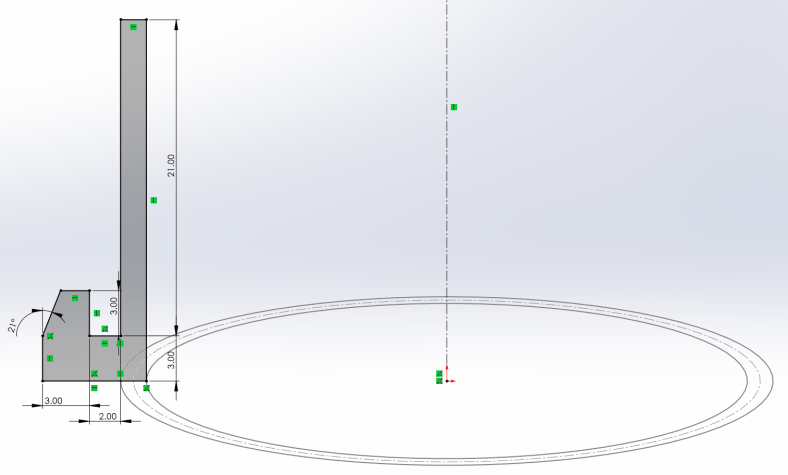
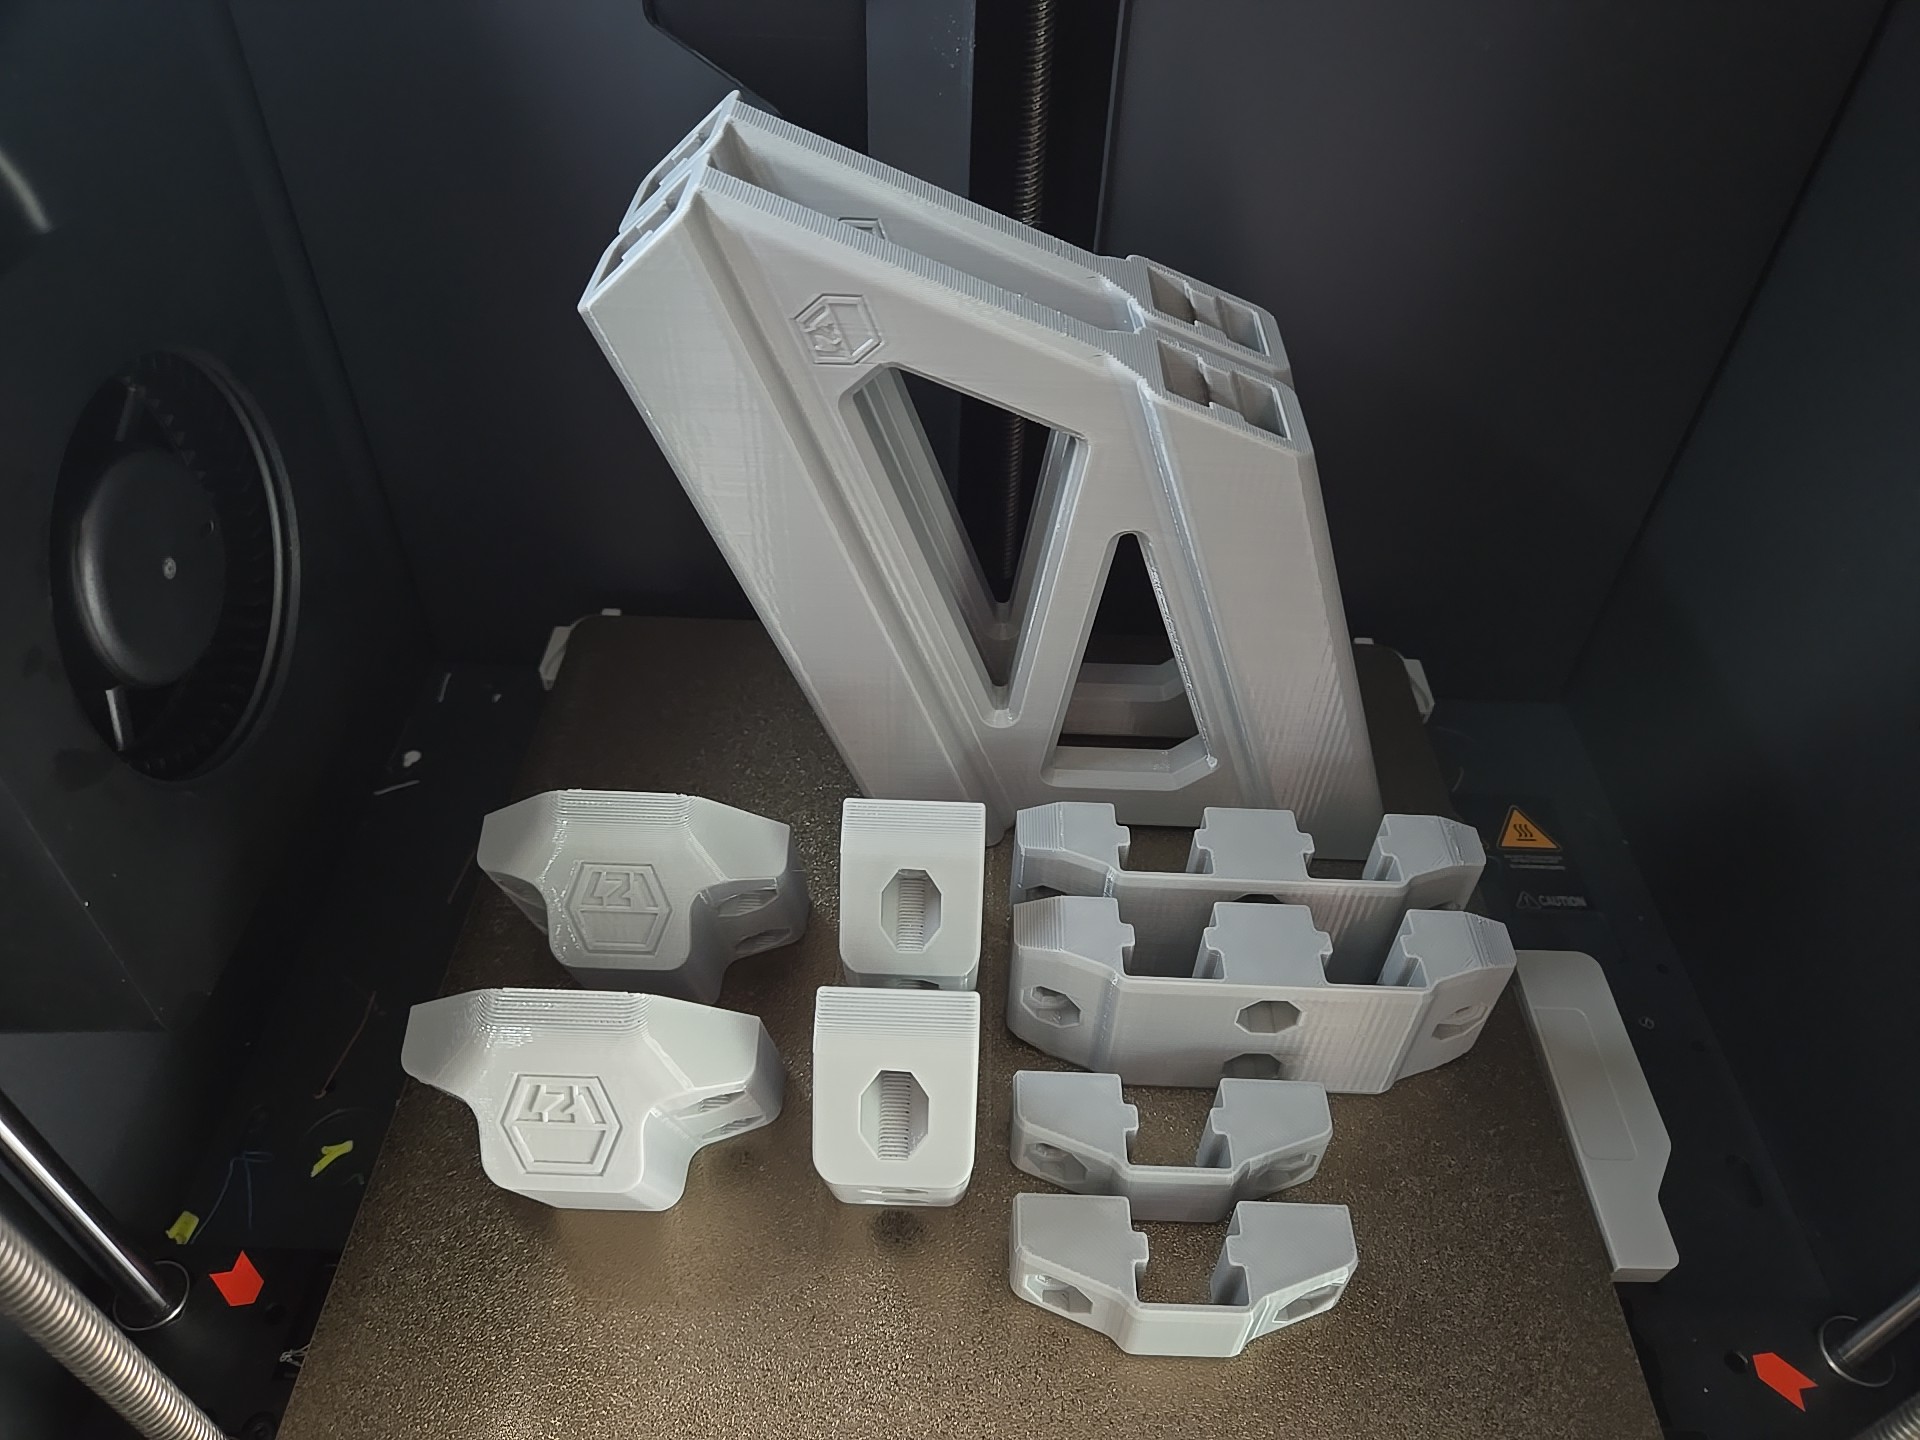
Started with the base, added a bottom flange to protect the benchtop from the stand tube as it rotates and then flanged again up to hide its edge. Revolve feature, straight-forward.
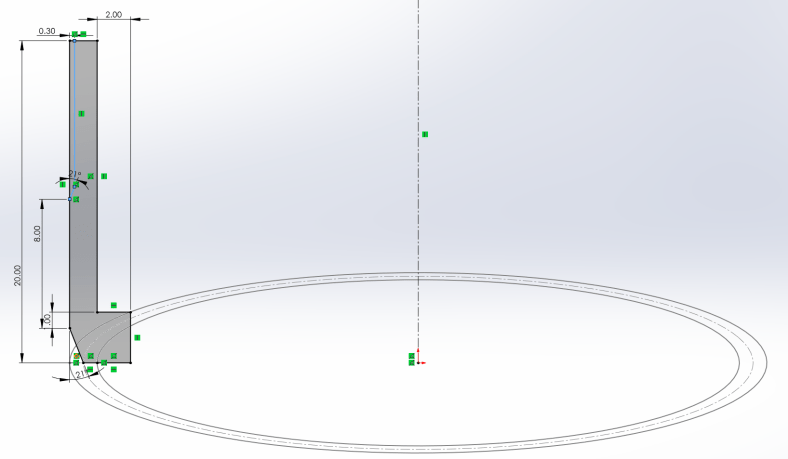
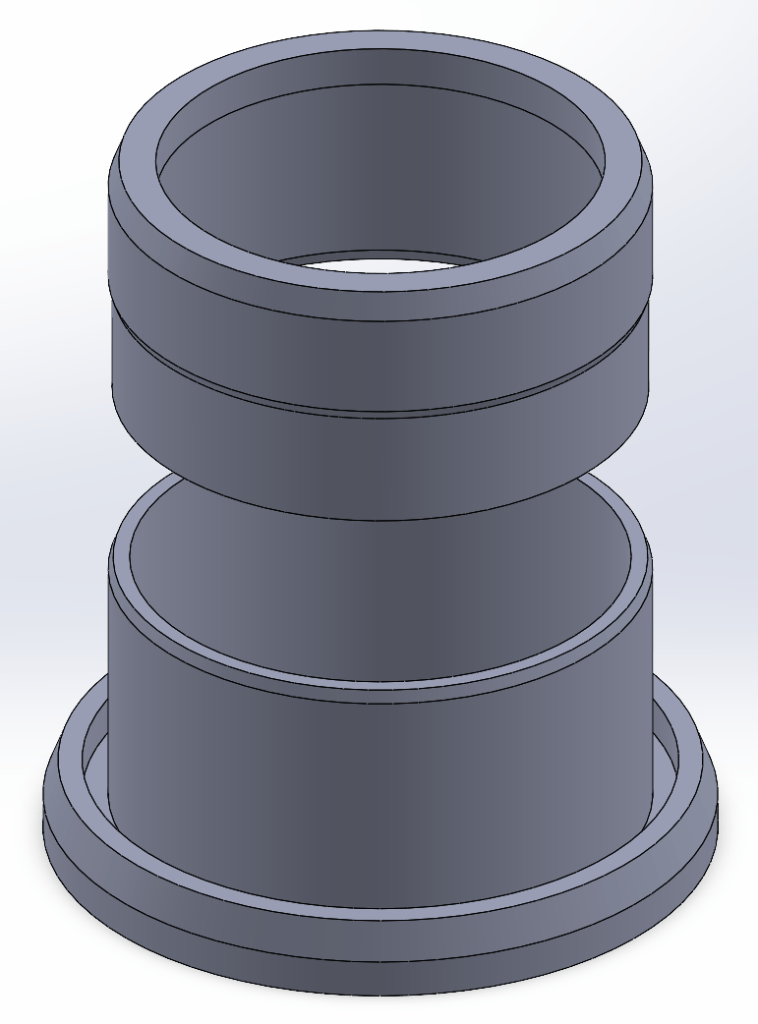
Then the cap, designed inverted for ease of 3D printing, added a flange as a stop over the fixed tube and a chamfer to facilitate the stand insertion. Again, revolved sketch.
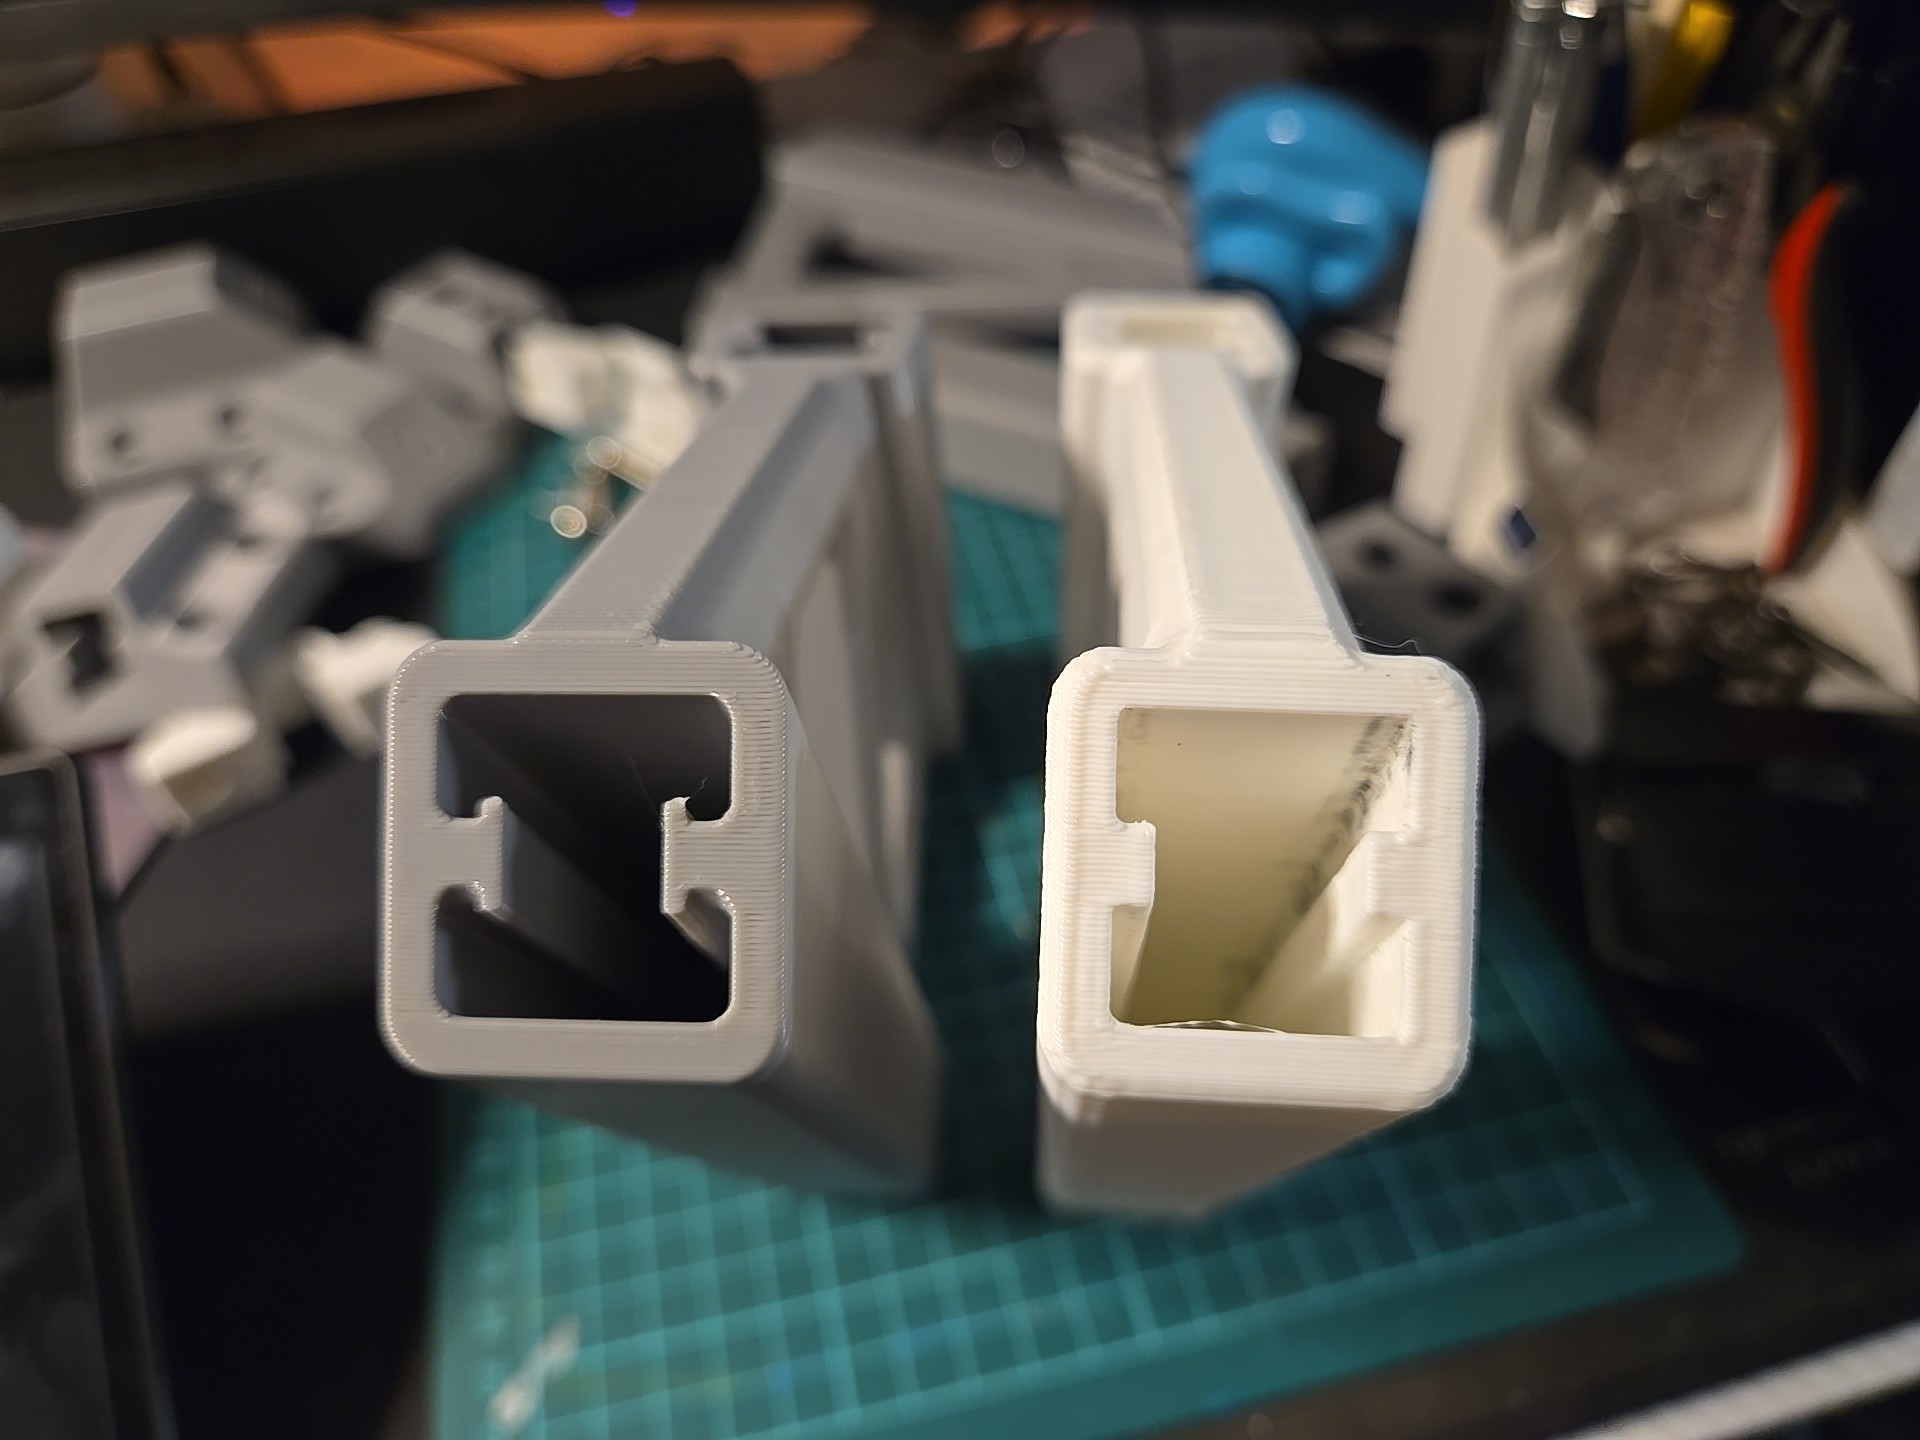
And this is it, I reduced outside material on the cap to reduce friction from the stand. For testing, I printed small sections of each (about 6mm) to quickly test fit and kept tweaking the first sketch until I got a good press-fit for the fixed tube and a slip-fit for the new stand.


Product listing if interested:

https://cyclingdealusa.com/products/cyclingdeal-wall-bench-mount-bike-repair-stand-premium-bicycle-mechanics-maintenance-workstand-with-adjustable-360-degree-rotatable-clamp-head-for-mtb-mountain-road-bikes-up-to-25kg-55-lbs
Why I didn’t restore the old stand?
I didn’t because it hadn’t crossed my mind, and I got the new one almost for free which is a very nice upgrade overall in usability and materials. Now that I think of it, it could be a cool future project, but then I don’t think that the 3D printed PLA/PETG parts would stand better than the original injection molded ABS.
What would I have used if I didn’t have a 3D printer? Masking tape? I don’t know, what would be your approach with your skills and equipment? Machining? Turning? Getting rid of the tube and screw the stand to the wall or bench? My bike “shop” is a 7ft x 5ft portable shed so no walls and didn’t want to reduce the bench top area with the big bracket.