(writeup coming soon) My son showed interest in mountain biking so instead of getting rid of my 2007 StumpJumper, I decided to restore it, from replacing all frame bearings to a fresh coat of paint and highlighter decals, replaced the rear shock with “brain” auto-locking reservoir with a less complicated rugged shock
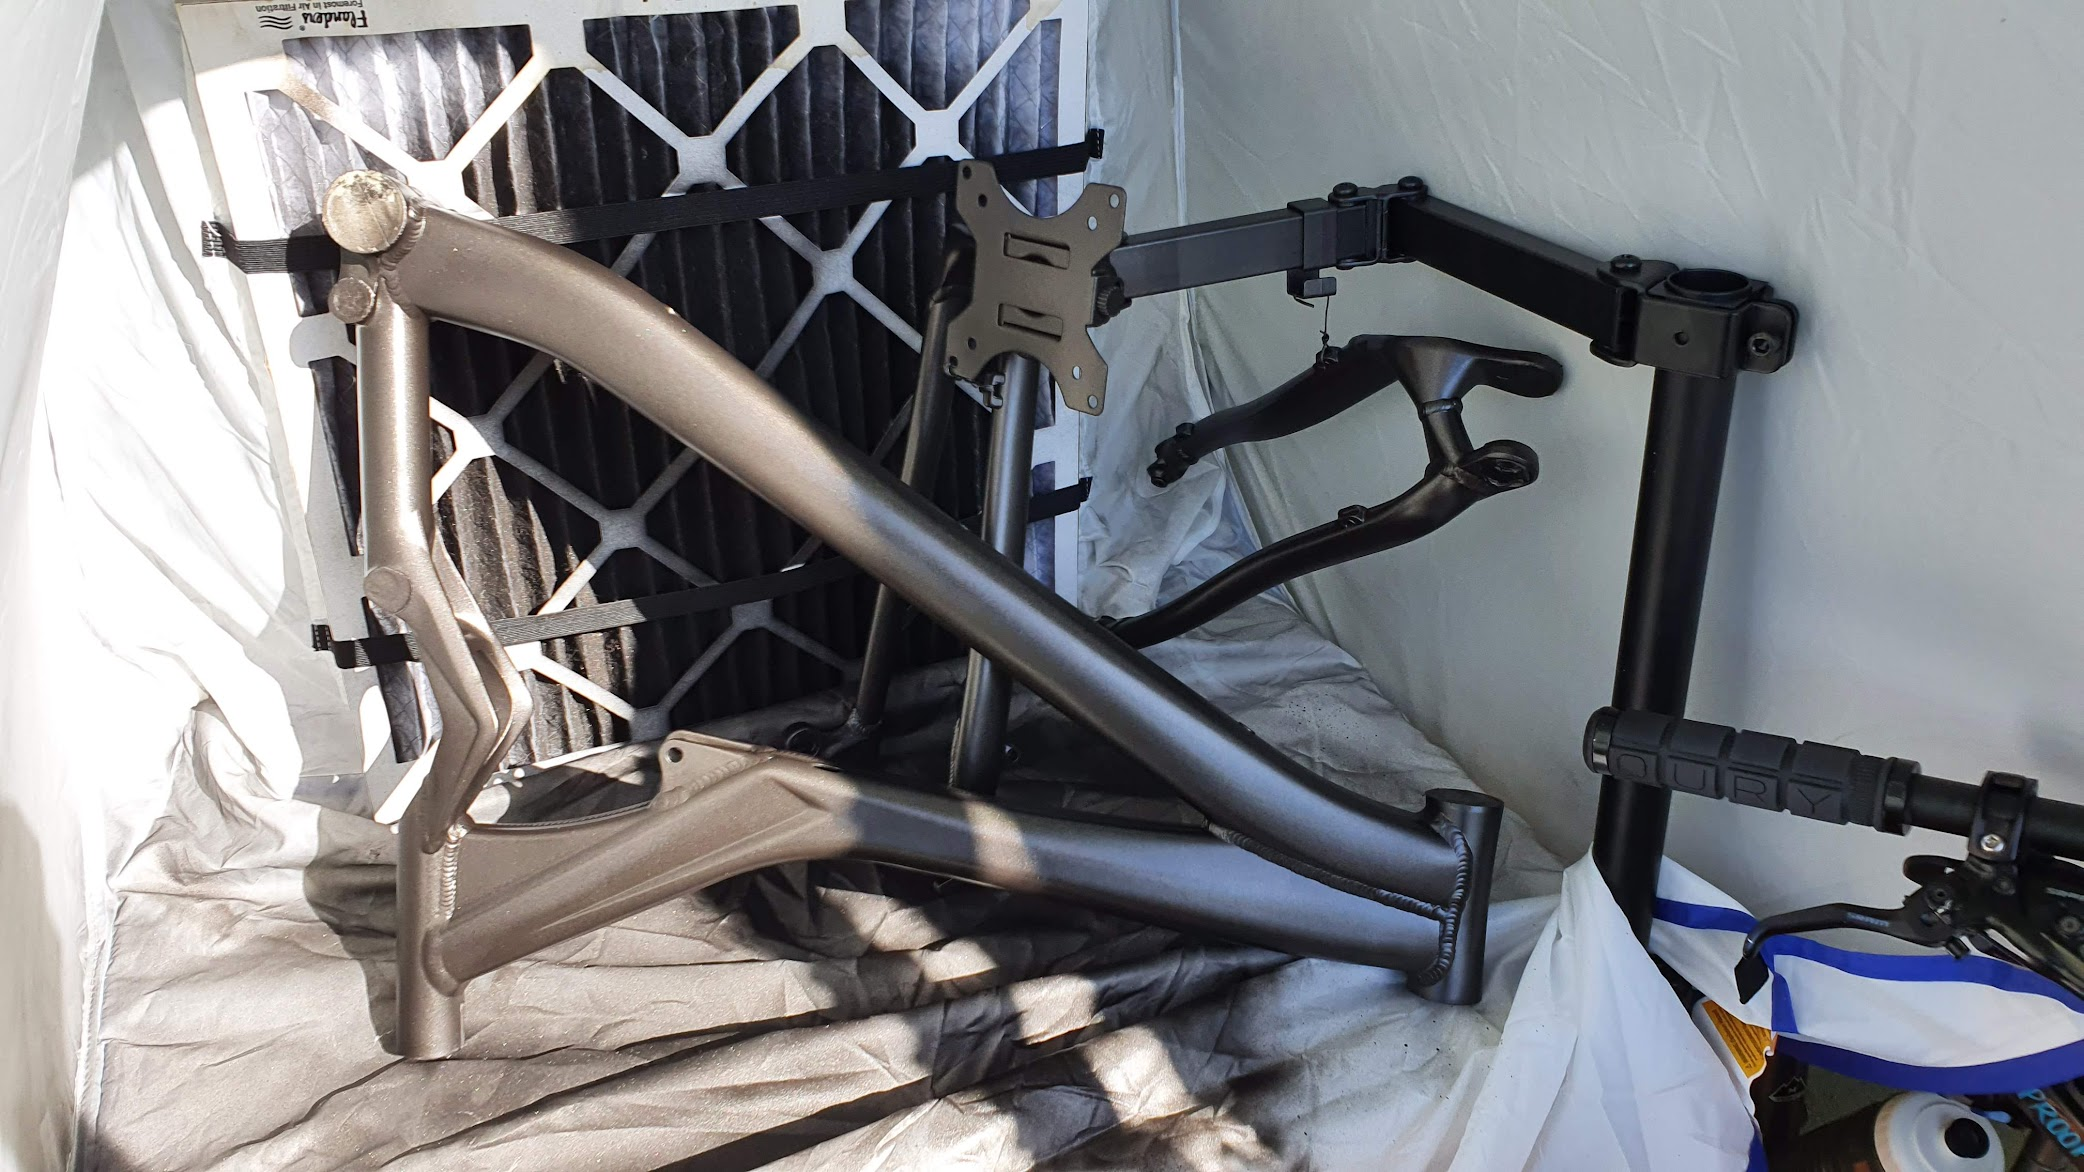
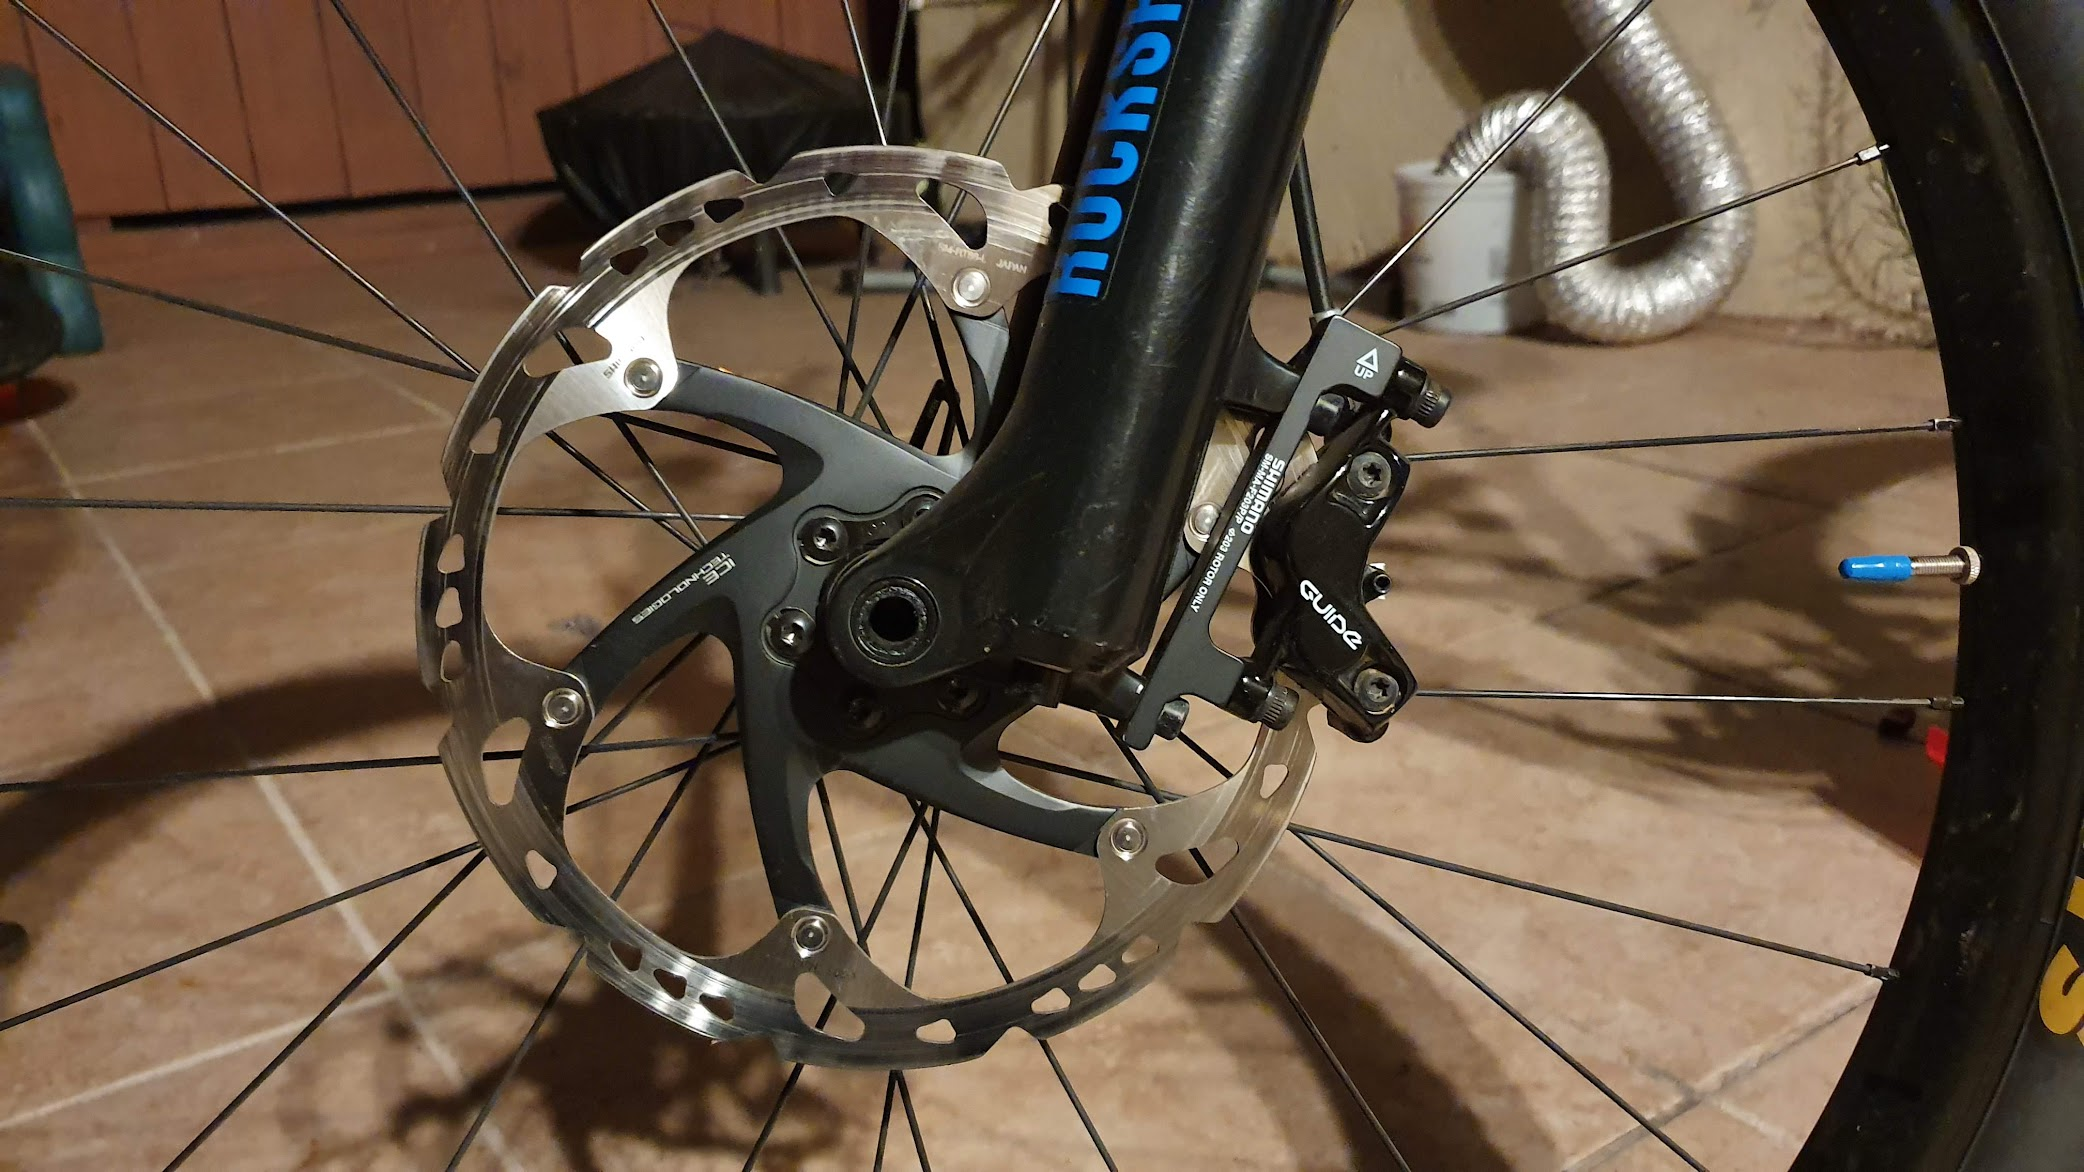
(writeup coming soon) this is a placeholder for a 2015 Specialized Enduro build, bigger wheels, bigger brakes, rugged tires, suspension, etc. Gray and black with white and light blue accents, 3×9 converted to 1×11, 11-42T
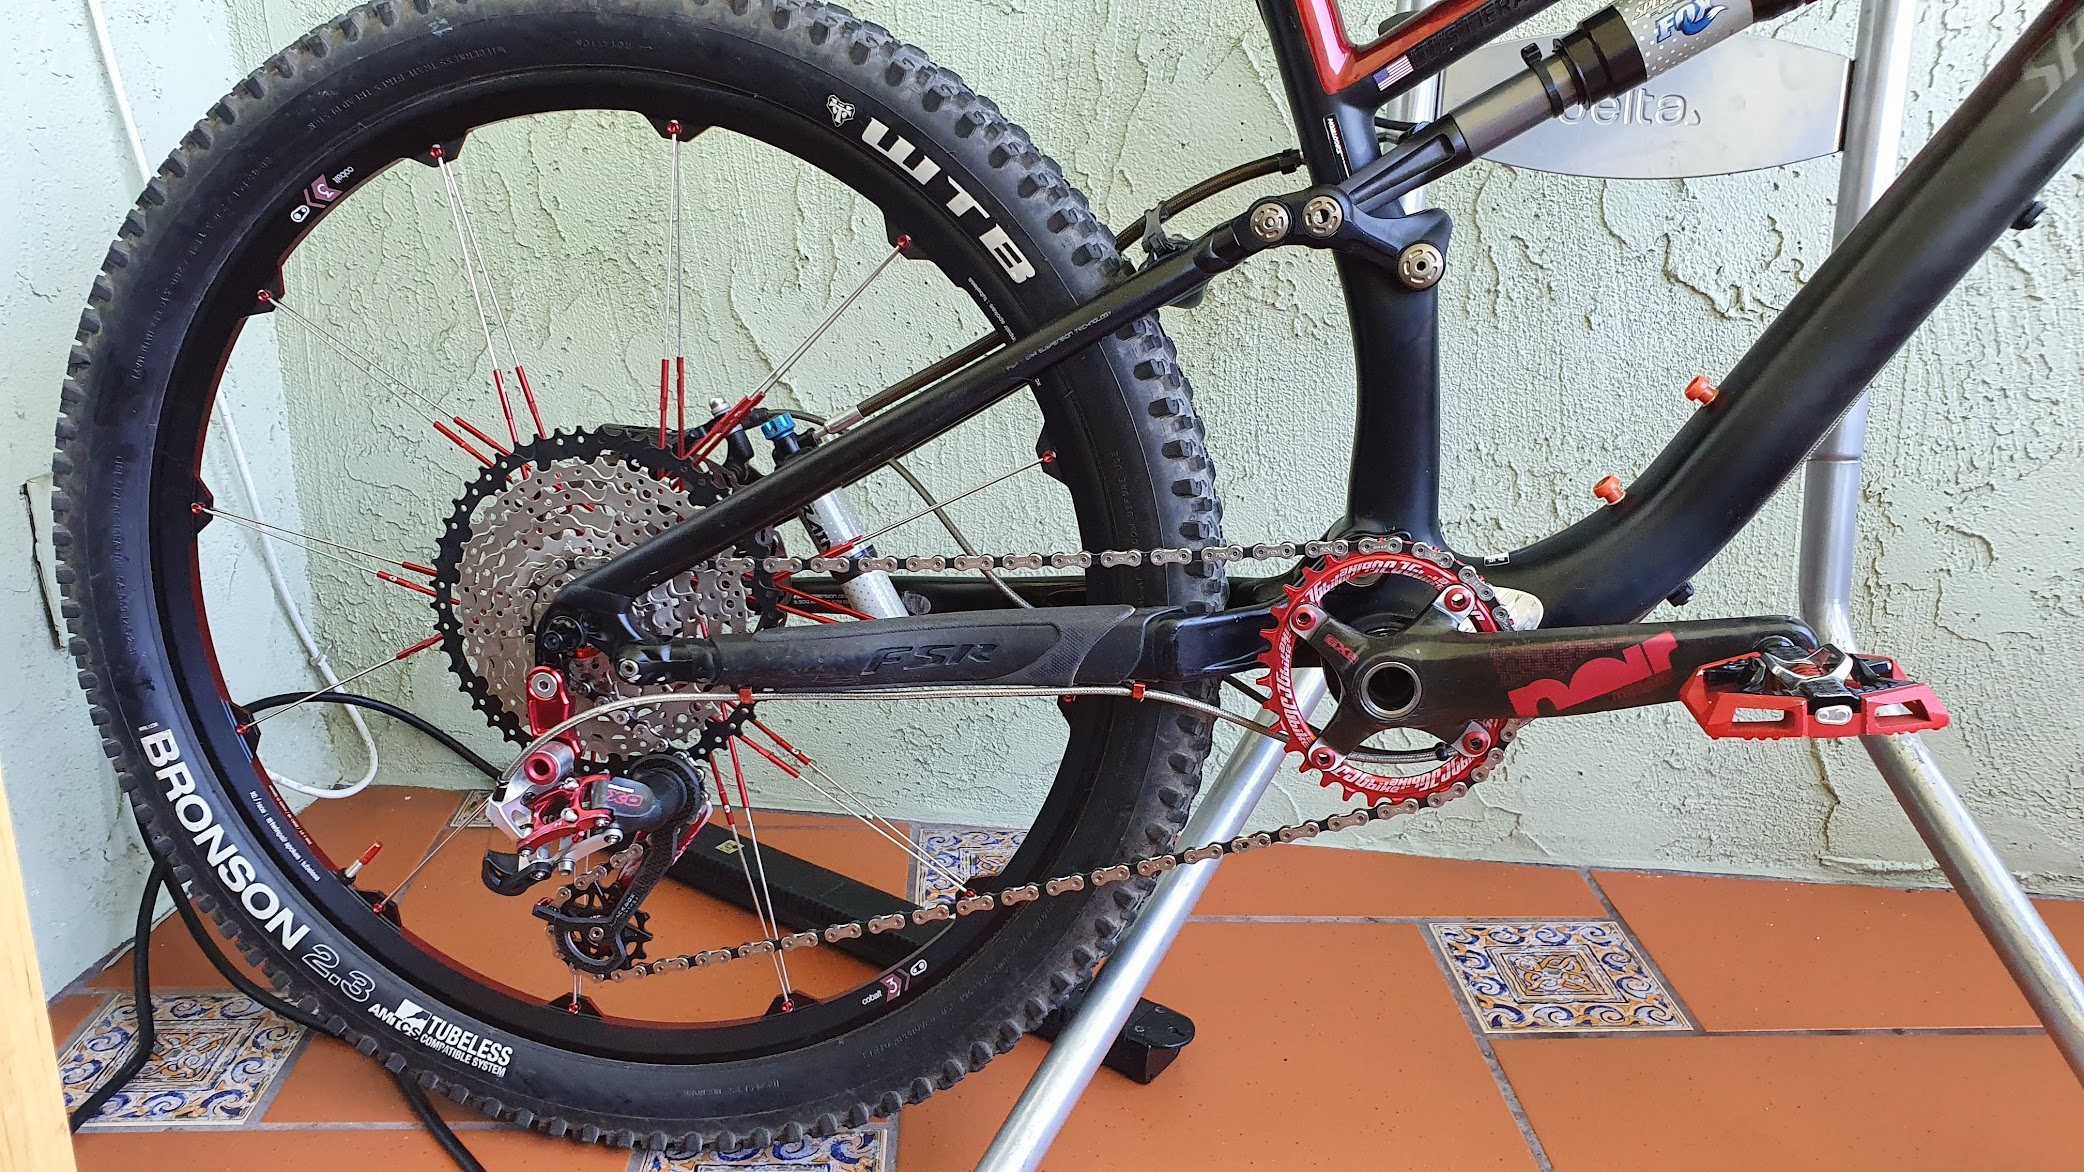
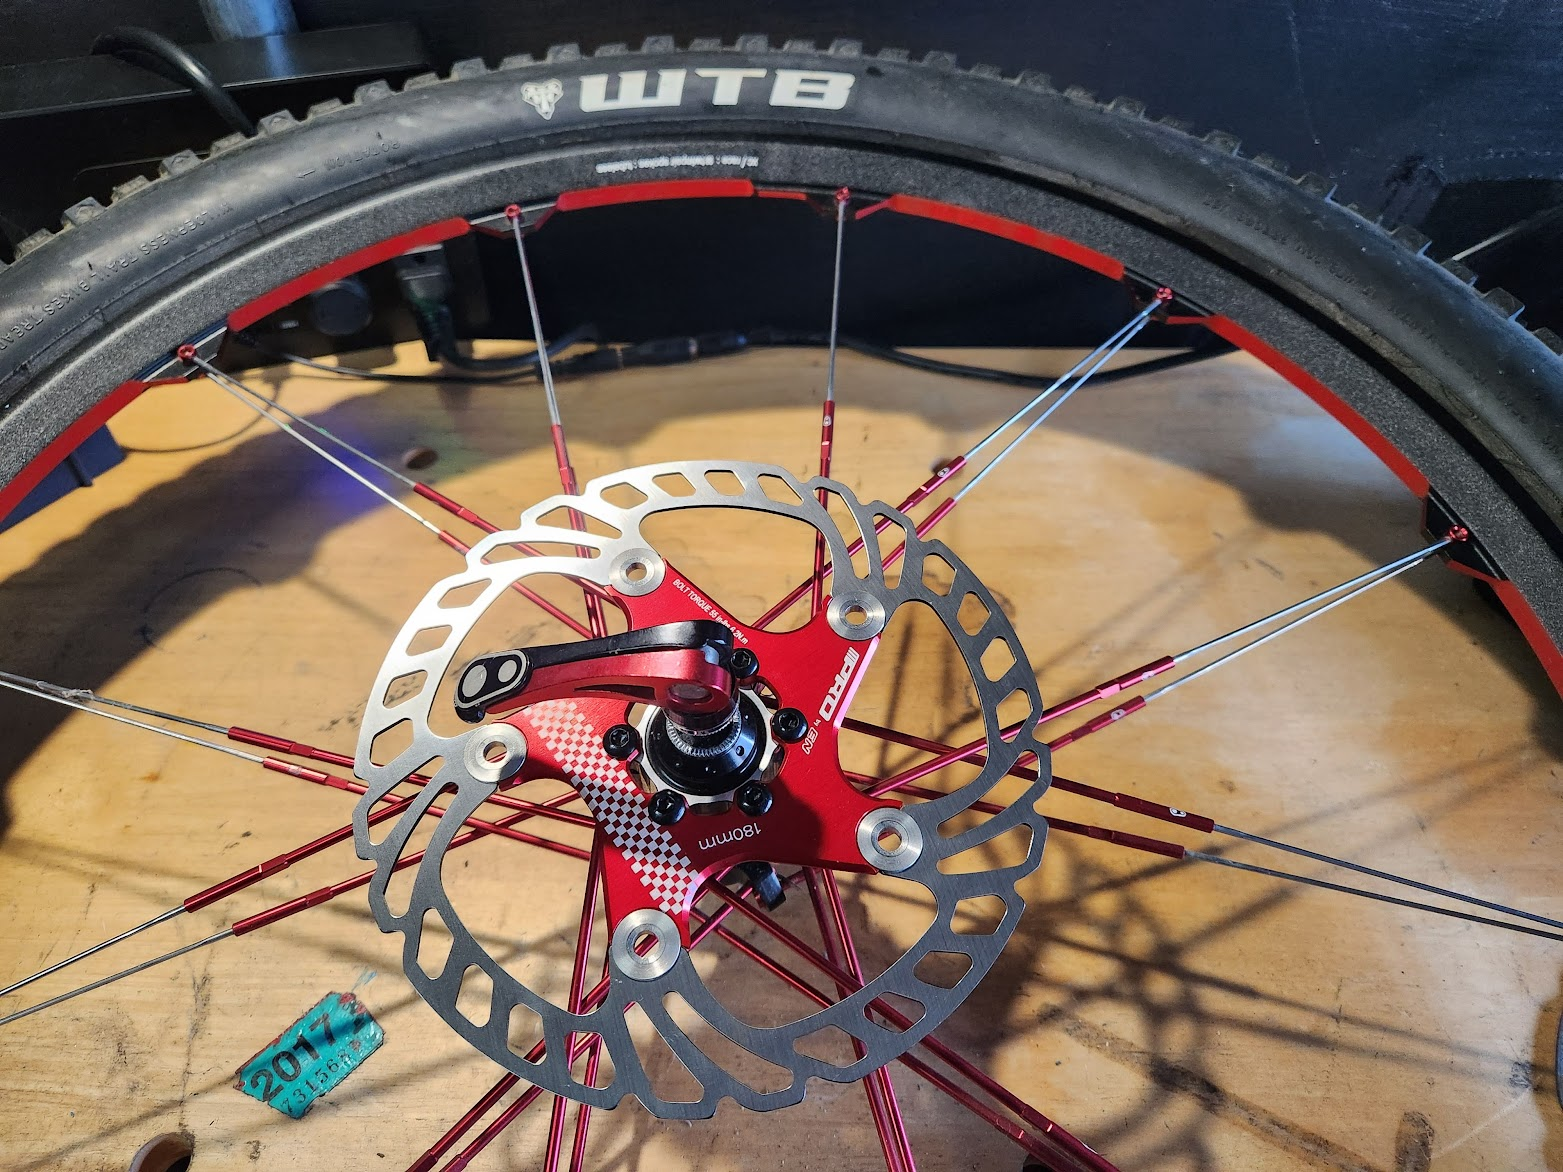
(writeup coming soon) for my all-purpose 2010 MTB homage, built with as much carbon and anodizing as possible on one of the hottest bike brands of the time. Built from the ground up, Specialized, SRAM, Crank Brothers, WTB, etc. Two sets of wheels, XC/All-mountain and Enduro. 1×9 11-50??? Why not 1×12? I really wanted to keep the 2010 SRAM Anniversary Edition drivetrain which fits PERFECTLY in form and most of the function.
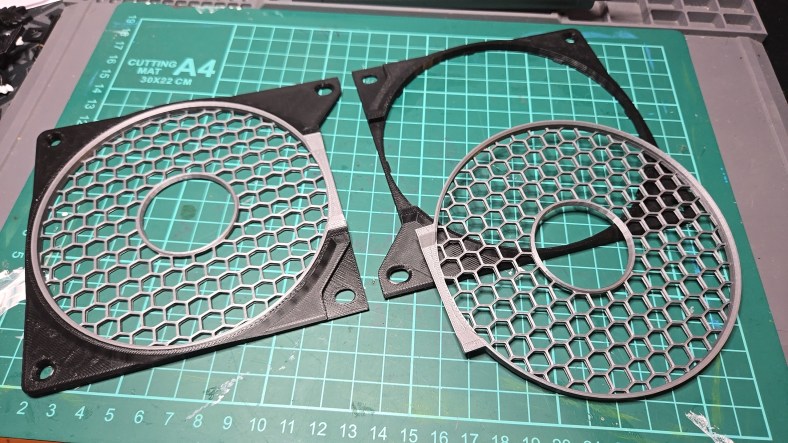
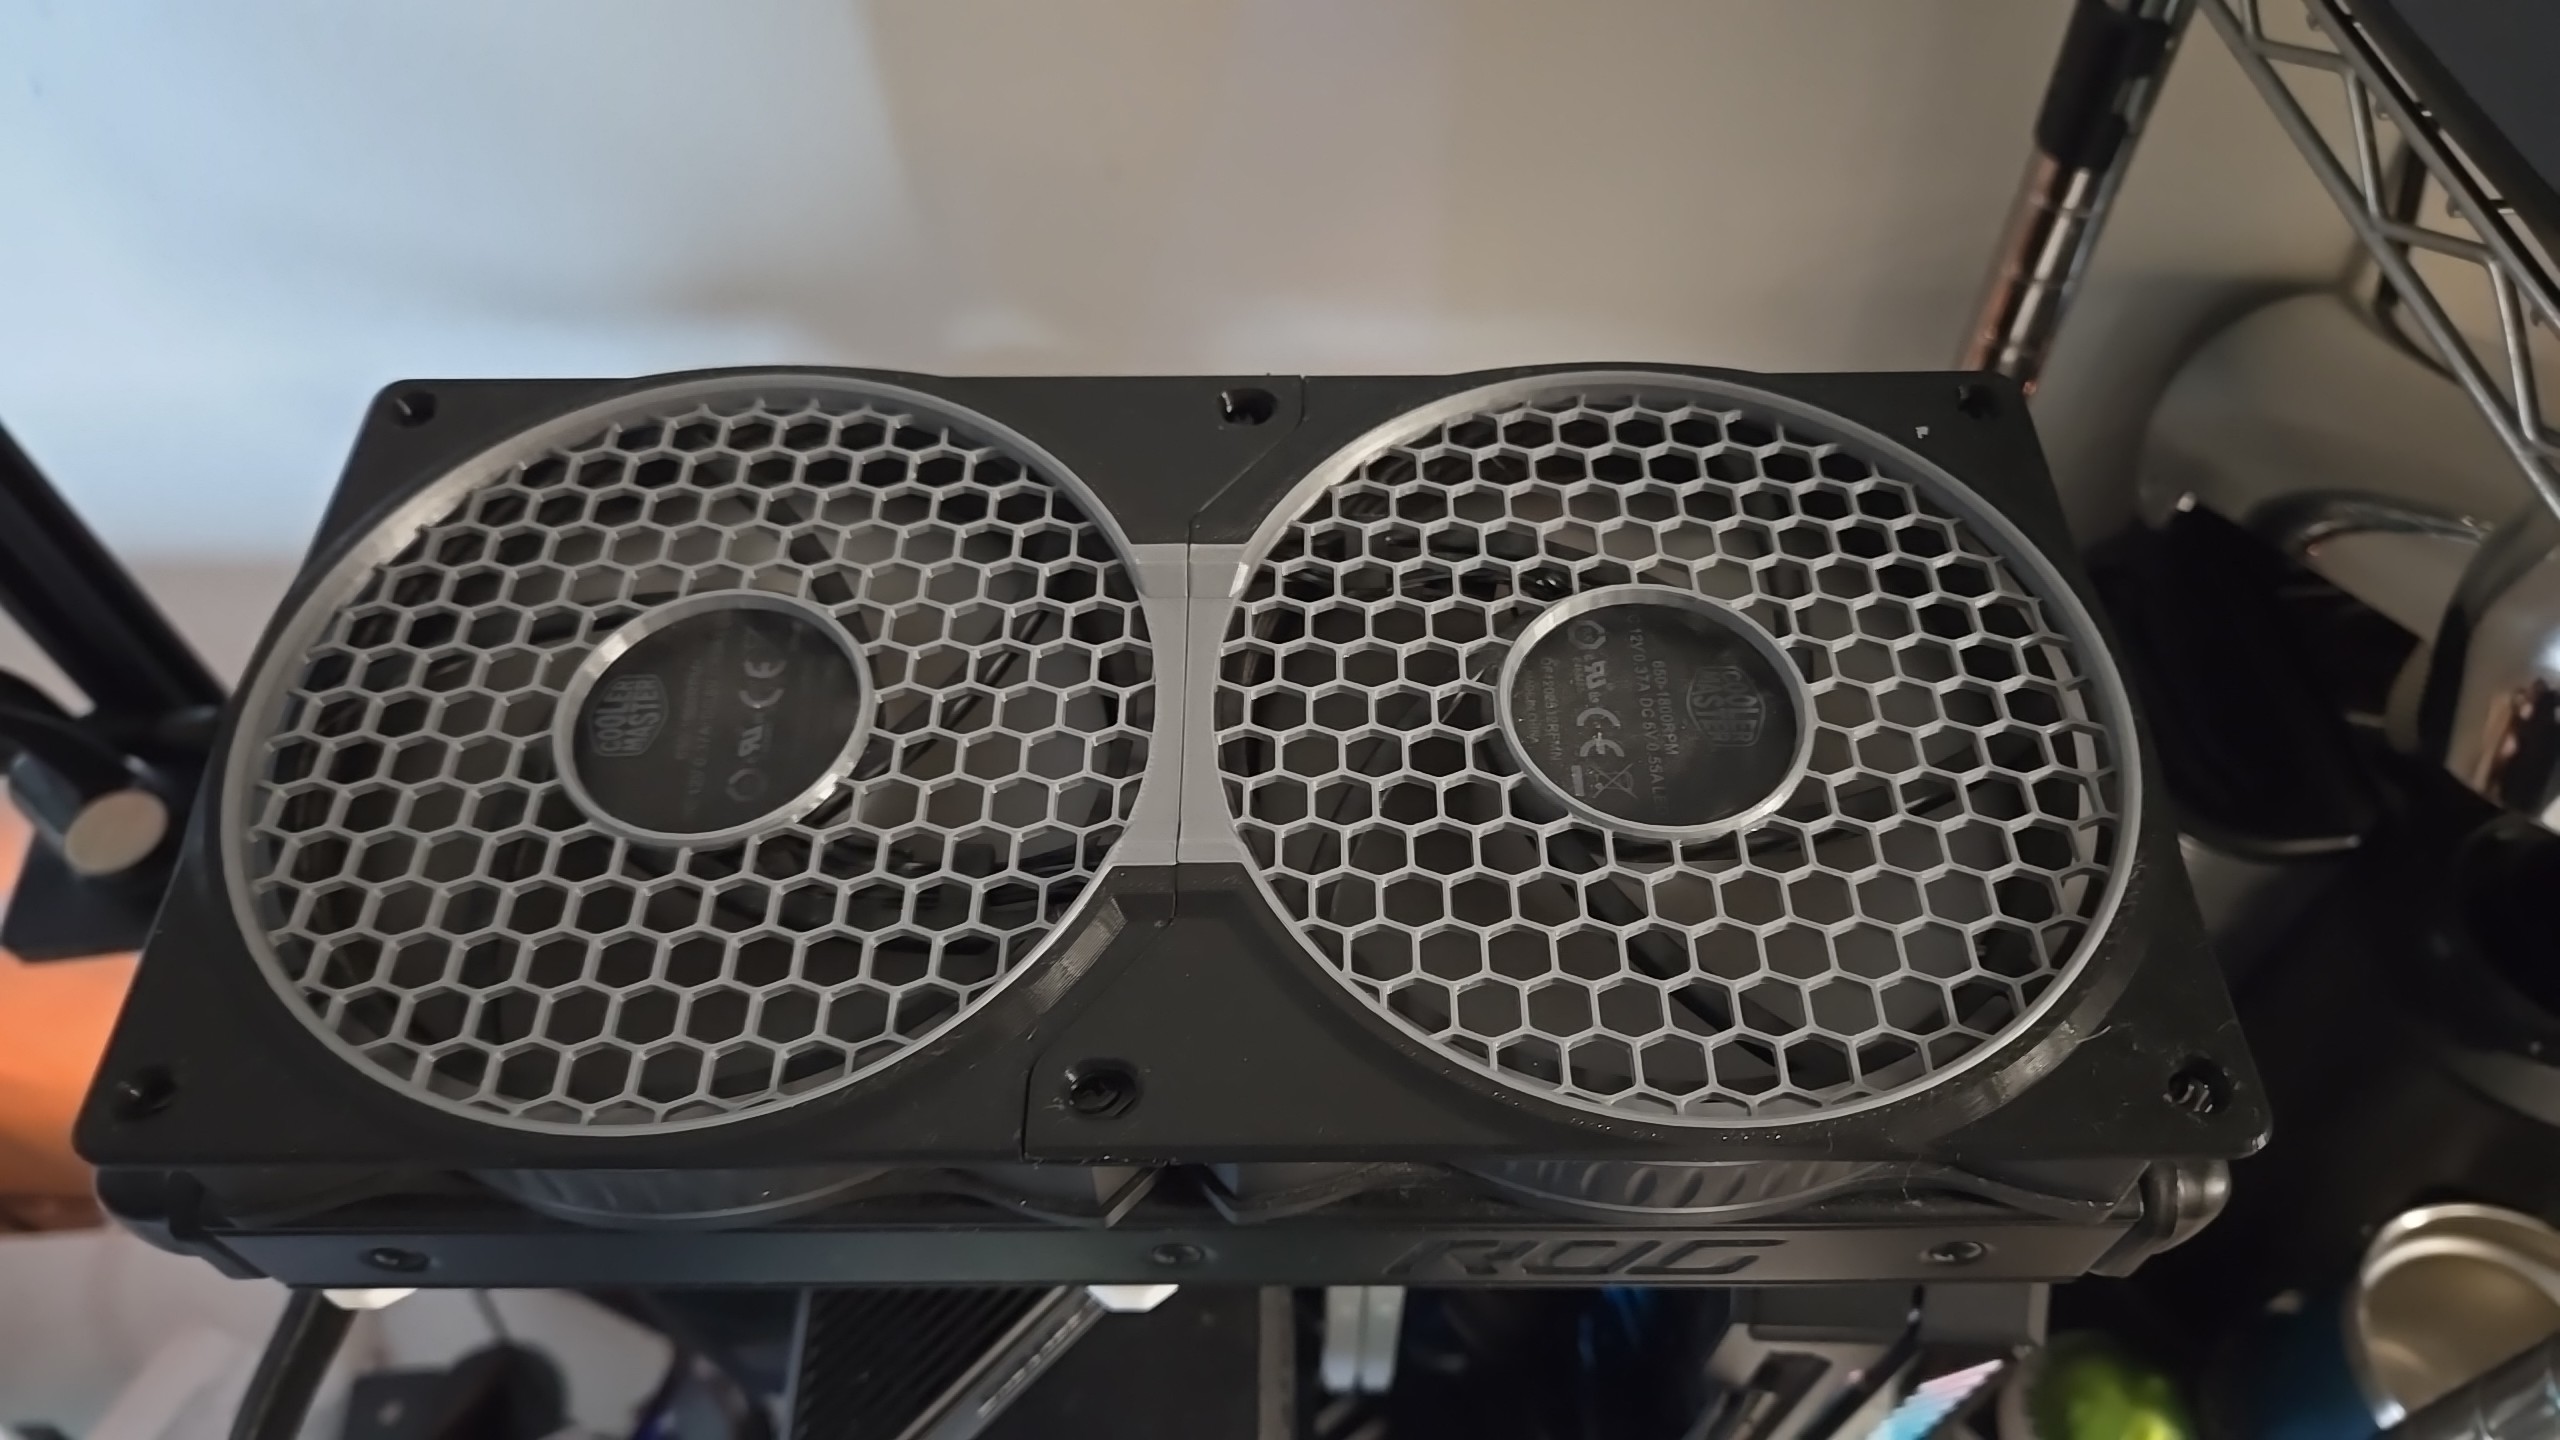
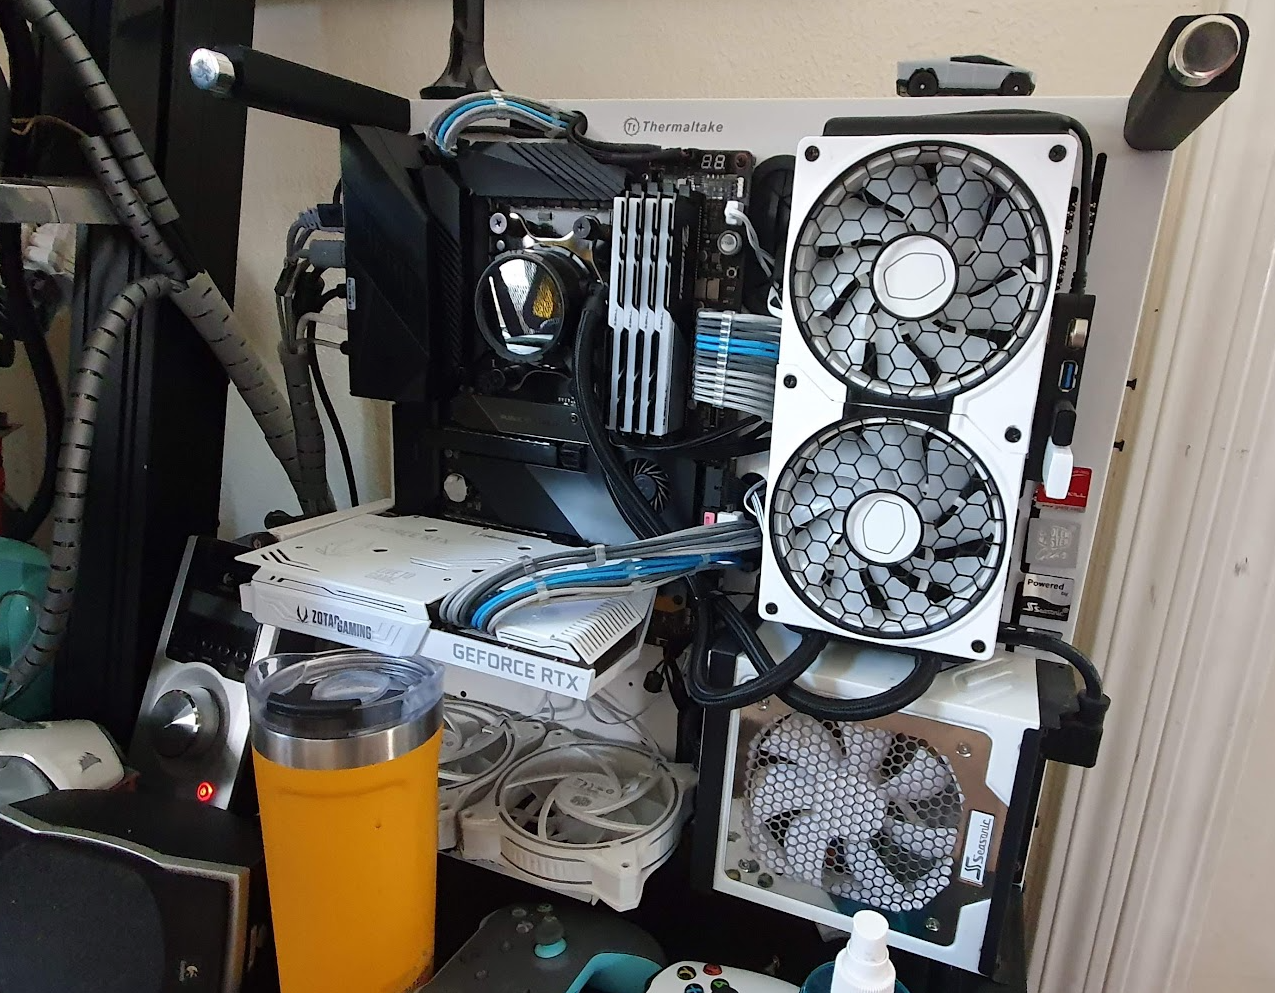
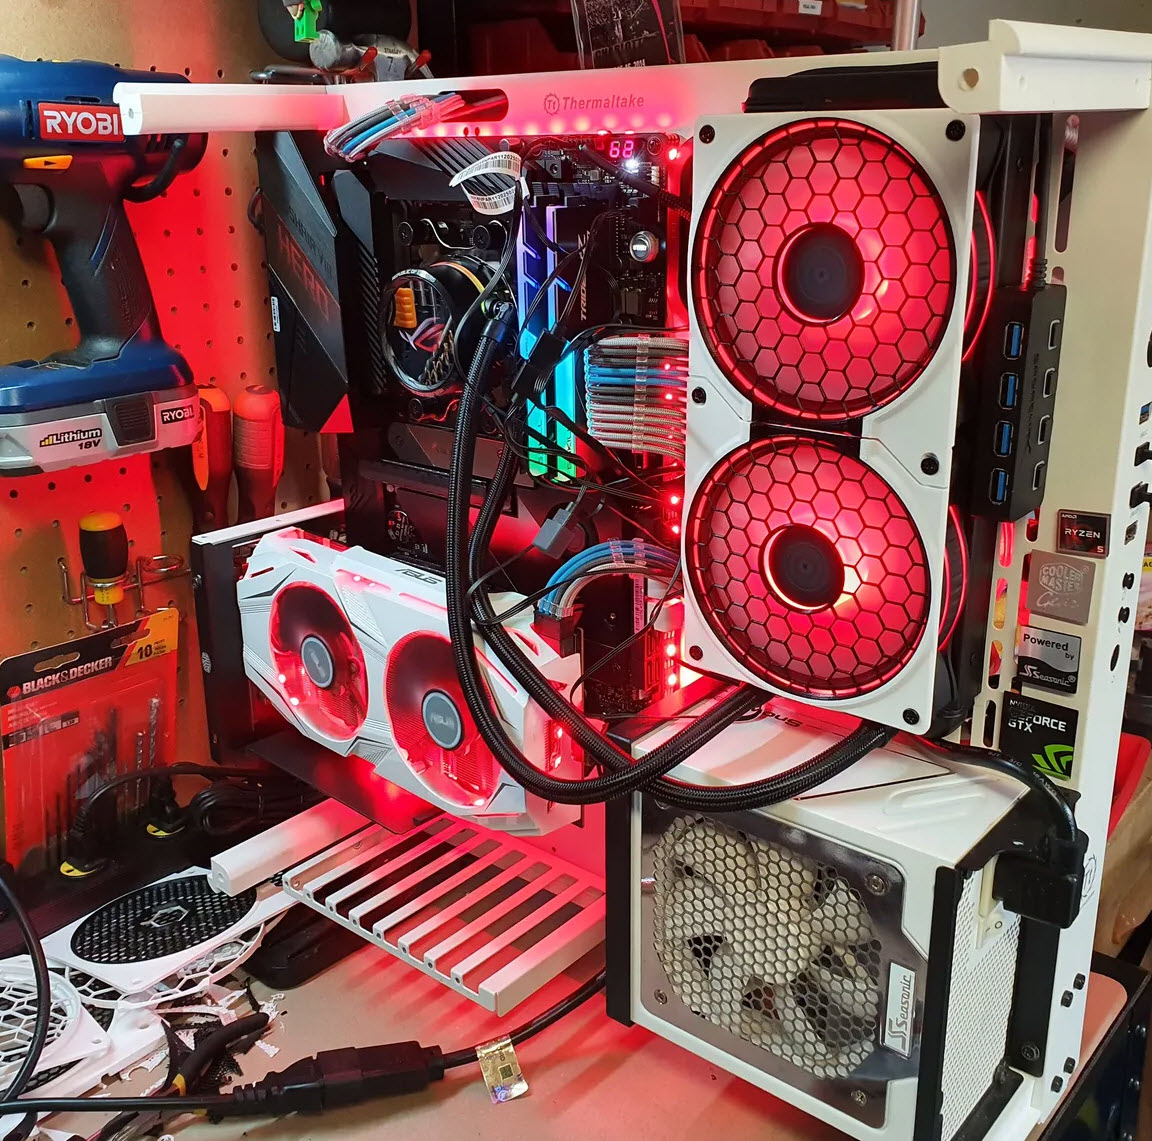
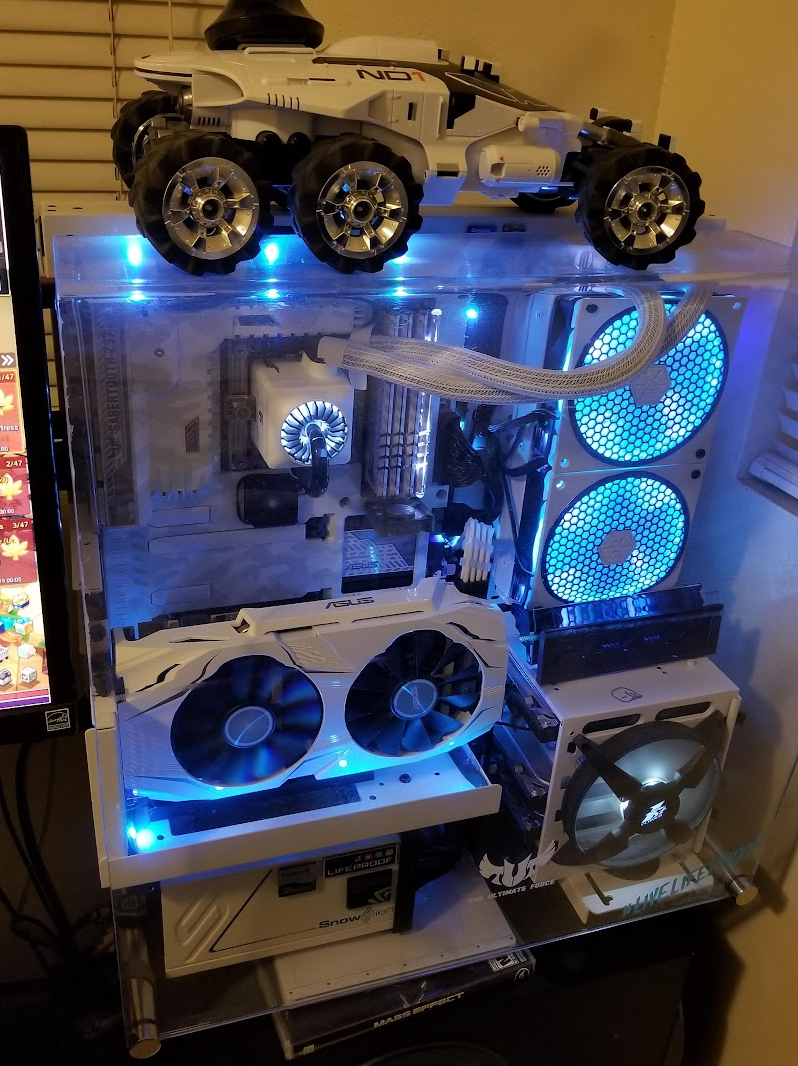
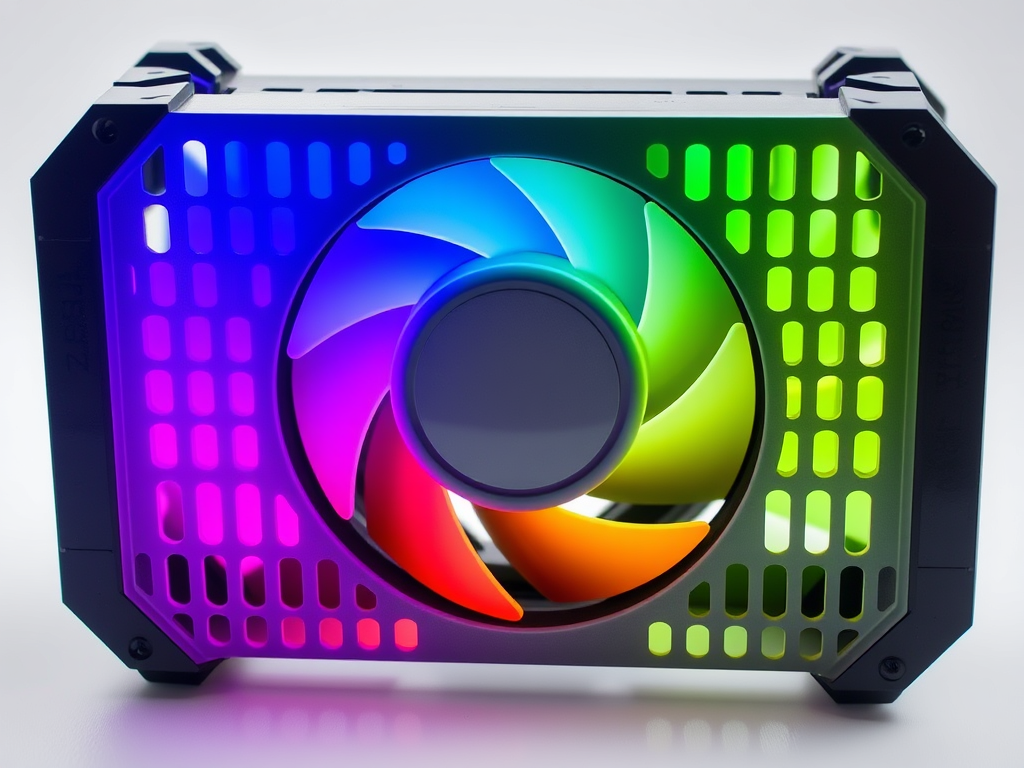
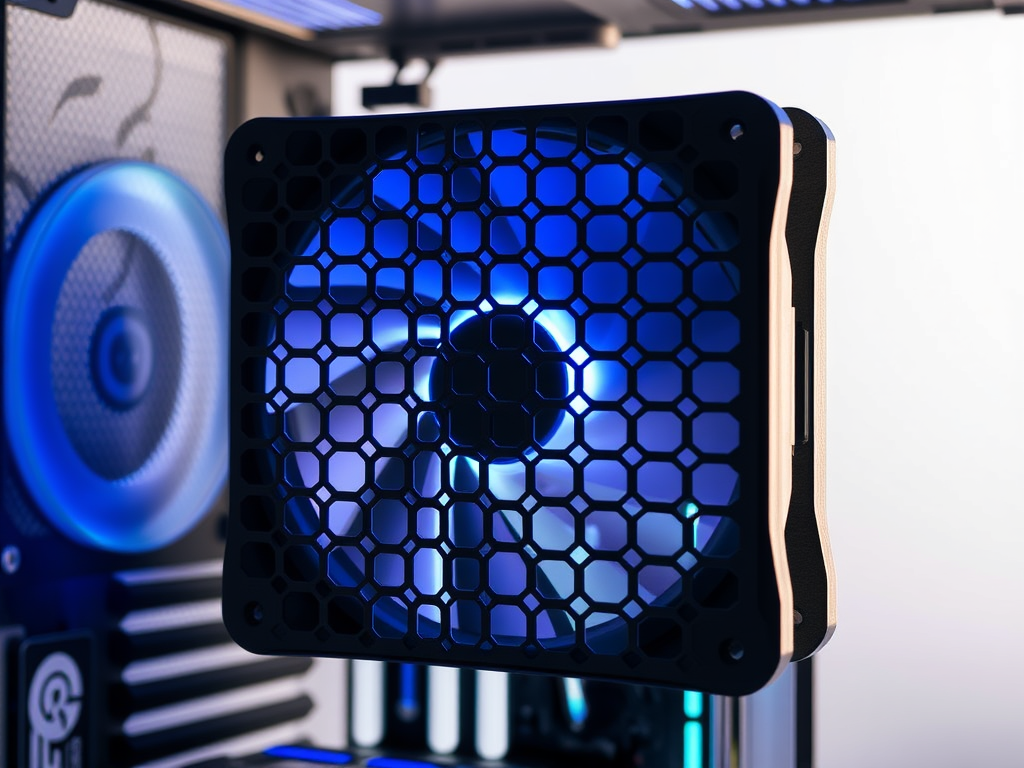
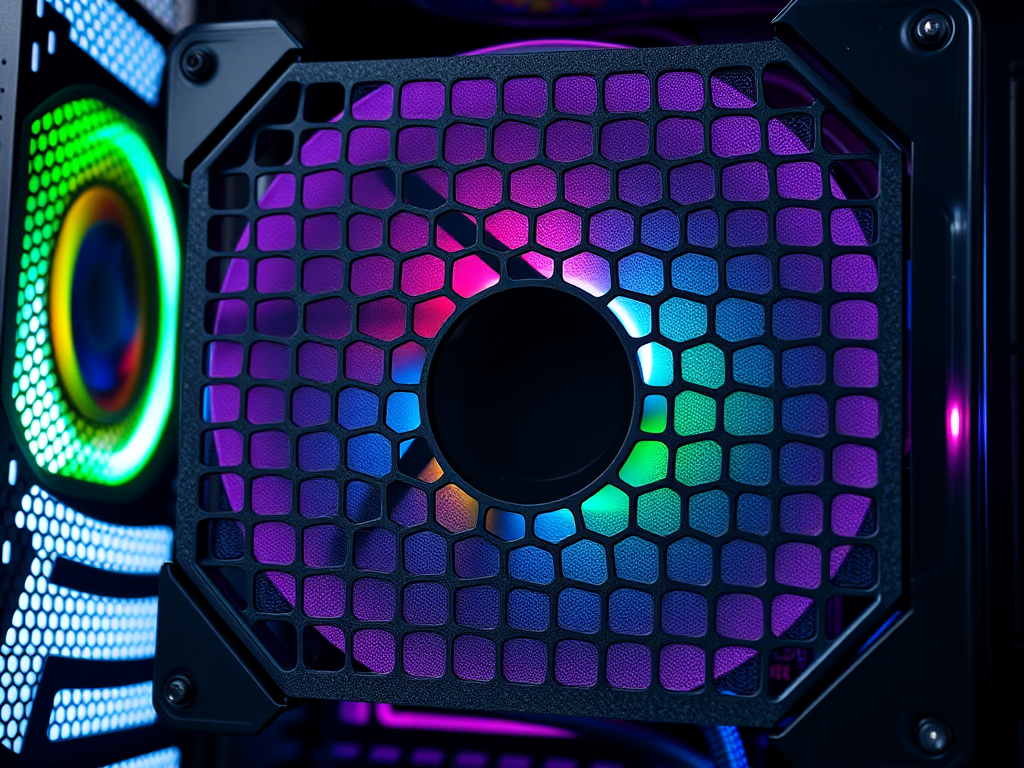
This is a 120mm fan cover, mostly common in computers. Like the million others out there, it protects the fans from foreign objects and your fingers from its blades. This design tho, also allows to swap grille colors and designs without unscrewing it plus when covering two or more fans together (as in computer radiators), it sprawls an overlapping design to make it seem like a seamless unit.
Features:
Modular design Mix n match colors, add modules for multi-fan configurations
Easy grille insert swap No longer need to unscrew the grille and very likely, the fan, to change the design, the grille insert can be pulled out to allow to snap-in a new one
Less screws for 2+ fan There is no need to do all four screws for each fan in a multiple configuration, end fans use three and middle ones use two, diagonally opposite
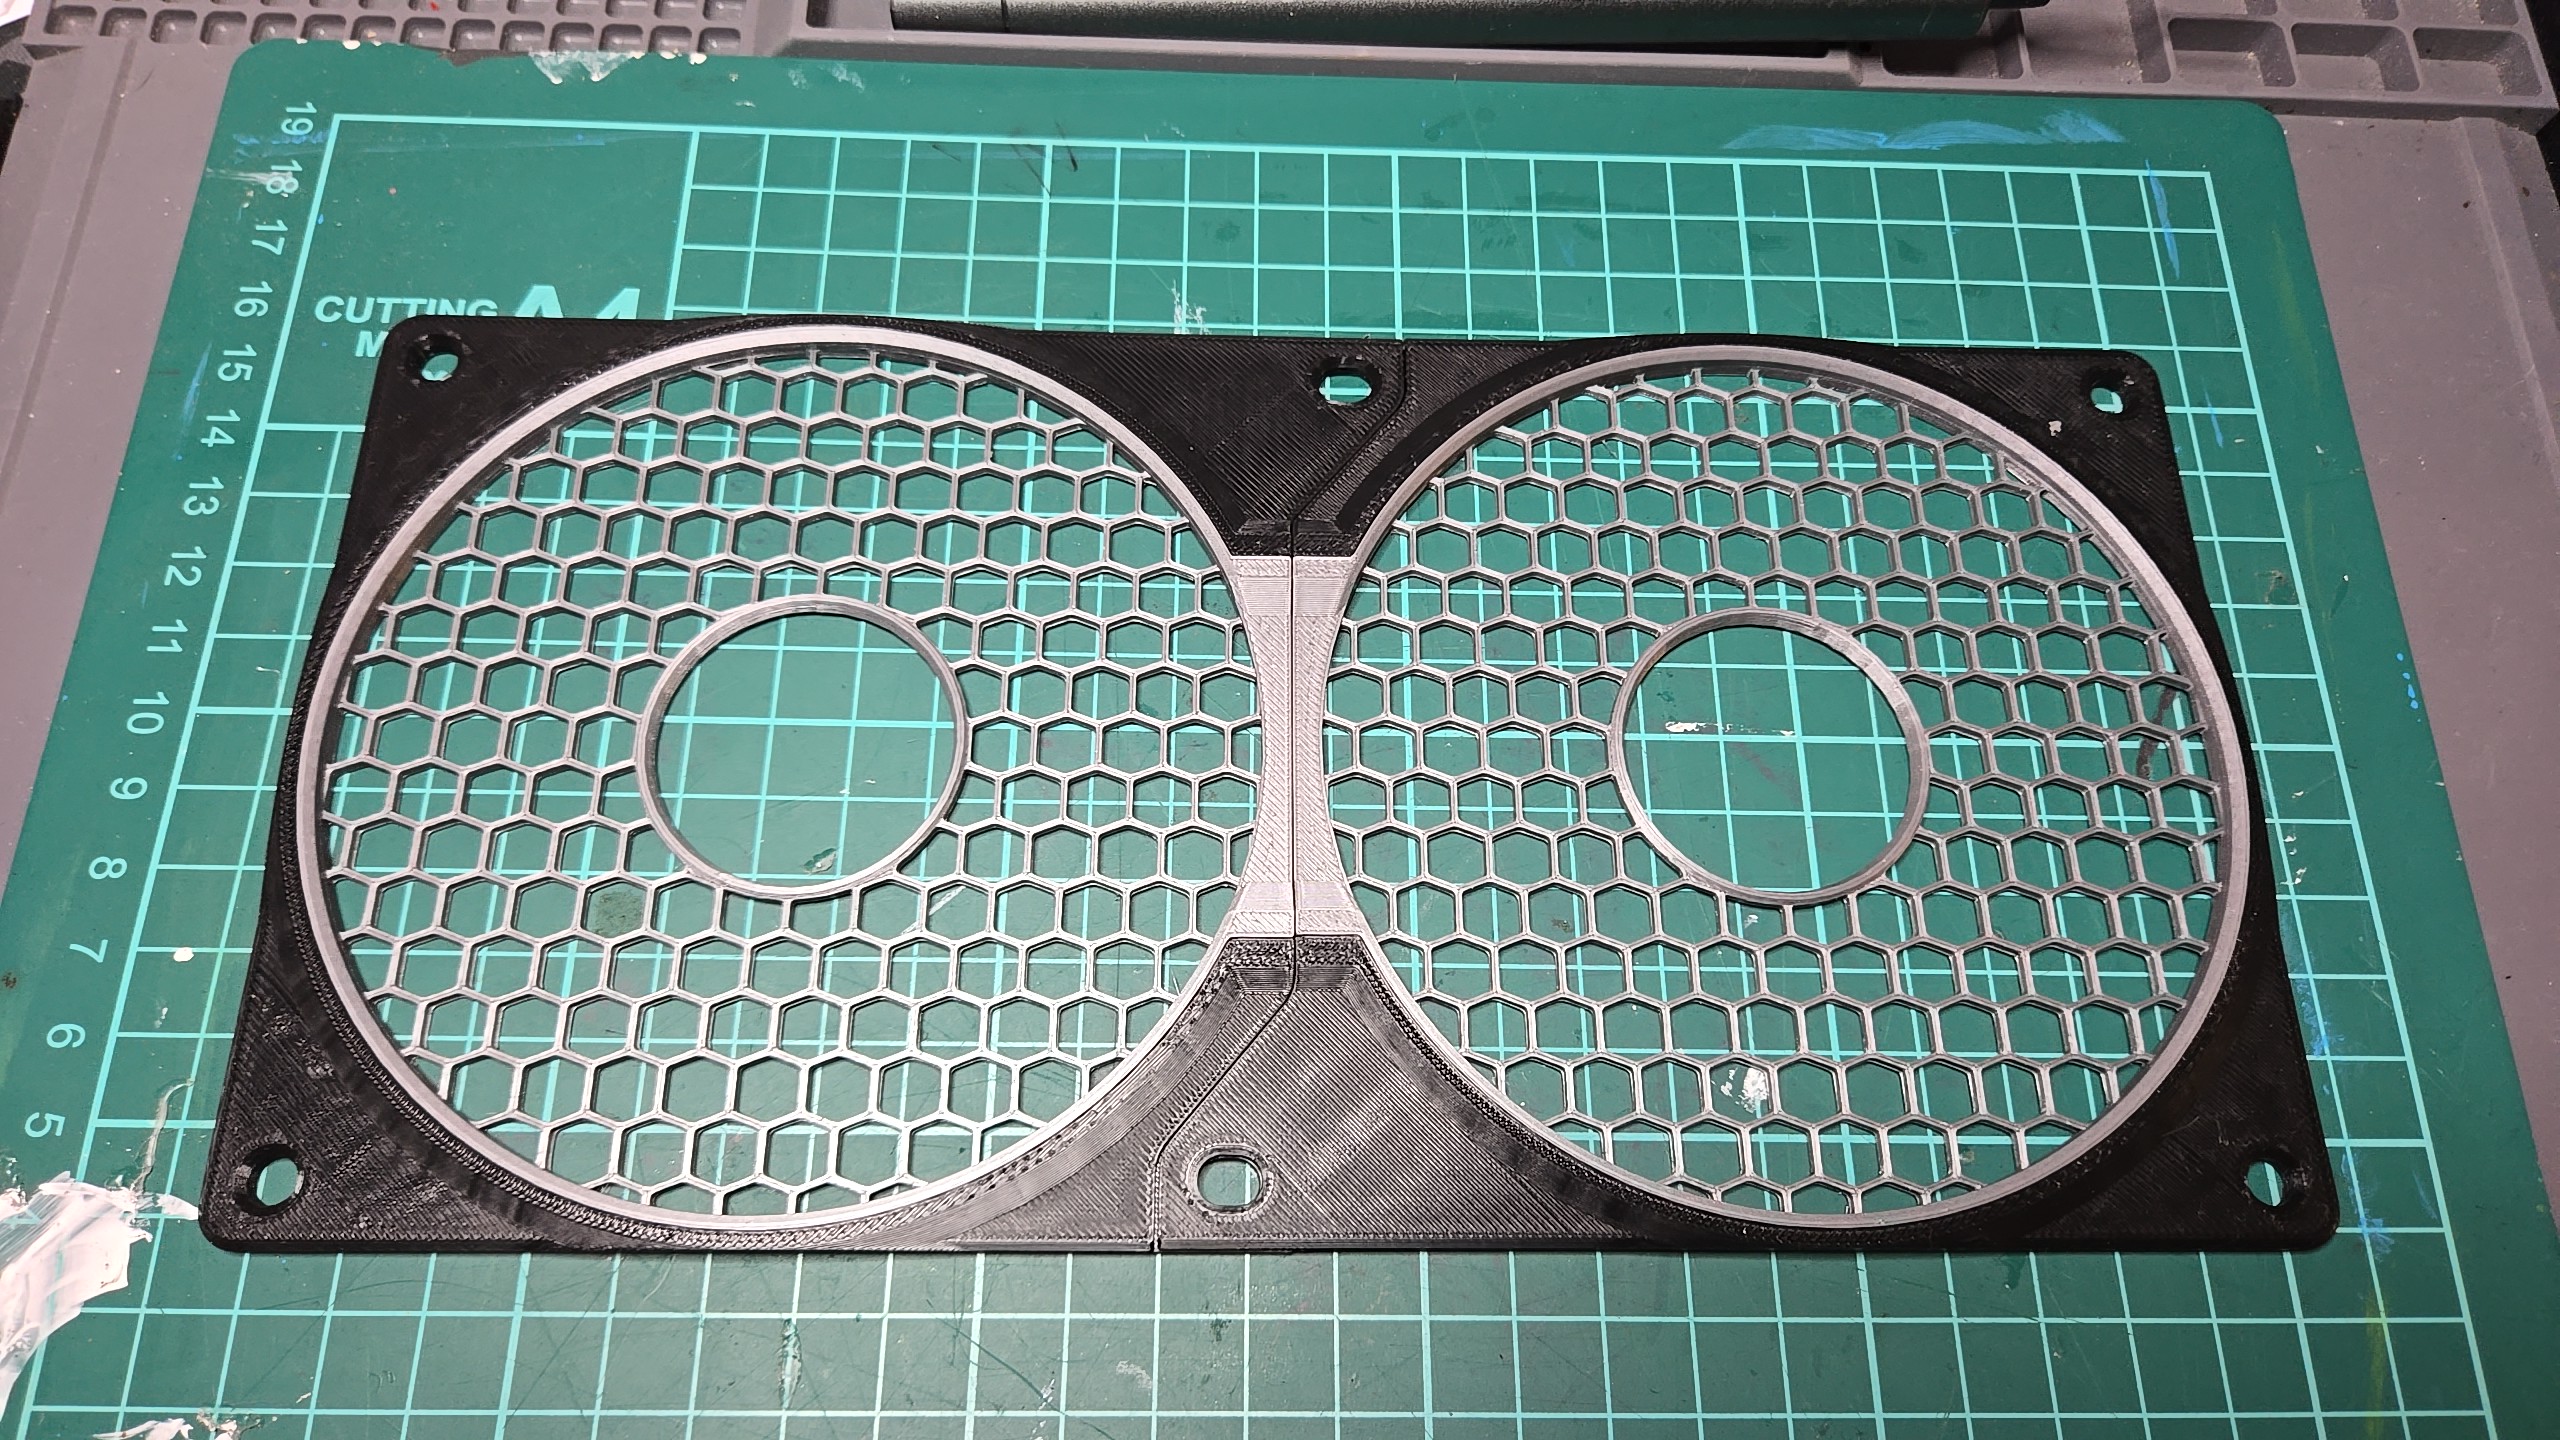
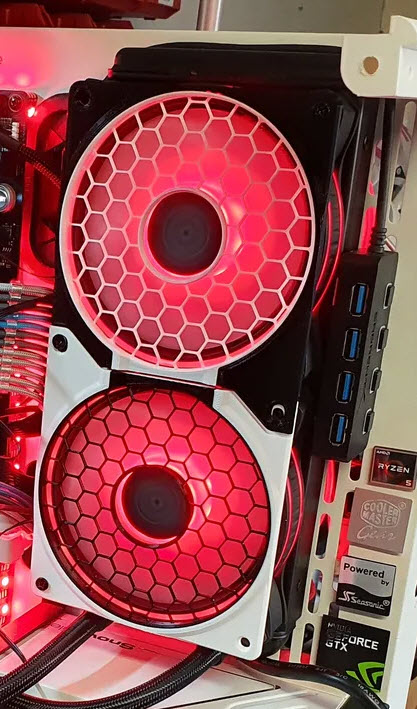
Seamless design for 2+ fans It appears to be one large single frame instead of individual ones (you can still use multiple single frames if you’d like that instead)
Large center opening Shows your fan’s sticker/logo if you’re into that kind of stuff
Will it make a taco? No, it won’t make a taco but if scaled up and printed in metal, you’d have an interesting grill for your steak and do some mean carne asada tacos
Design
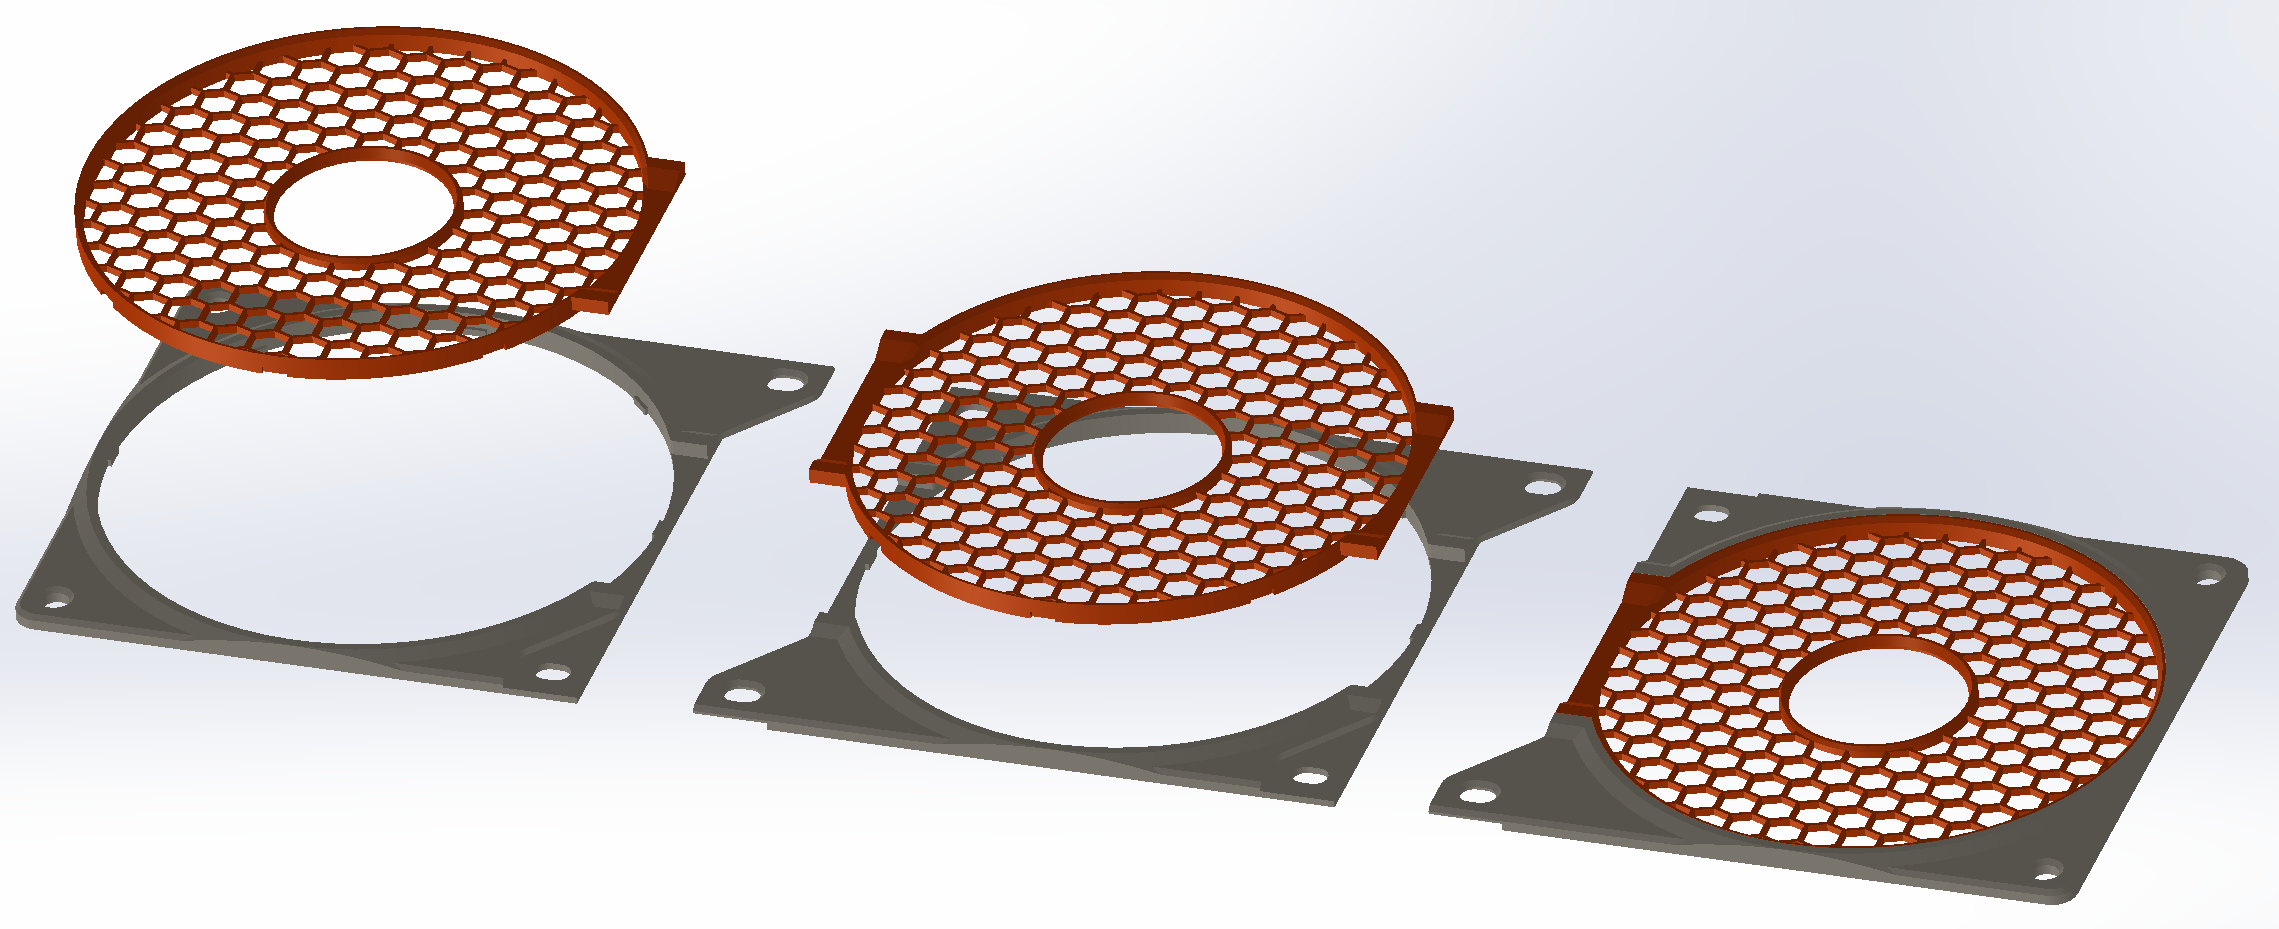
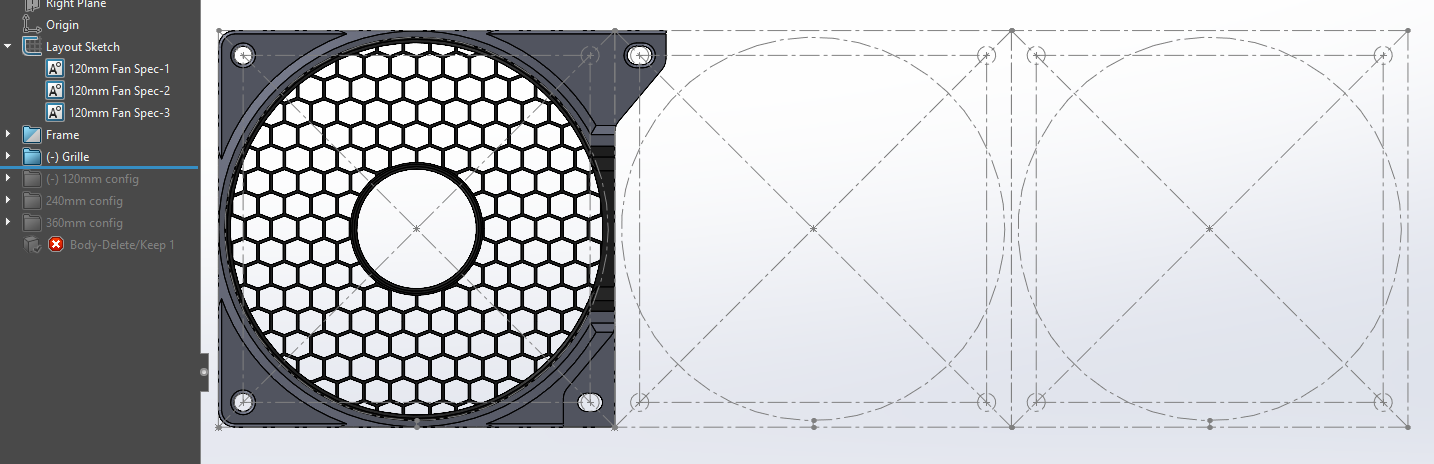
This was modeled and designed in SolidWorks for Makers, fully parametric design, used configurations to switch between the single, double and triple.
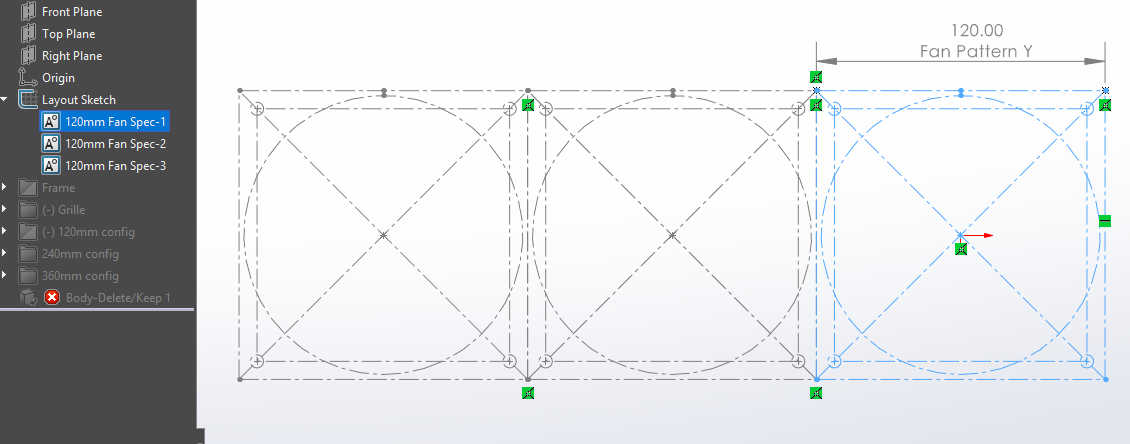
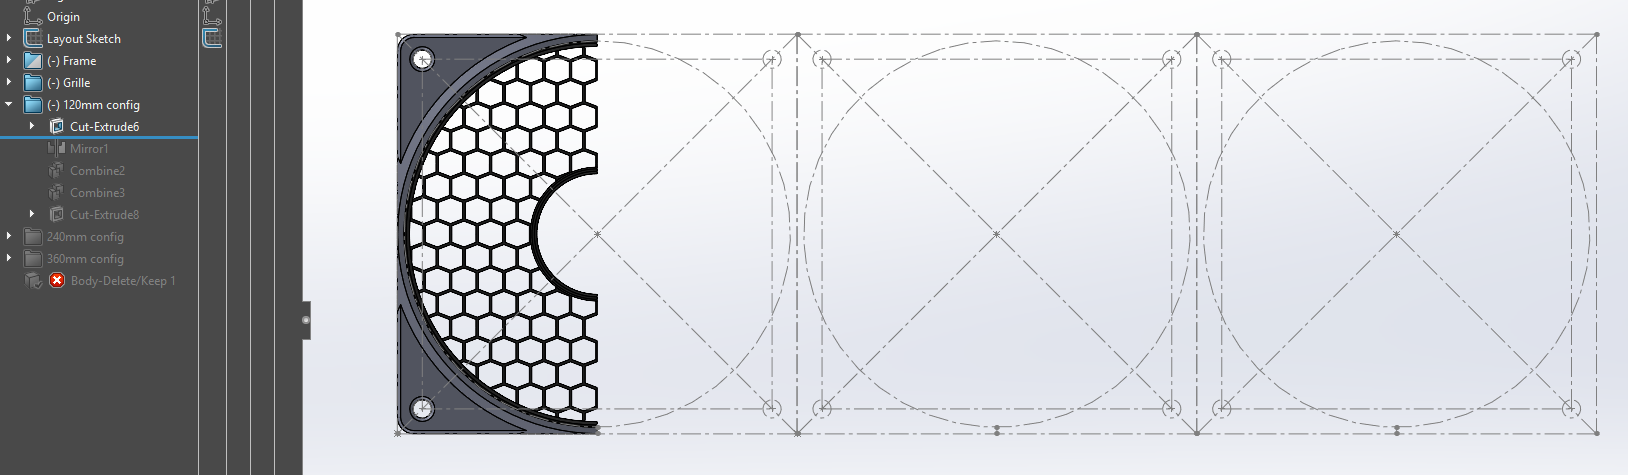
Started with a sketch block to define and reference the fan’s main geometry like full size, main opening size, and fastener locations. Then created a sketch placing three of these blocks for the largest configuration to have a “map” for the end configuration.Then began modeling for the double configuration, this one contains all of the design features used by the others, like the main fastener geometry, main opening geometry, the “bridge” that connects from one grille to the other, the overlapping tabs from one frame to the other, added clearance for the overlapping fastener opening, etc. Having the other configurations in mind, I modeled all features so they would mirror perfectly including the l21hex pattern.Then created the single configuration by mirroring the top half.Then for the middle instance which will be used for three or more fans, I cut and mirrored the bottom half.
Design for intent, by knowing the future configurations I made sure to spend the time on the configuration that had all of the features so the others could be derived from it with minimal or no redesign.
I’m really proud of this product, the grille snaps-in to the frame and this mounts straight over the computer fan and/or radiator. If one ever wants to change the grille design and/or color, it’s just a matter of pulling it out and place another one in without any other disassembly which can be very tricky specially inside computer cases.
I made my models free to download on Printables and MakerWorld in hopes that my efforts would go further than just fulfilling my needs.
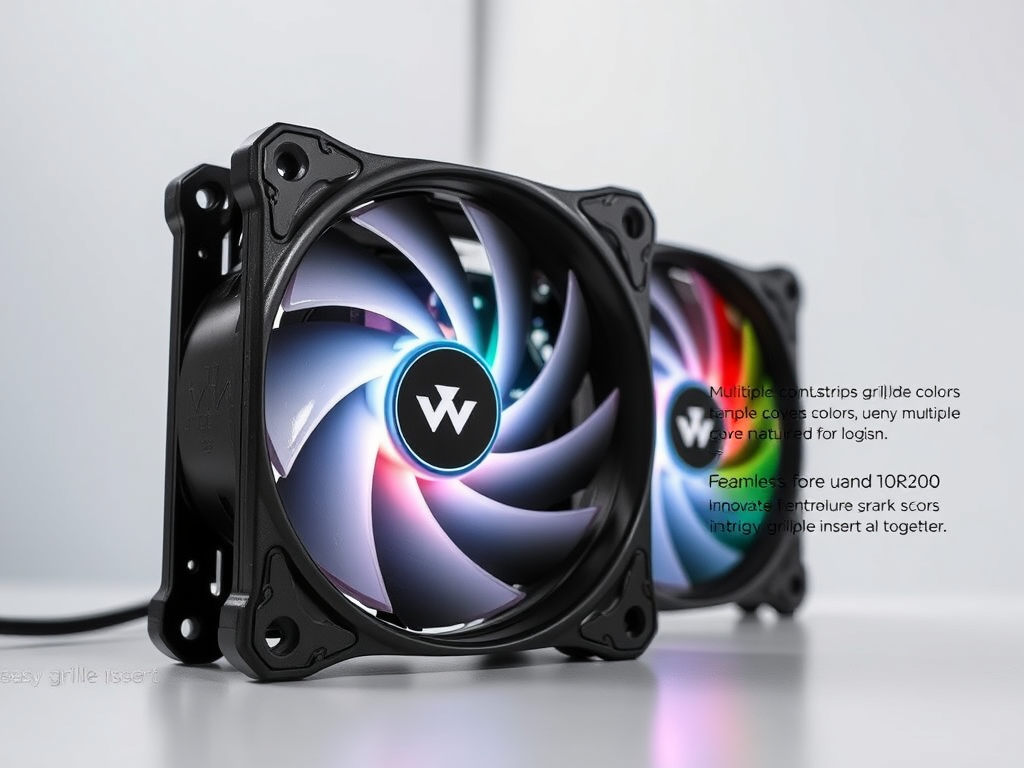
Bonus: AI generated images for “swappable fan grille cover customizable”
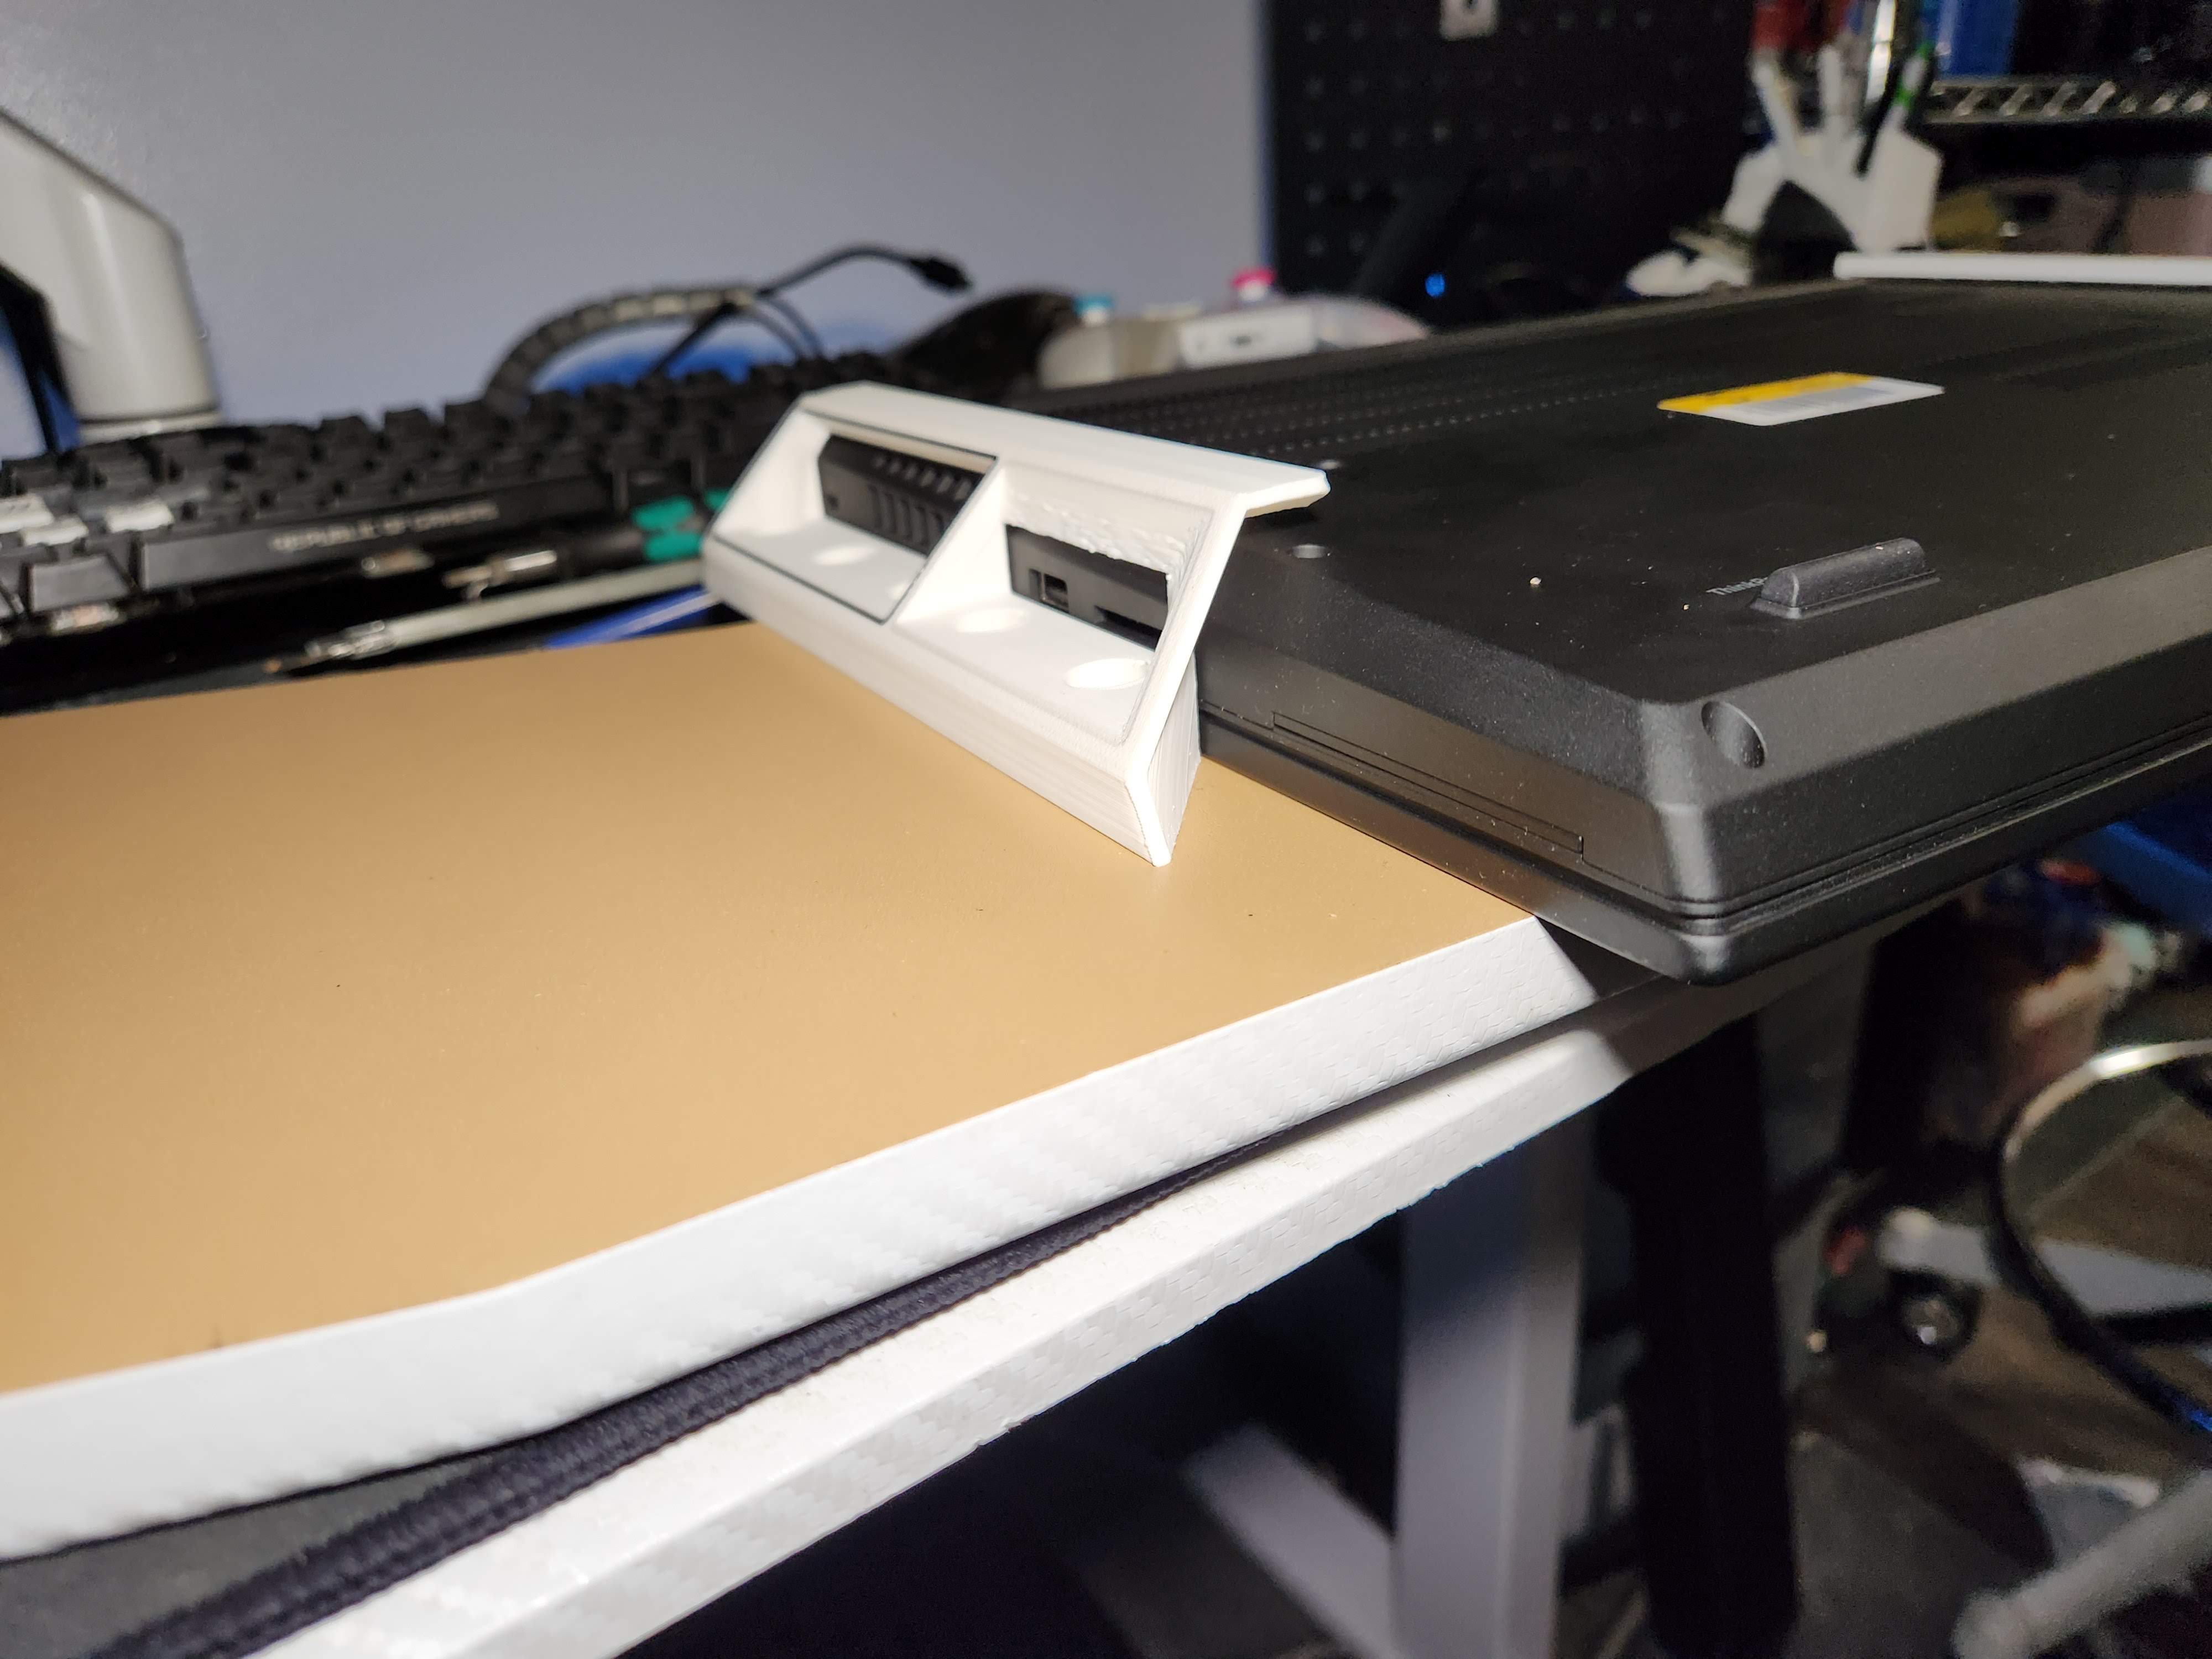
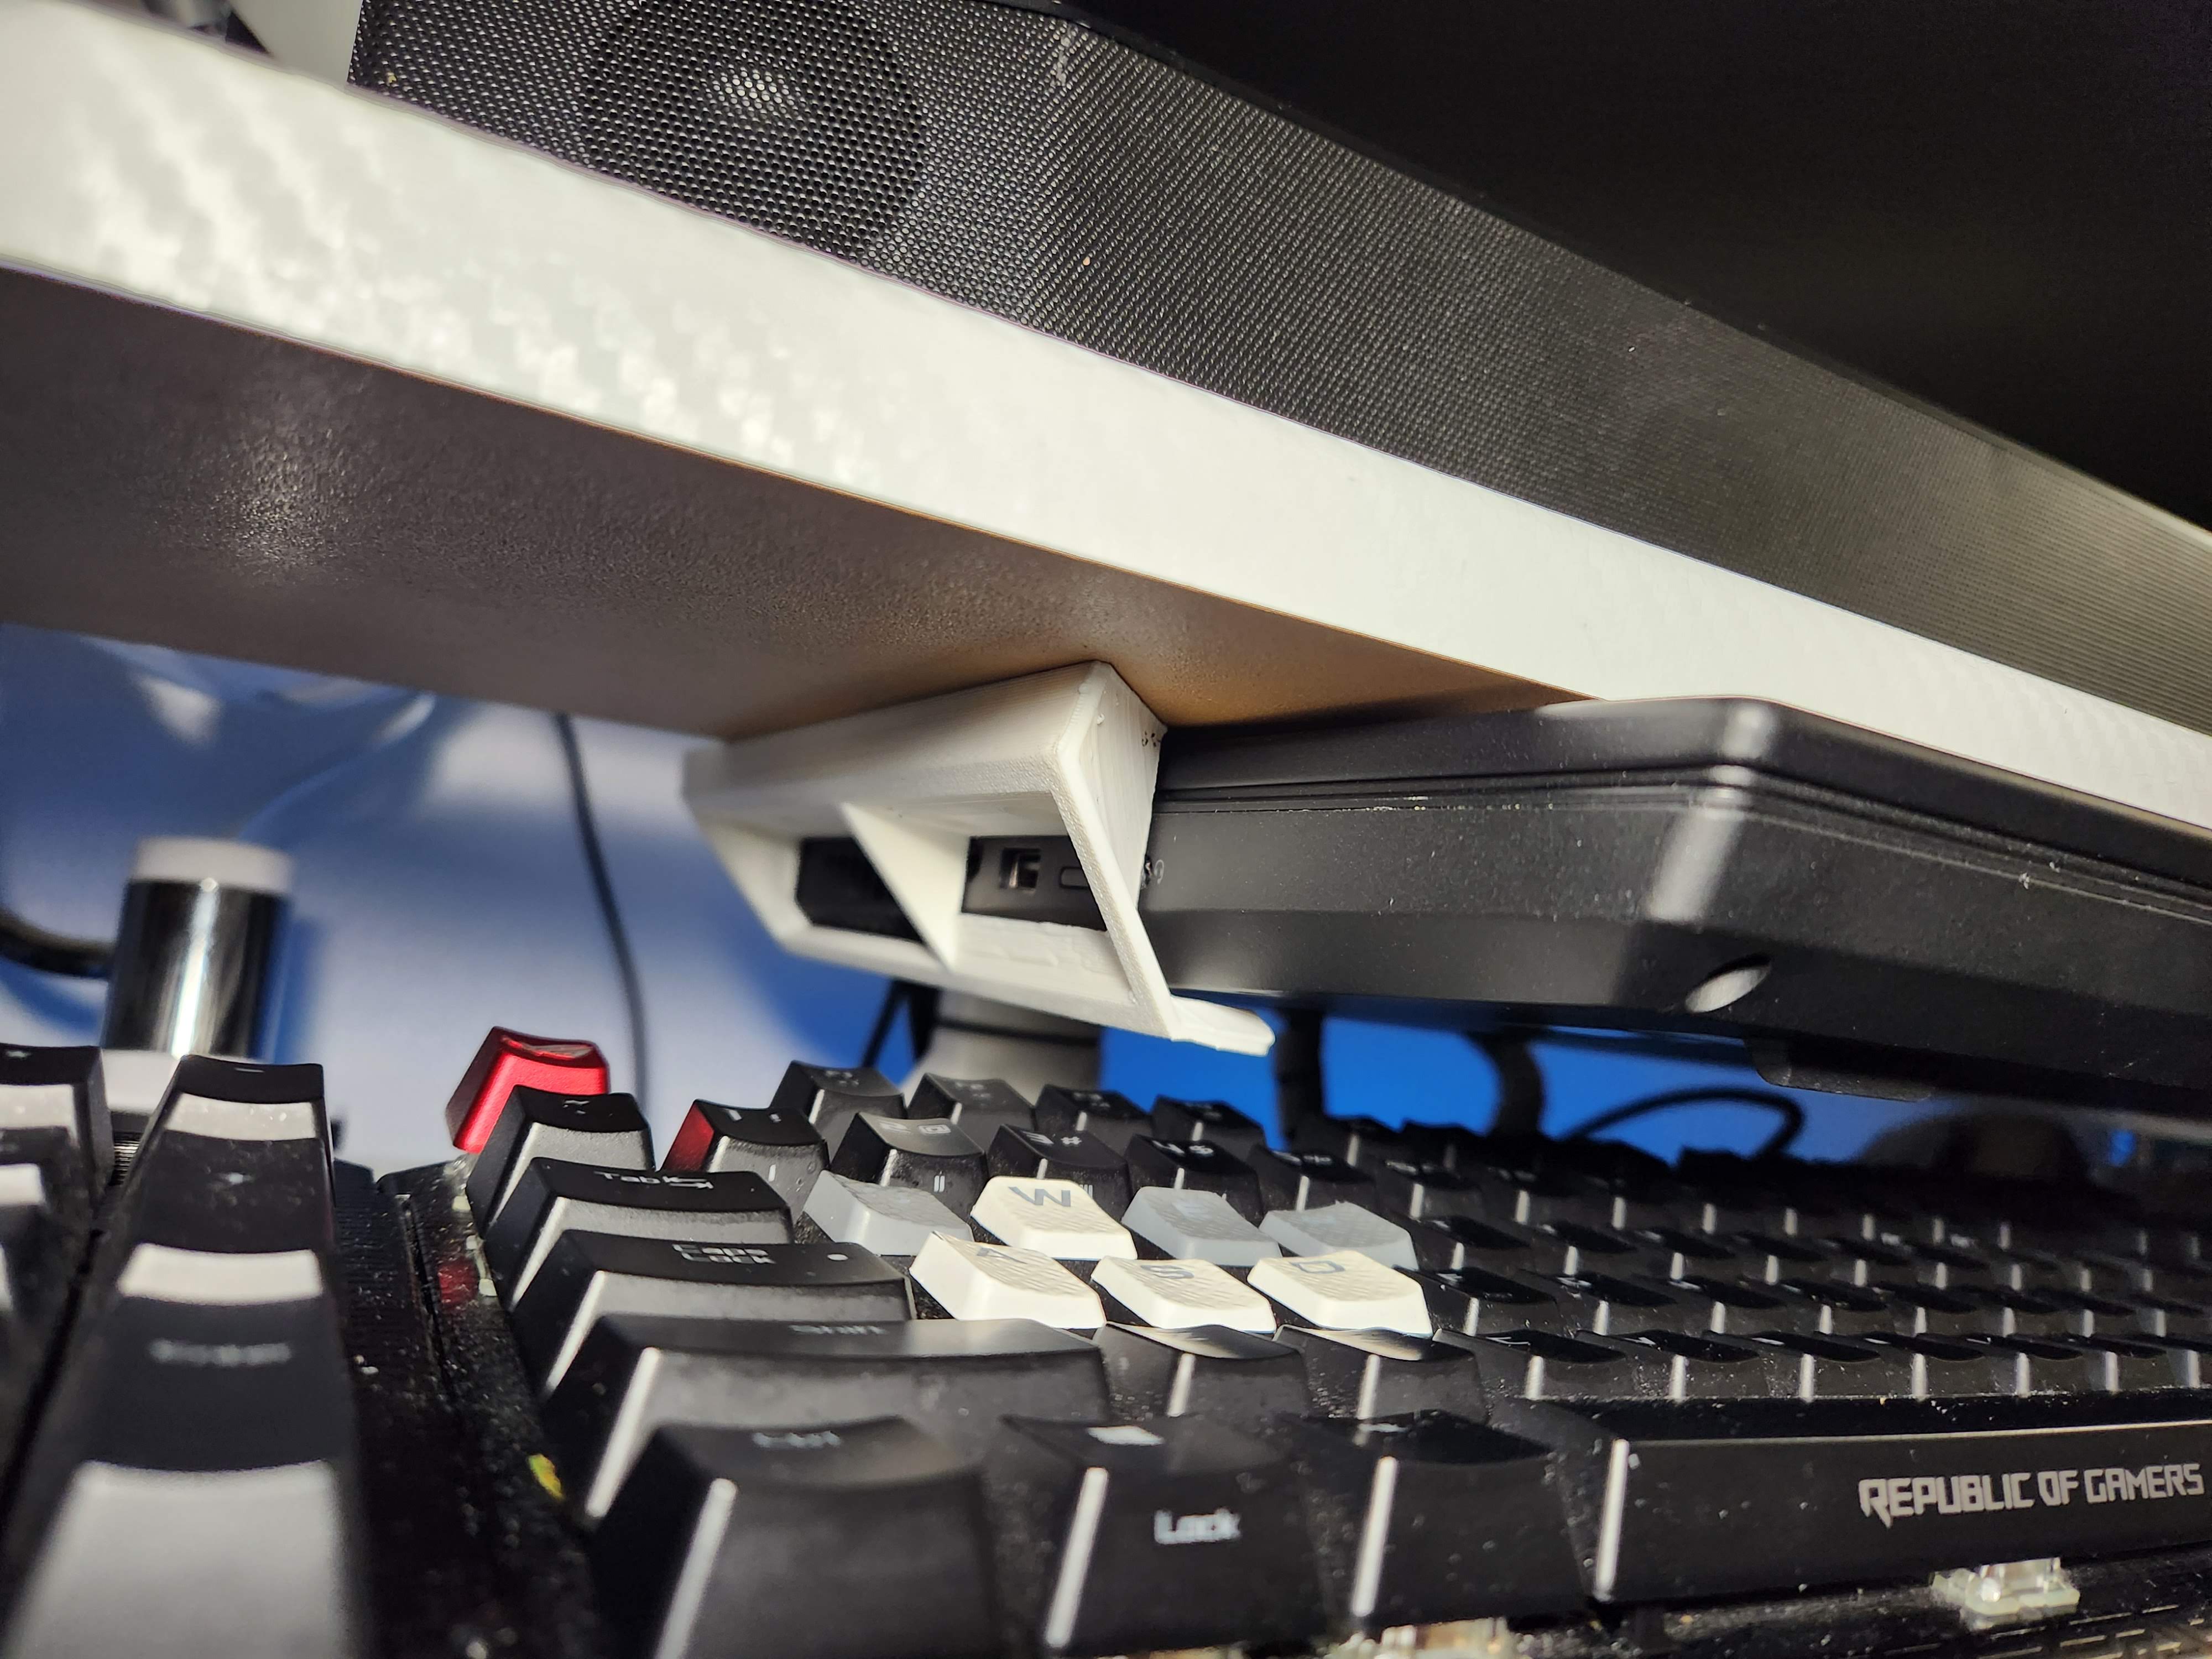
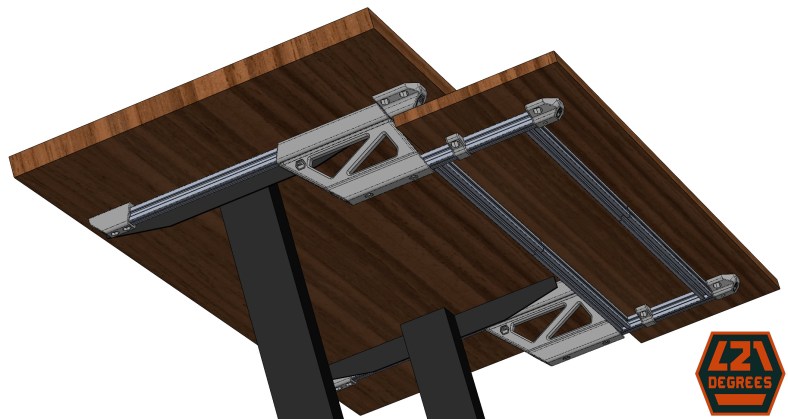
This project is the result of my need to free desk space and lower the keyboard height as the desk is too tall for me. I spent over an hour looking for sliding keyboard trays and none met my needs/wants.
Features:
Big enough to hold daily used peripherals and more
Slides under desk to reduce footprint and add some dust protection
Solid. Very solid. Even when extended, the natural binding of the peripheral and hand weight “locks” the shelf in any position
Uses common or easily available materials, this aluminum extrusion is very stiff and practical
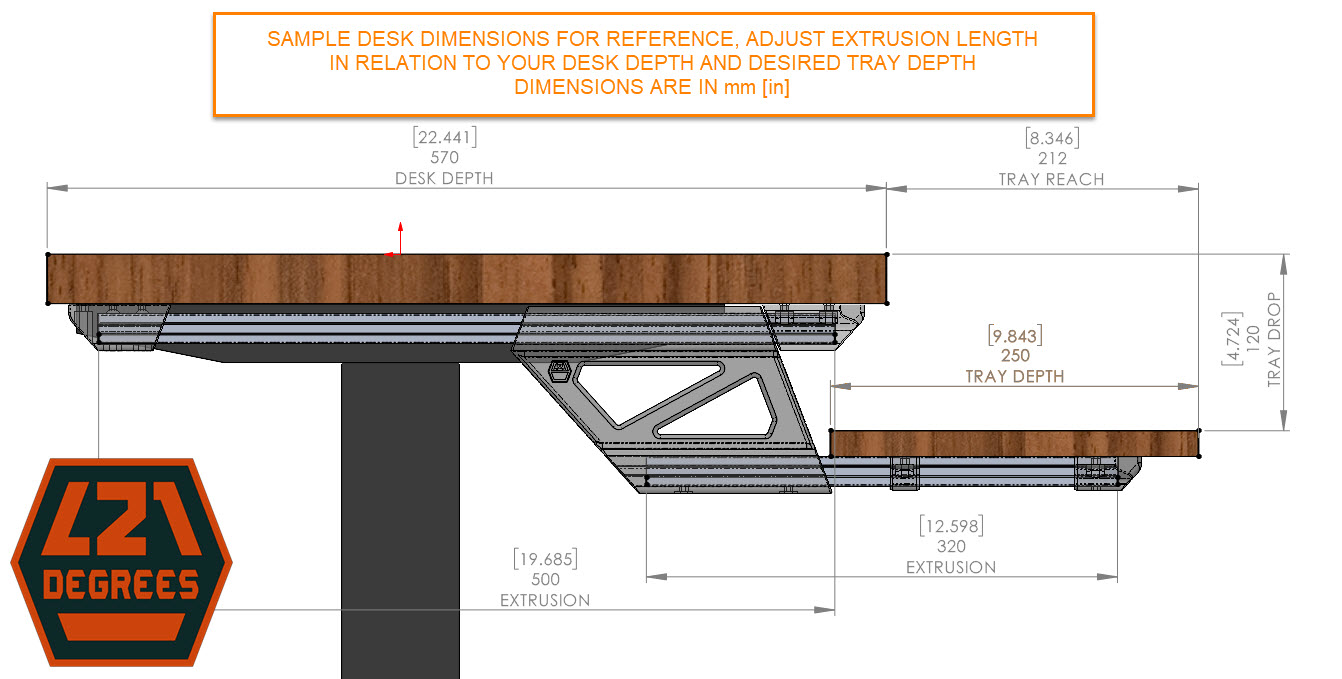
Can be adapted to any desk and shelf size without changing the 3D prints
Design considerations:
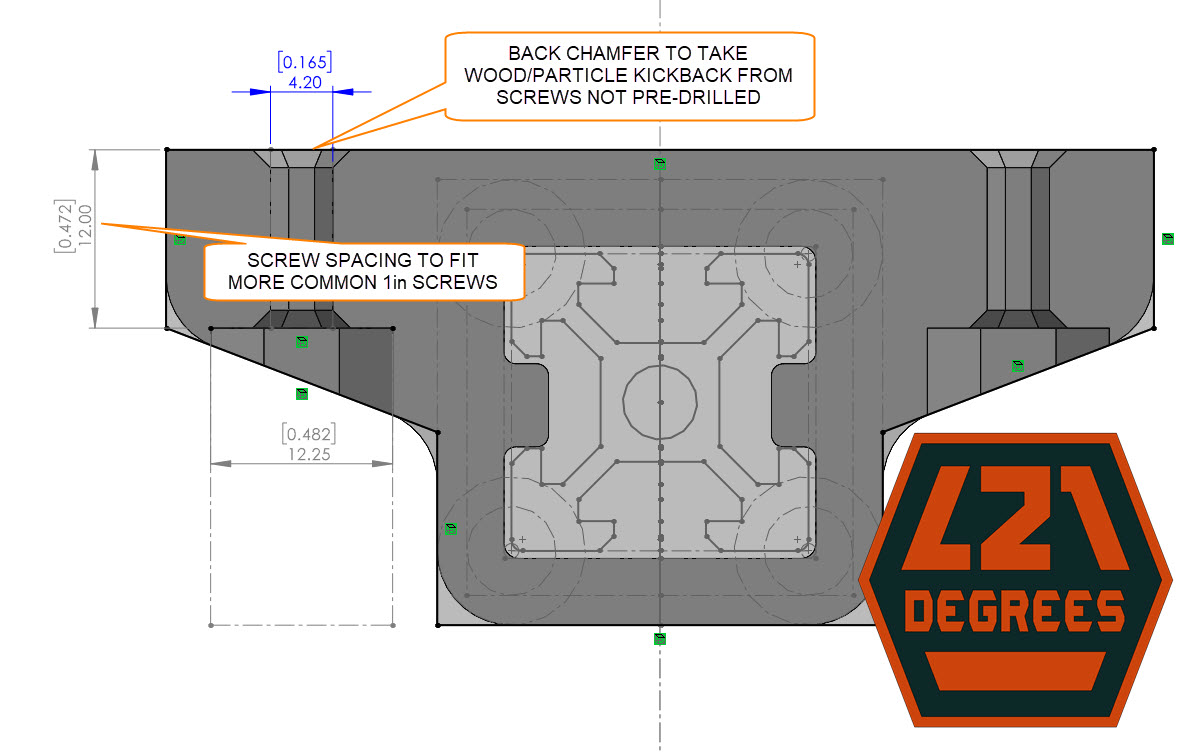
The front desk mount piece uses four screws since it will hold most of the weight. It can also replace the back one if wanted
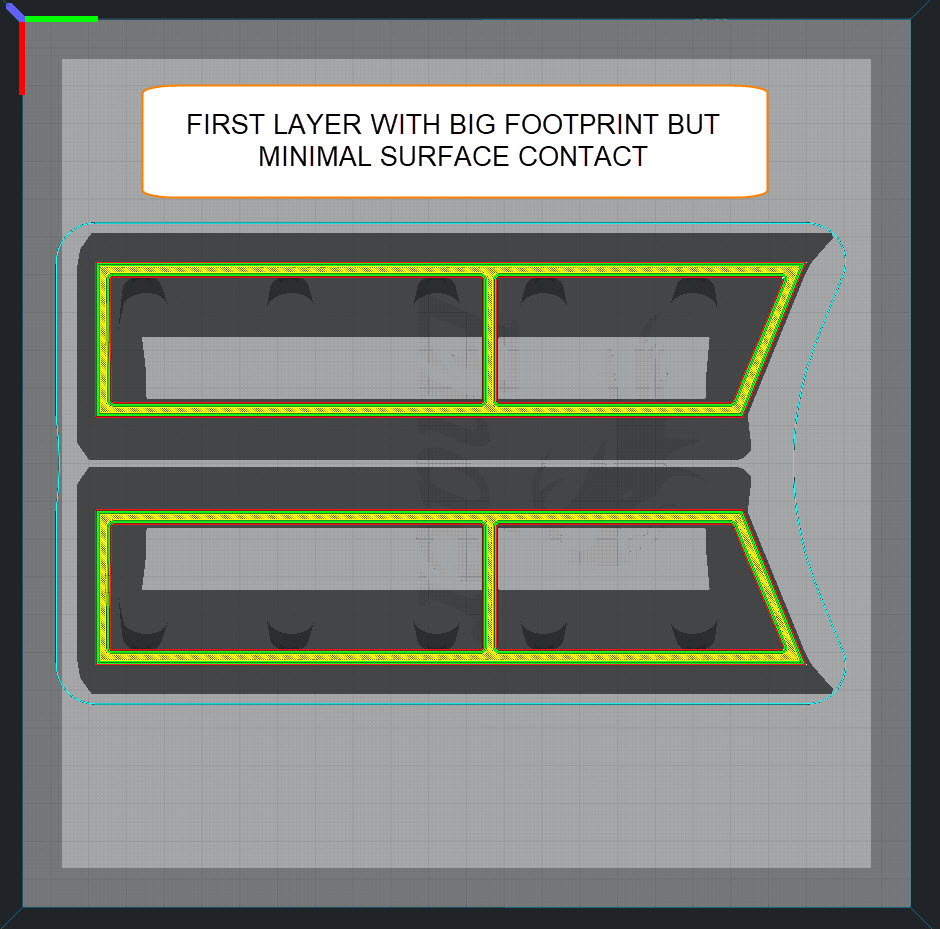
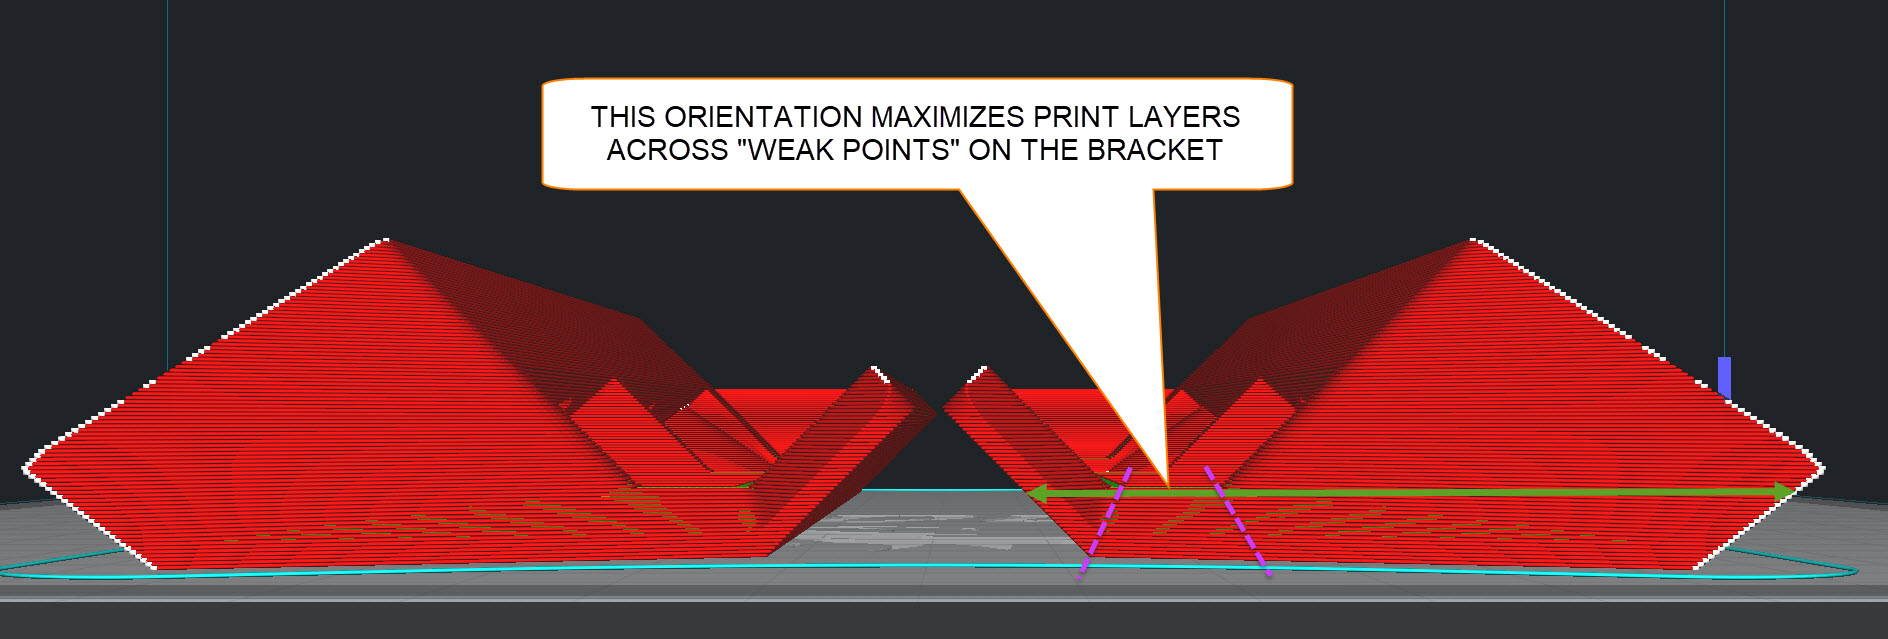
The recommended print orientation maximizes the layers along the shear forces, so I STRONGLY suggest following it
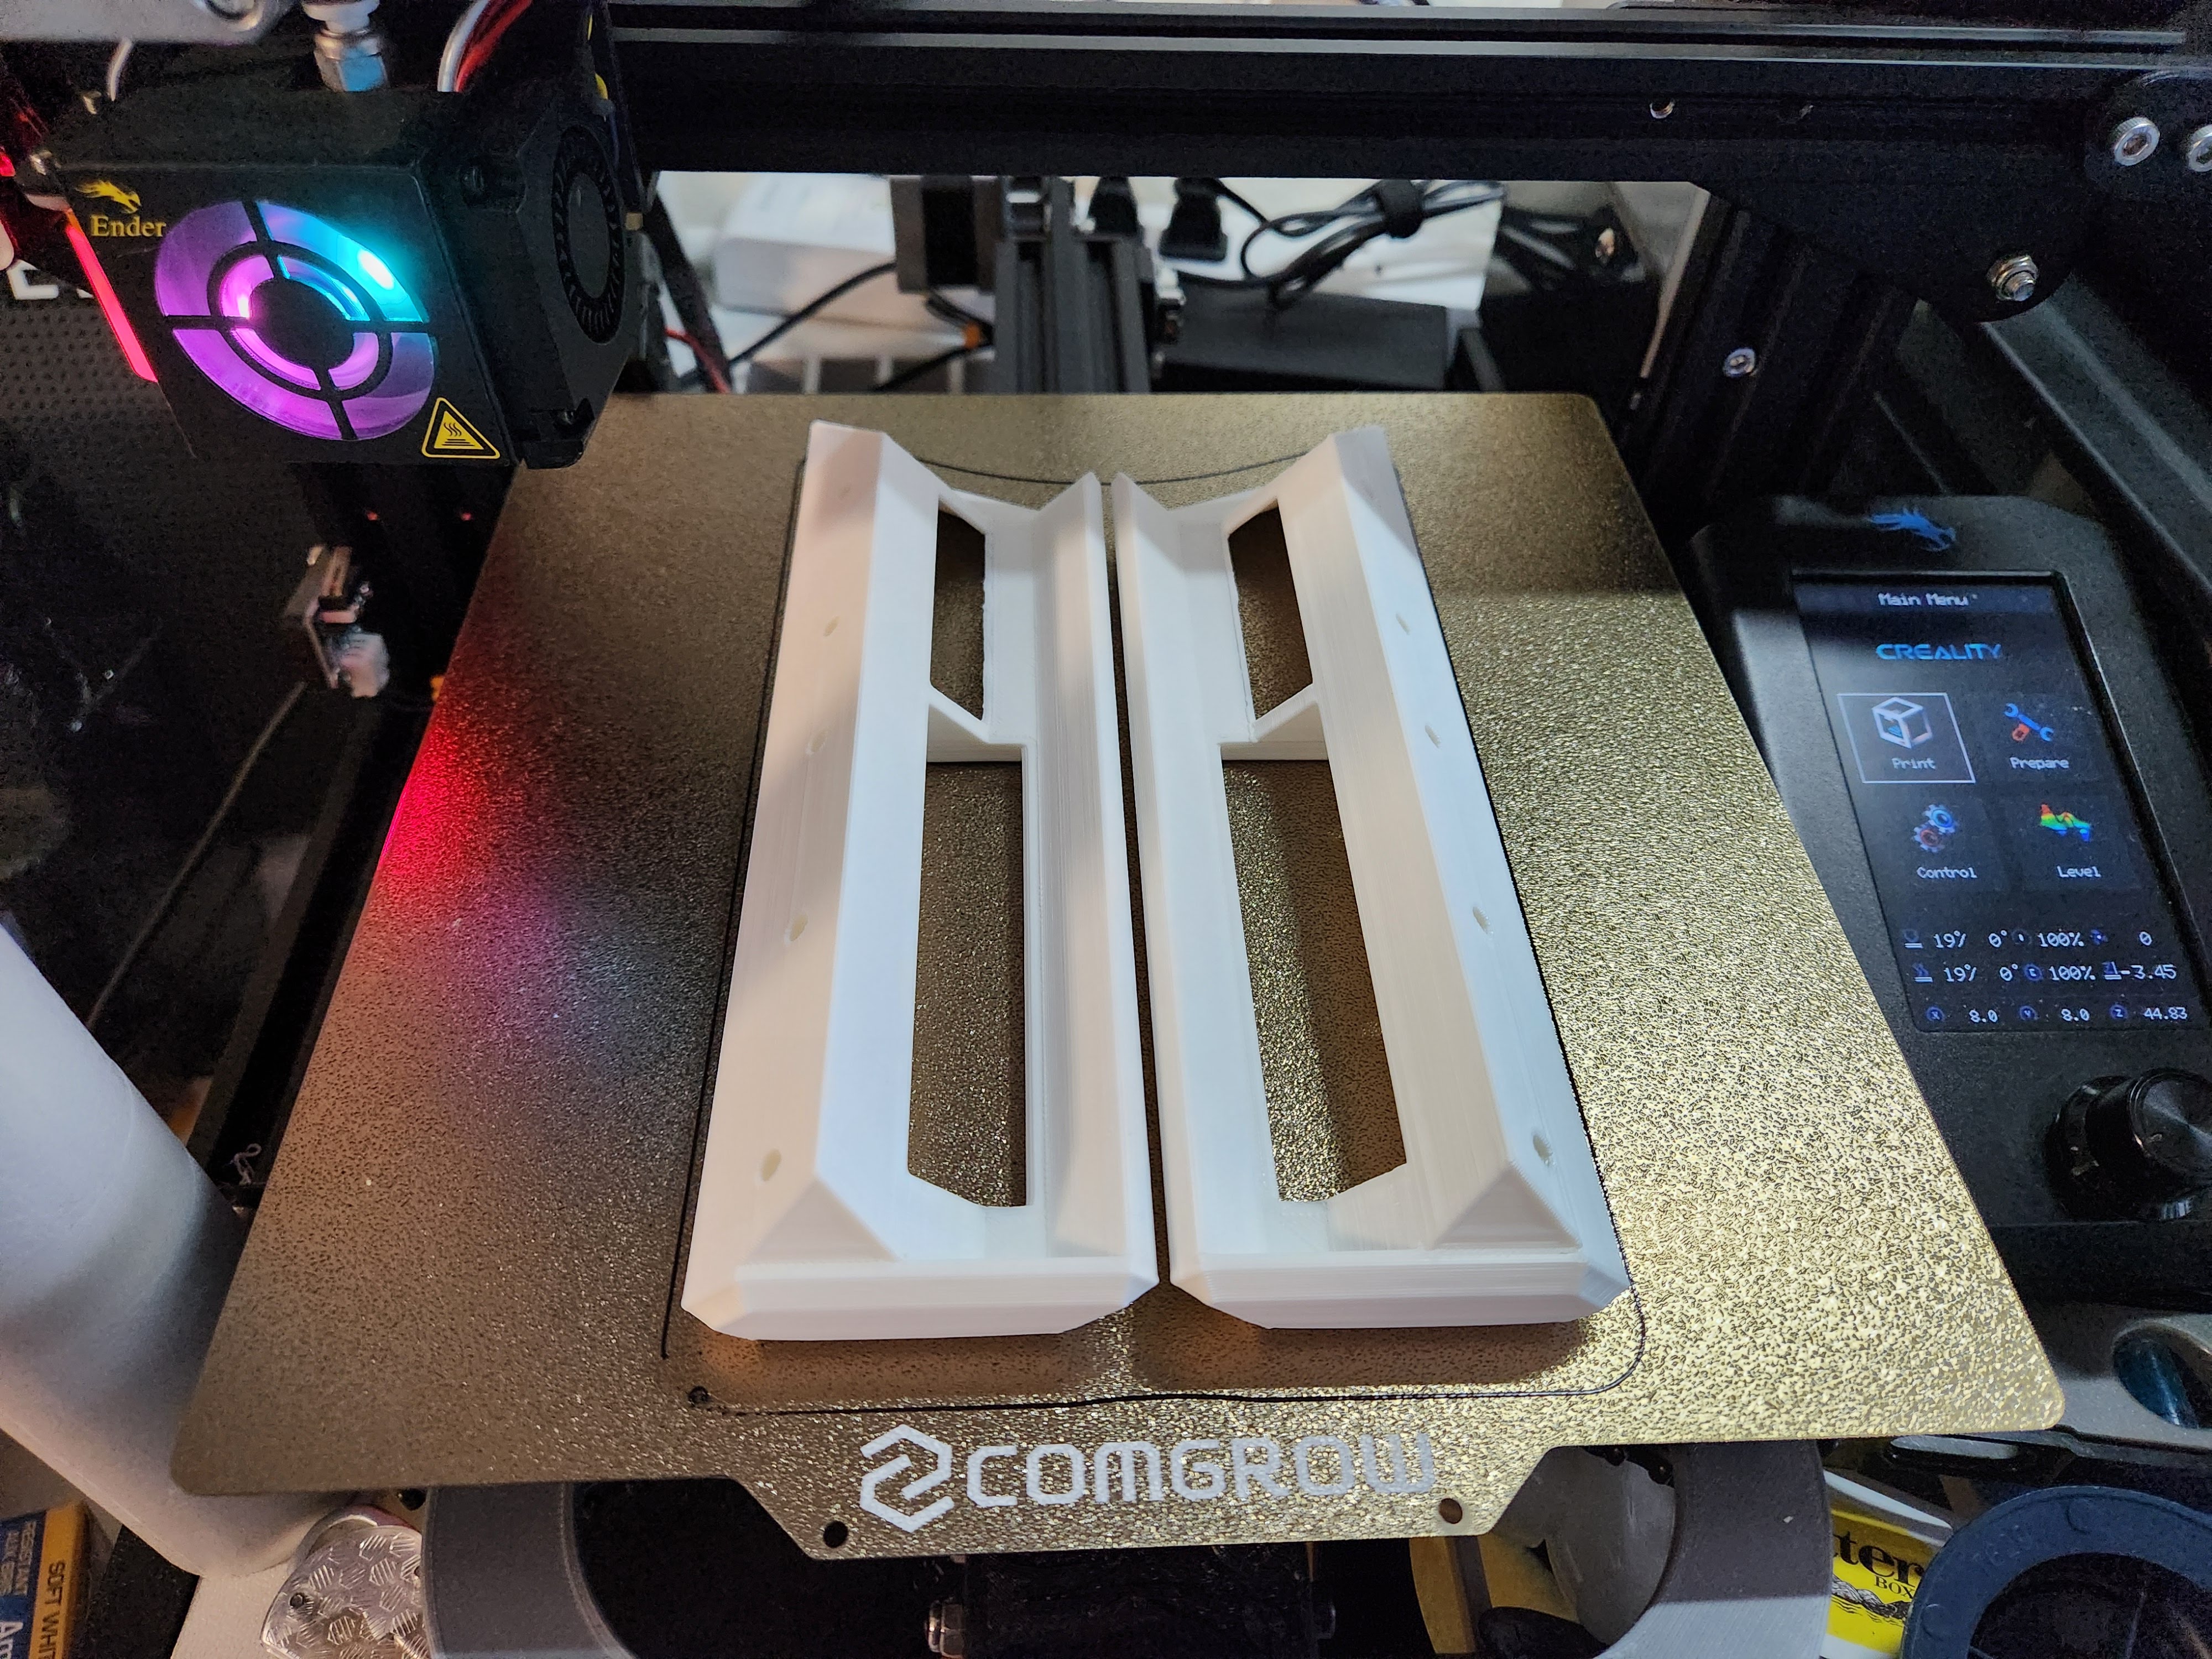
No supports or adhesion required, nada. I’ve had success printing as they are but you know your printer better so decide if you want them and maybe also a brim (specially for bed slinging)
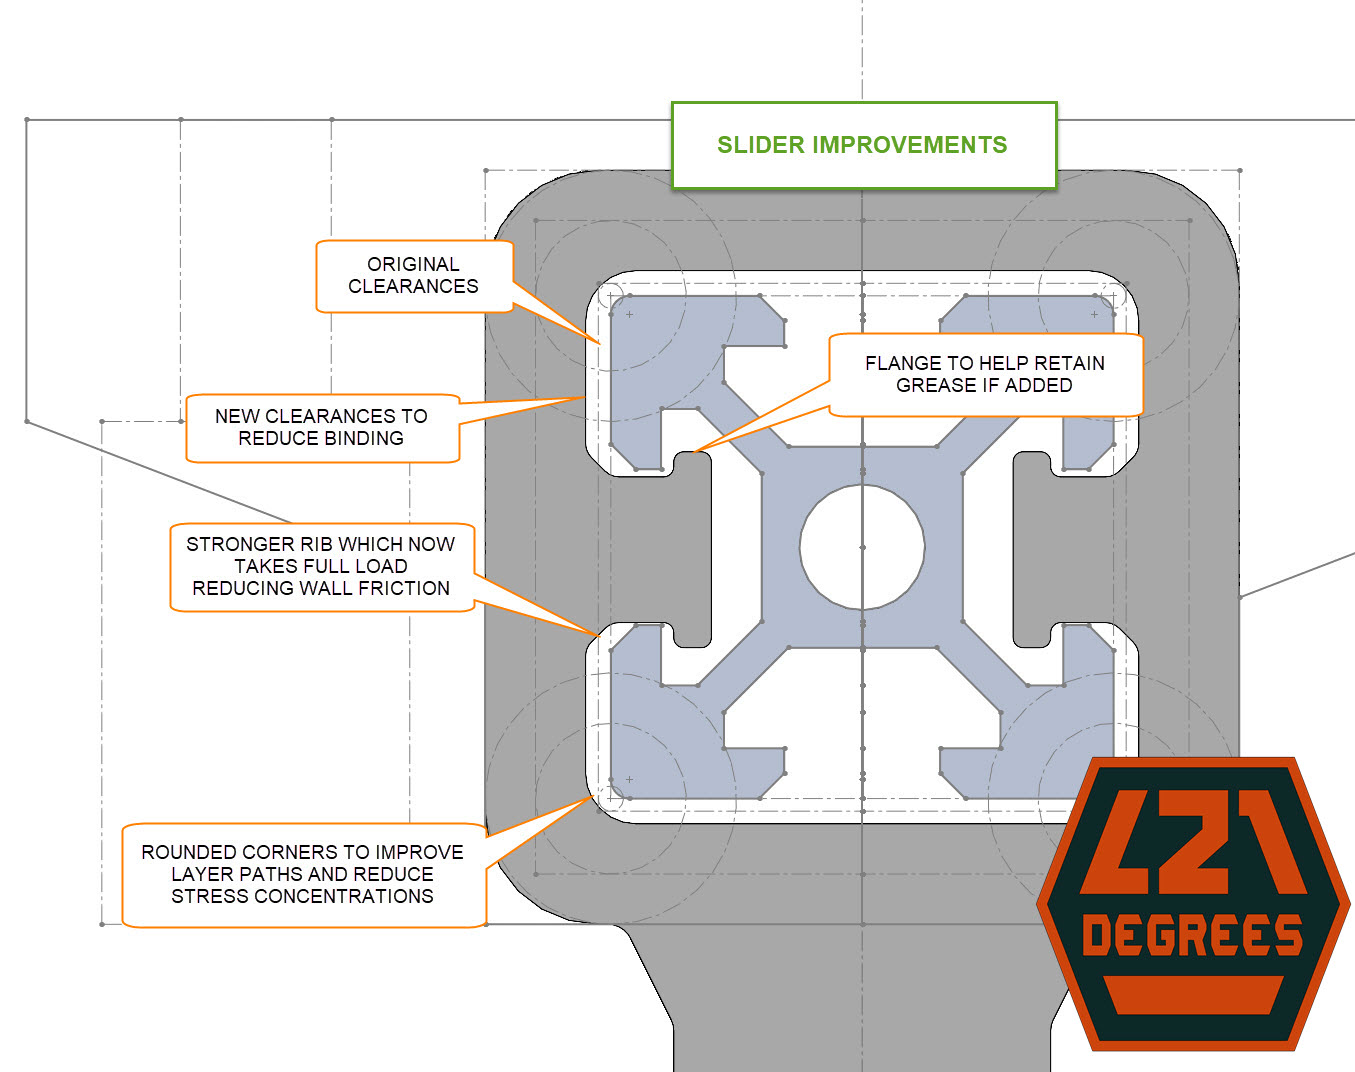
The extrusion mating parts include an inner “rib” that makes contact in the extrusion slots before the side walls to reduce sliding friction and considerably increasing the holding strength
Not only functional, but also spent some time shaping for a nicer look and feel, your thighs and knees will thank you when they hit them
Designed for 1″ (24-25mm) long screws, the mounting components have ½” mount spacing which allows ½” threaded depth. Please adjust for your desktop thickness accordingly.
Print suggestions:
Any layer height but 0.28/0.30mm should work for speed
No support
No adhesion features but you know your print better, you may want brim
3 perimeters/walls
30% minimum infill
Orient components vertically, see next image below
Downsides:
It binds when trying to slide-in or out caused by uneven force on the ends when doing so, a couple of suggestions are to frame the shelf with additional length-wise aluminum extrusion to force squareness and/or use grease which I haven’t tried yet.
Requires additional materials, like the aluminum extrusion, wood screws and machine screws plus t-slot nuts
If printed in PLA, keep an eye for material residue in the sliding extrusion, from my experience, PLA was more brittle and saw plastic dust/shavings in the extrusion channel but no immediate compromise to the part integrity. PETG is a more pliable material so is now recommended
It doesn’t make tacos but it does free your desk to hold them
I STRONGLY suggest using the following printing orientations which maximize the printed layers across the pulling forces of the shelf. Close attention to the sliders, not only vertical but parallel to Y if you have a slinging bed.
For the future: Can’t stop thinking about using v-slot wheels for that smooth and satisfying slide but initial thoughts makes it look clunky, obtrusive, and more expensive. But I like the challenge and more options are good so stay tuned!
All-in-all, I’m extremely happy with this solution, it’s very solid, holds peripherals clearing my desk and stows away. I’m publishing this free hoping that my time and effort go further than just meeting my needs, I will really appreciate any feedback and attribution