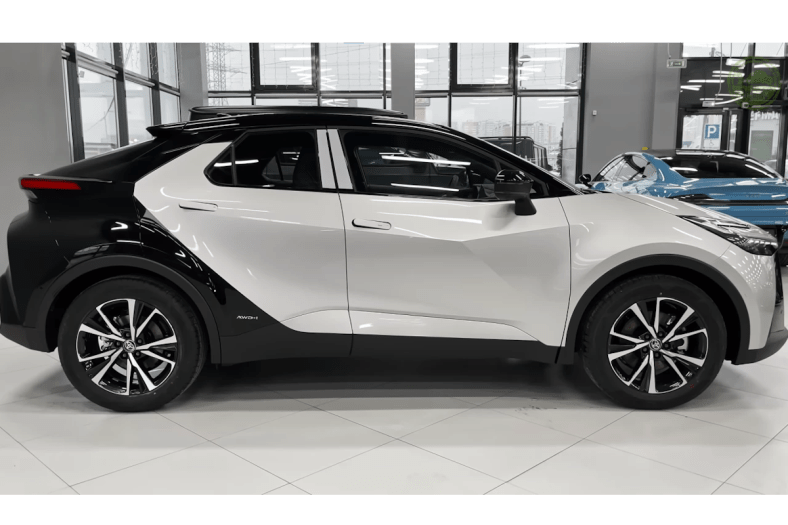
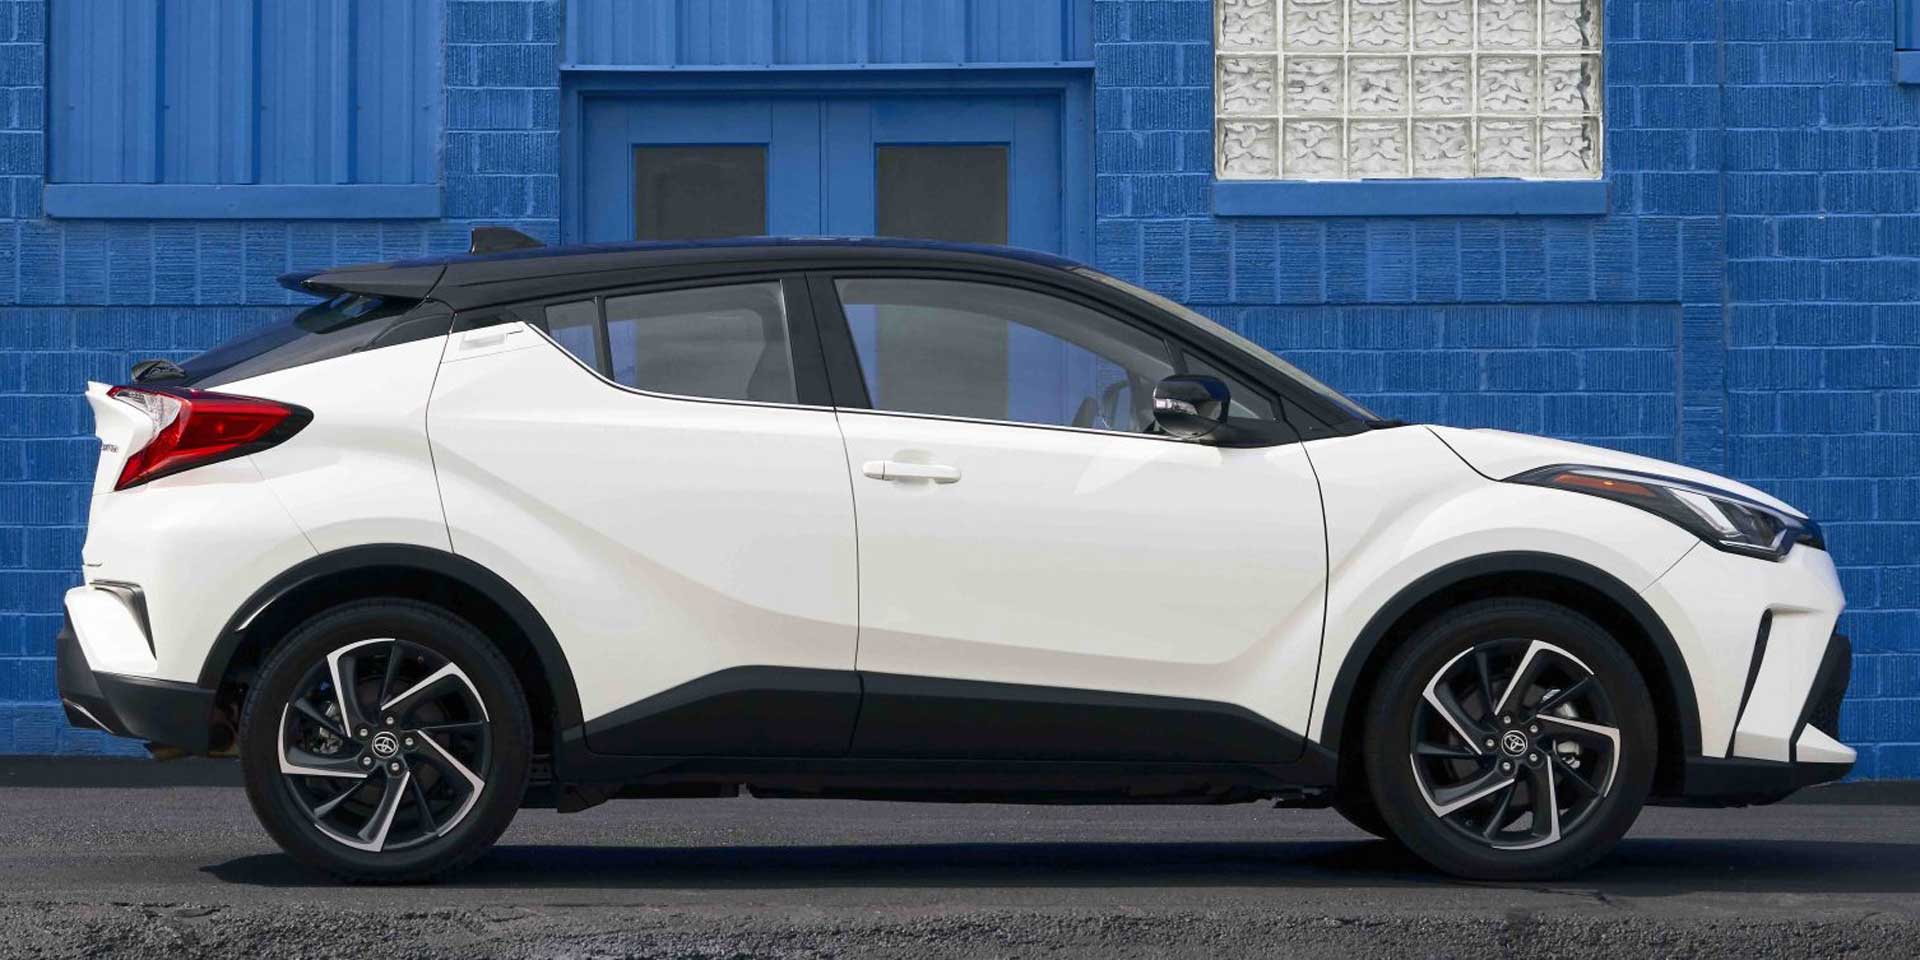
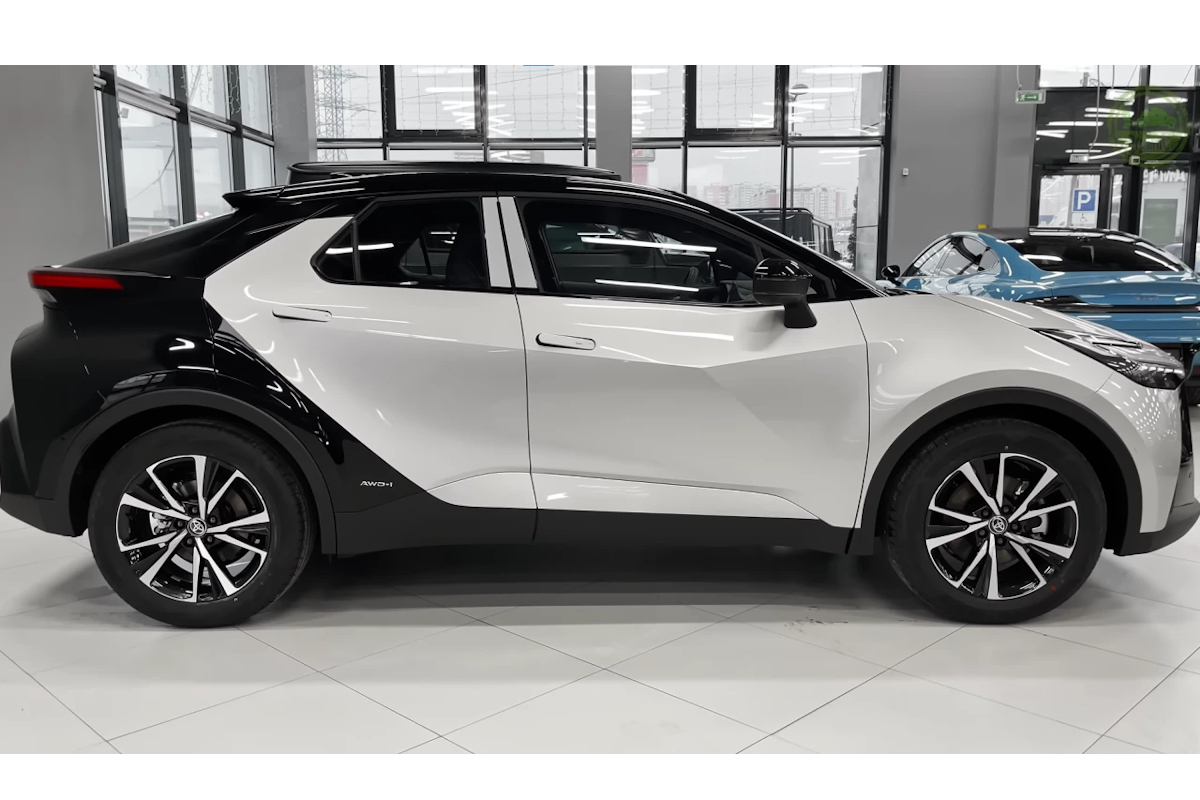
Yes, you’re right, that featured image is not a Lexus CT200h, but the 2025 Toyota C-HR, which is a hybrid vehicle not available in the US. We do have the 2024 C-HR and previous, but gasoline only and they will bring it back in 2026 but in electric form only. WHY DID THEY SKIP THE HYBRID VERSION?! Electric vehicles are the future but very inconvenient when you don’t have the means to recharge it, and that is the reality for most people that rent their living space.
Sorry for the rant, back to the topic. Around 2019 I decided I had to get a reliable vehicle, small enough to fit any parking space but still some usable cargo capacity, and hybrid, I wanted a silent and gas-saving option.
Before deciding for my actual purchase, I was strongly debating between the Toyota Prius and the Subaru Crosstrek. I was close to deciding on the Crosstrek but not having a hybrid option was a turn-off, so the Prius was it. Until I learned of the Lexus CT200h.
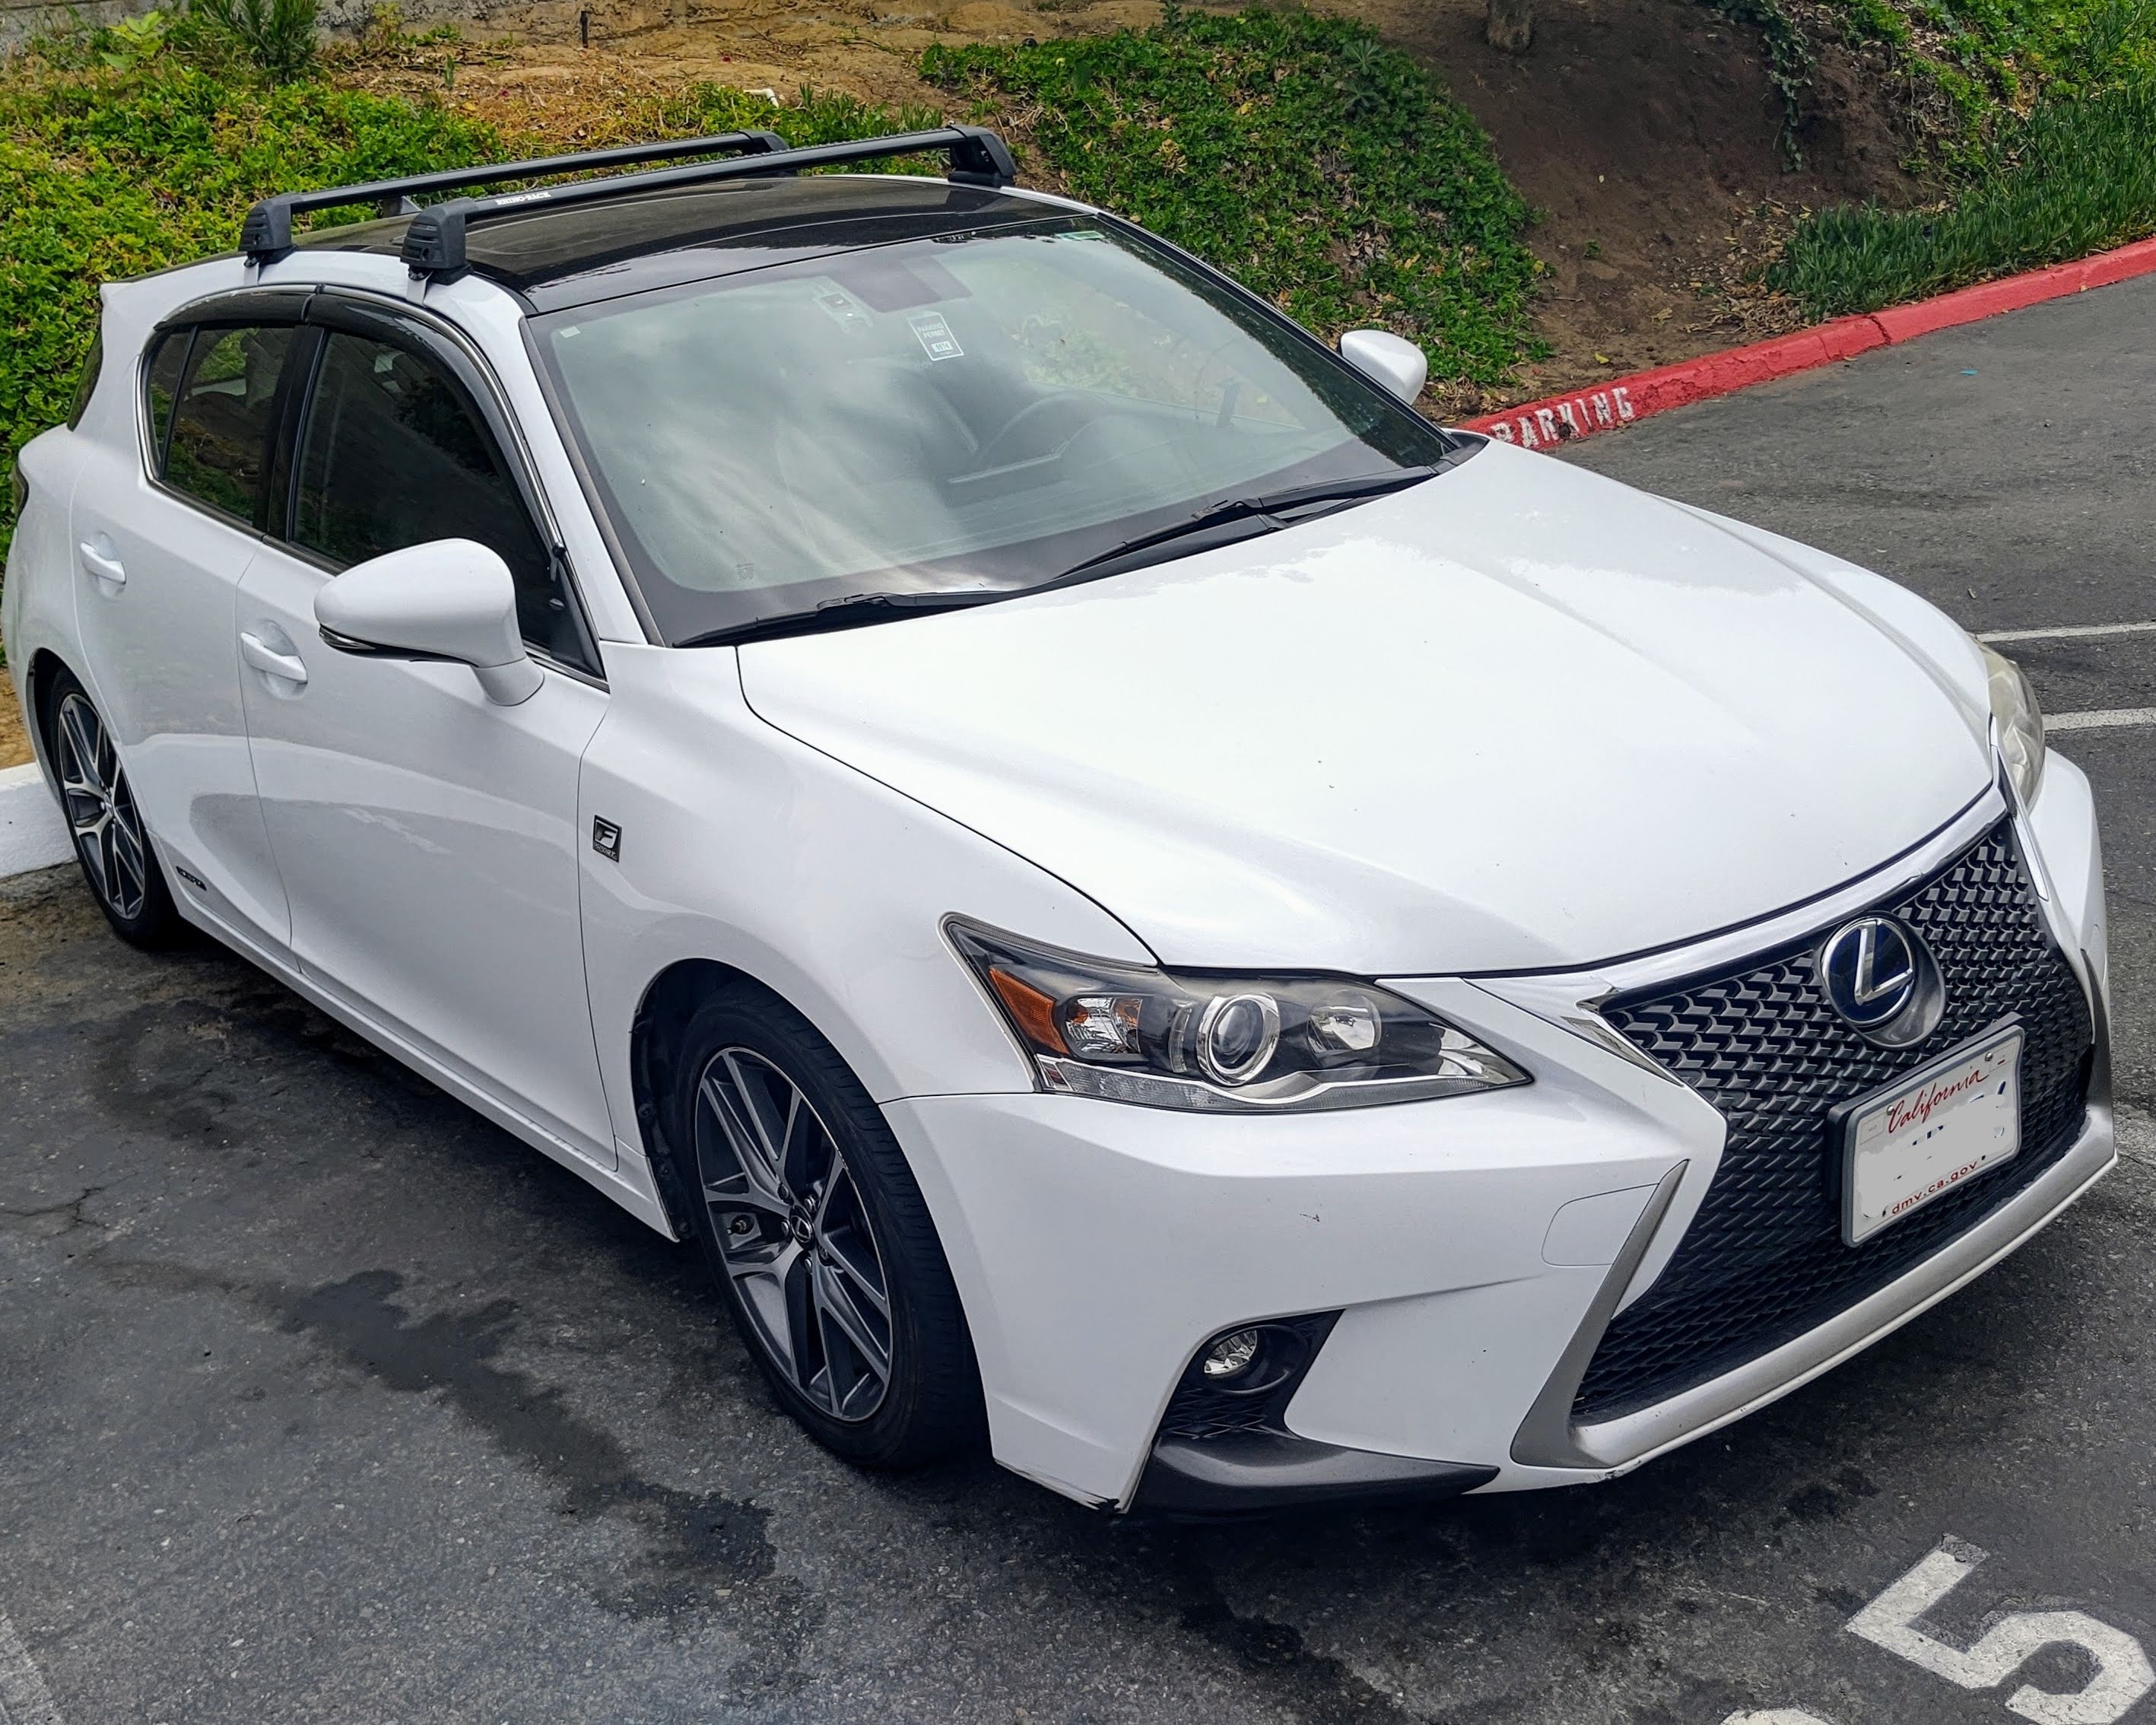
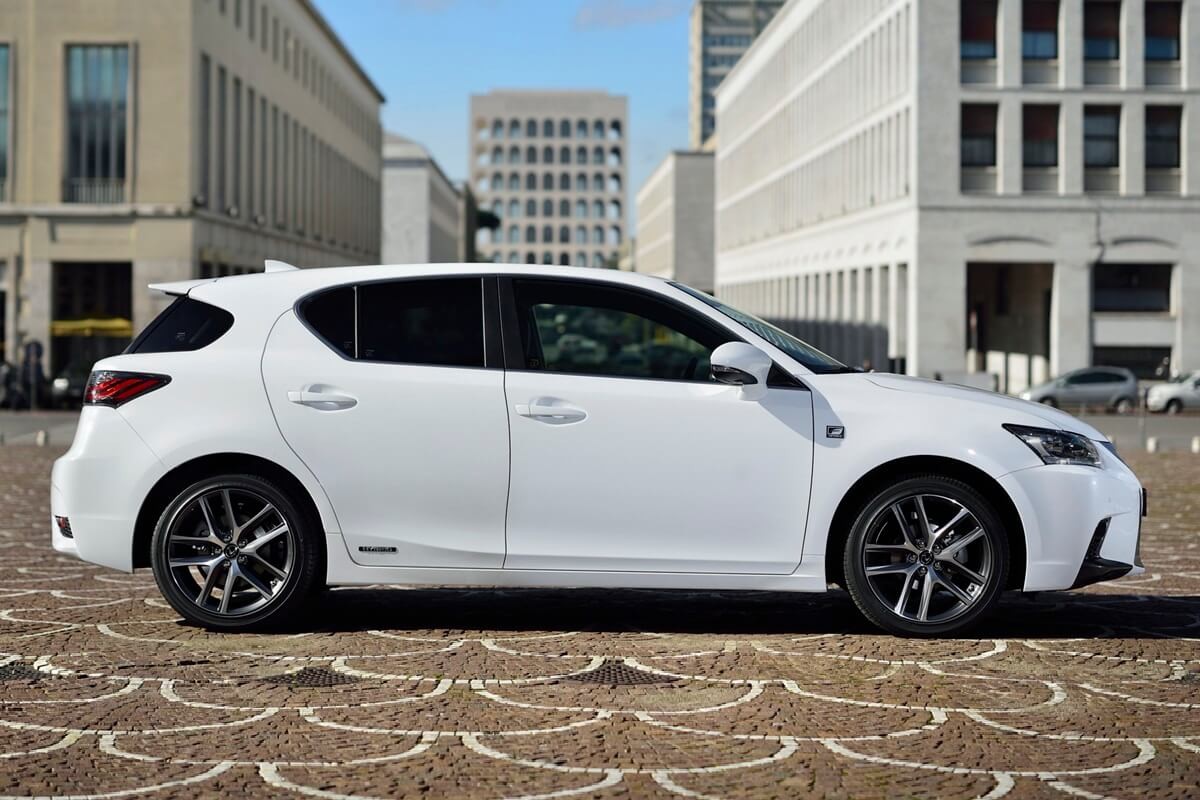
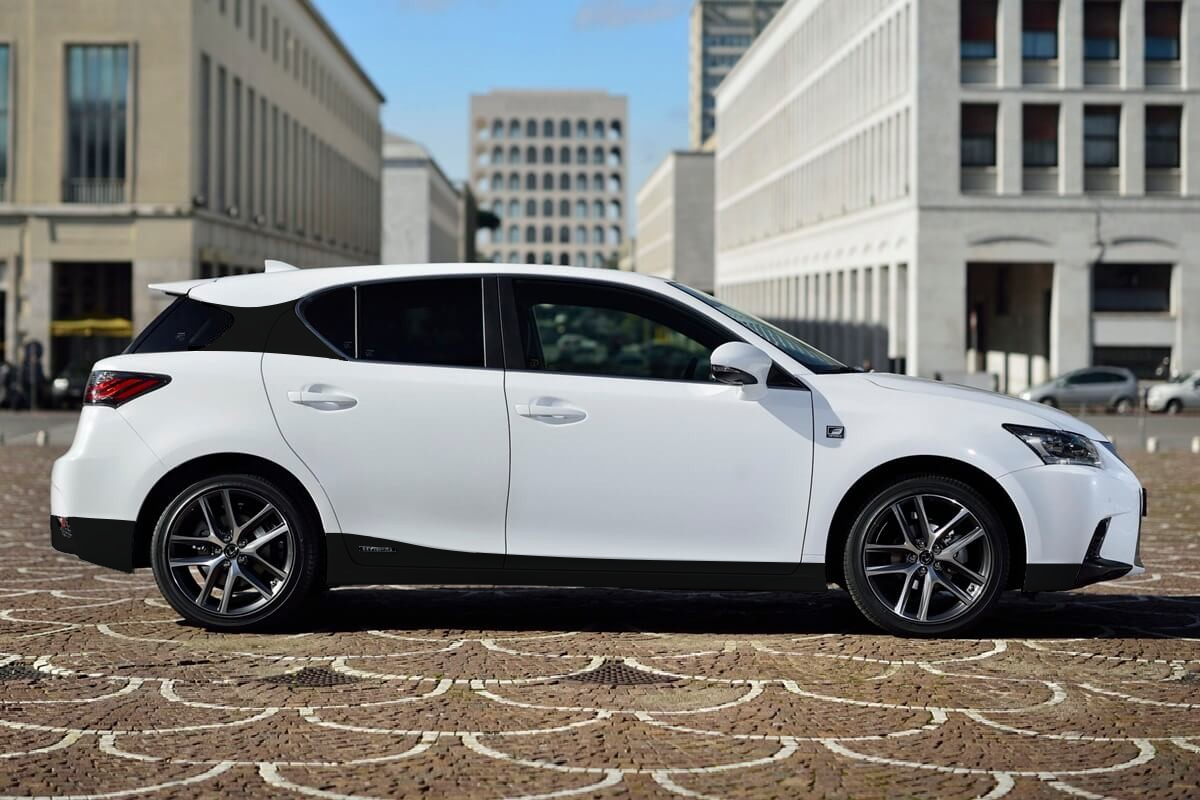
Hear me out, I’m not a fan of fancy cars, I don’t want to worry about keeping the paint pristine and paying high prices for maintenance and repairs, but the CT200h is the Lexus version of the Prius, literally, it has the Prius Gen3 drivetrain but in an elegant, sporty and comfortable package. And when comparing prices, the CT200h was just like 15% more over a Prius of the same year and similar mileage (90k miles)!! Plus it came with the F-Sport package with the optional factory lowering springs and navigation plus sunroof (another BIG want).

So I went for it and it’s been an amazing vehicle ever since. Reliable, fancy, sporty, utilitarian and comfortable. We’ve driven far and wide, carried plenty of things including furniture (added roof racks). There is just something I feel it’s missing and been wanting since, off-road capabilities. I would like some ground clearance and AWD, the car came 1 inch lower from factory and looks awesome but it scrapes in most driveway, curbs and speed bumps.
That’s where the C-HR comes in, it has the perfect form factor but it’s not available in the US in its hybrid form. Plus my car is already paid-off and has not needed any mechanical work besides maintenance, over the 40k miles I’ve driven it since.
So here’s the thing, do I spend 30-50k on a brand new car that it’s not what I want, or spend maybe up to 10k restoring and converting my existing one? I’m talking about a lift kit, wheels+tires, paint correction and custom vinyl wrap? Can I even import a hybrid C-HR/LBX????
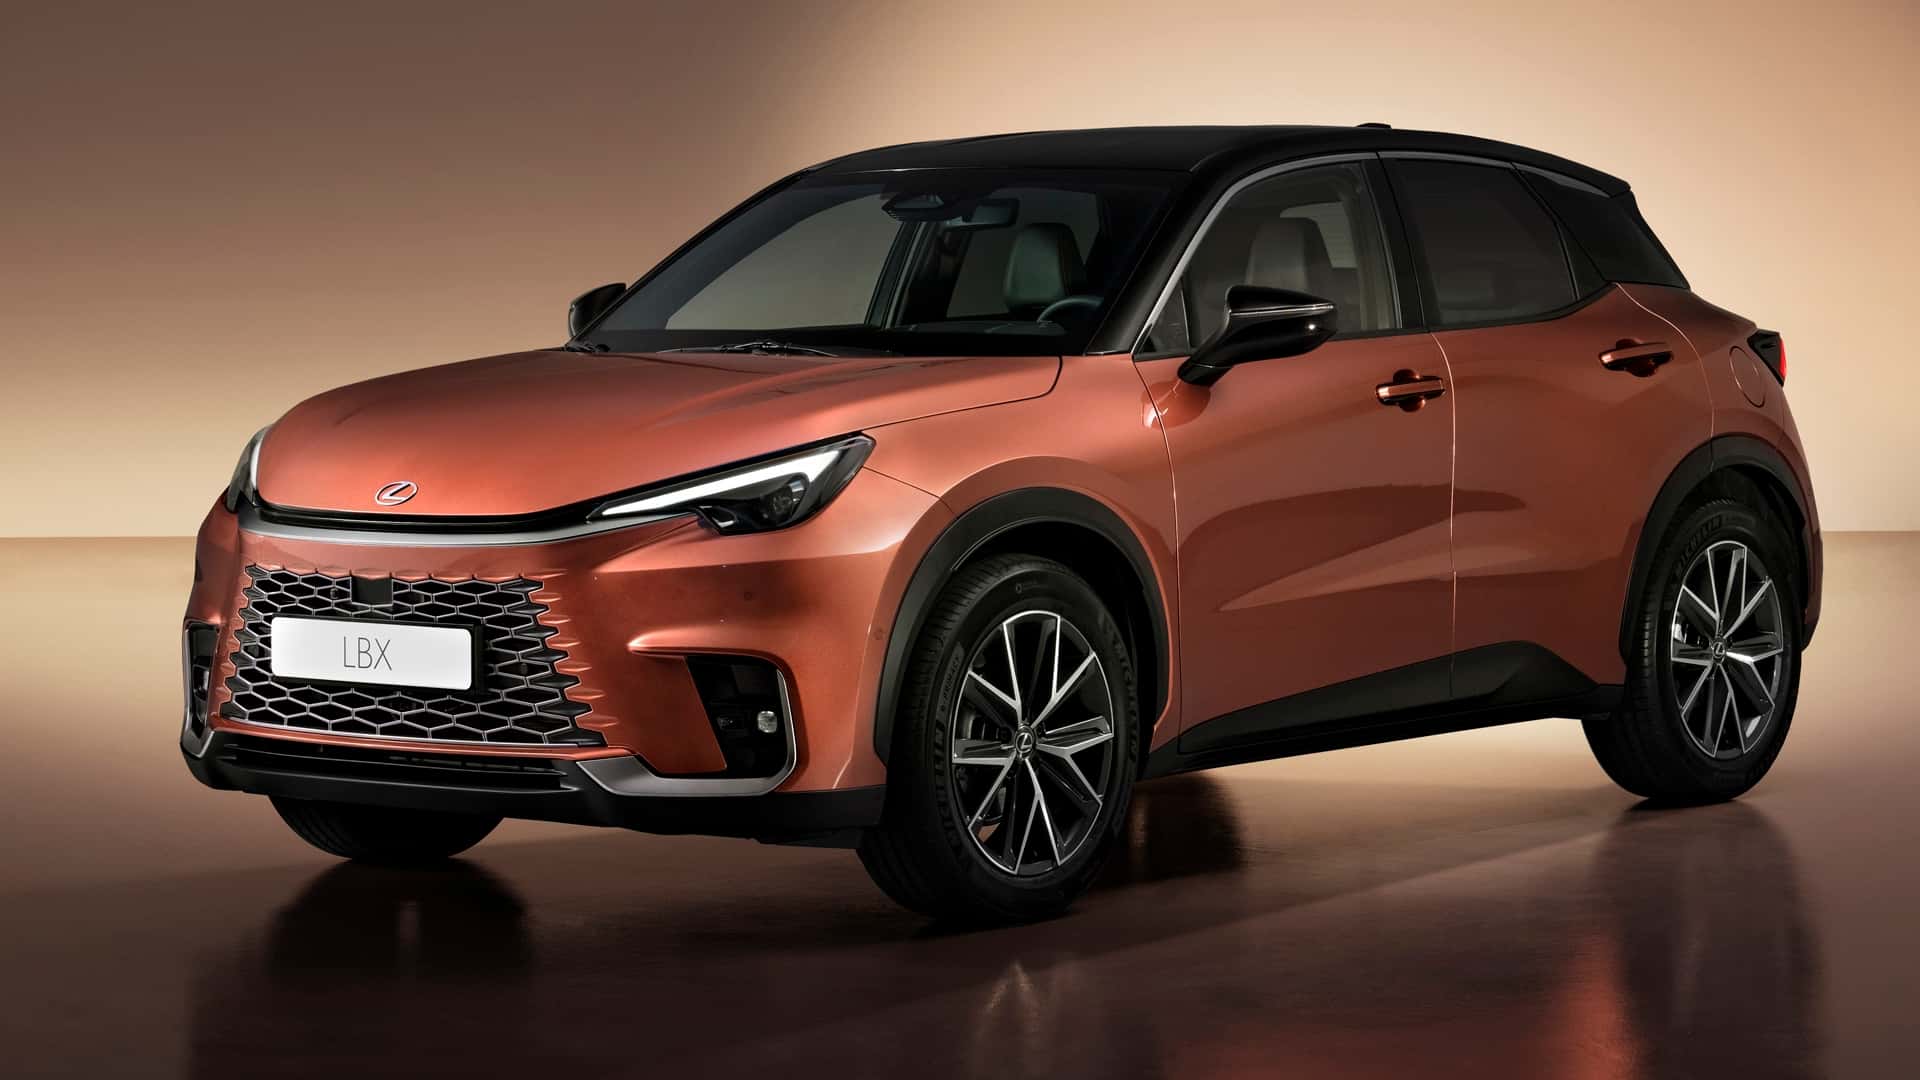
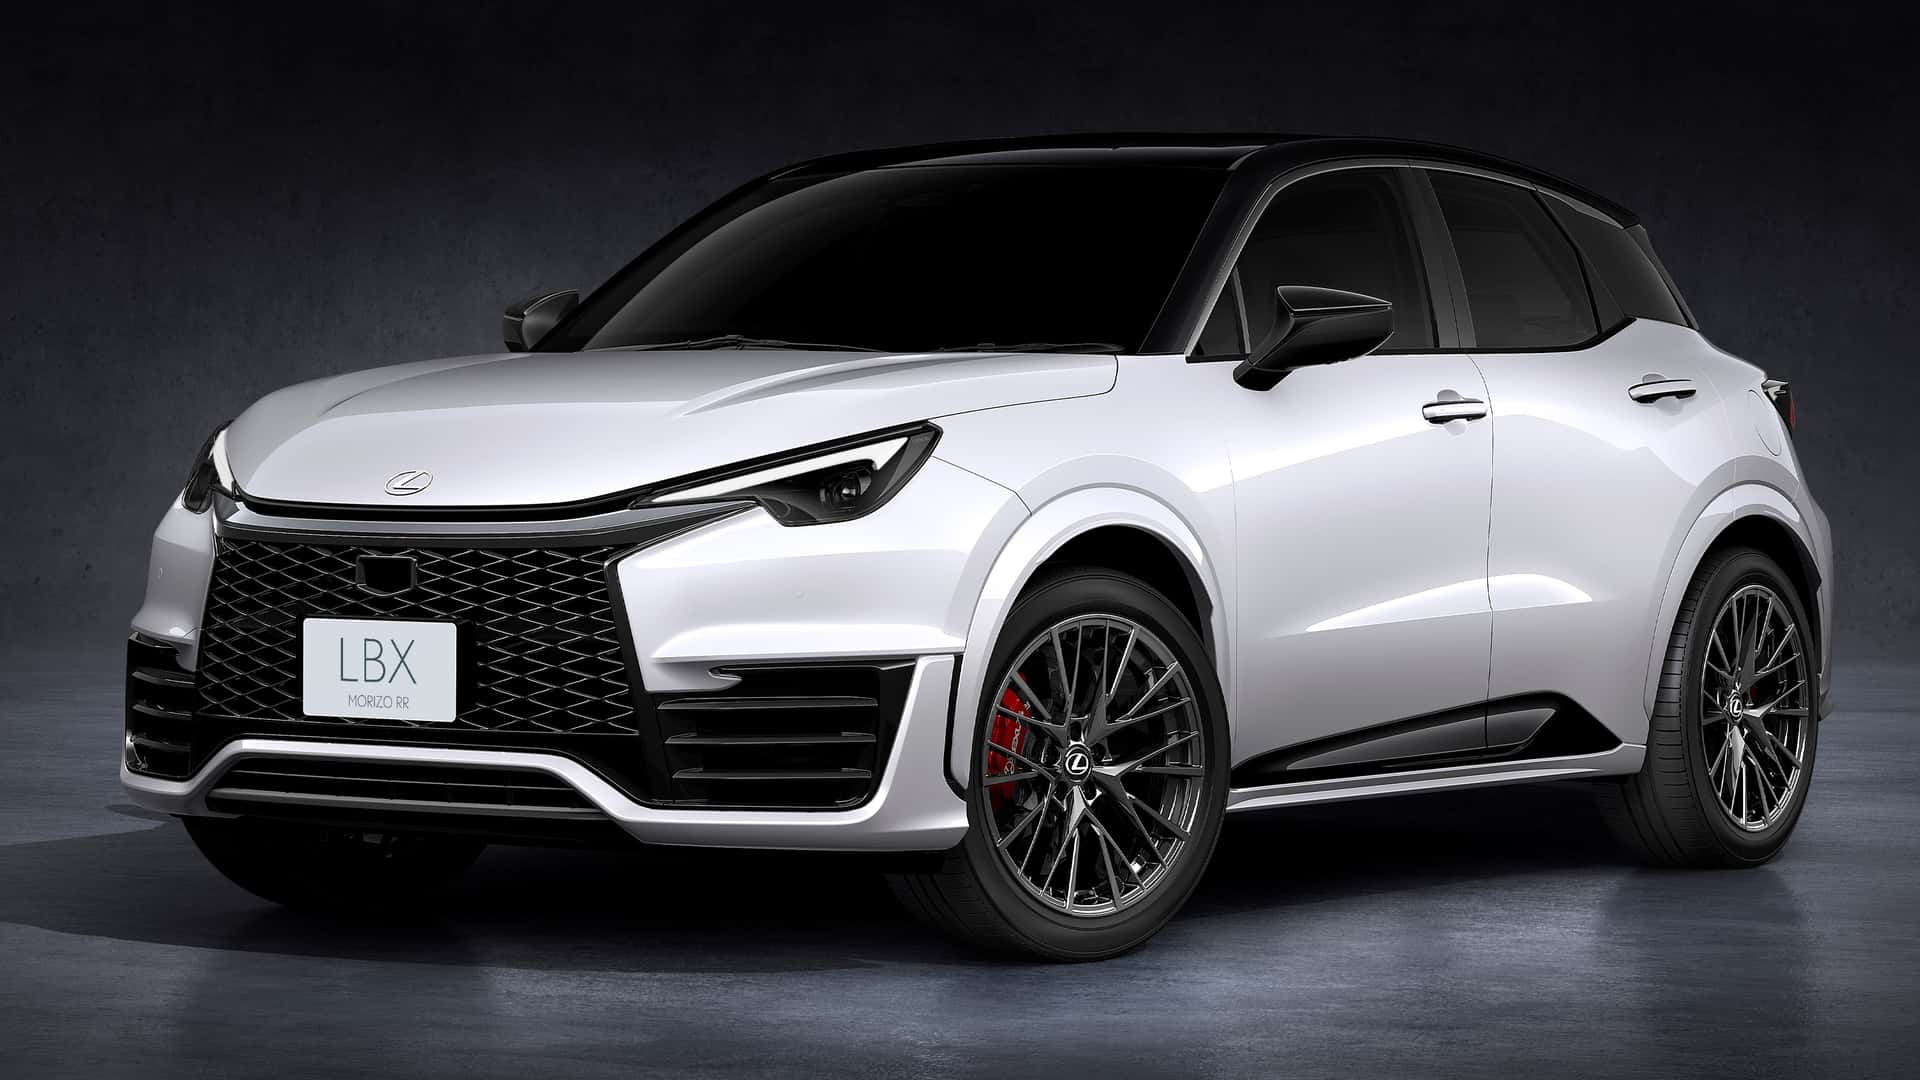
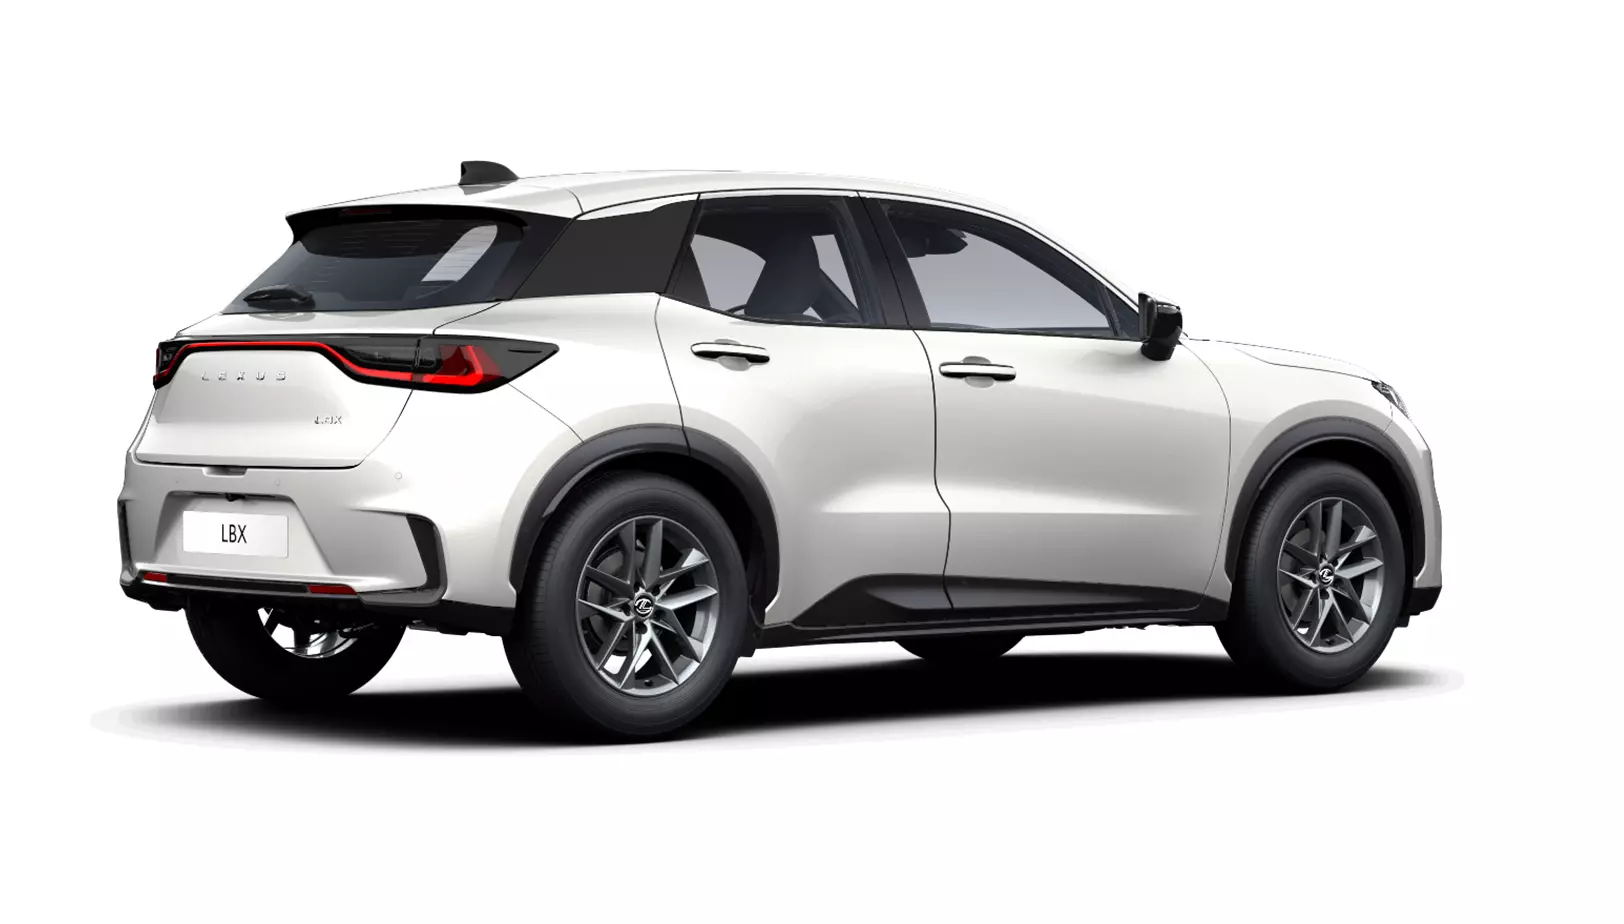
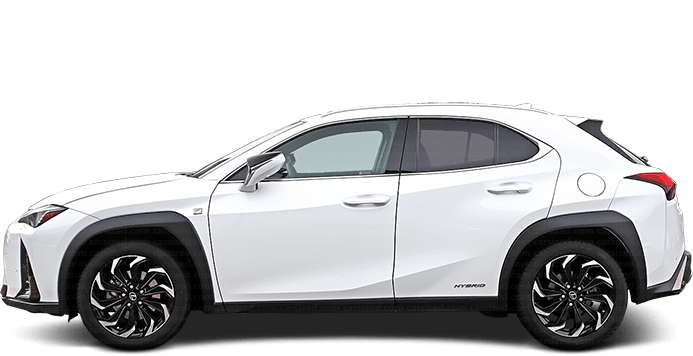
WAIT, I just remembered that the Lexus LBX exists, but also not in the US!! It is exactly what I would like but also not at that price 😦 And no, the UX was never an option.


Shout-out to the Rally Fighter:

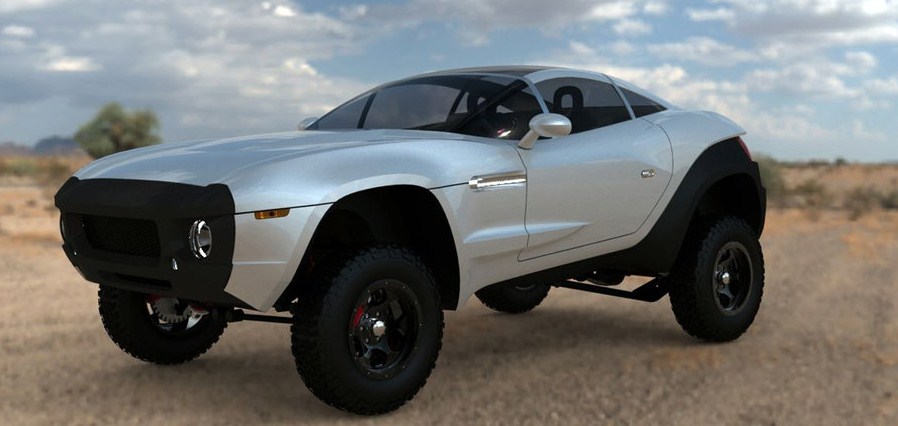


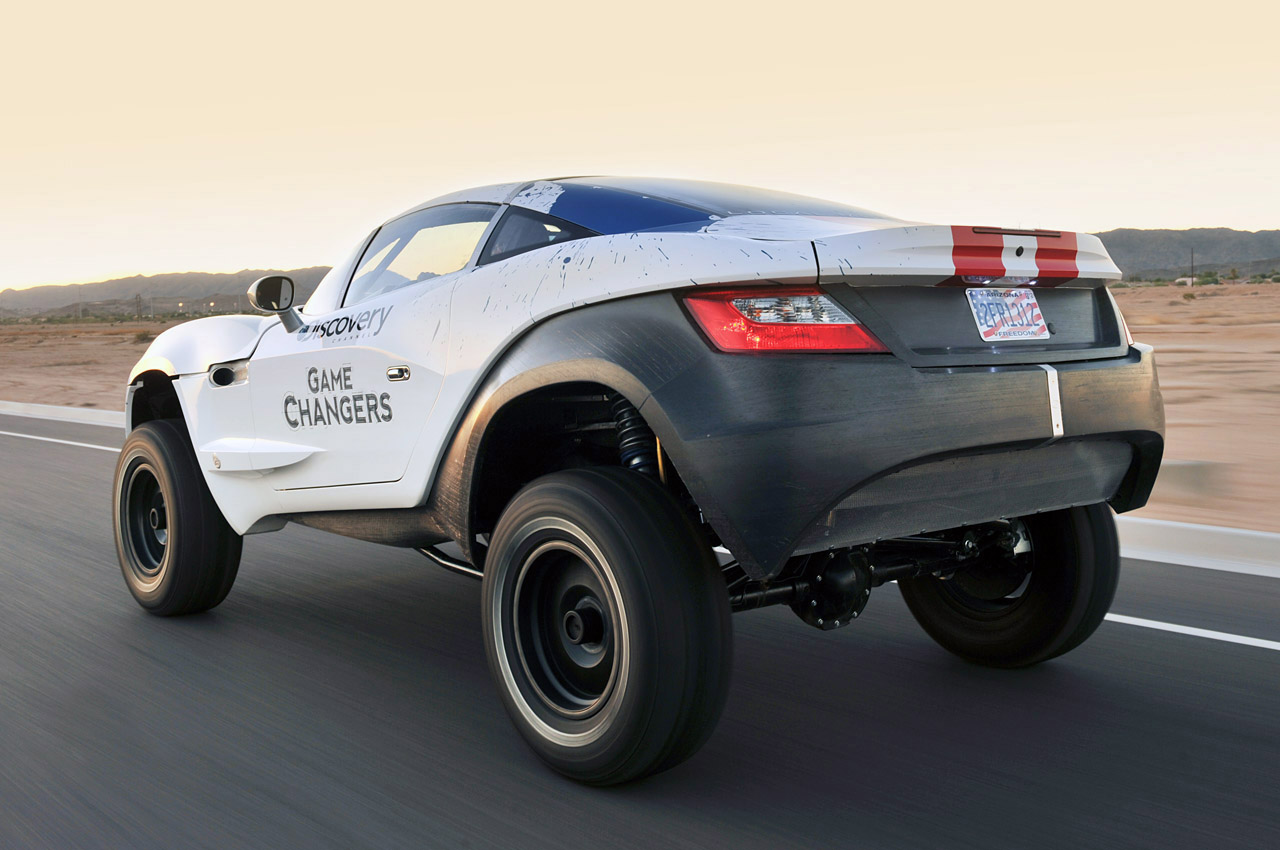
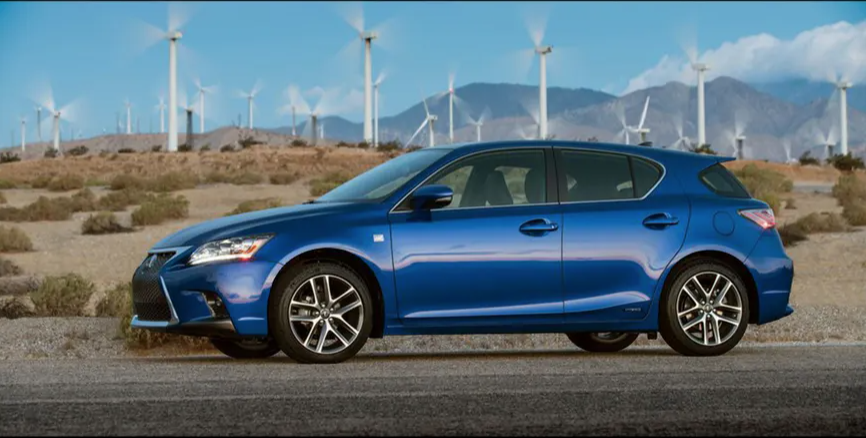
Inspiration images:


Back to reality, here’s some lifted CT200h, some from the good people that have posted at r/CT200h:


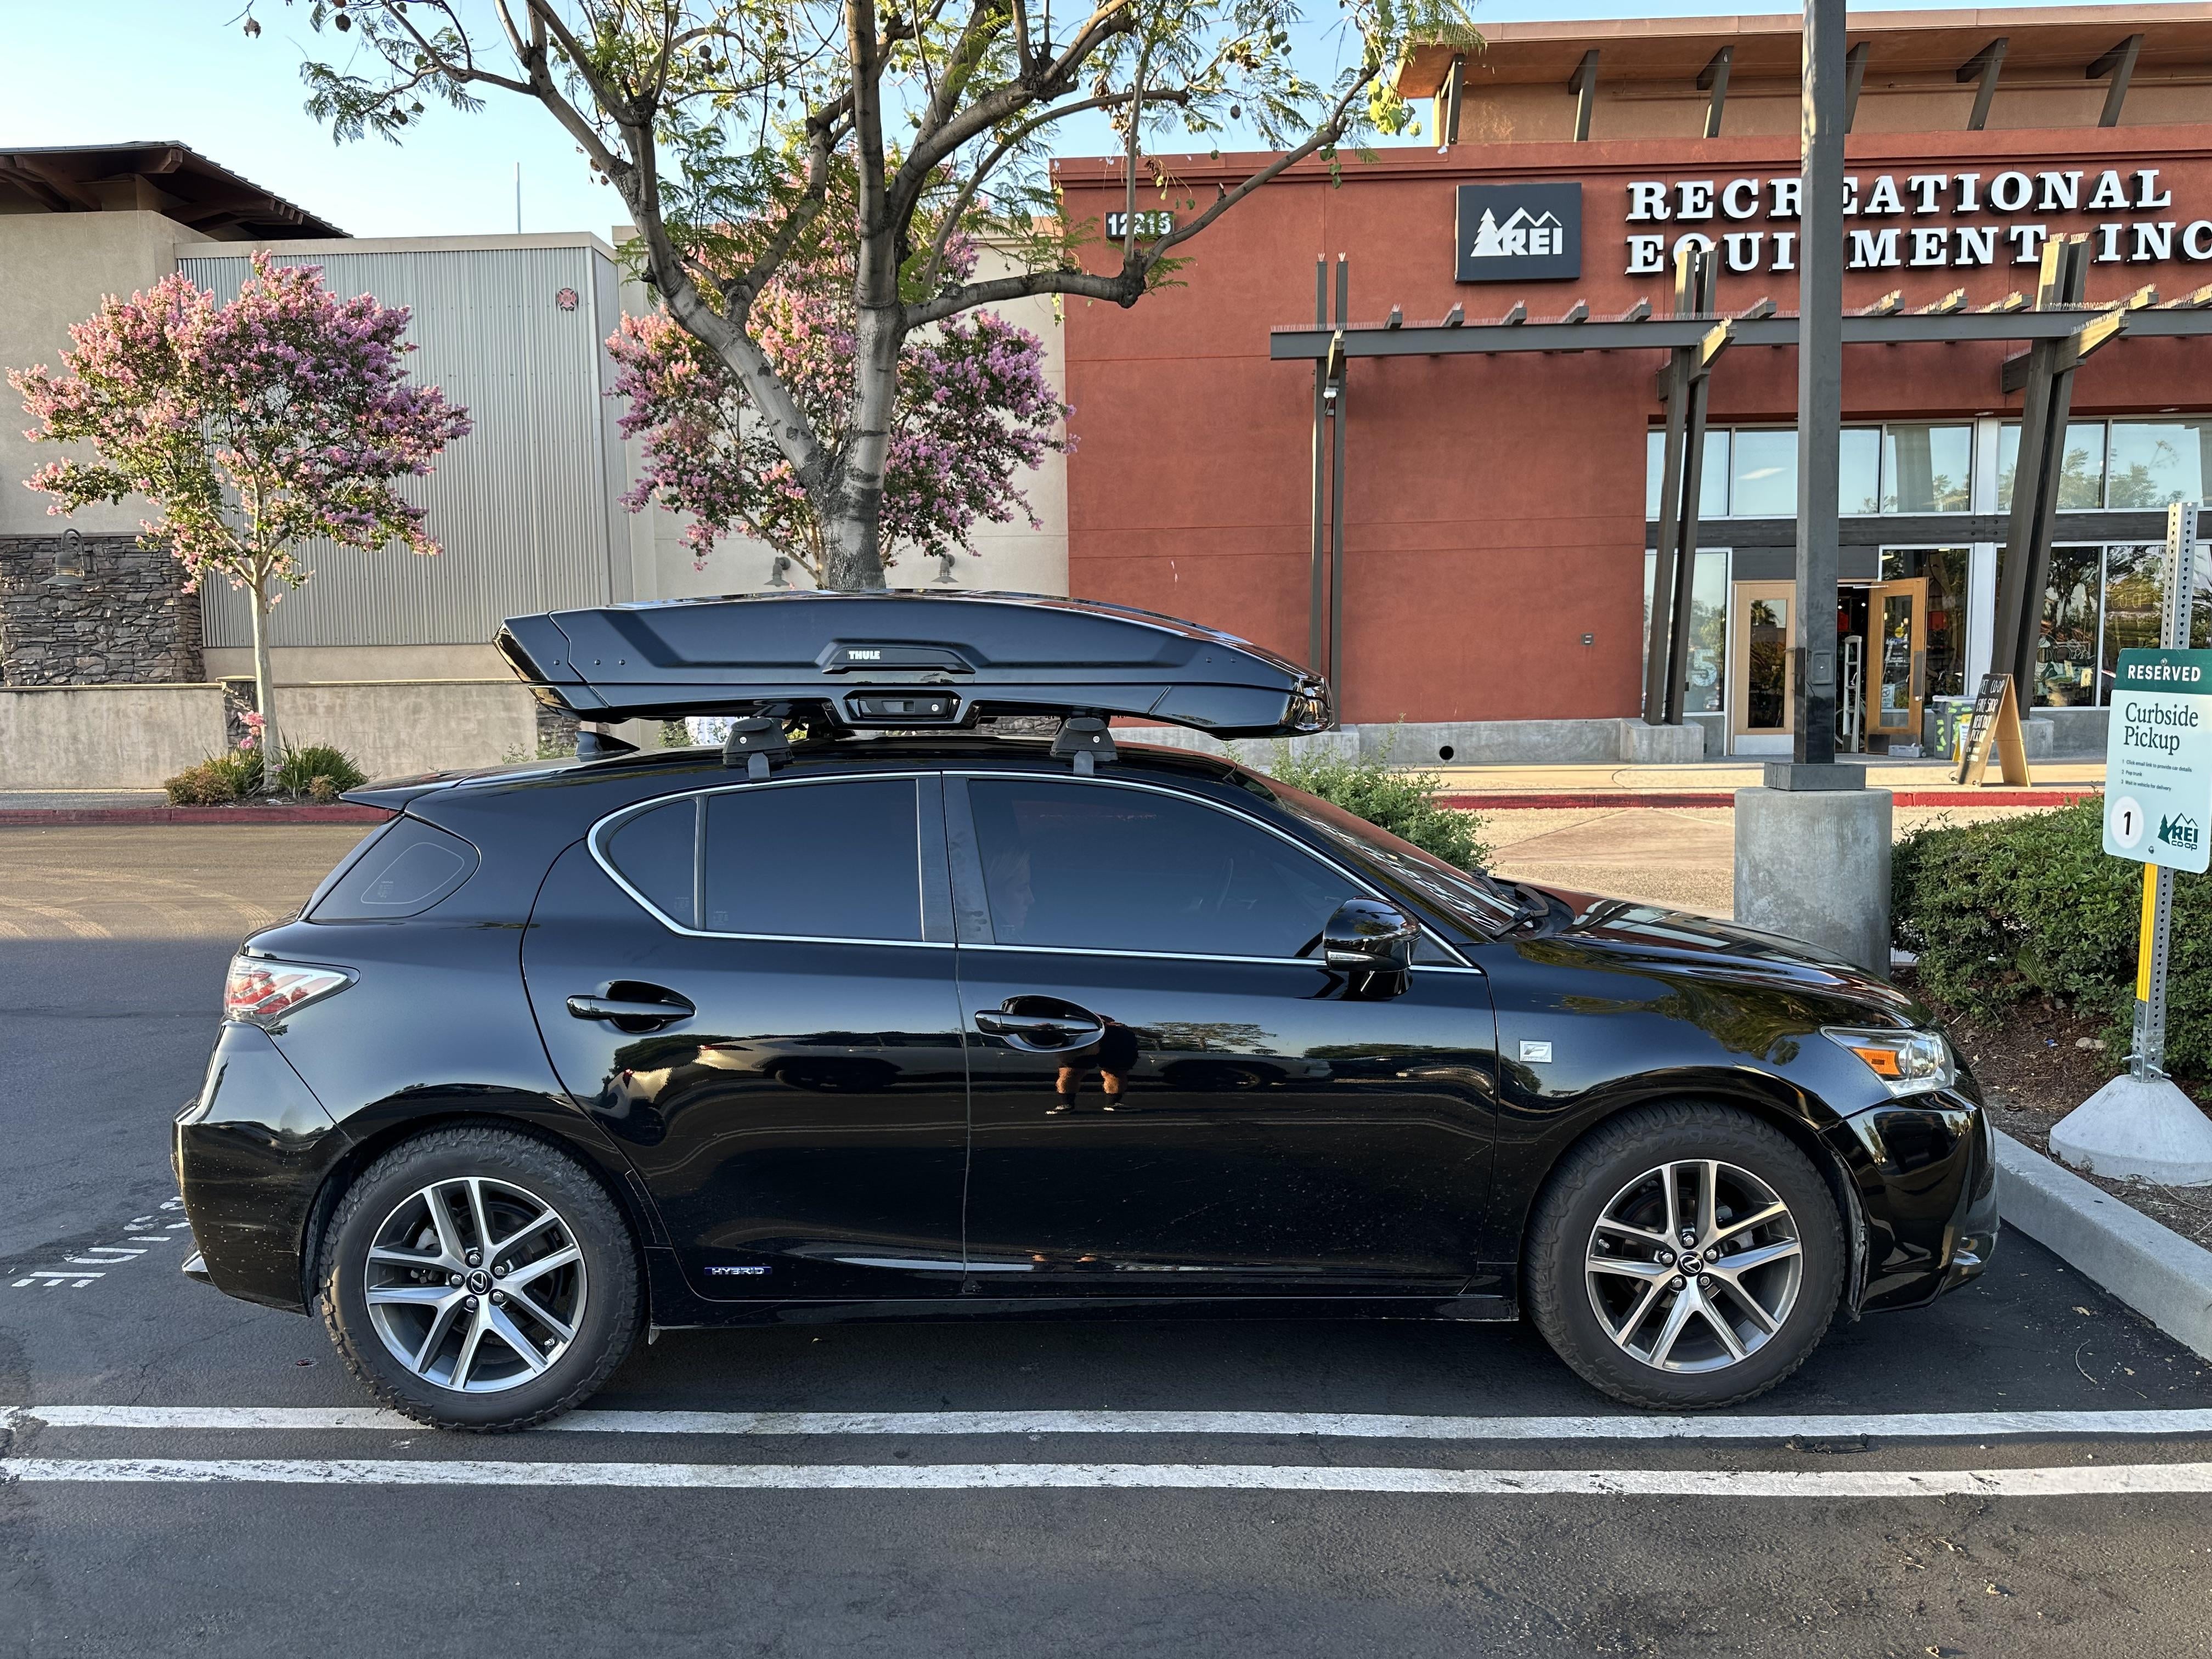


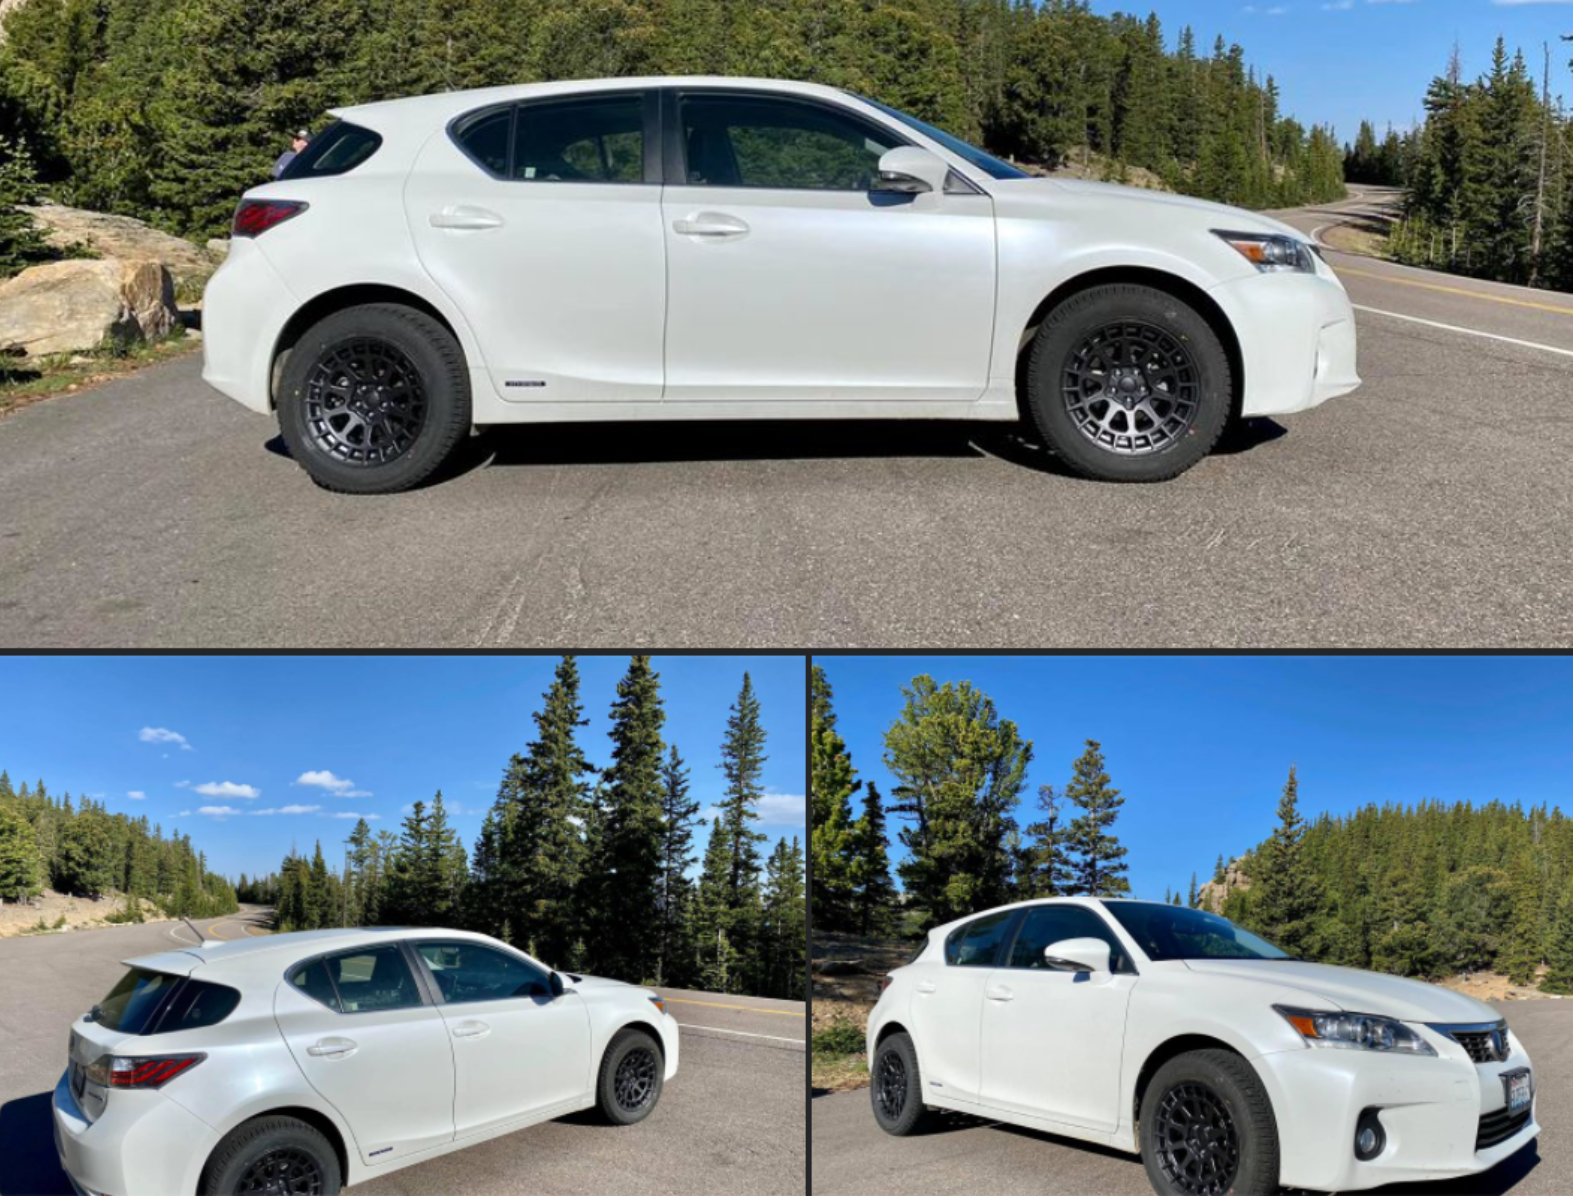

So far I’ve got the roof rack and a 2″ spacer lift kit which is not installed yet. I’d like a hitch with a combo storage/bike rack, wheels + tires, maybe rubber molding over the wells. Goals that may be outside my reach are an actual suspension lift kit (is air viable for something like this?), a full paint restoration plus custom vinyl wrap, bull-bar, off-road lights and a wideeeee body kit!
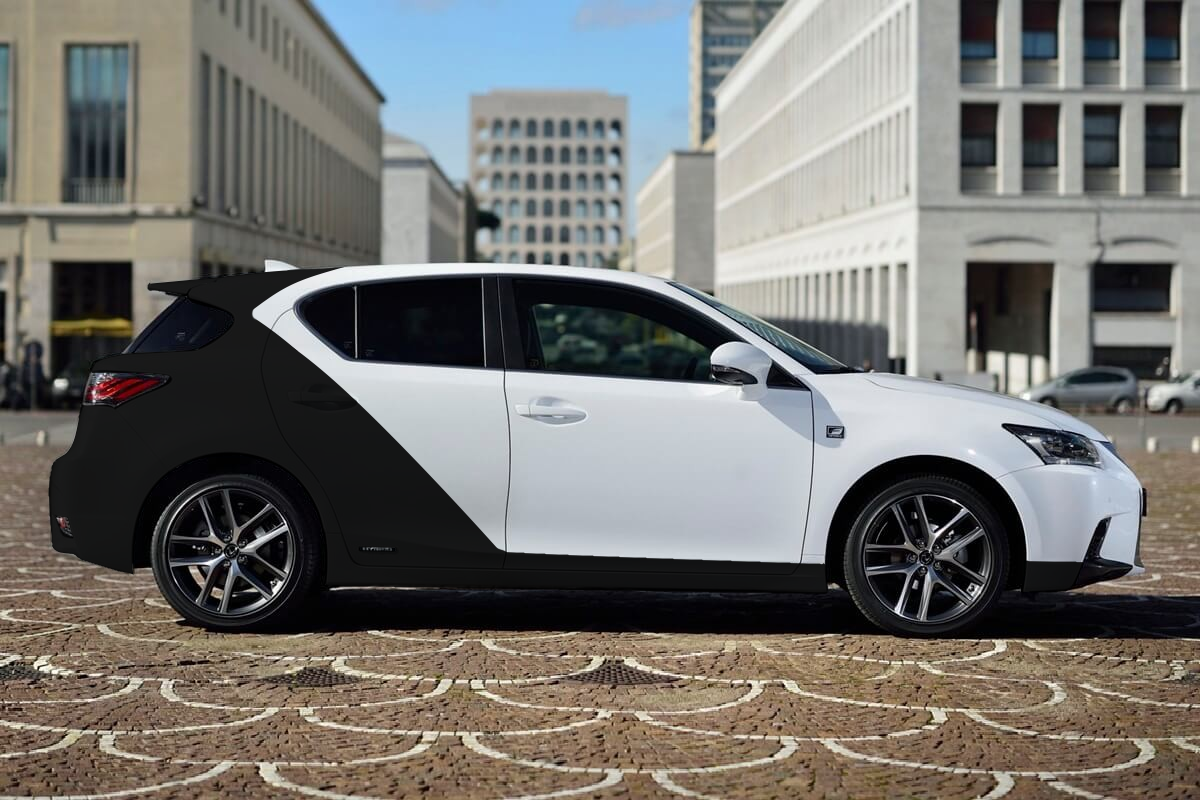
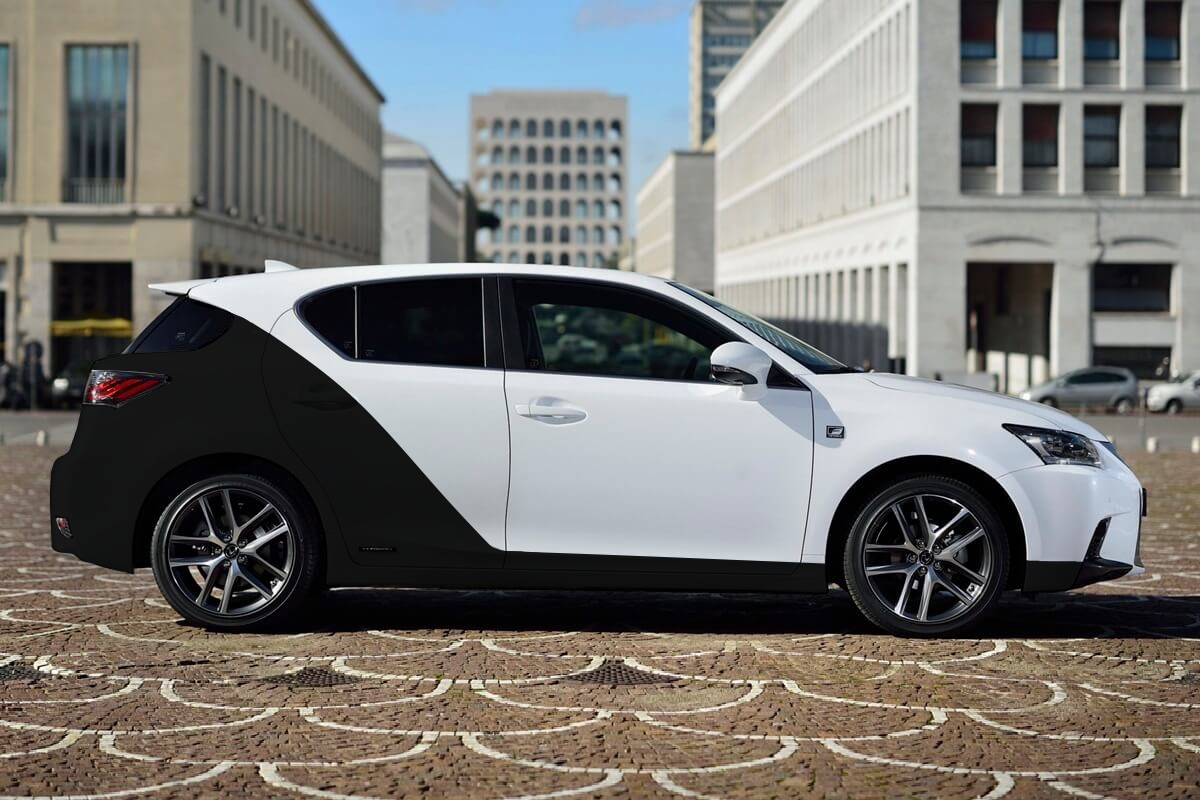
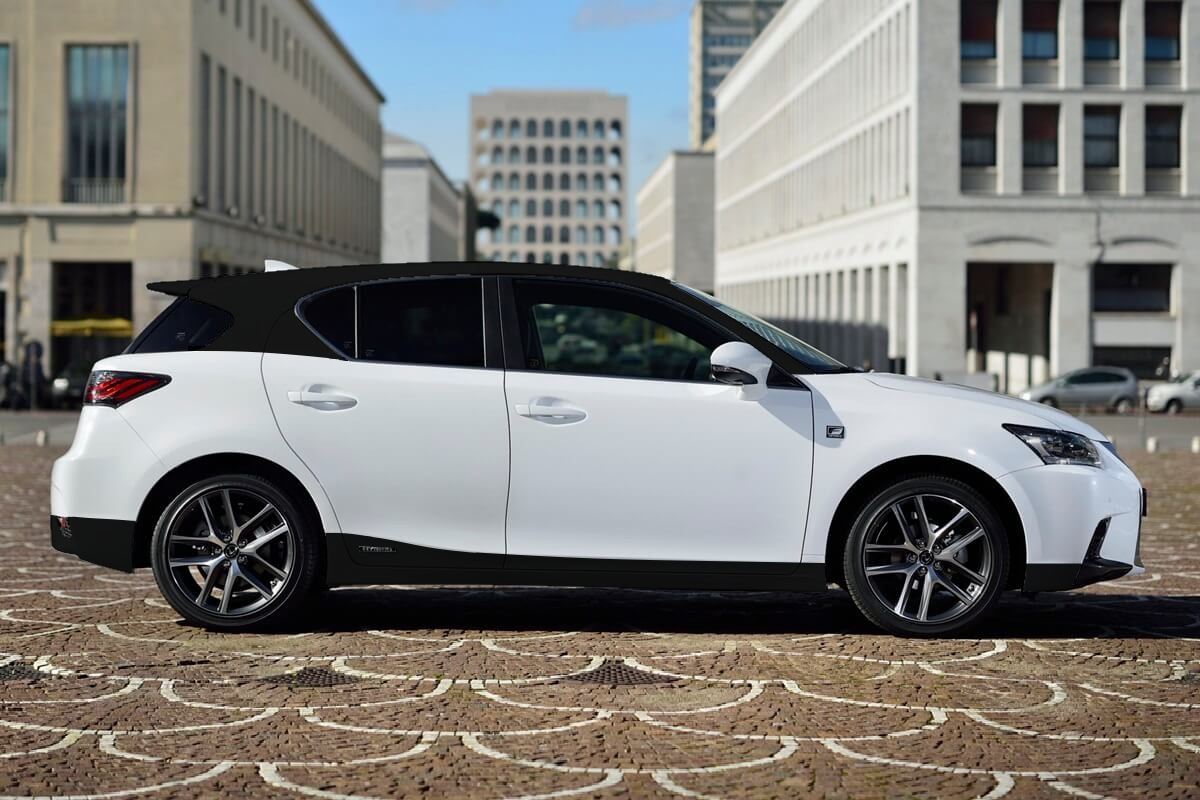
Inspired by the 2025 Toyota C-HR, I spent an afternoon drawing over a profile picture of a CT200h, what do you think?