
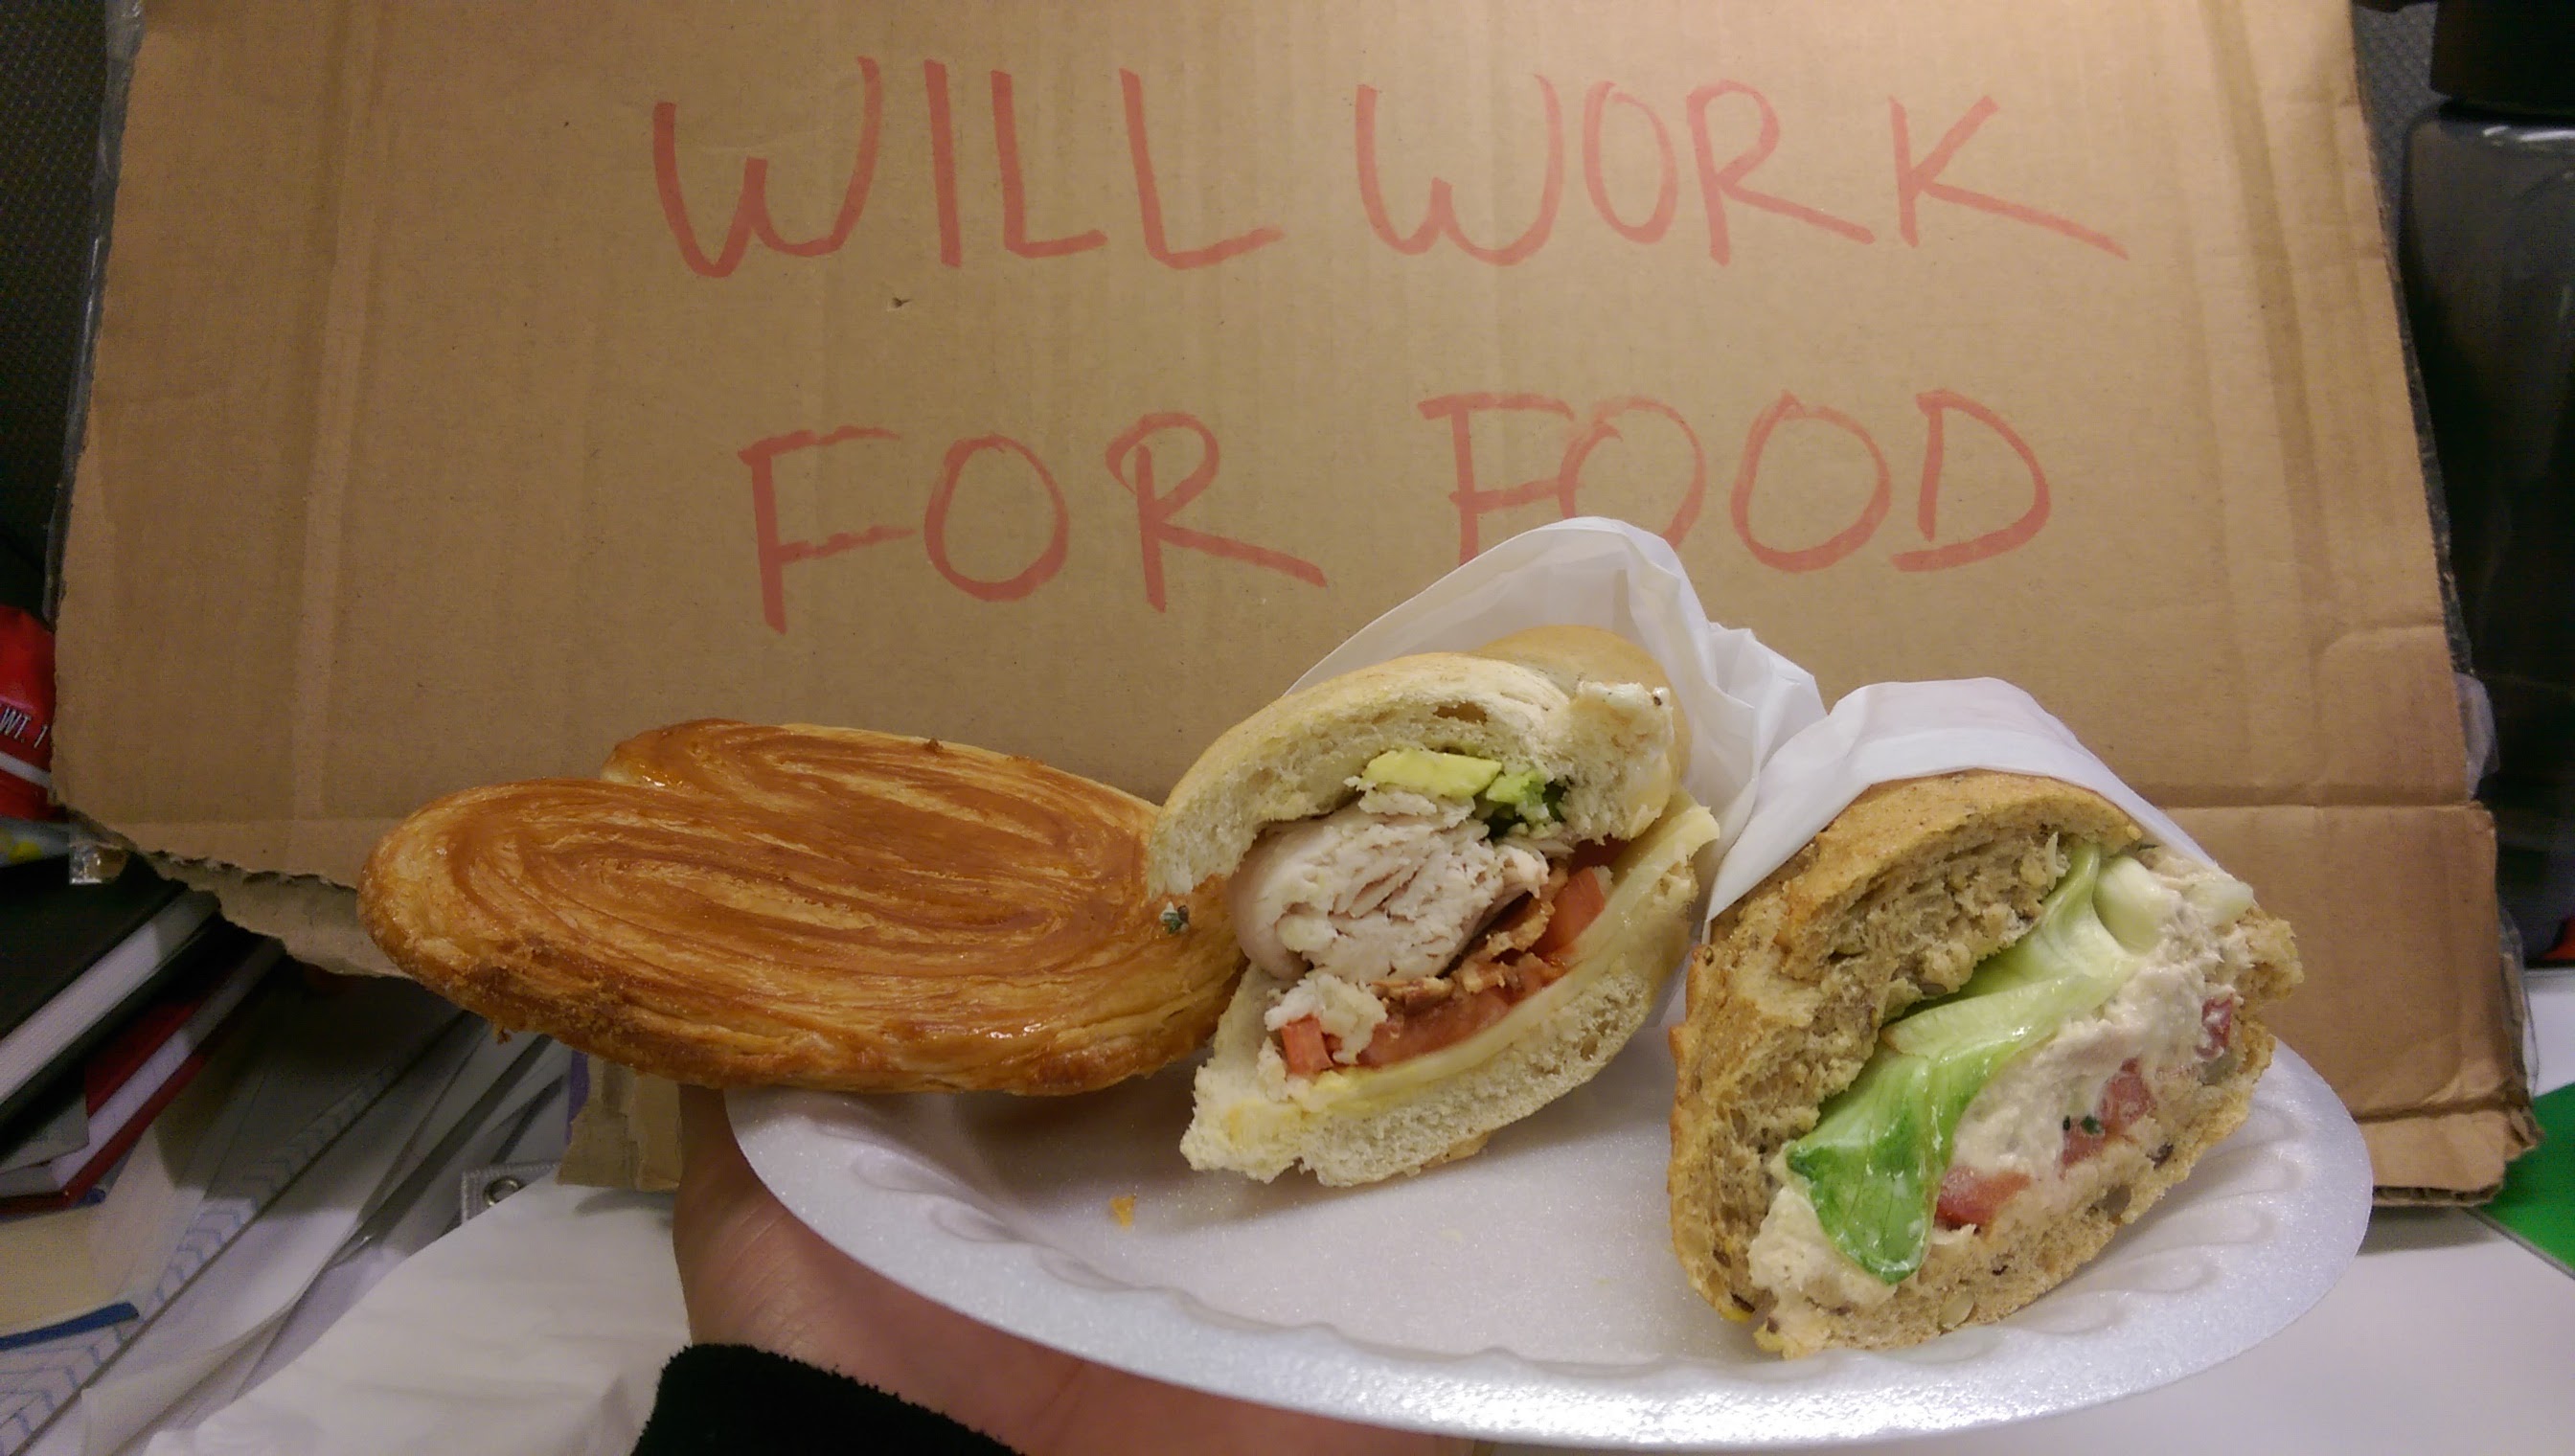
That’s it, thank you 😀

Listing: https://www.printables.com/model/1144913-keyboard-megashelf-sliding-keyboard-and-peripheral
That’s it, thank you 😀
Listing: https://www.printables.com/model/1144913-keyboard-megashelf-sliding-keyboard-and-peripheral

This is a simple one but solved elegantly and quickly because of CAD and 3D printing, I have an old bike repair stand that was falling apart, still working but overall wobbly and unreliable. I’ve been thinking about restoring it, but I got my hands on a much nicer and reliable one.
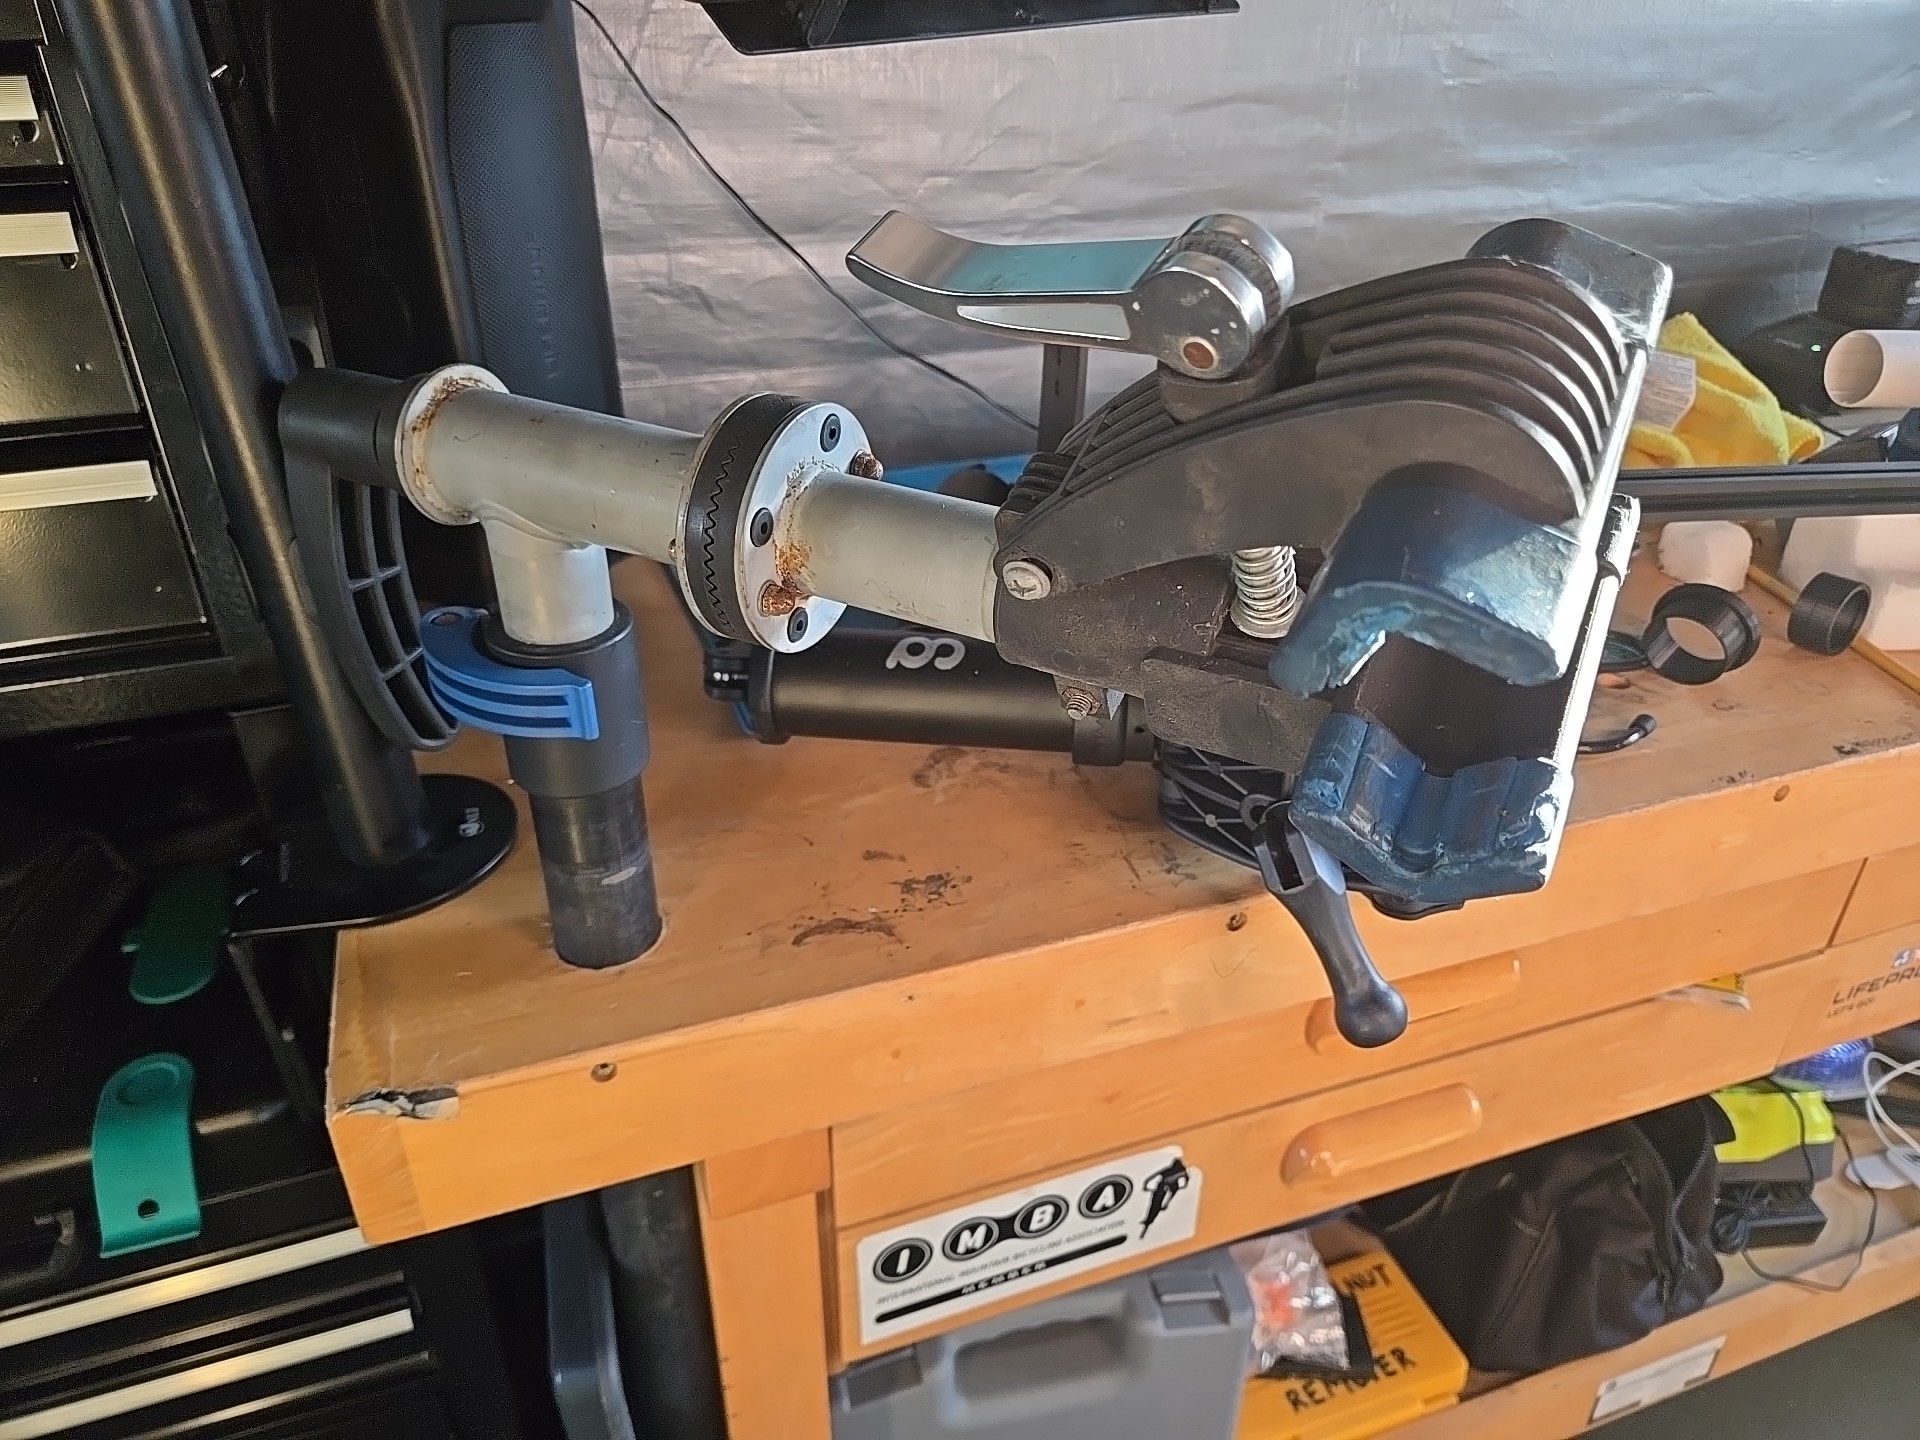
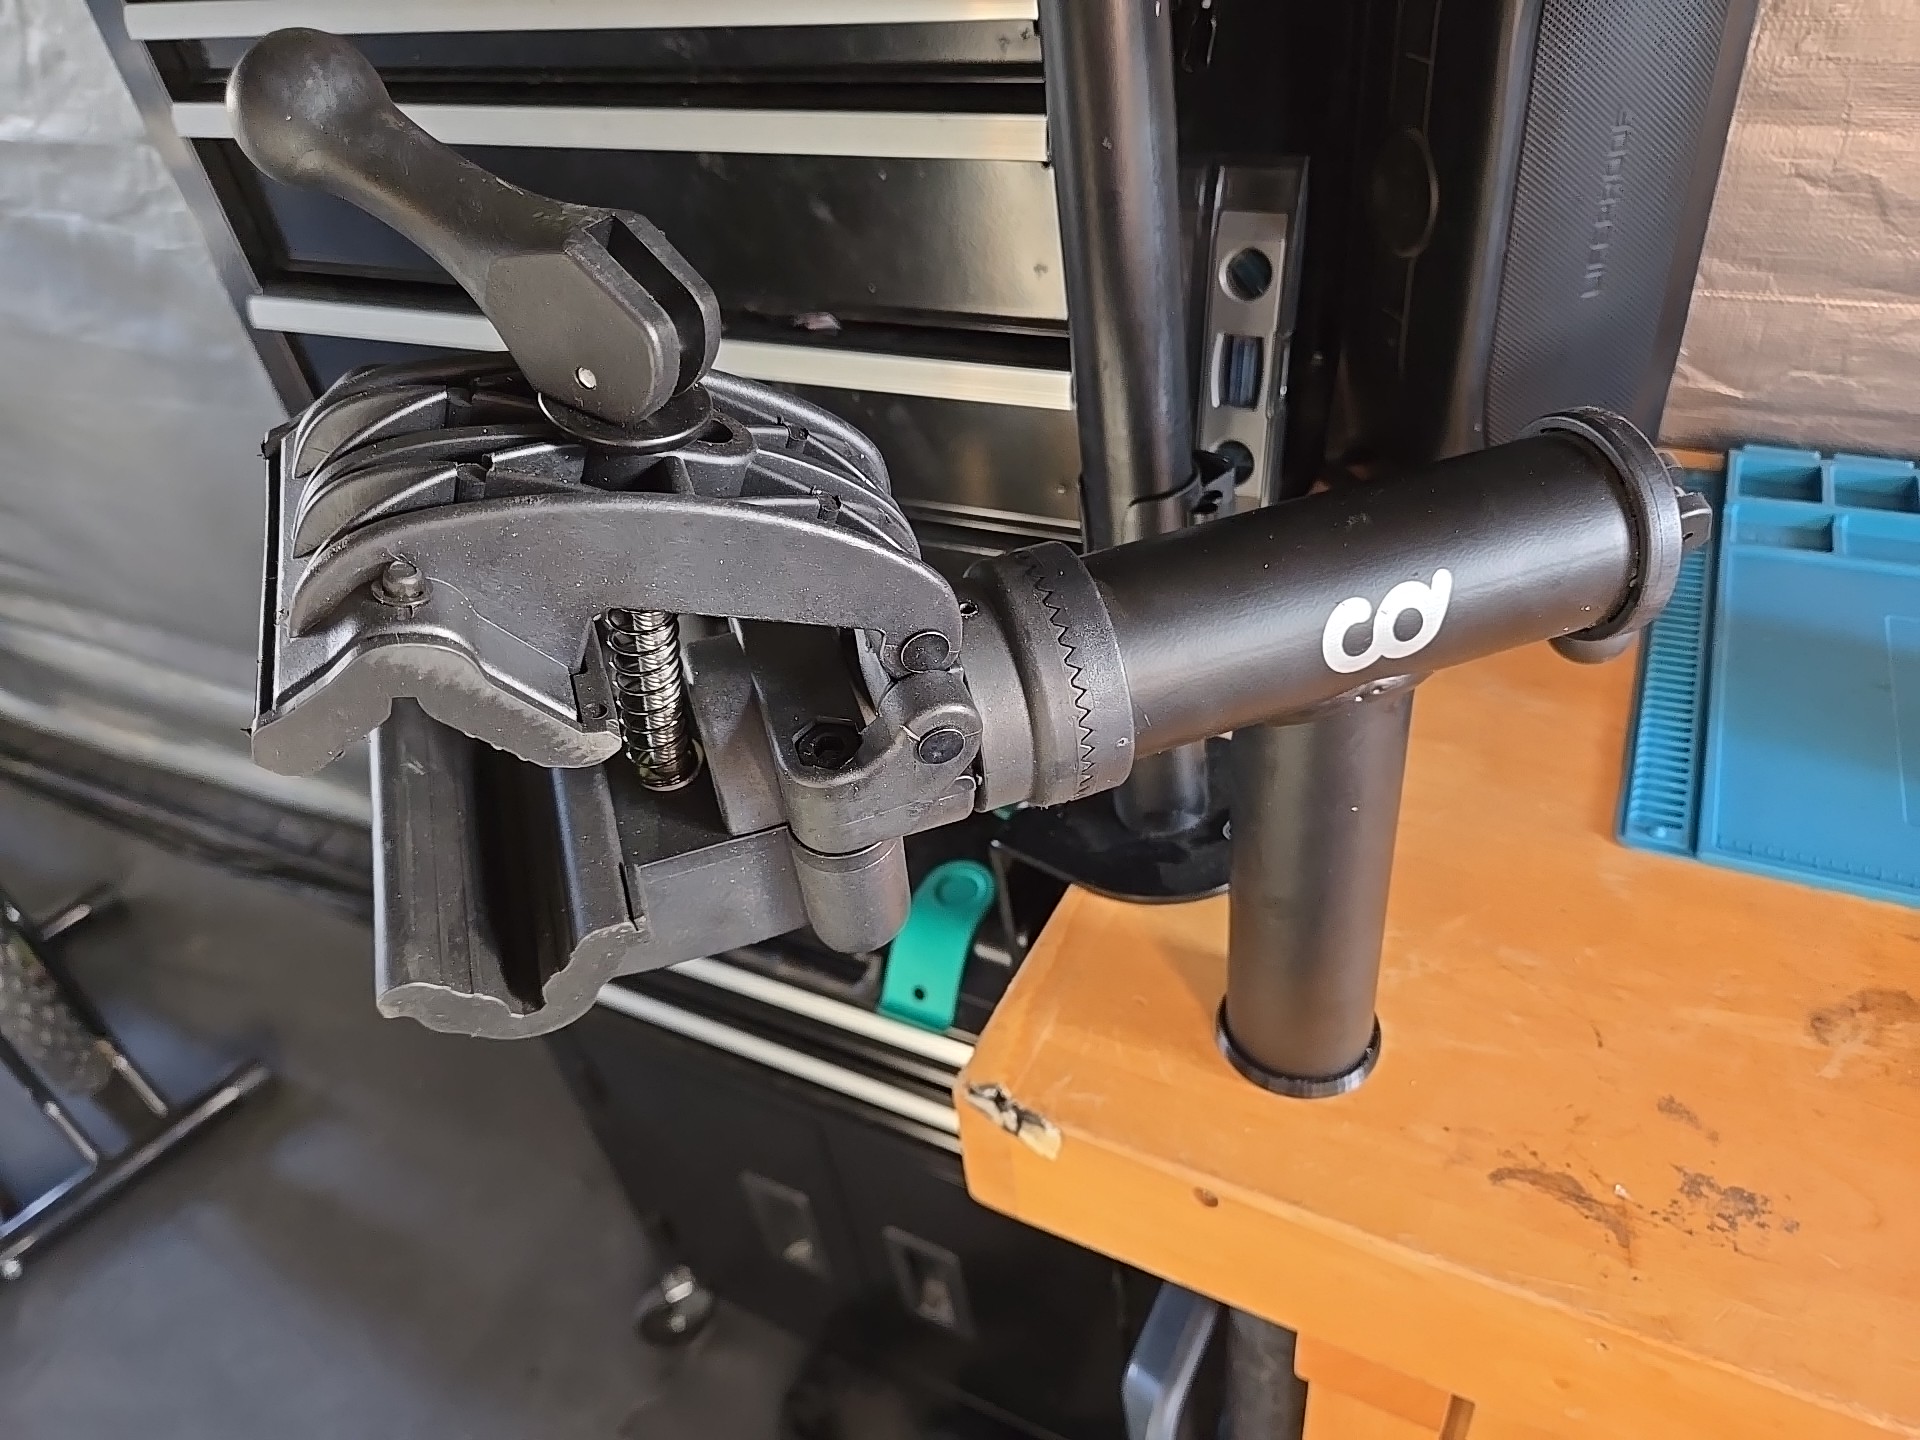
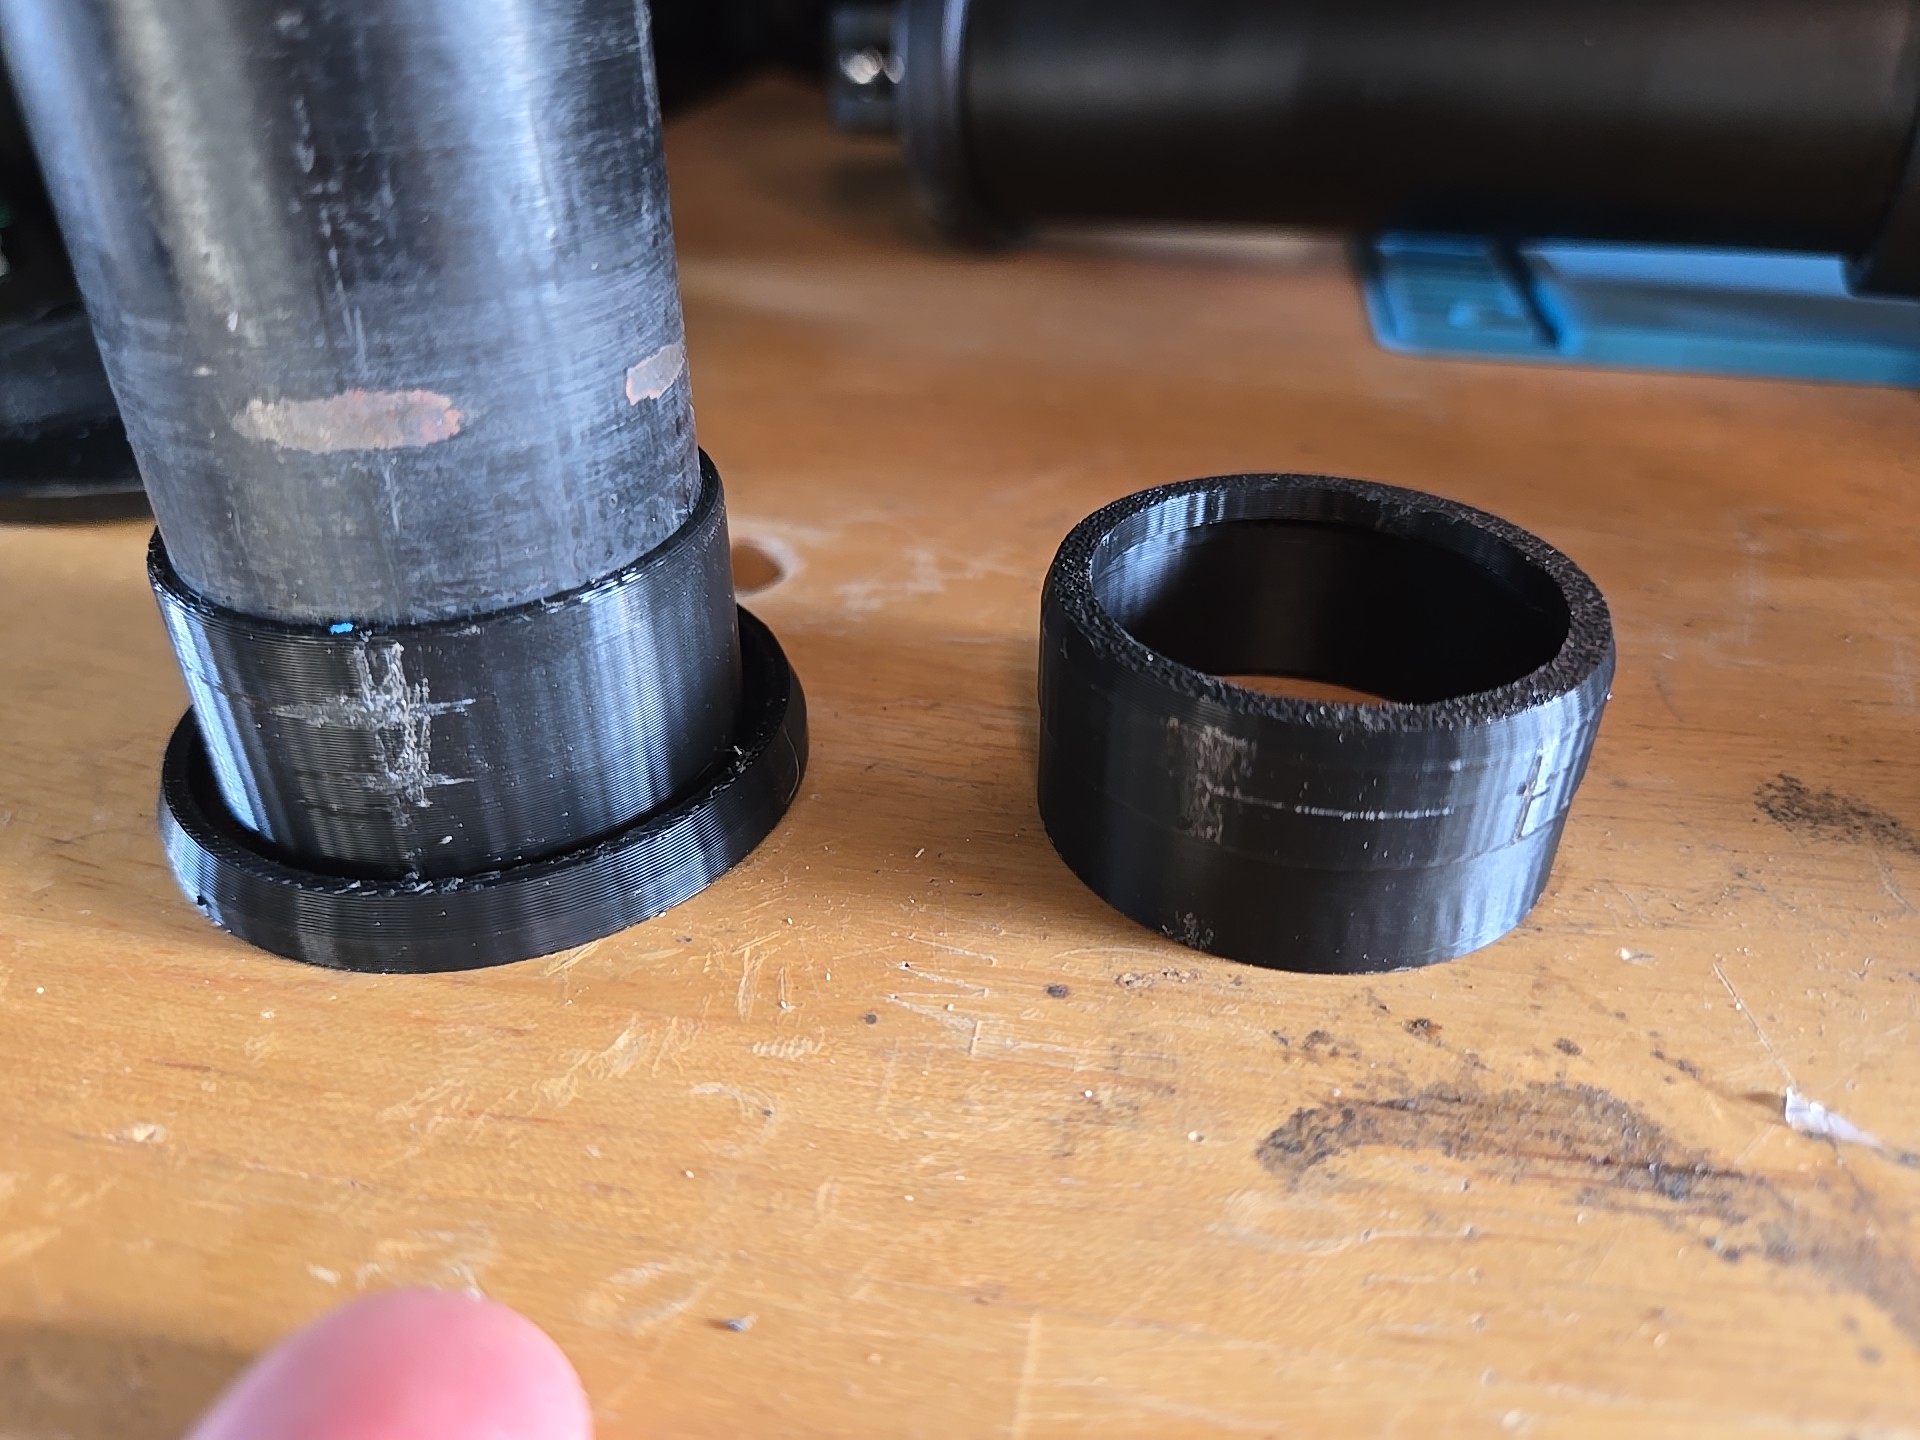
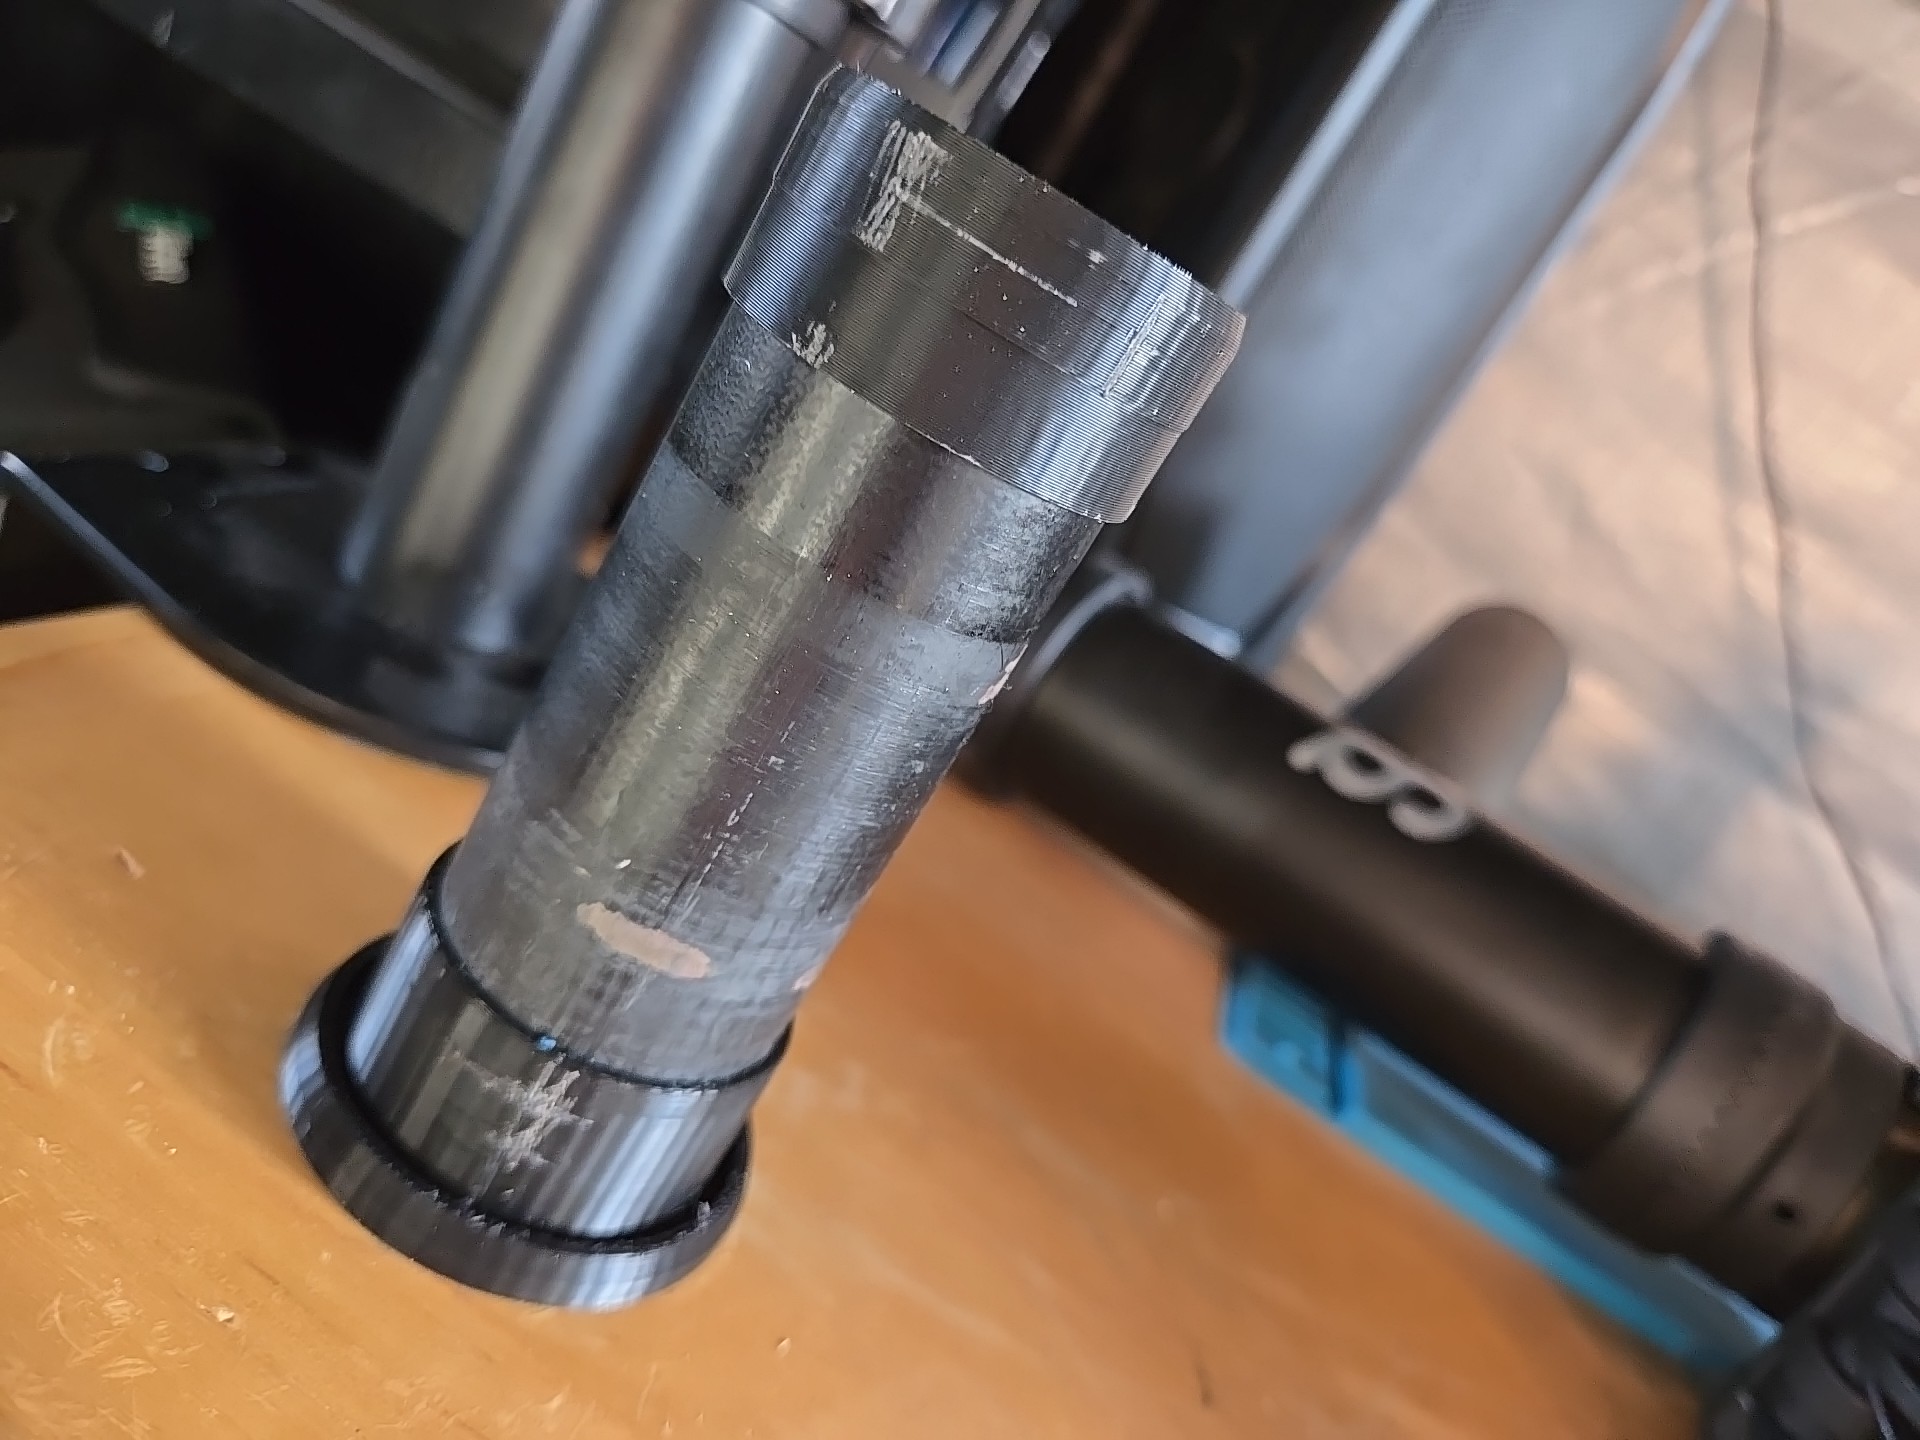
The old one was mounted by getting its main tube through the top and hose clamps to the leg. The new one had a huge bracket that could either be screwed to the wall or to a countertop. I already had a big tube firmly attached to the bench so I wanted to reuse that. Well, the new stand’s tube is bigger than the old one’s so I needed to add a spacer to it and there’s a million ways to do that. I have CAD and a 3D printer so I took that route.
I was going to write something simple and short; this is just a solution to fit one tube over a smaller one but here I am, starting SolidWorks and a design walkthrough. I can’t stop now, sorry.
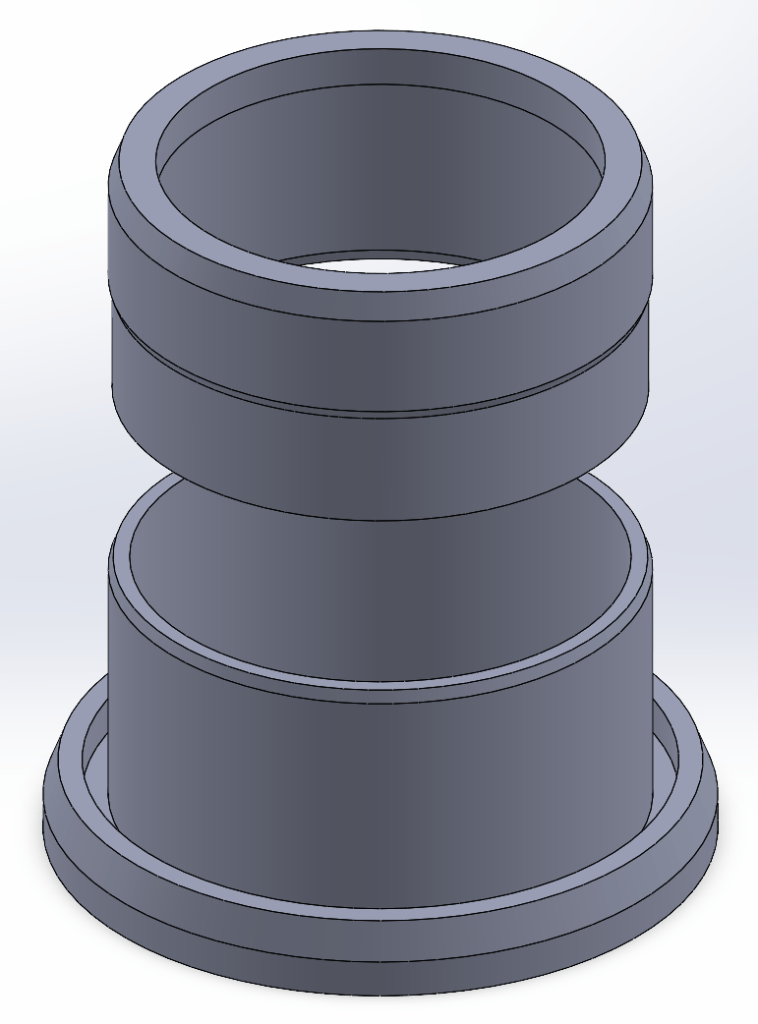
The fixed tubing protruded about 5 inches from the benchtop, but the spacer didn’t have to go the whole way through, I didn’t want both to bind and also it was an unneeded waste of material and time, so I thought of making it in two parts, a base and a cap.
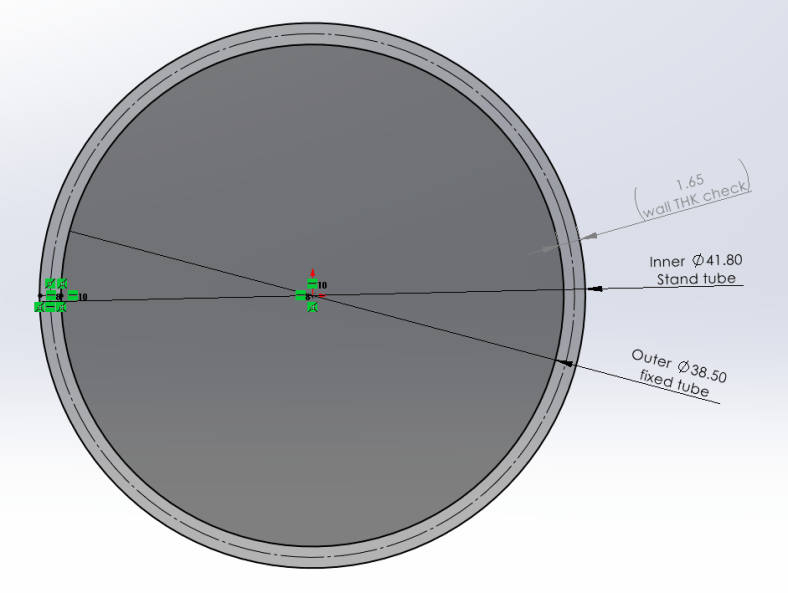
I usually start by sketching and sometimes modeling the reference material, in this case it would be the fixed tube and the new stand tubing but it was supposed to be something quick so I sketched the outer diameter + clearance of the fixed tube and the inner diameter plus clearance of the new stand tubing to use as reference for the cross-section.
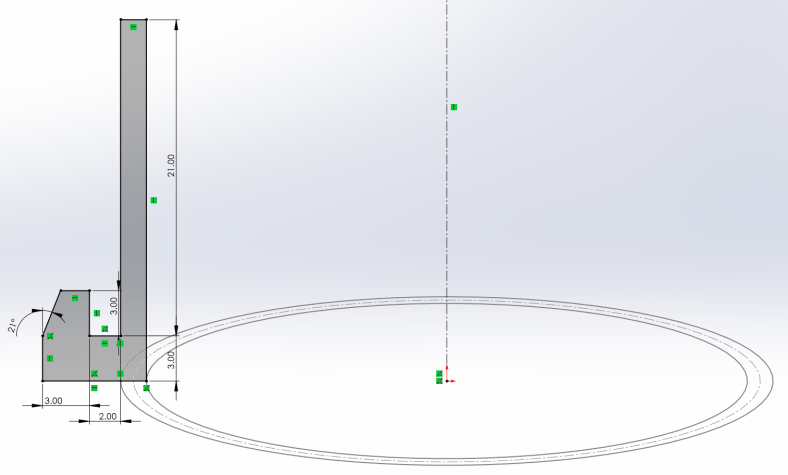
Started with the base, added a bottom flange to protect the benchtop from the stand tube as it rotates and then flanged again up to hide its edge. Revolve feature, straight-forward.
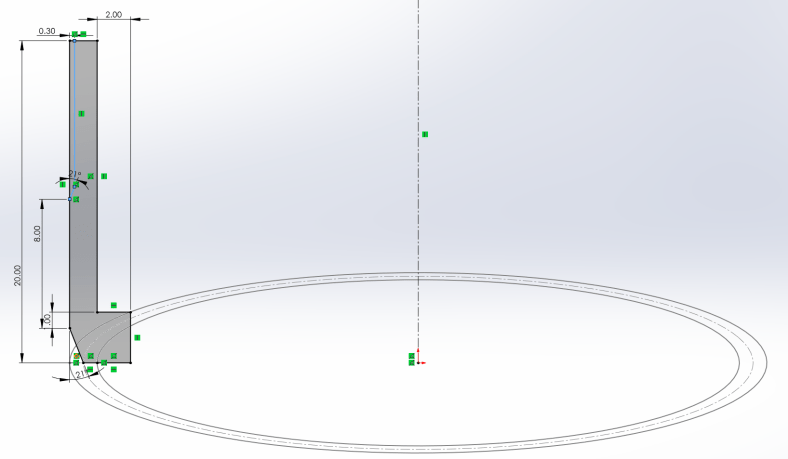
Then the cap, designed inverted for ease of 3D printing, added a flange as a stop over the fixed tube and a chamfer to facilitate the stand insertion. Again, revolved sketch.
And this is it, I reduced outside material on the cap to reduce friction from the stand. For testing, I printed small sections of each (about 6mm) to quickly test fit and kept tweaking the first sketch until I got a good press-fit for the fixed tube and a slip-fit for the new stand.


Product listing if interested:

I didn’t because it hadn’t crossed my mind, and I got the new one almost for free which is a very nice upgrade overall in usability and materials. Now that I think of it, it could be a cool future project, but then I don’t think that the 3D printed PLA/PETG parts would stand better than the original injection molded ABS.
What would I have used if I didn’t have a 3D printer? Masking tape? I don’t know, what would be your approach with your skills and equipment? Machining? Turning? Getting rid of the tube and screw the stand to the wall or bench? My bike “shop” is a 7ft x 5ft portable shed so no walls and didn’t want to reduce the bench top area with the big bracket.
I just posted some designing details for FanSwap as a project in this site, this is a high-level thought process, posting it as a project will make it easier to follow as I update it, it’s available on the left menu but I won’t make you look there, you can also click here.
*UPDATE: My heart goes out to everyone involved and I have no doubt in your skills and passion and that you will succeed wherever you set foot, I’m here for anything you need help with, my contact details are here.
*UPDATE2: Thank you everyone for your kind and encouraging words, I’m overwhelmed by the vast amount of support in these tough times.
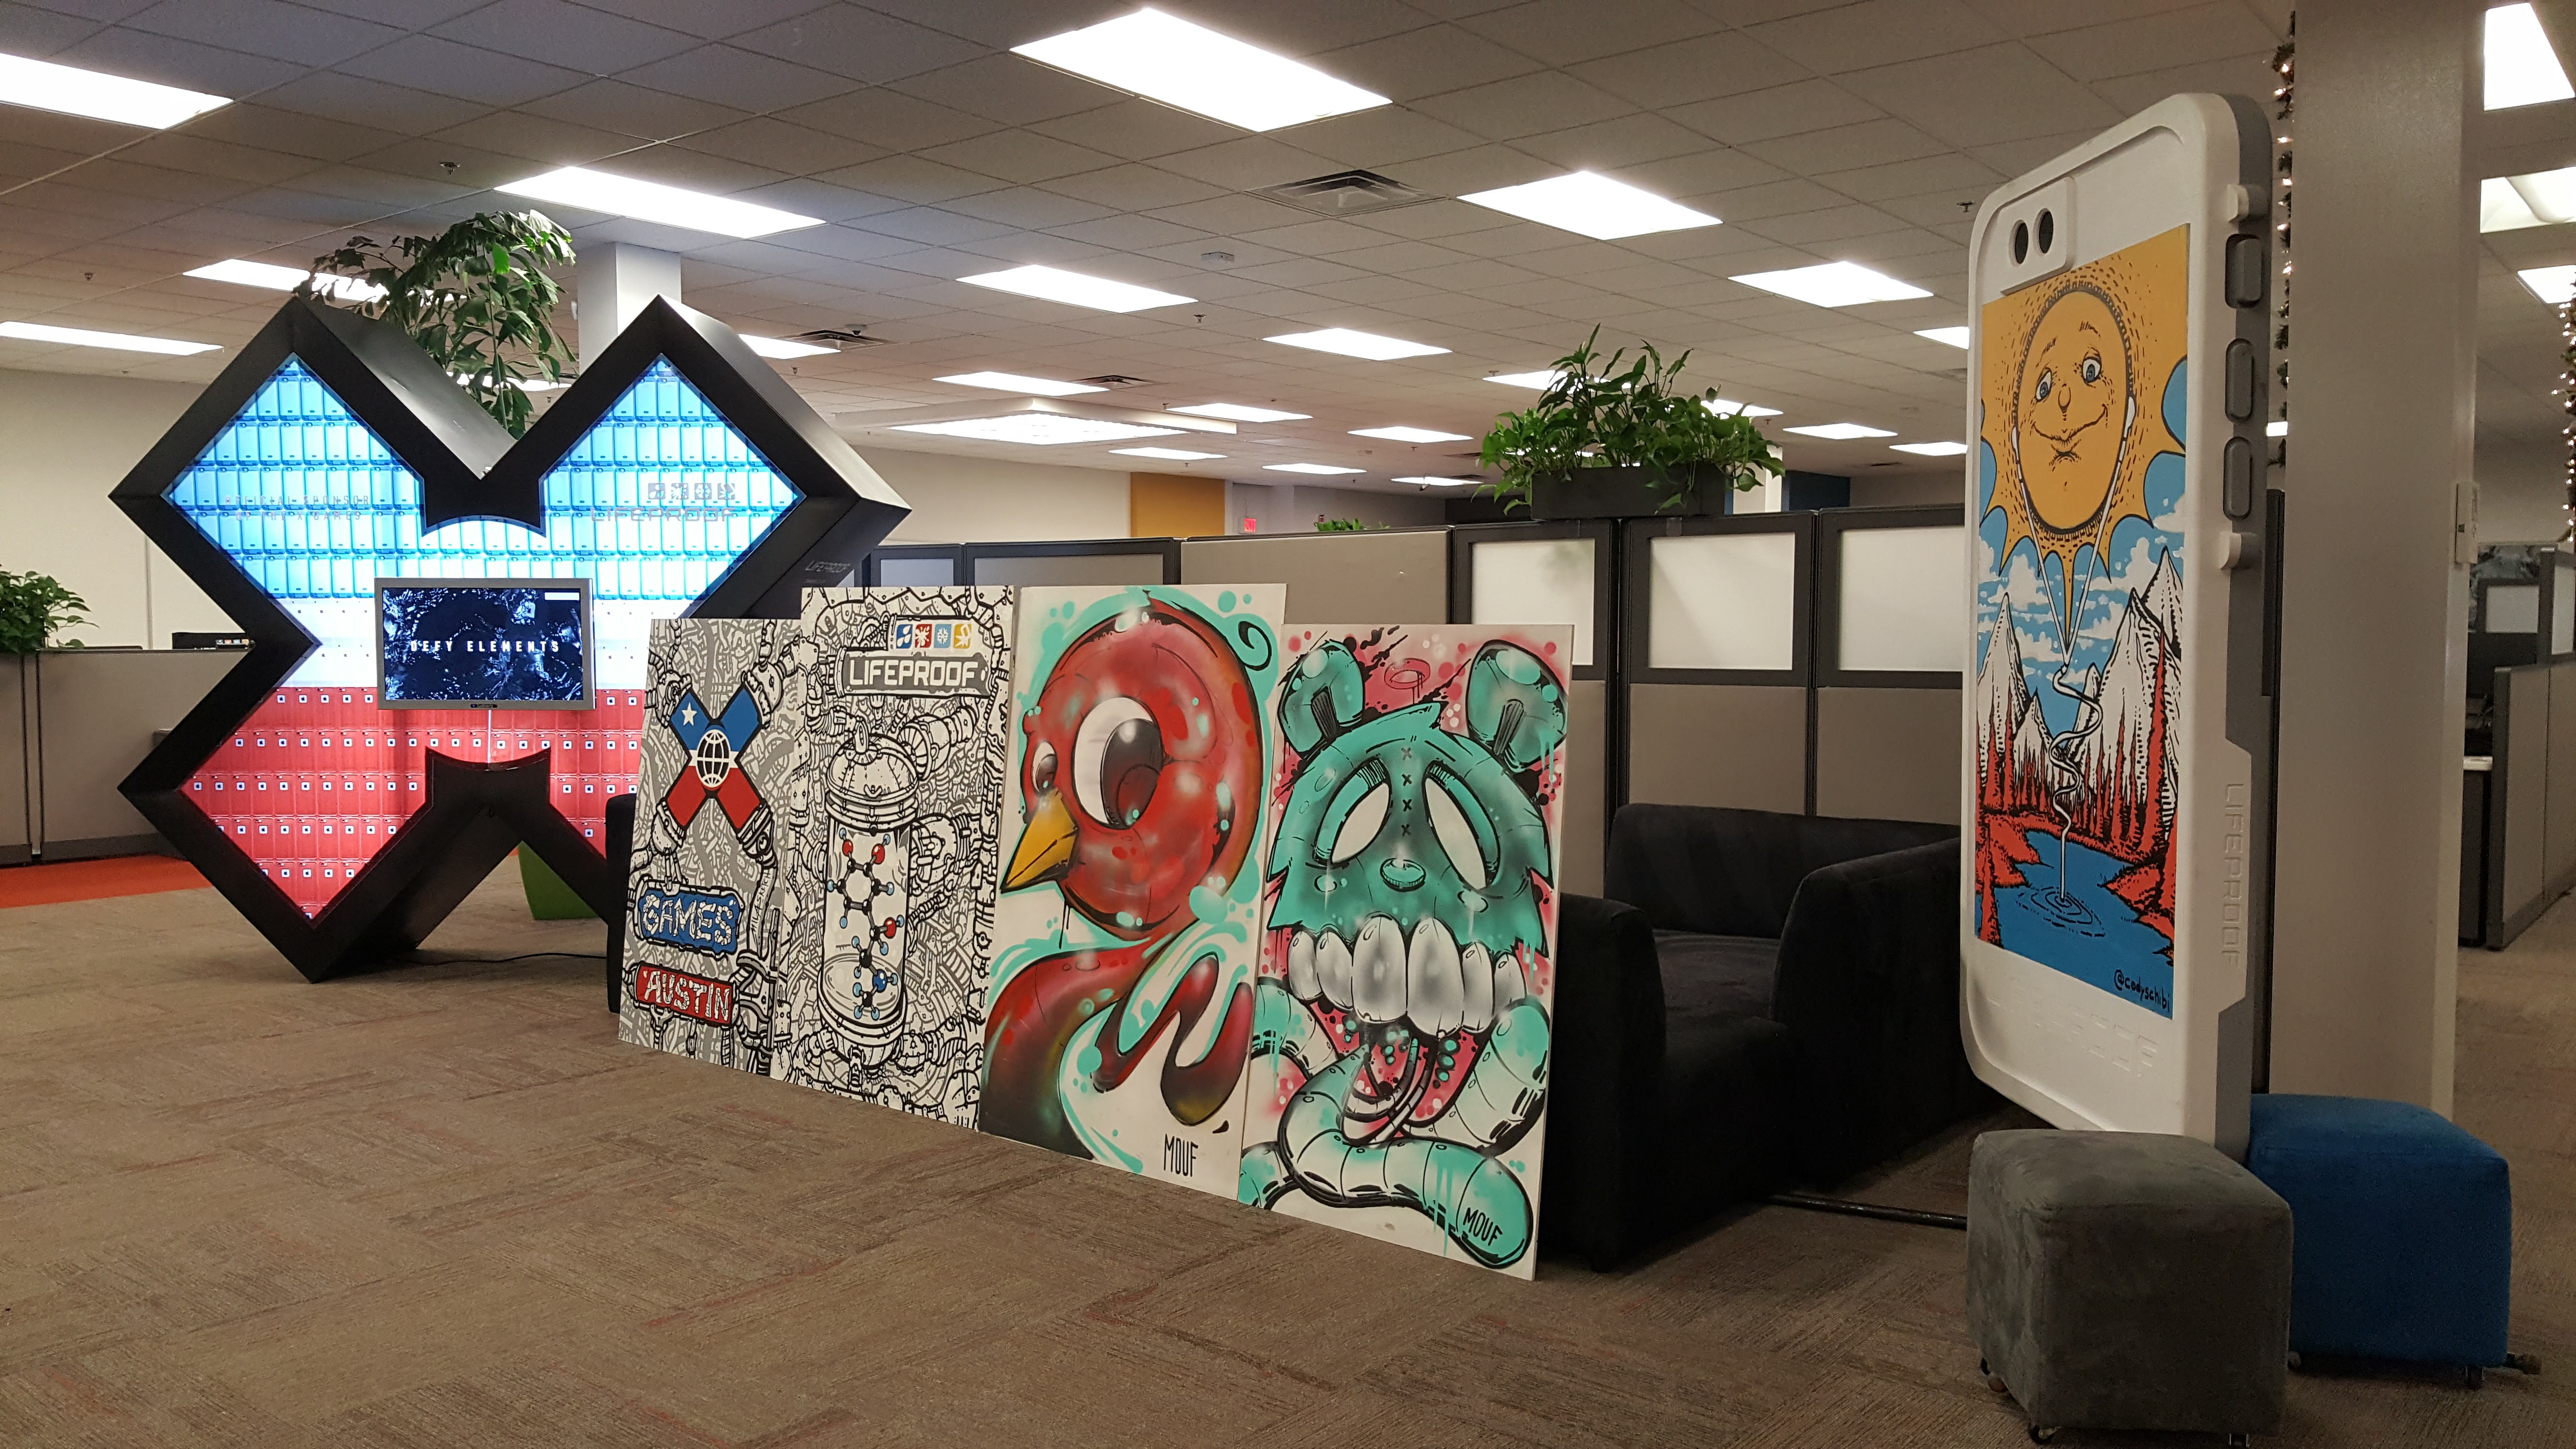
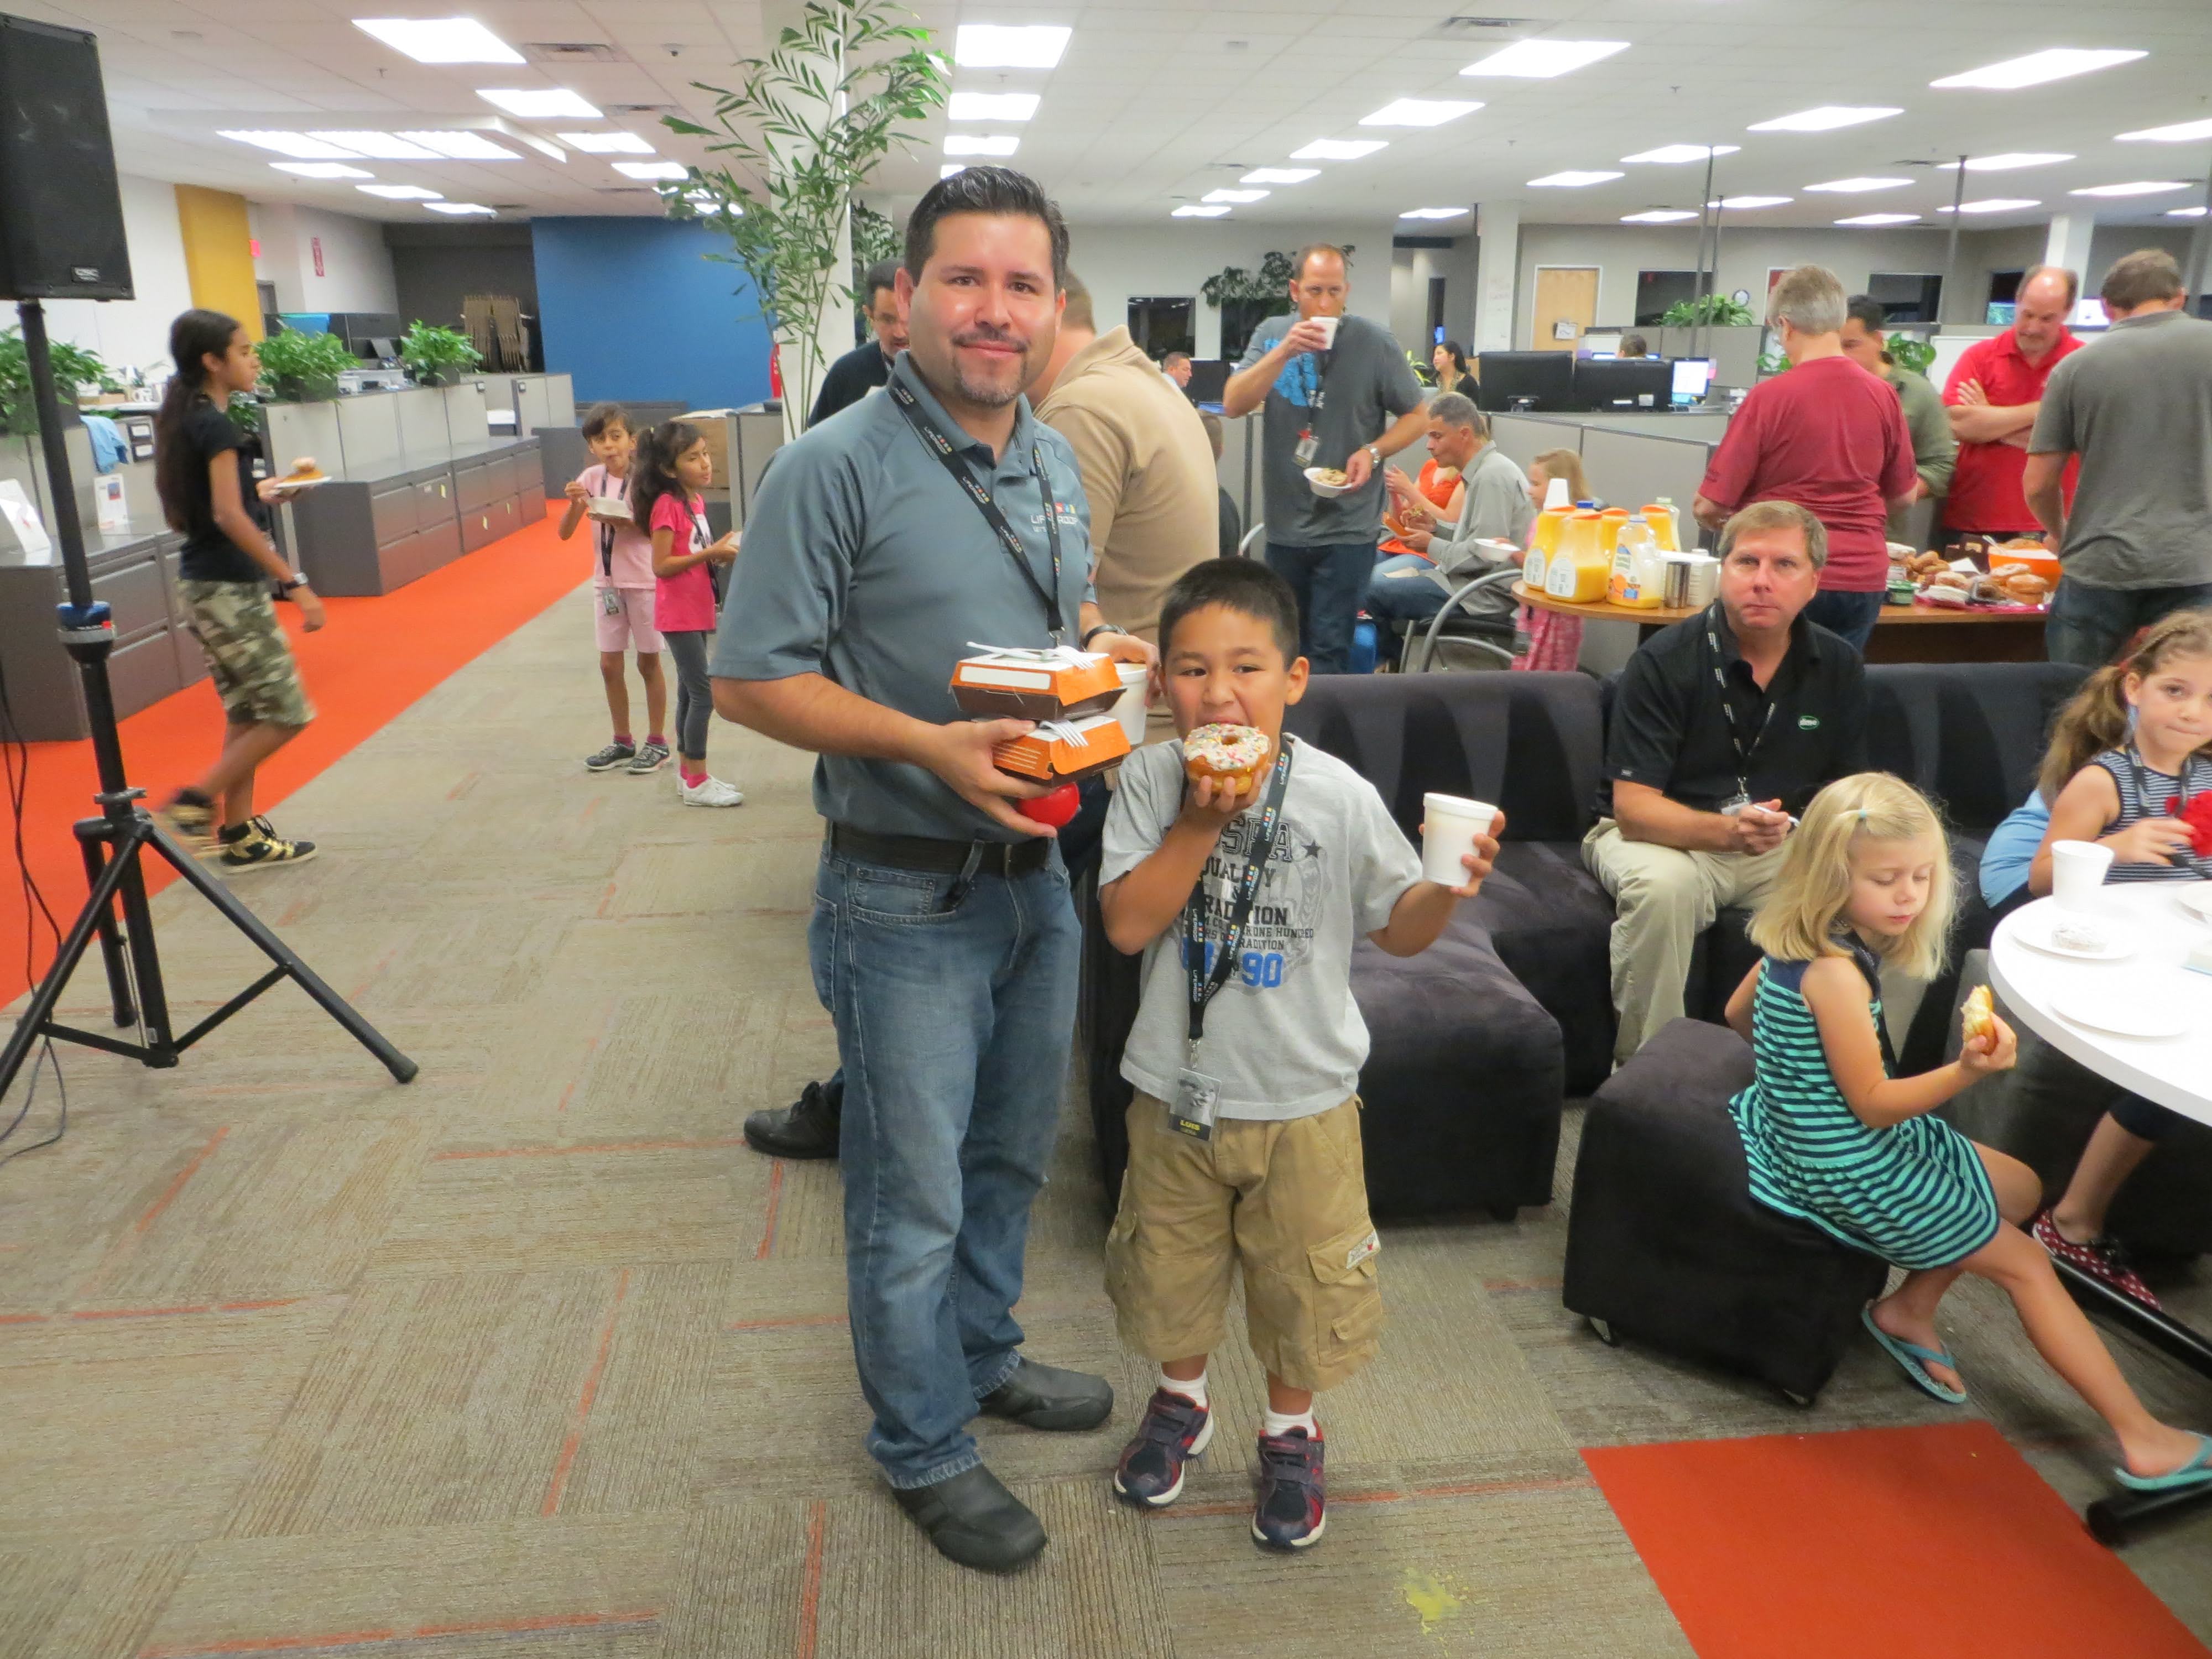
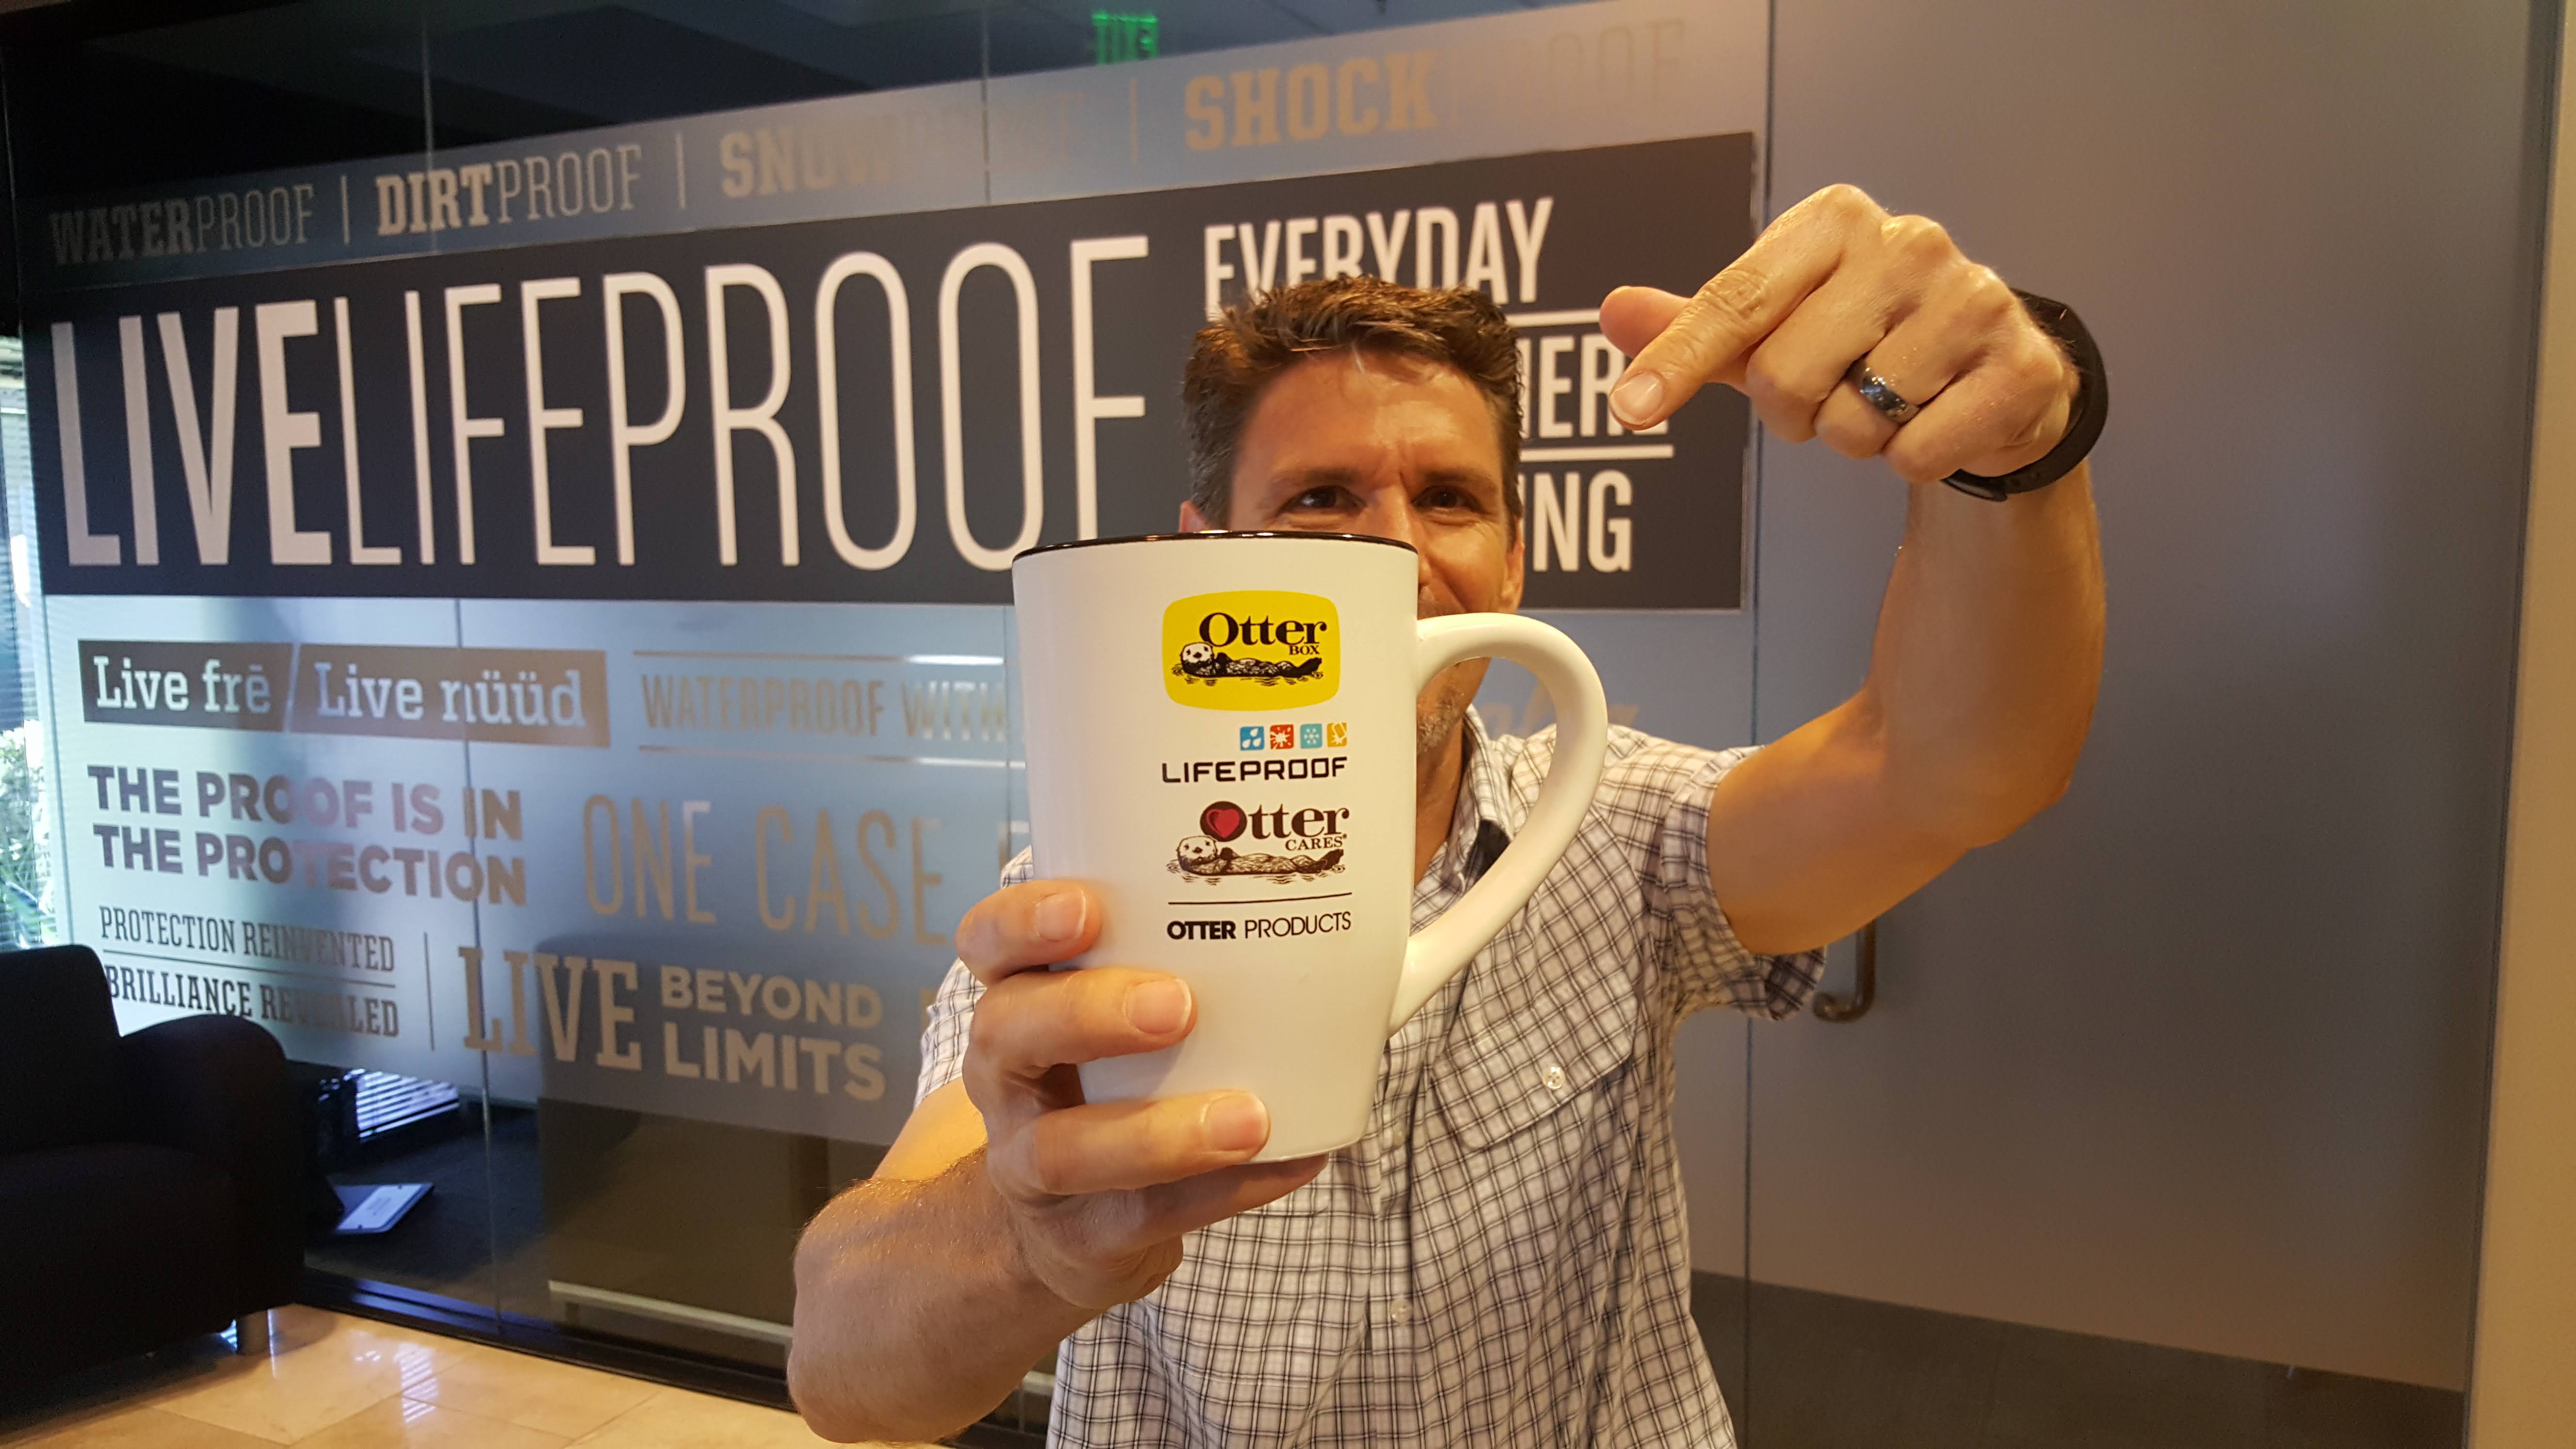
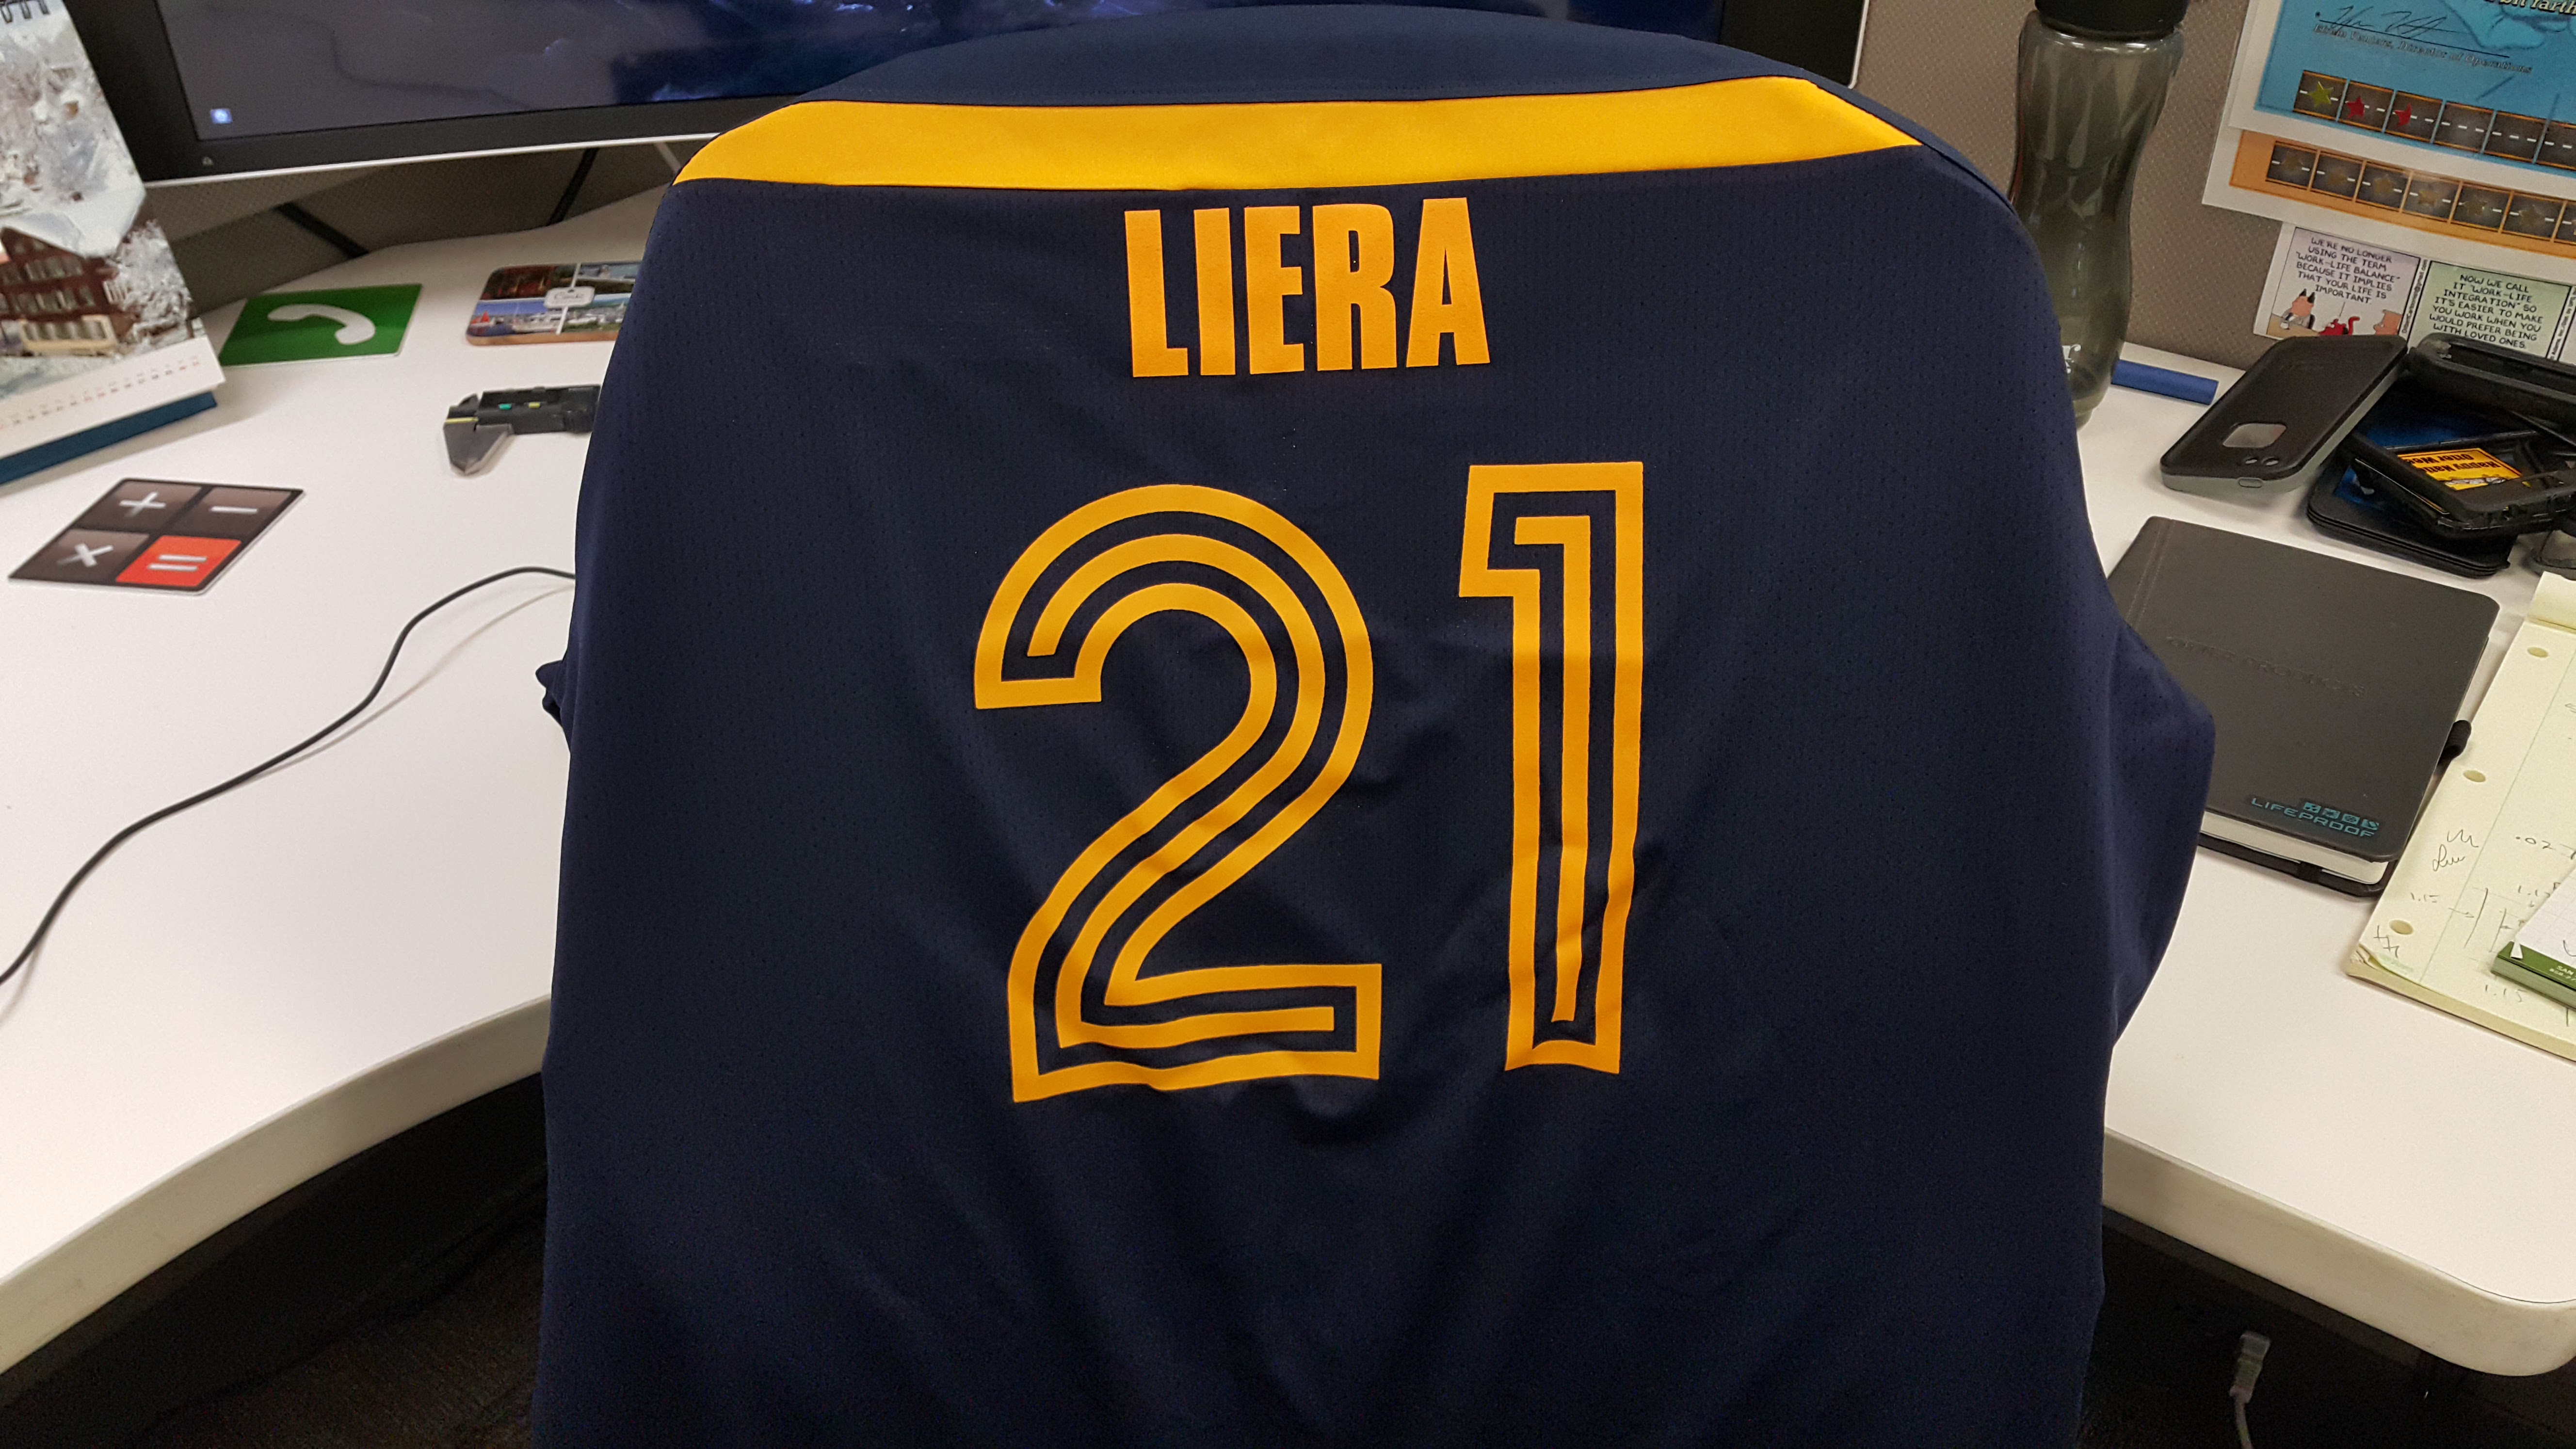
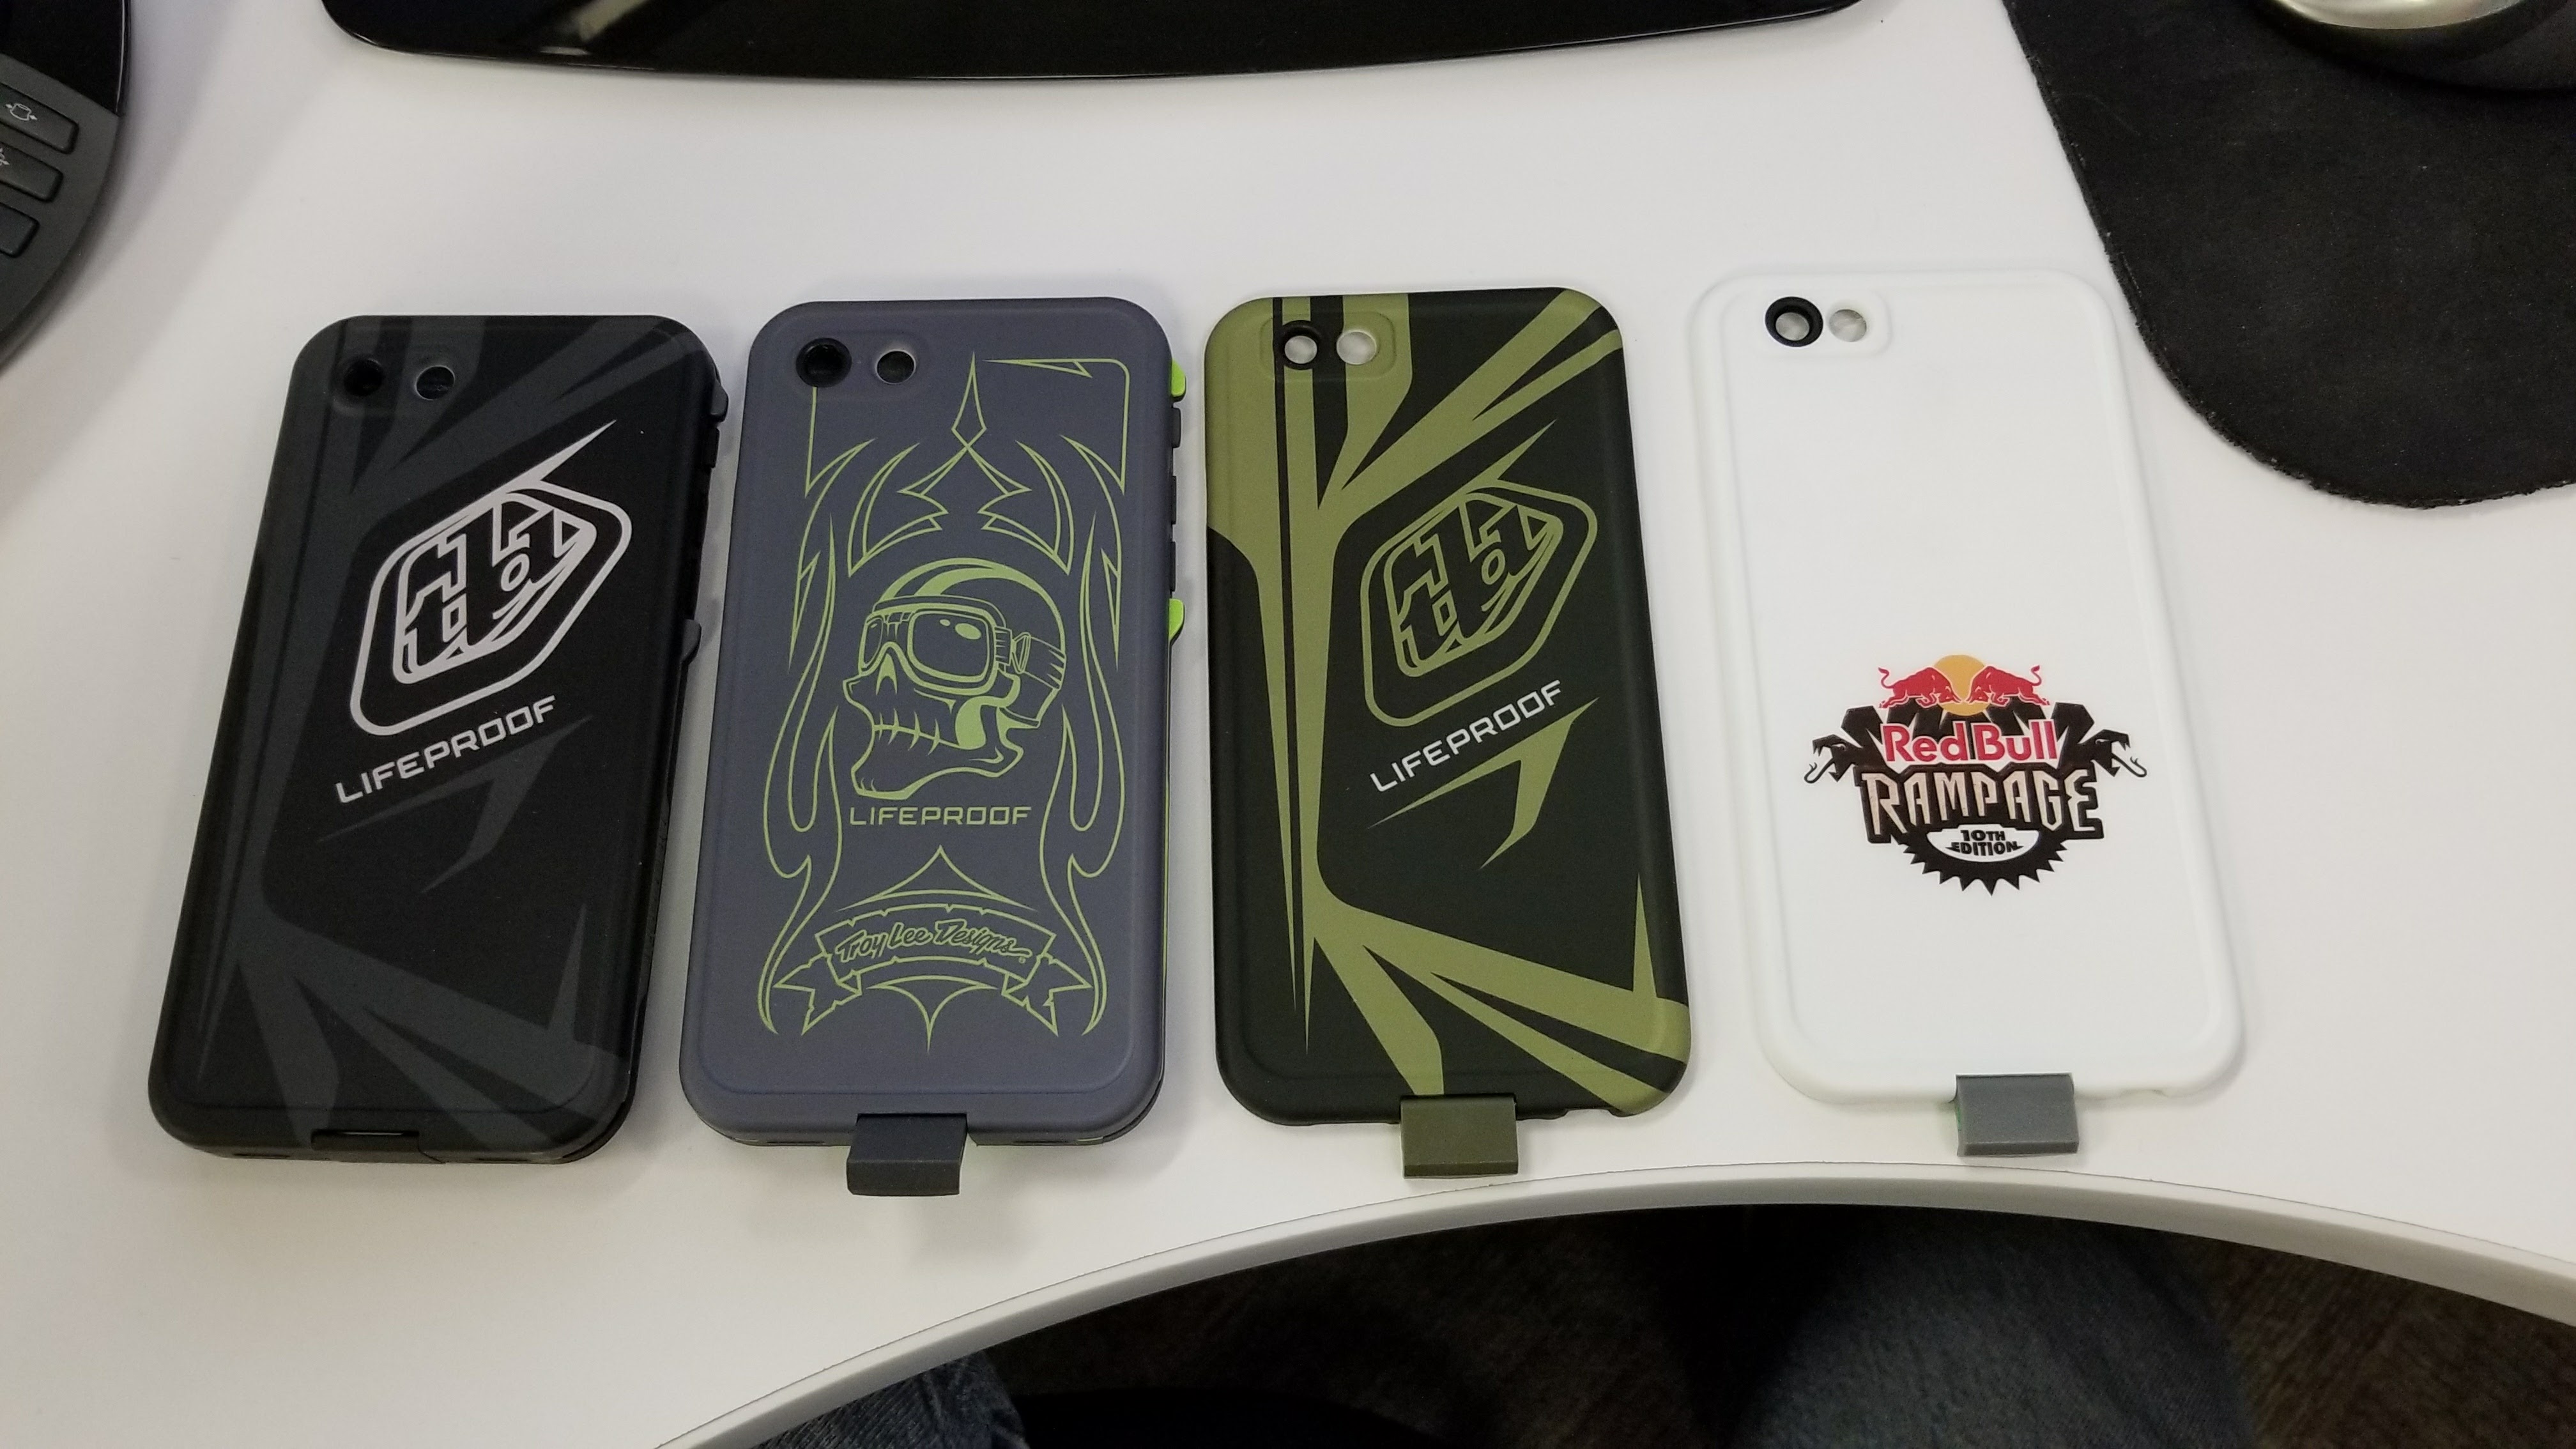
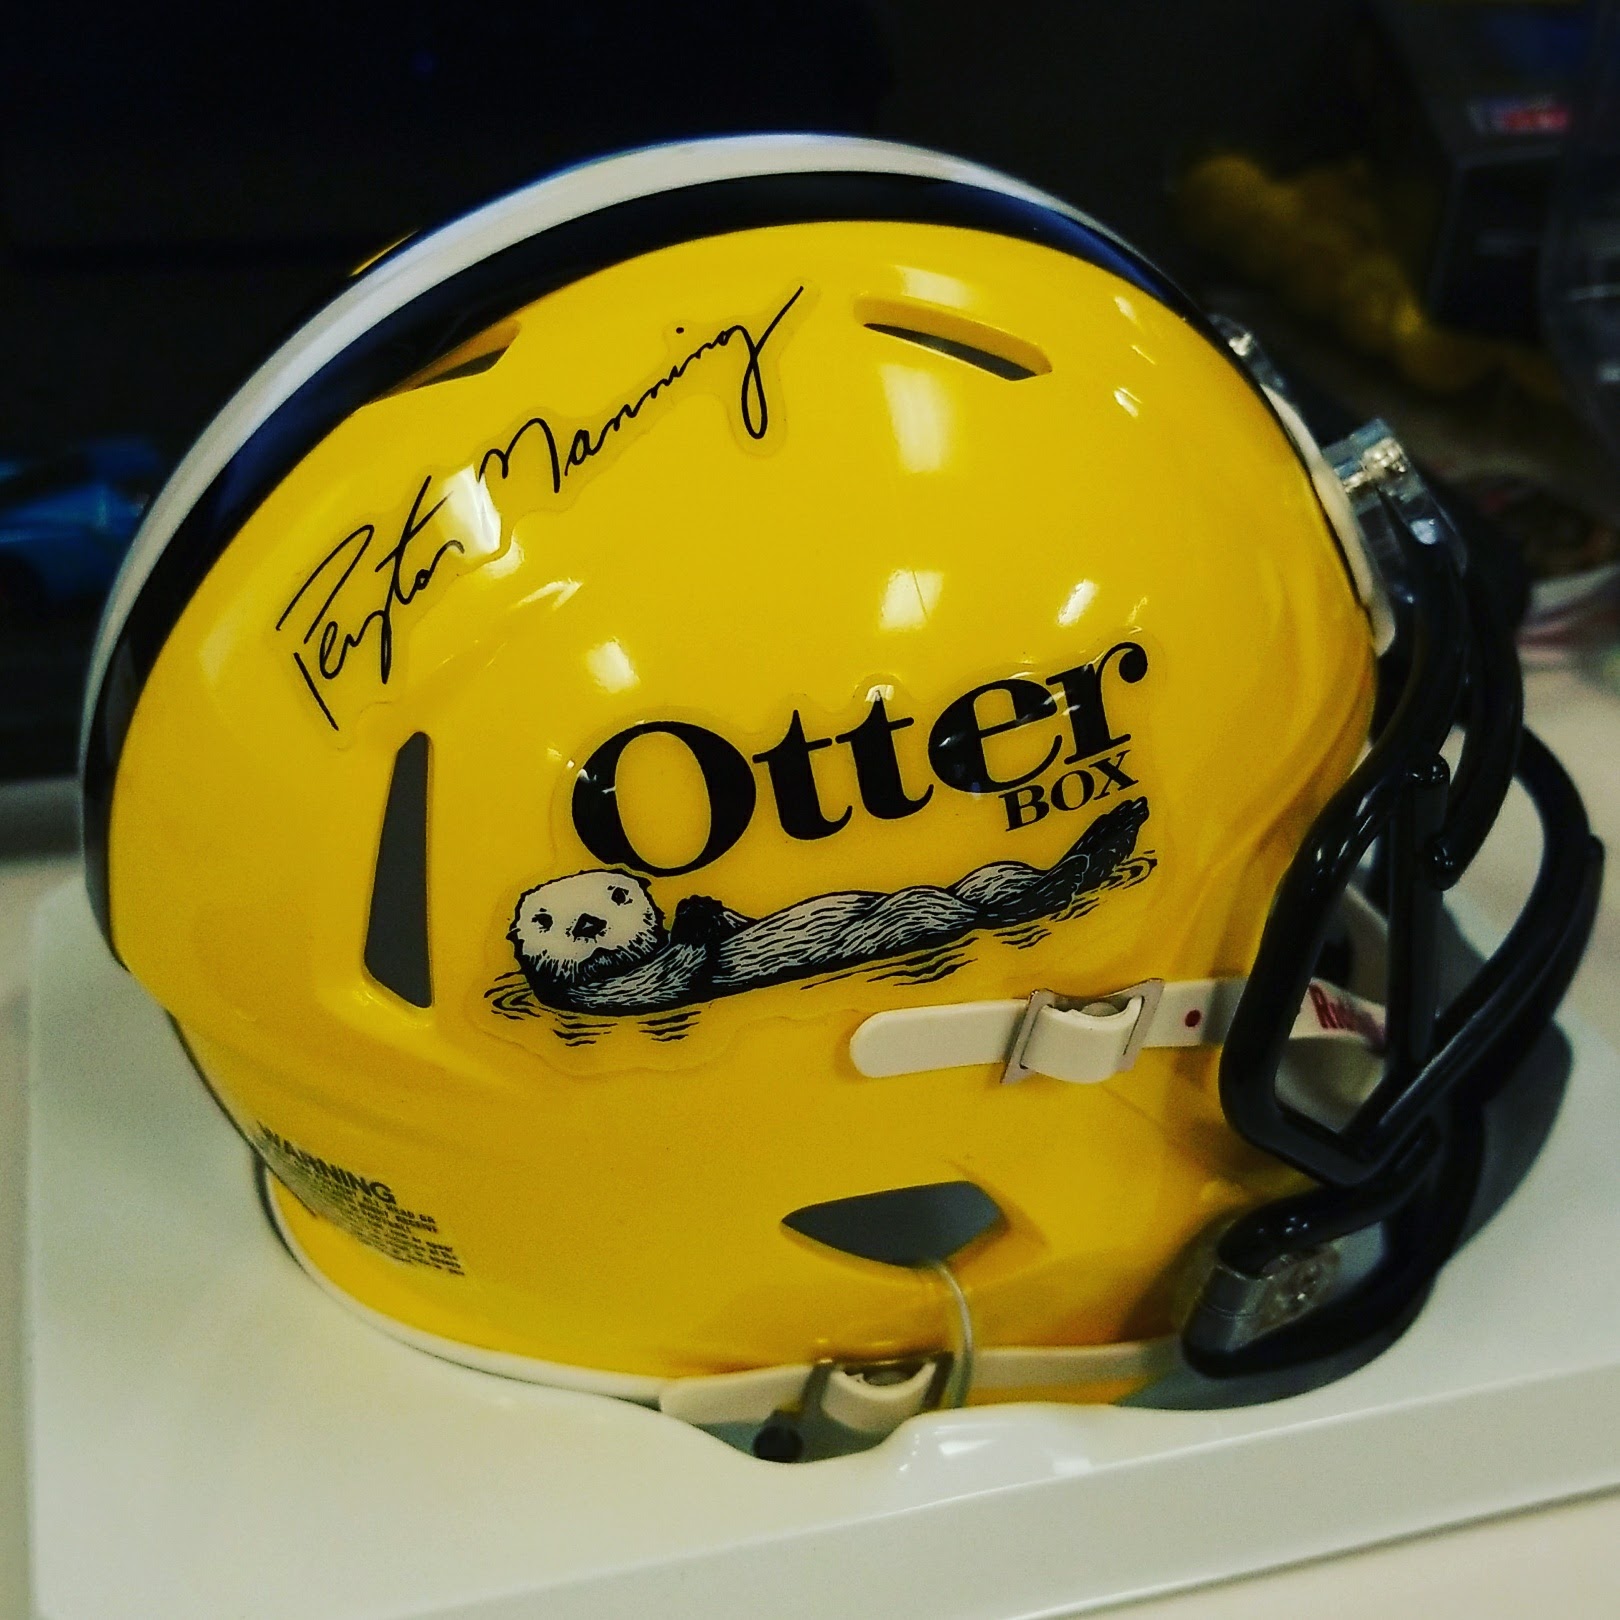
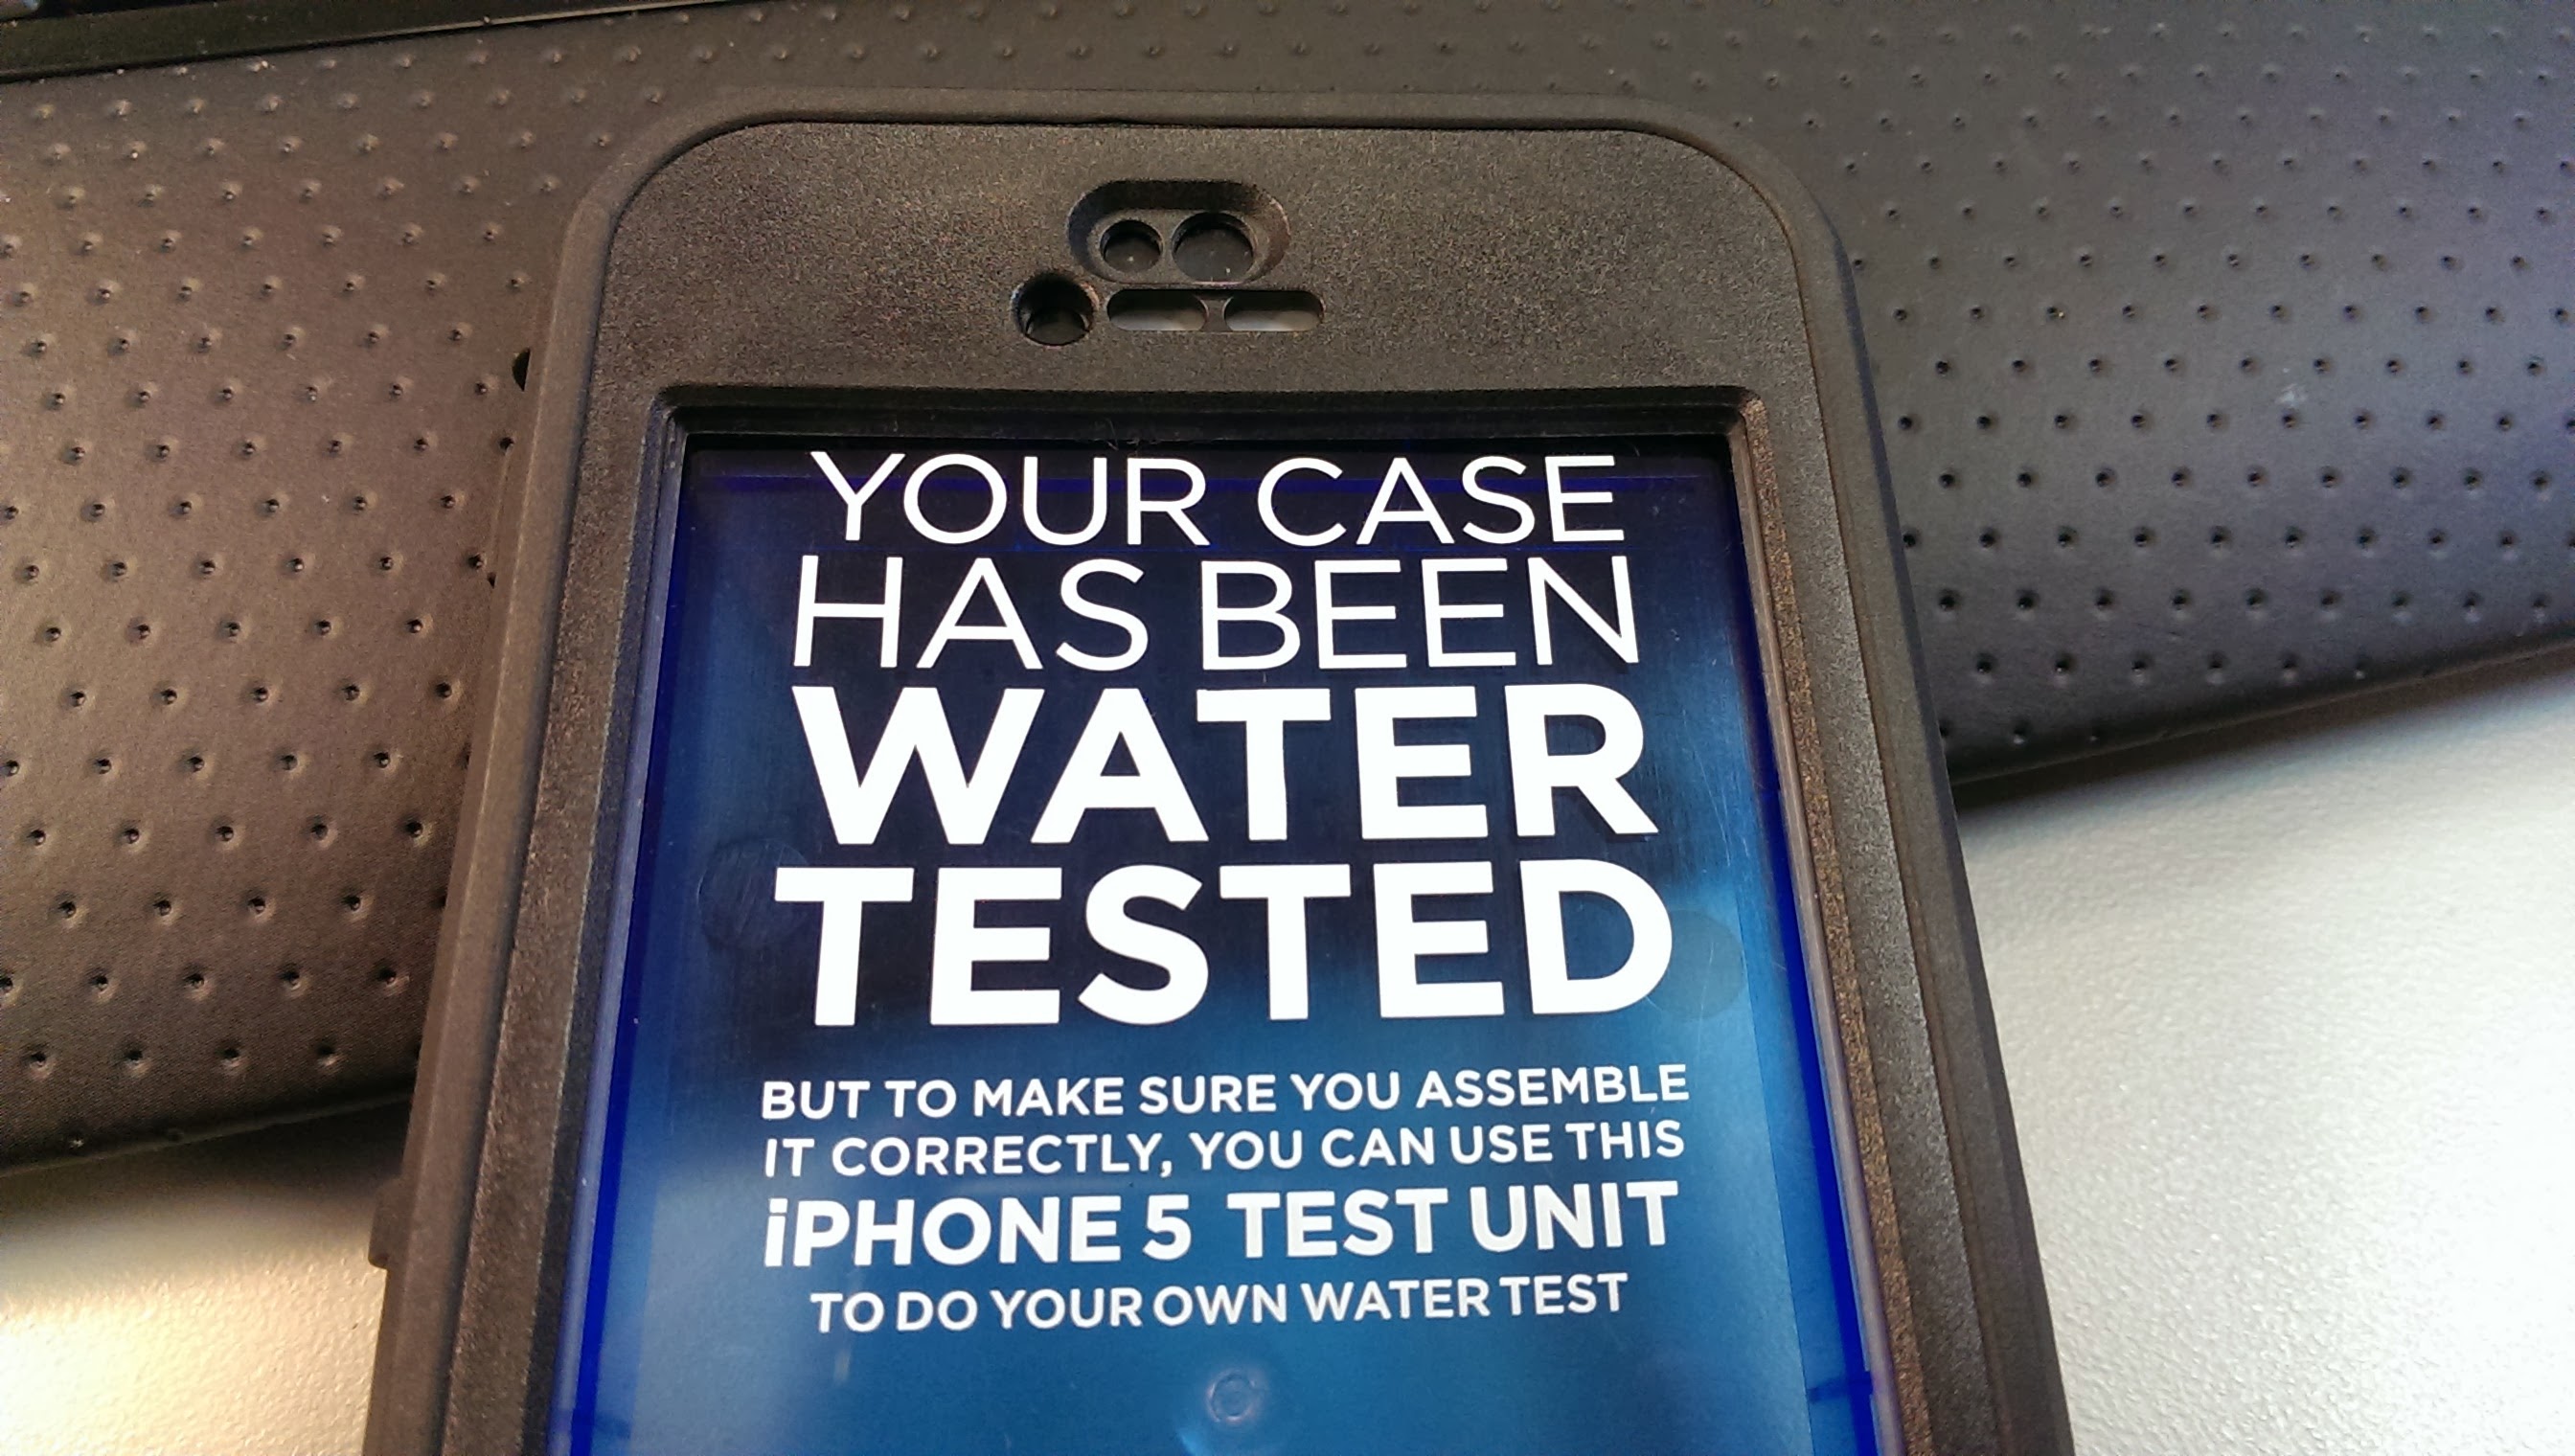
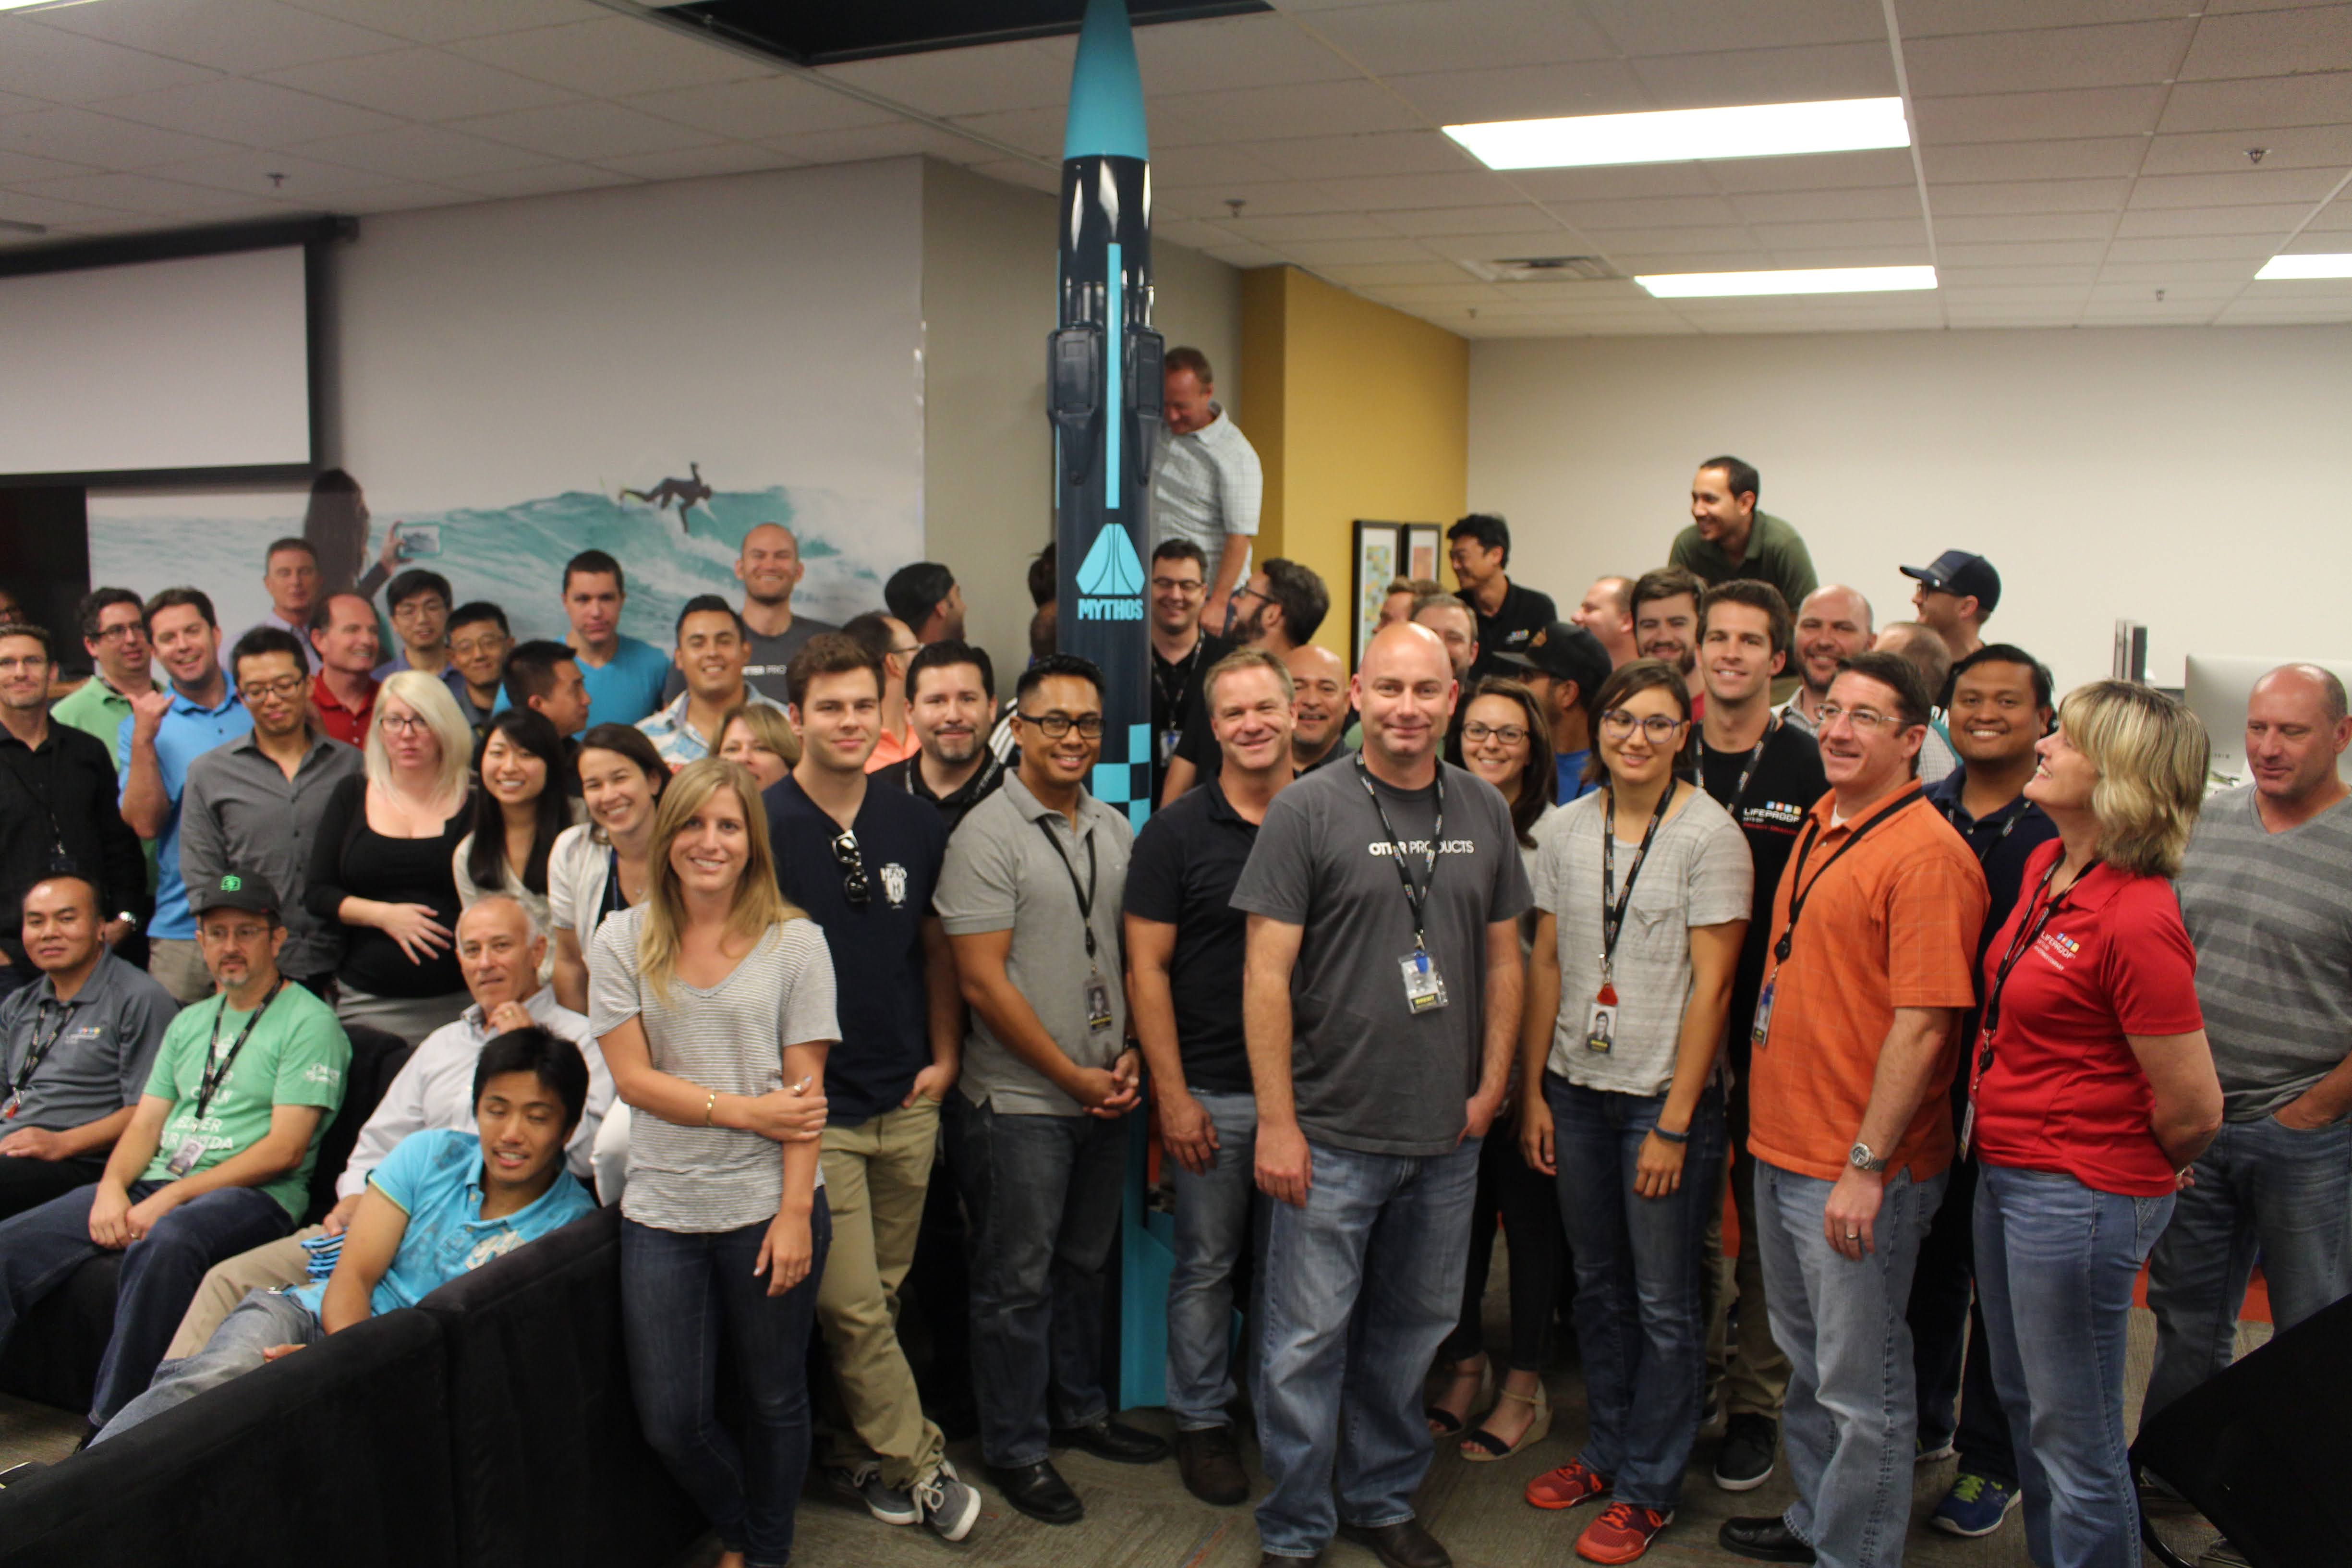
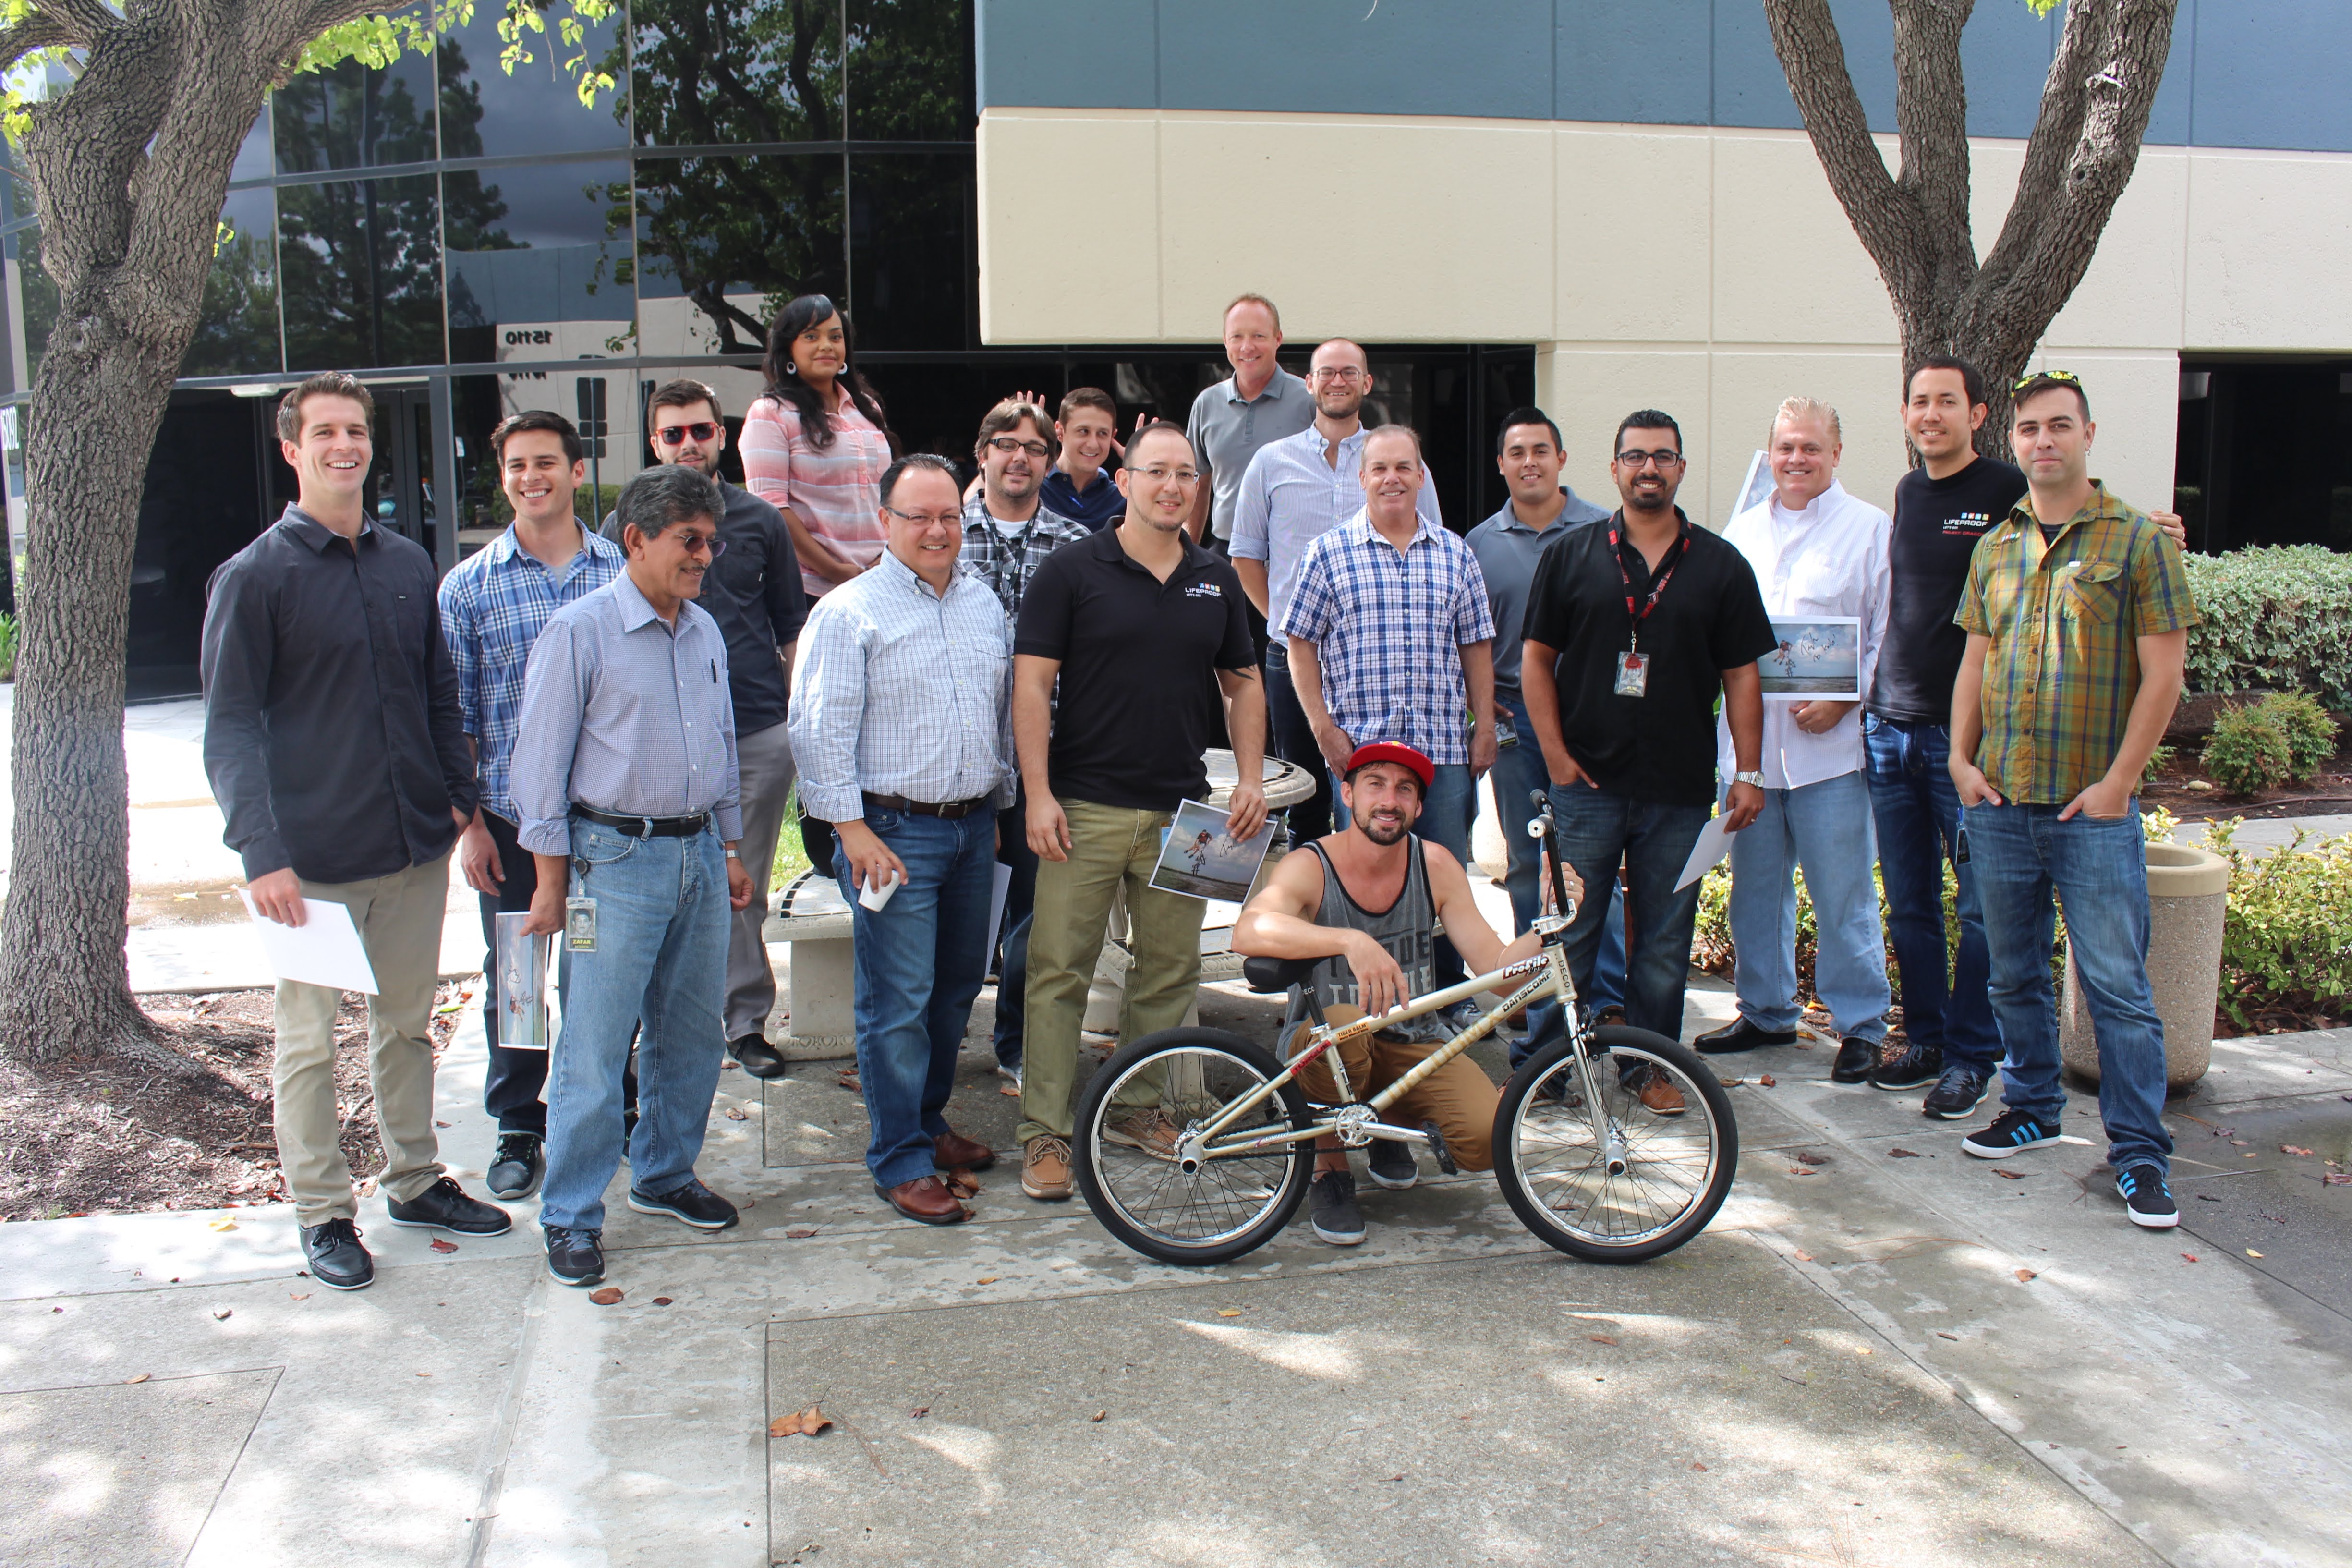
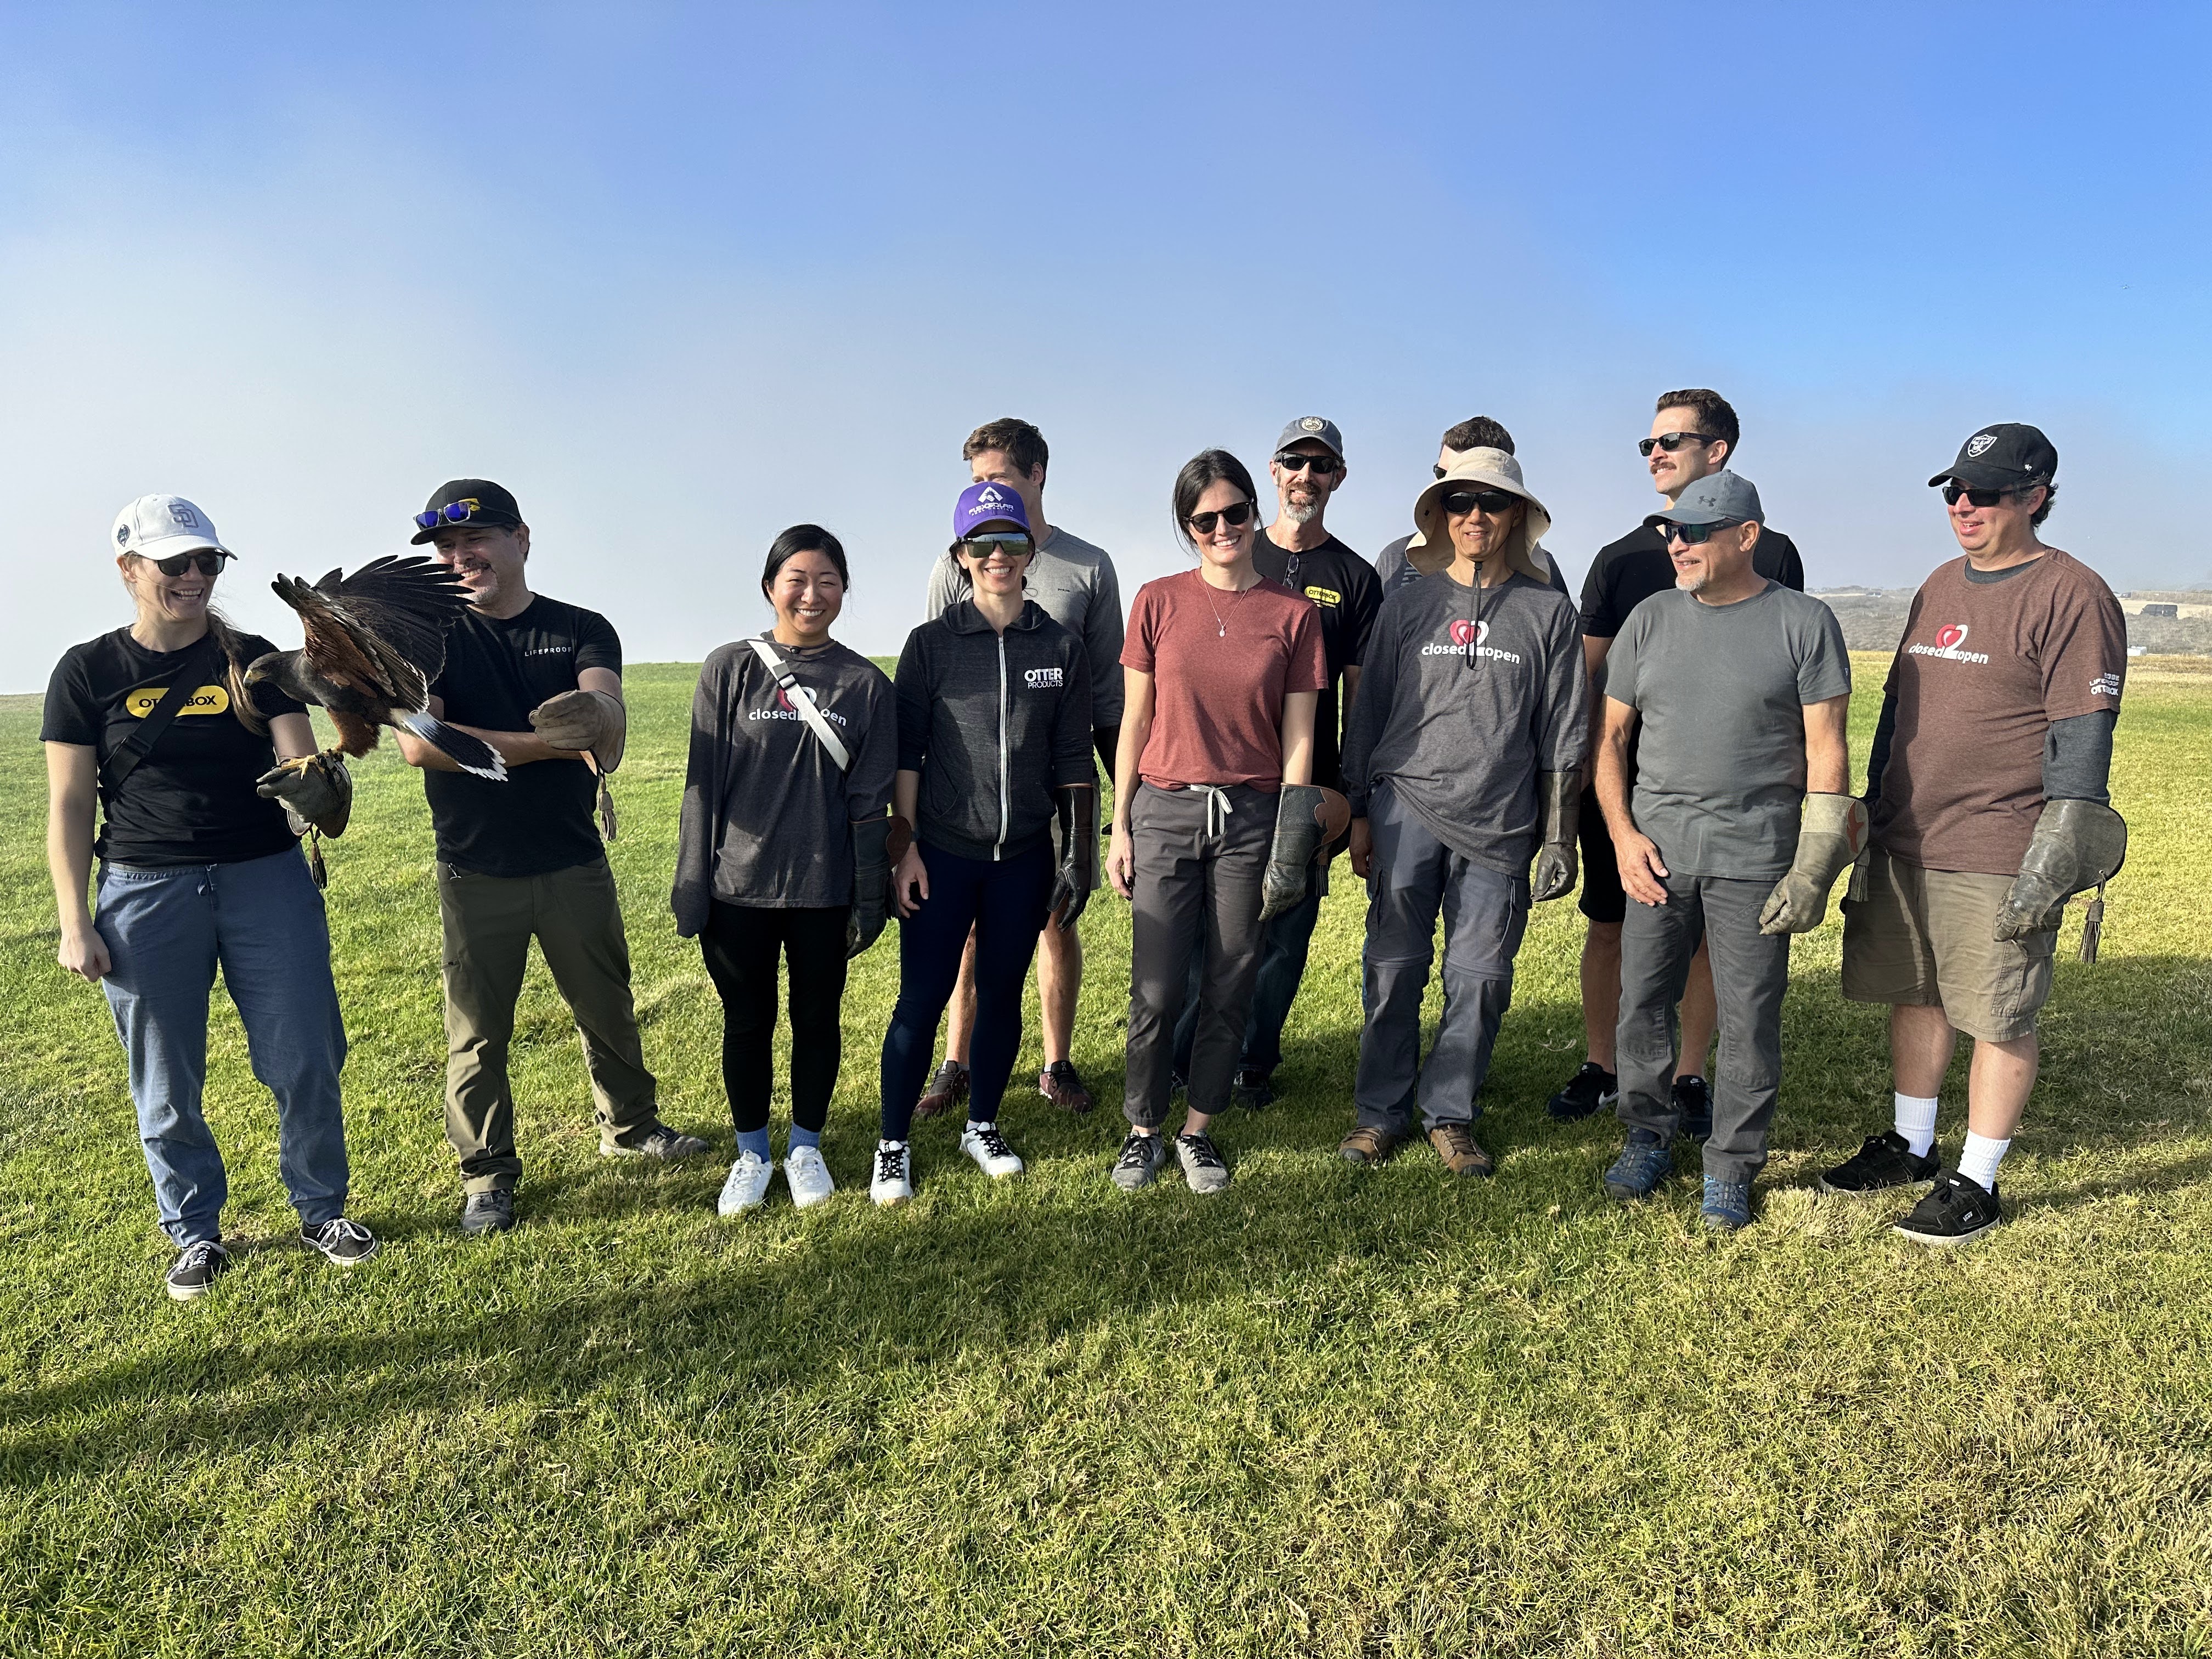
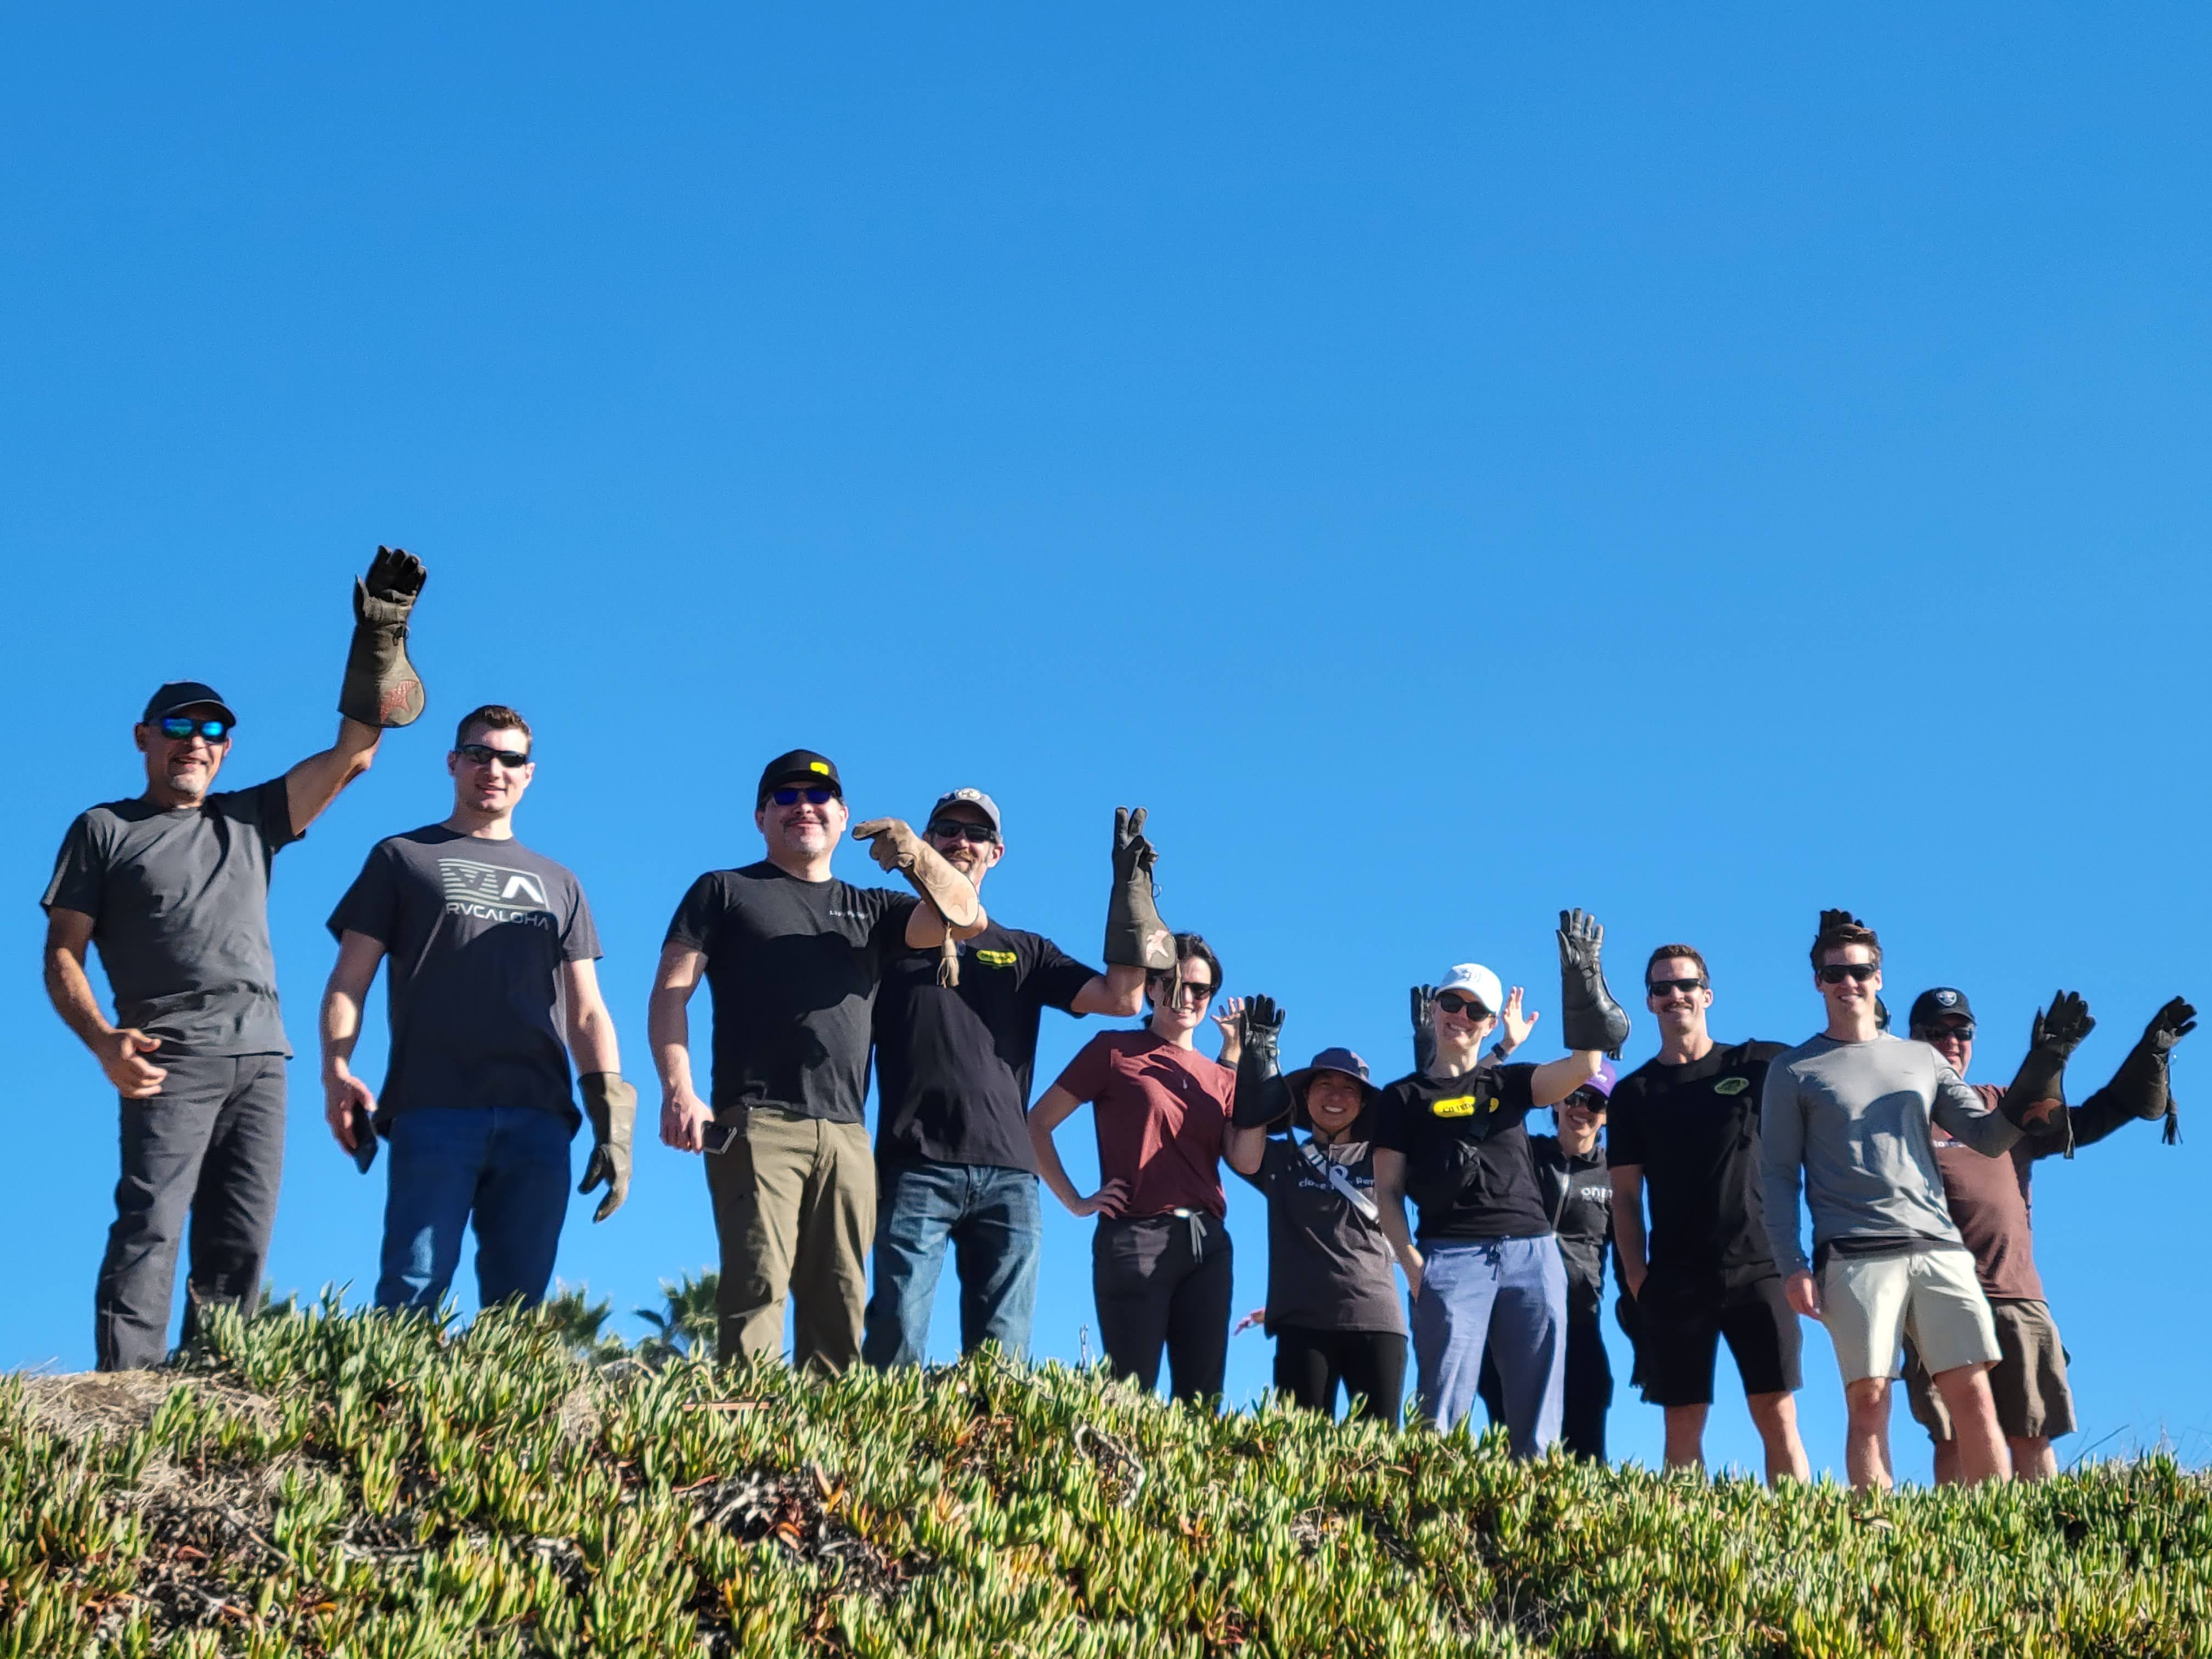
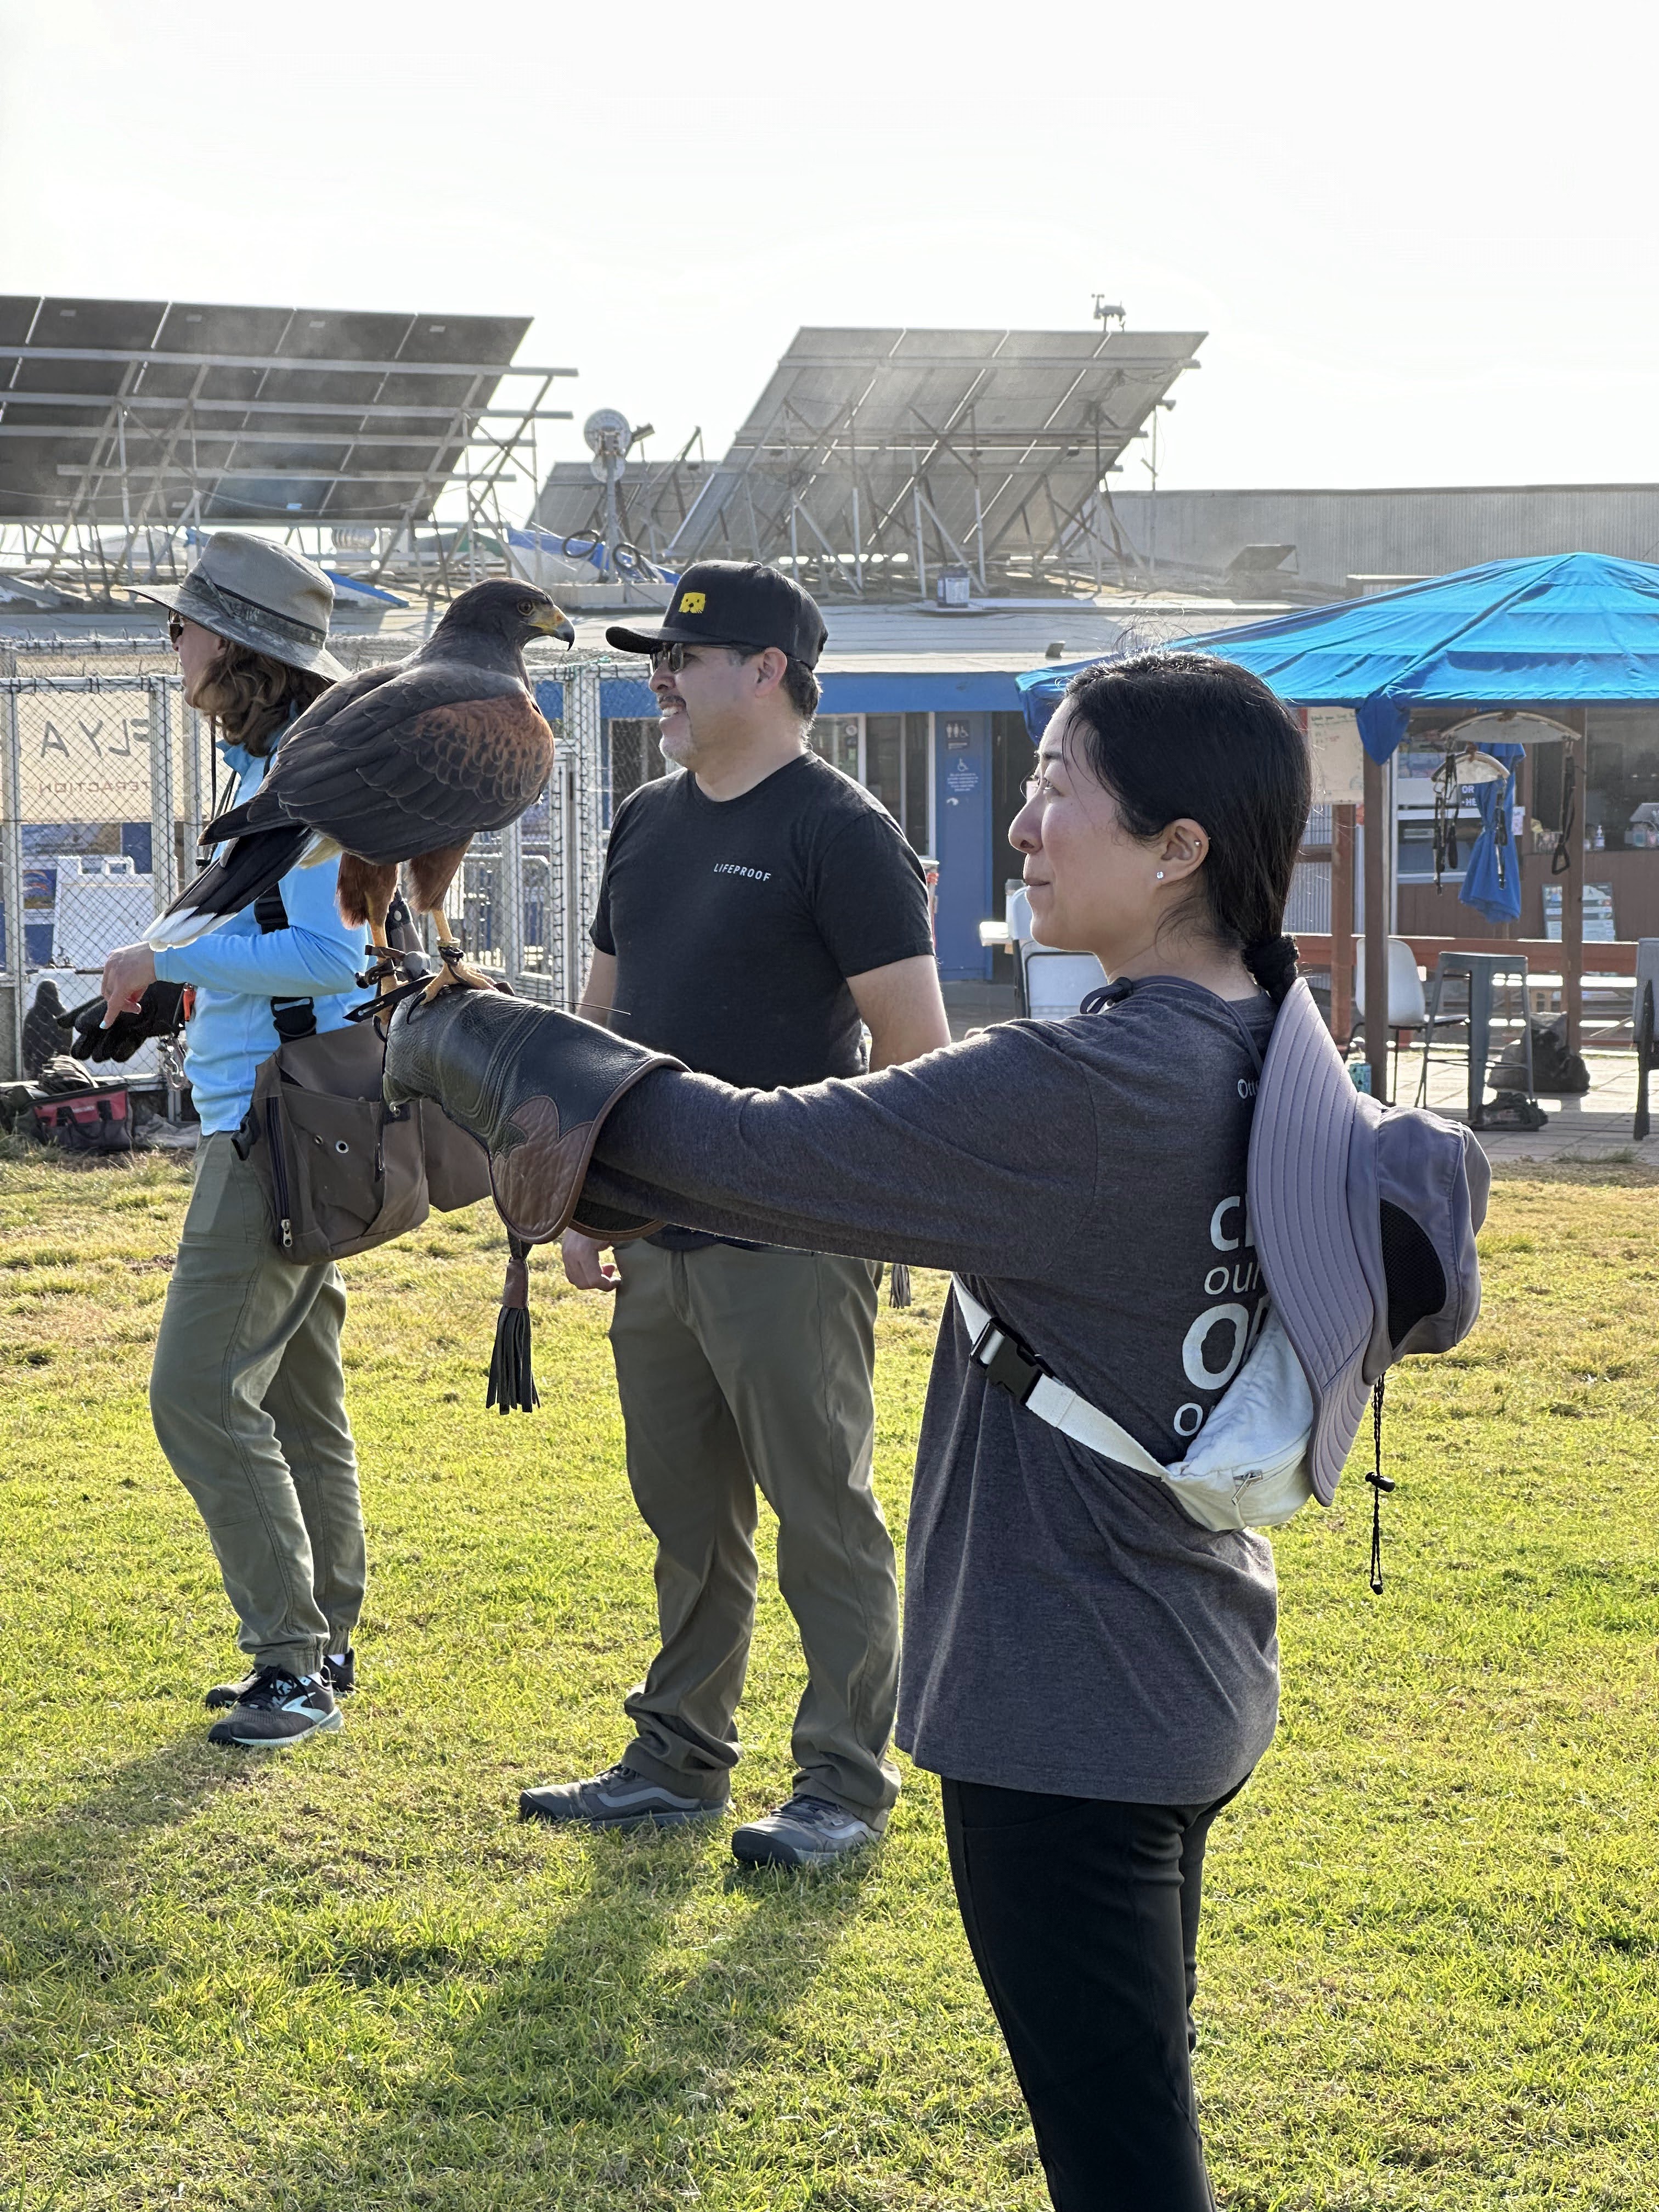
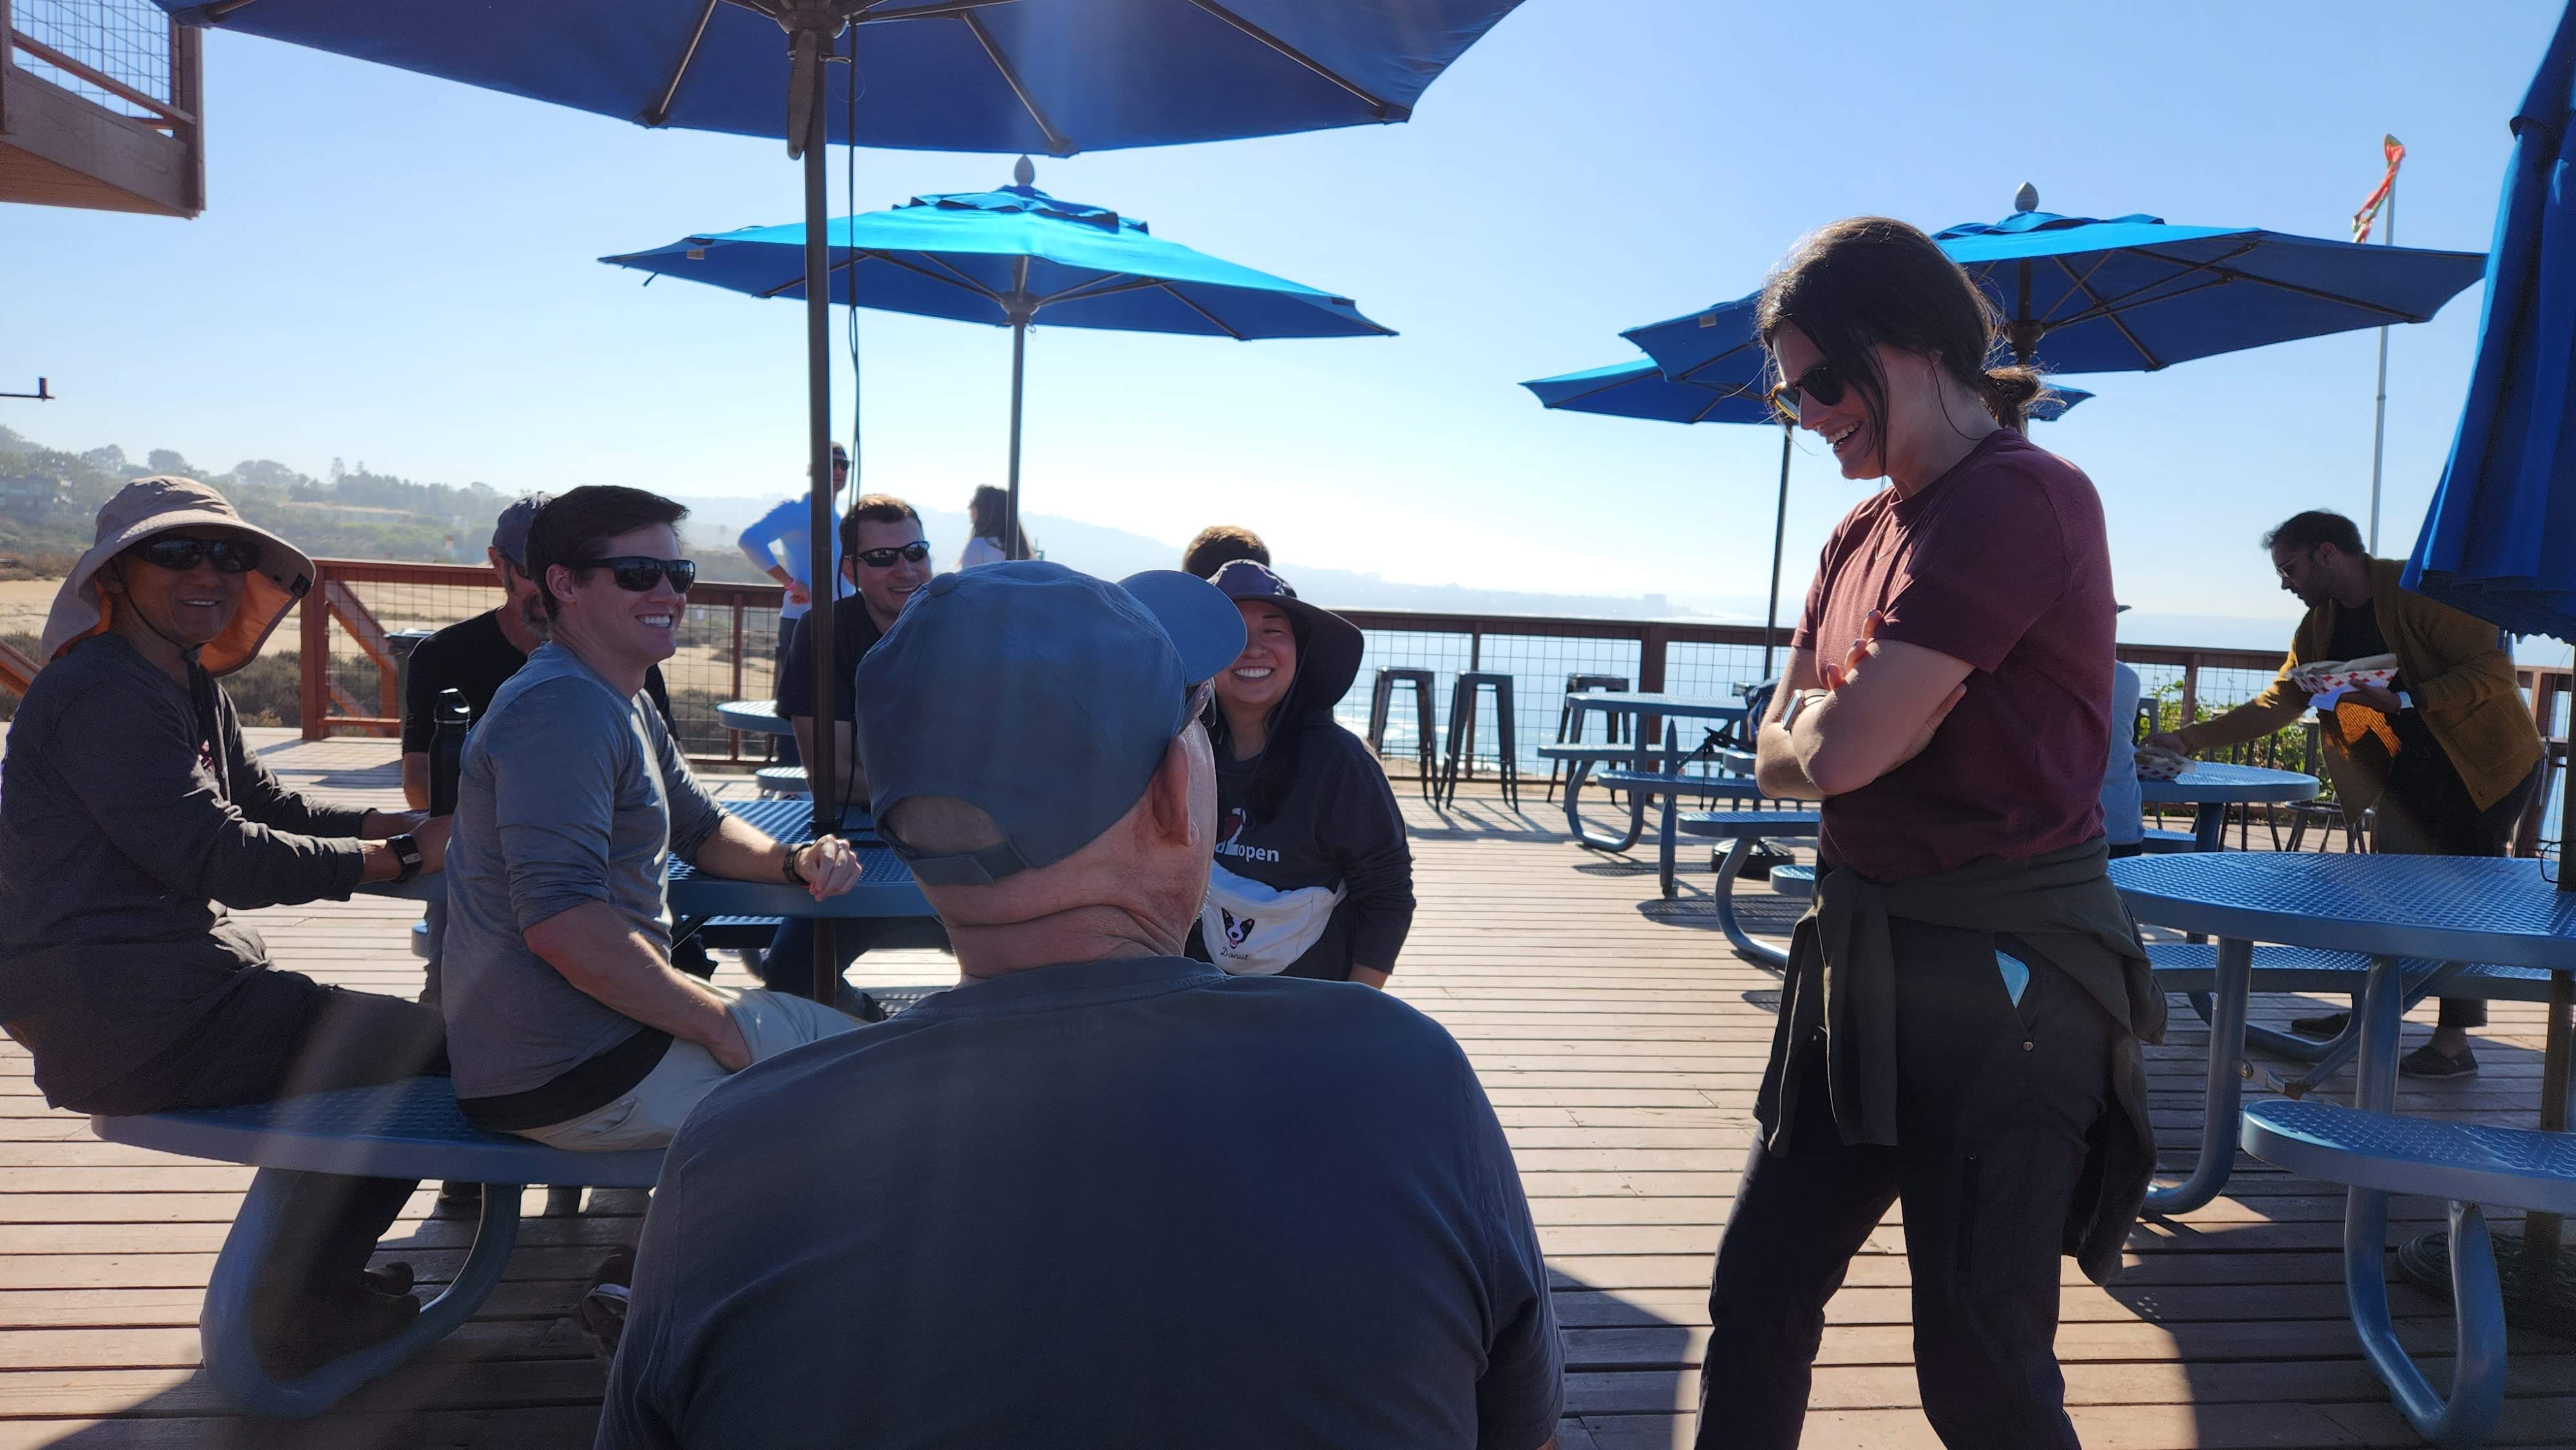
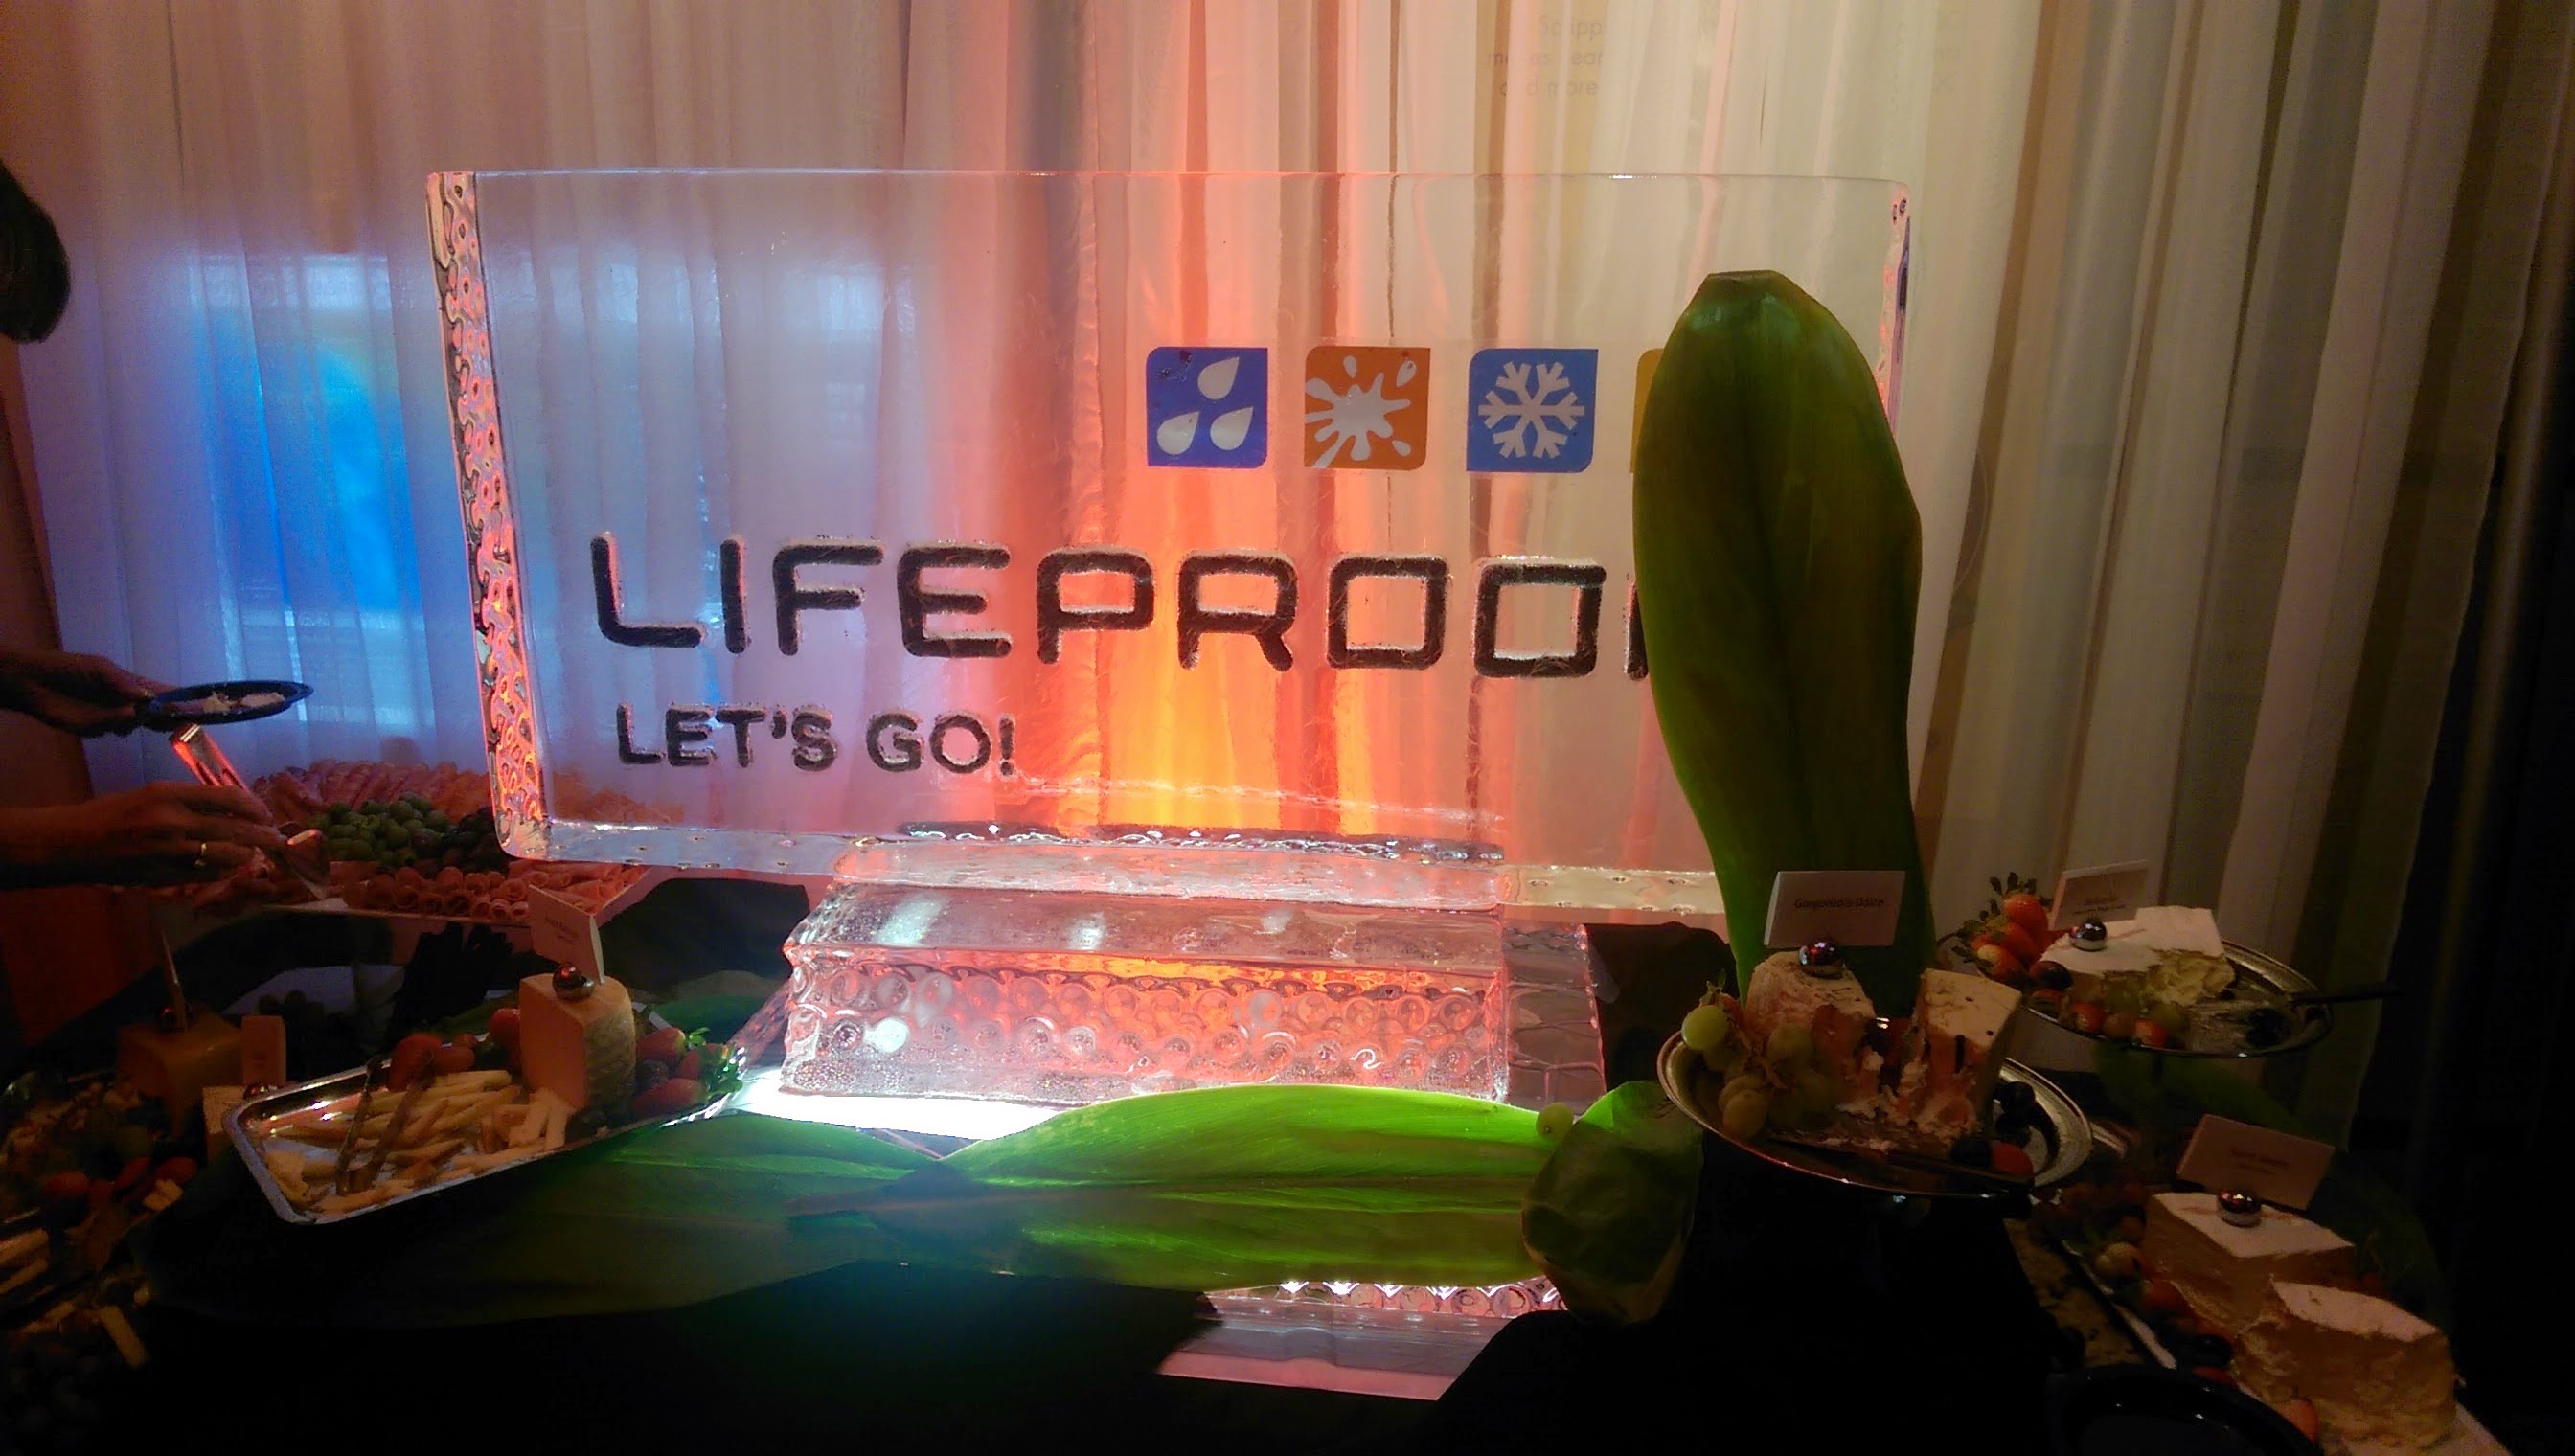
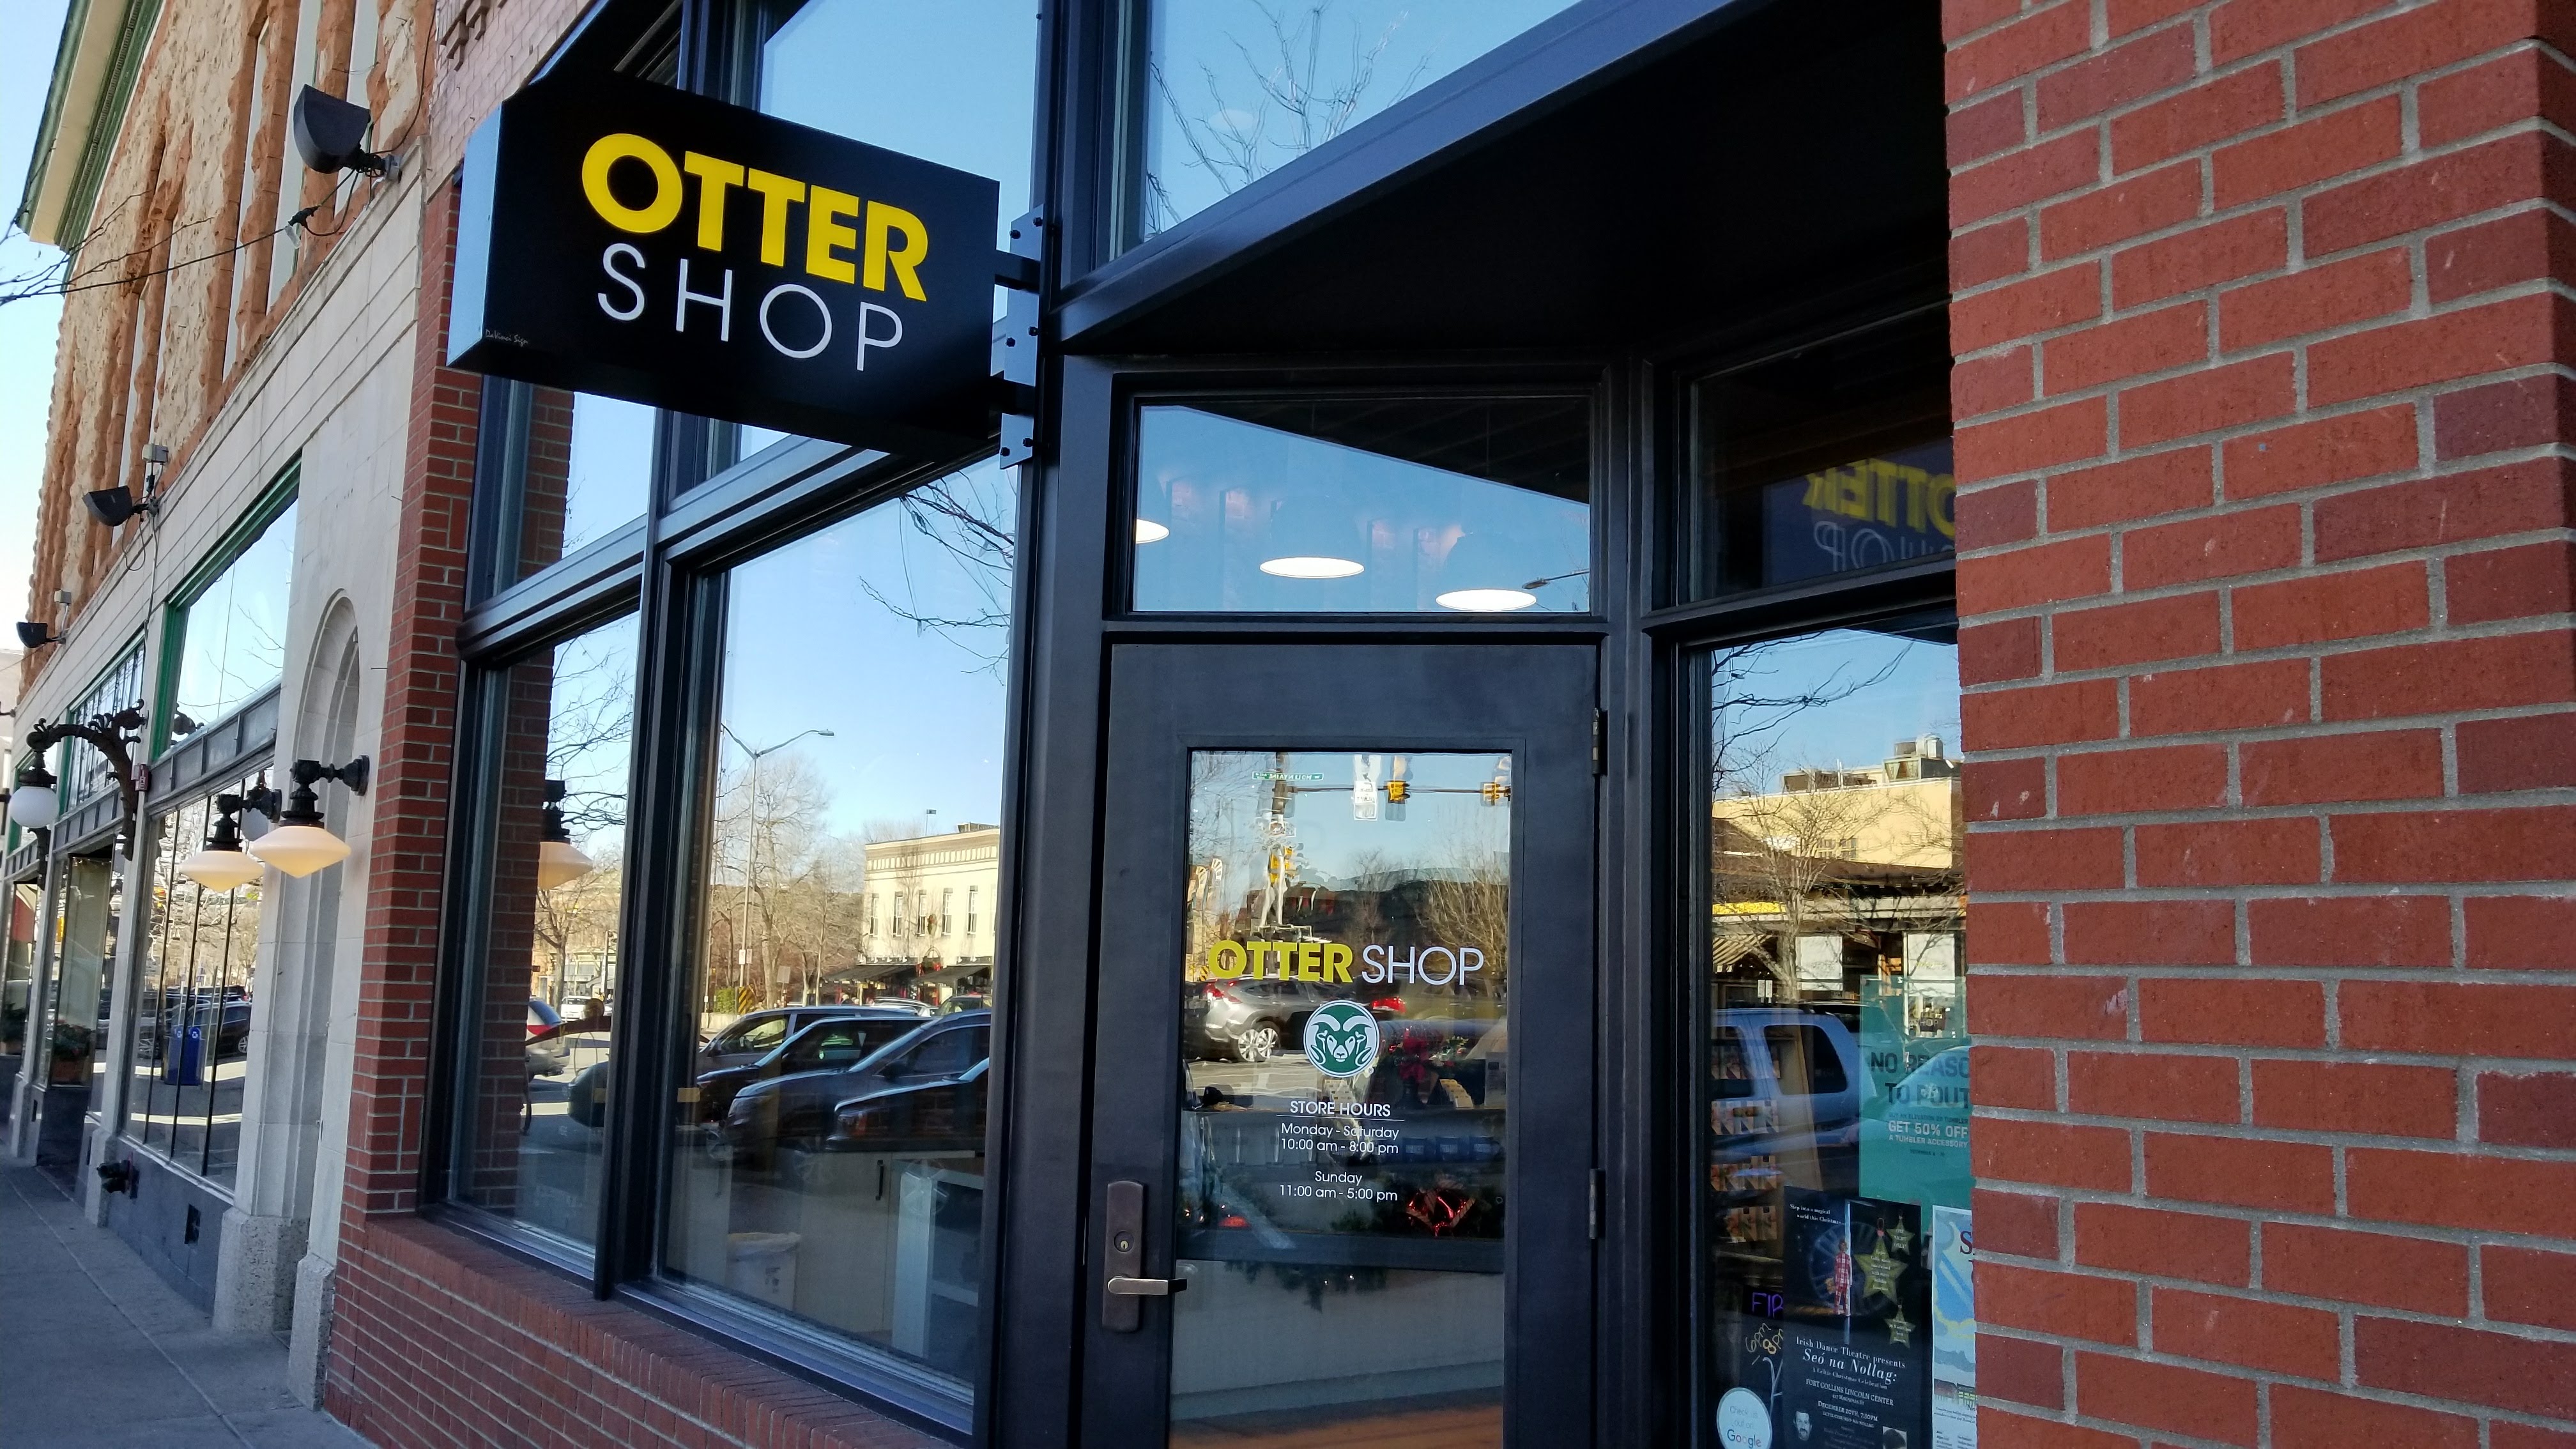
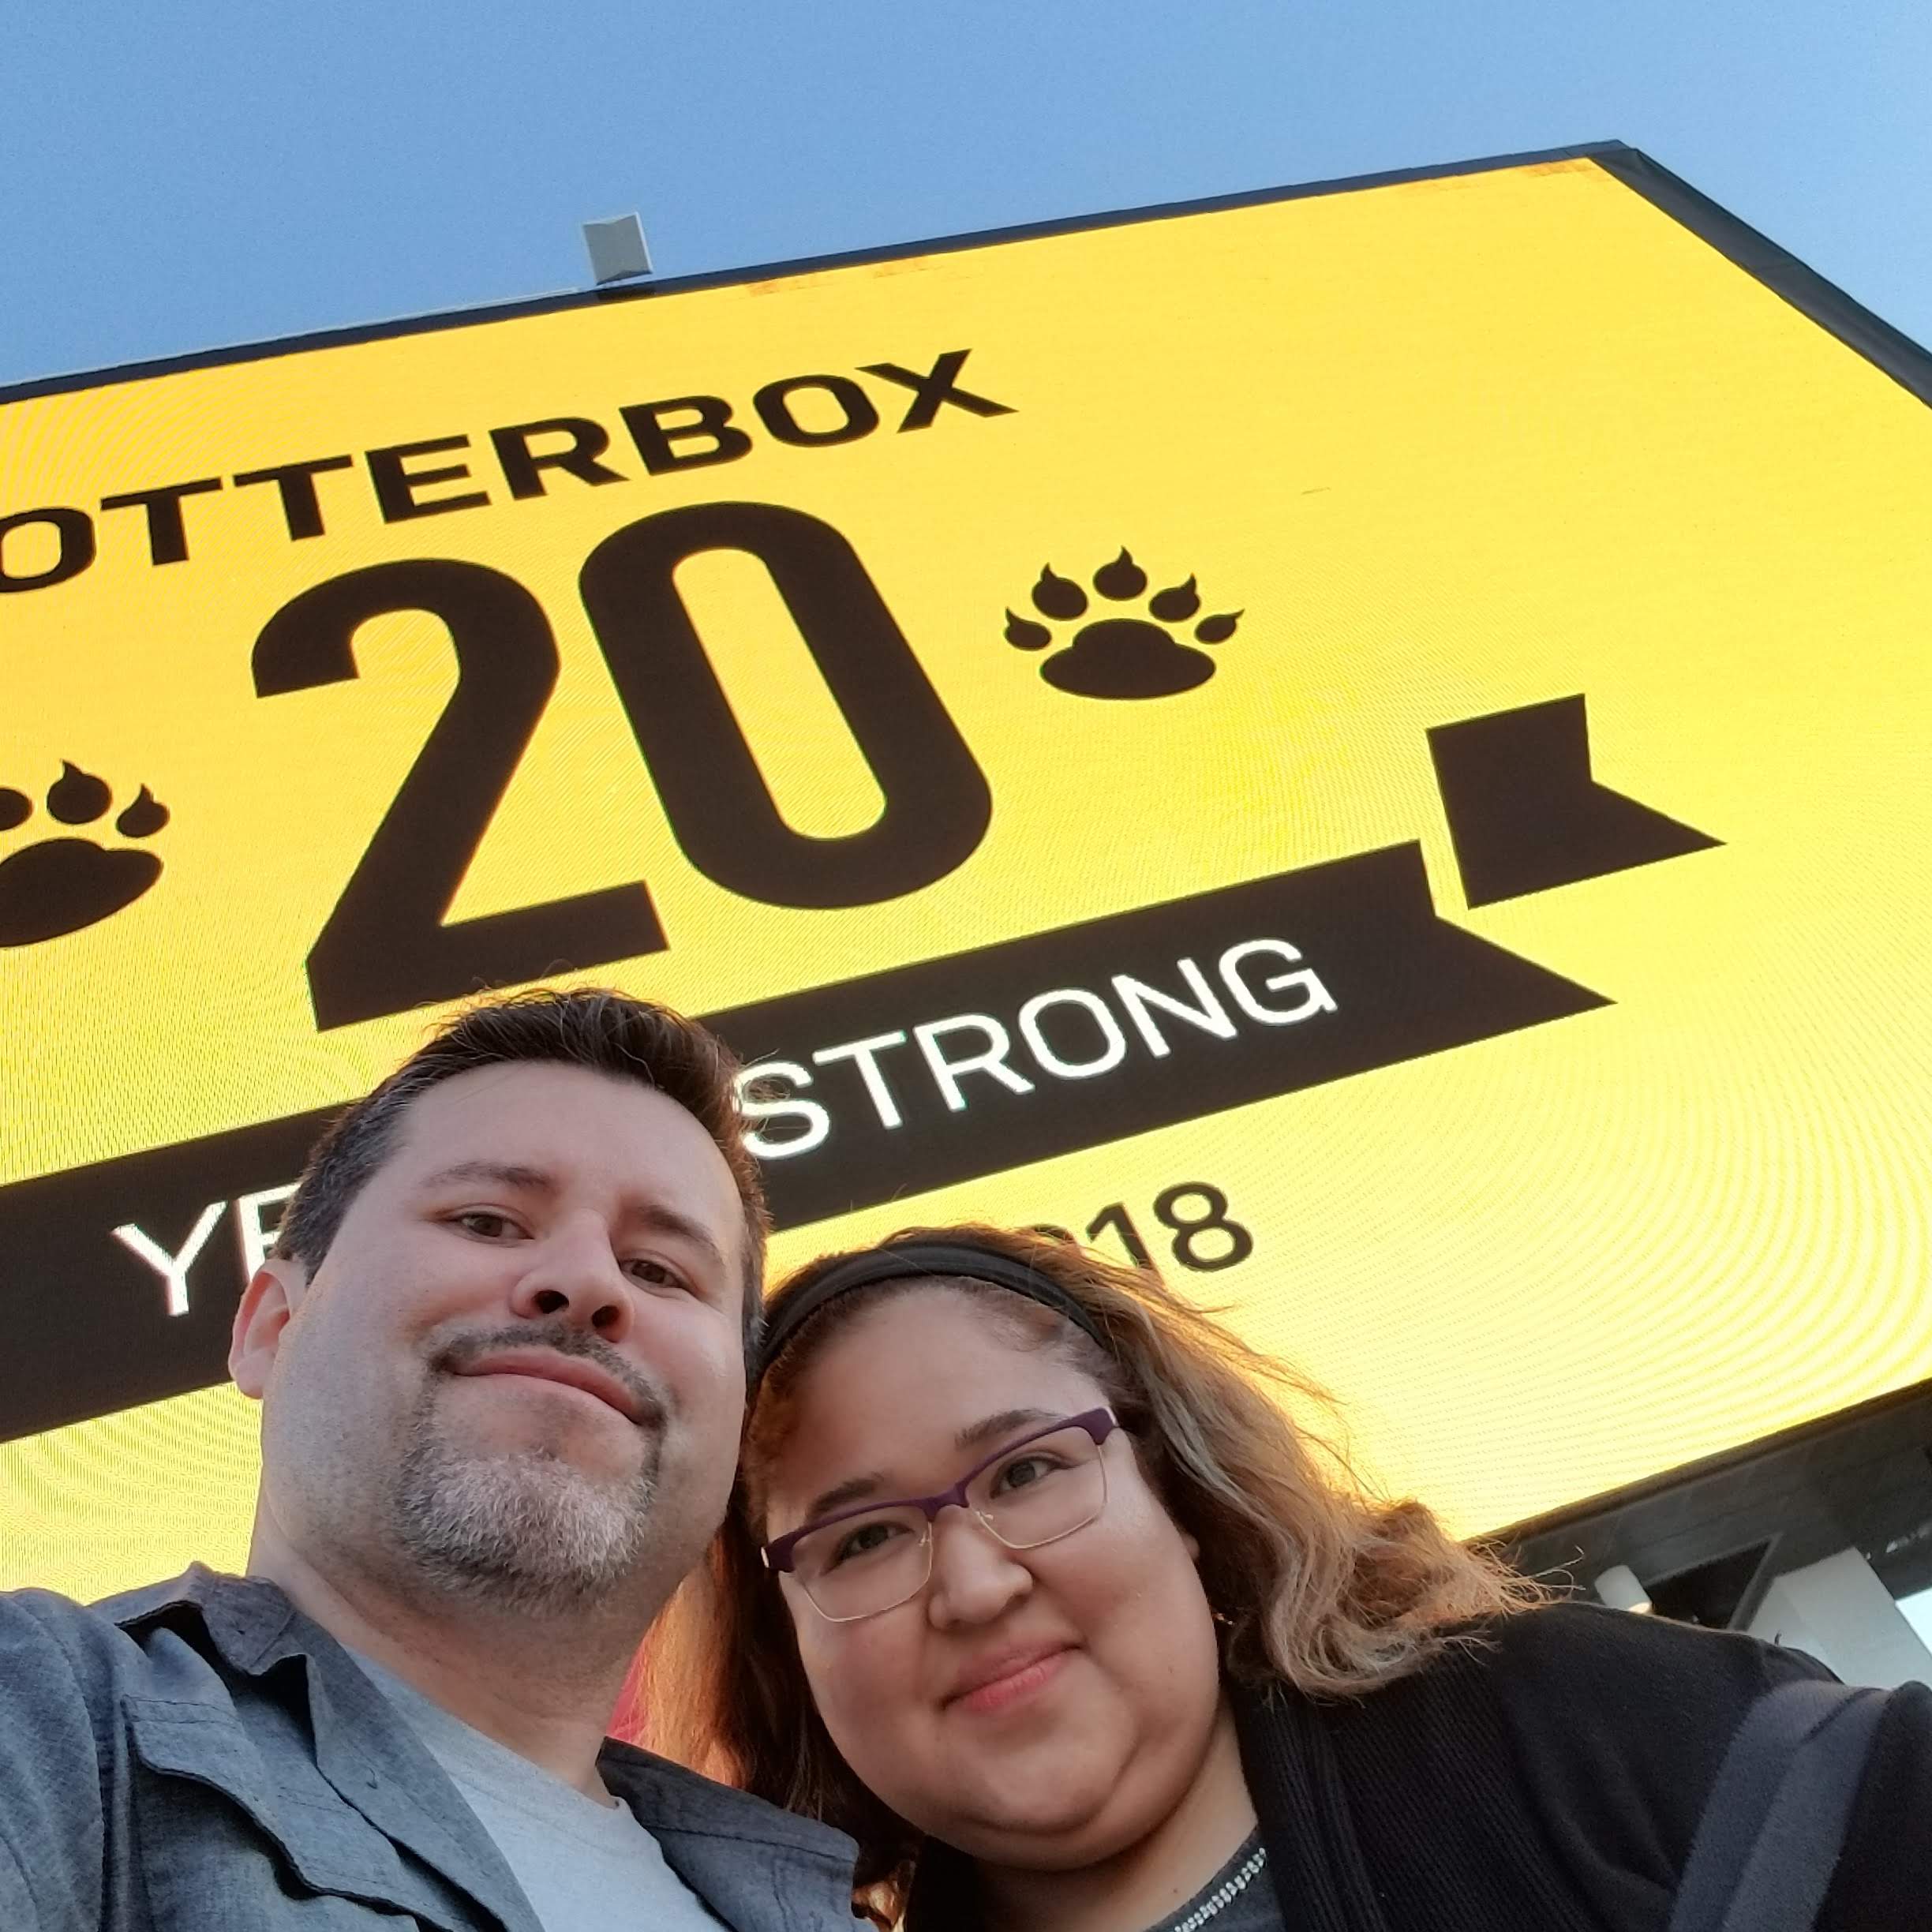
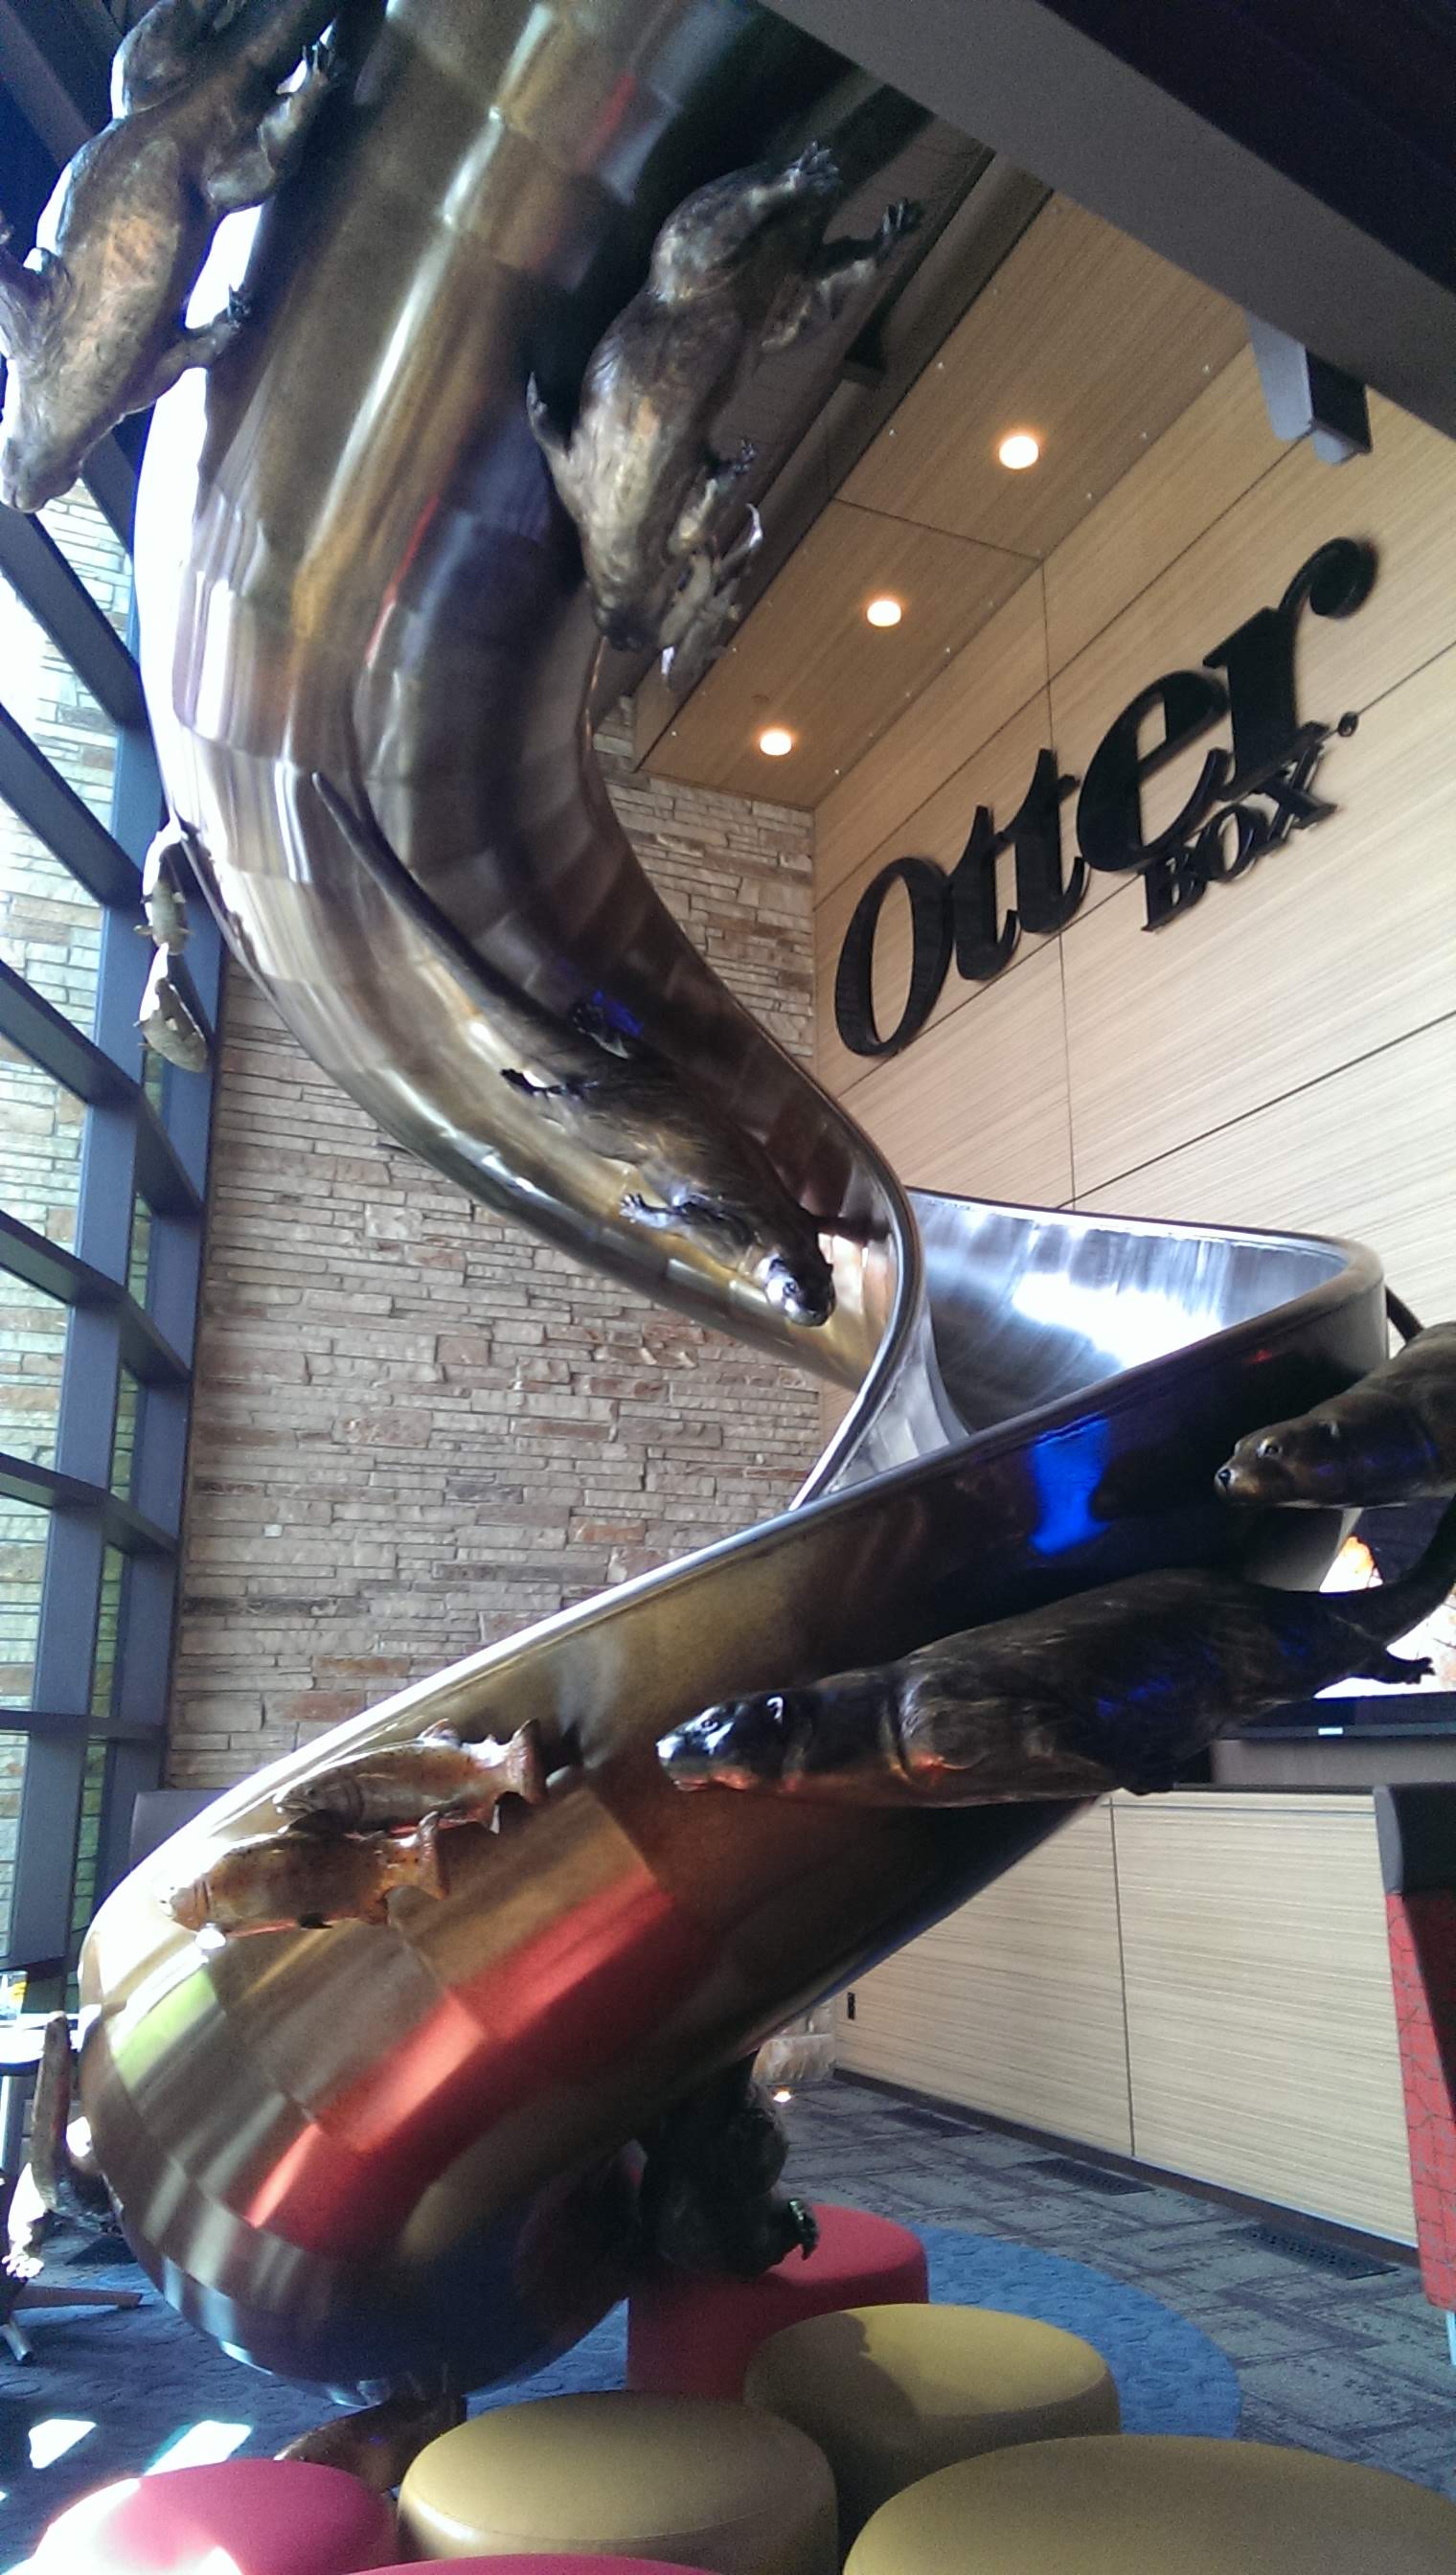
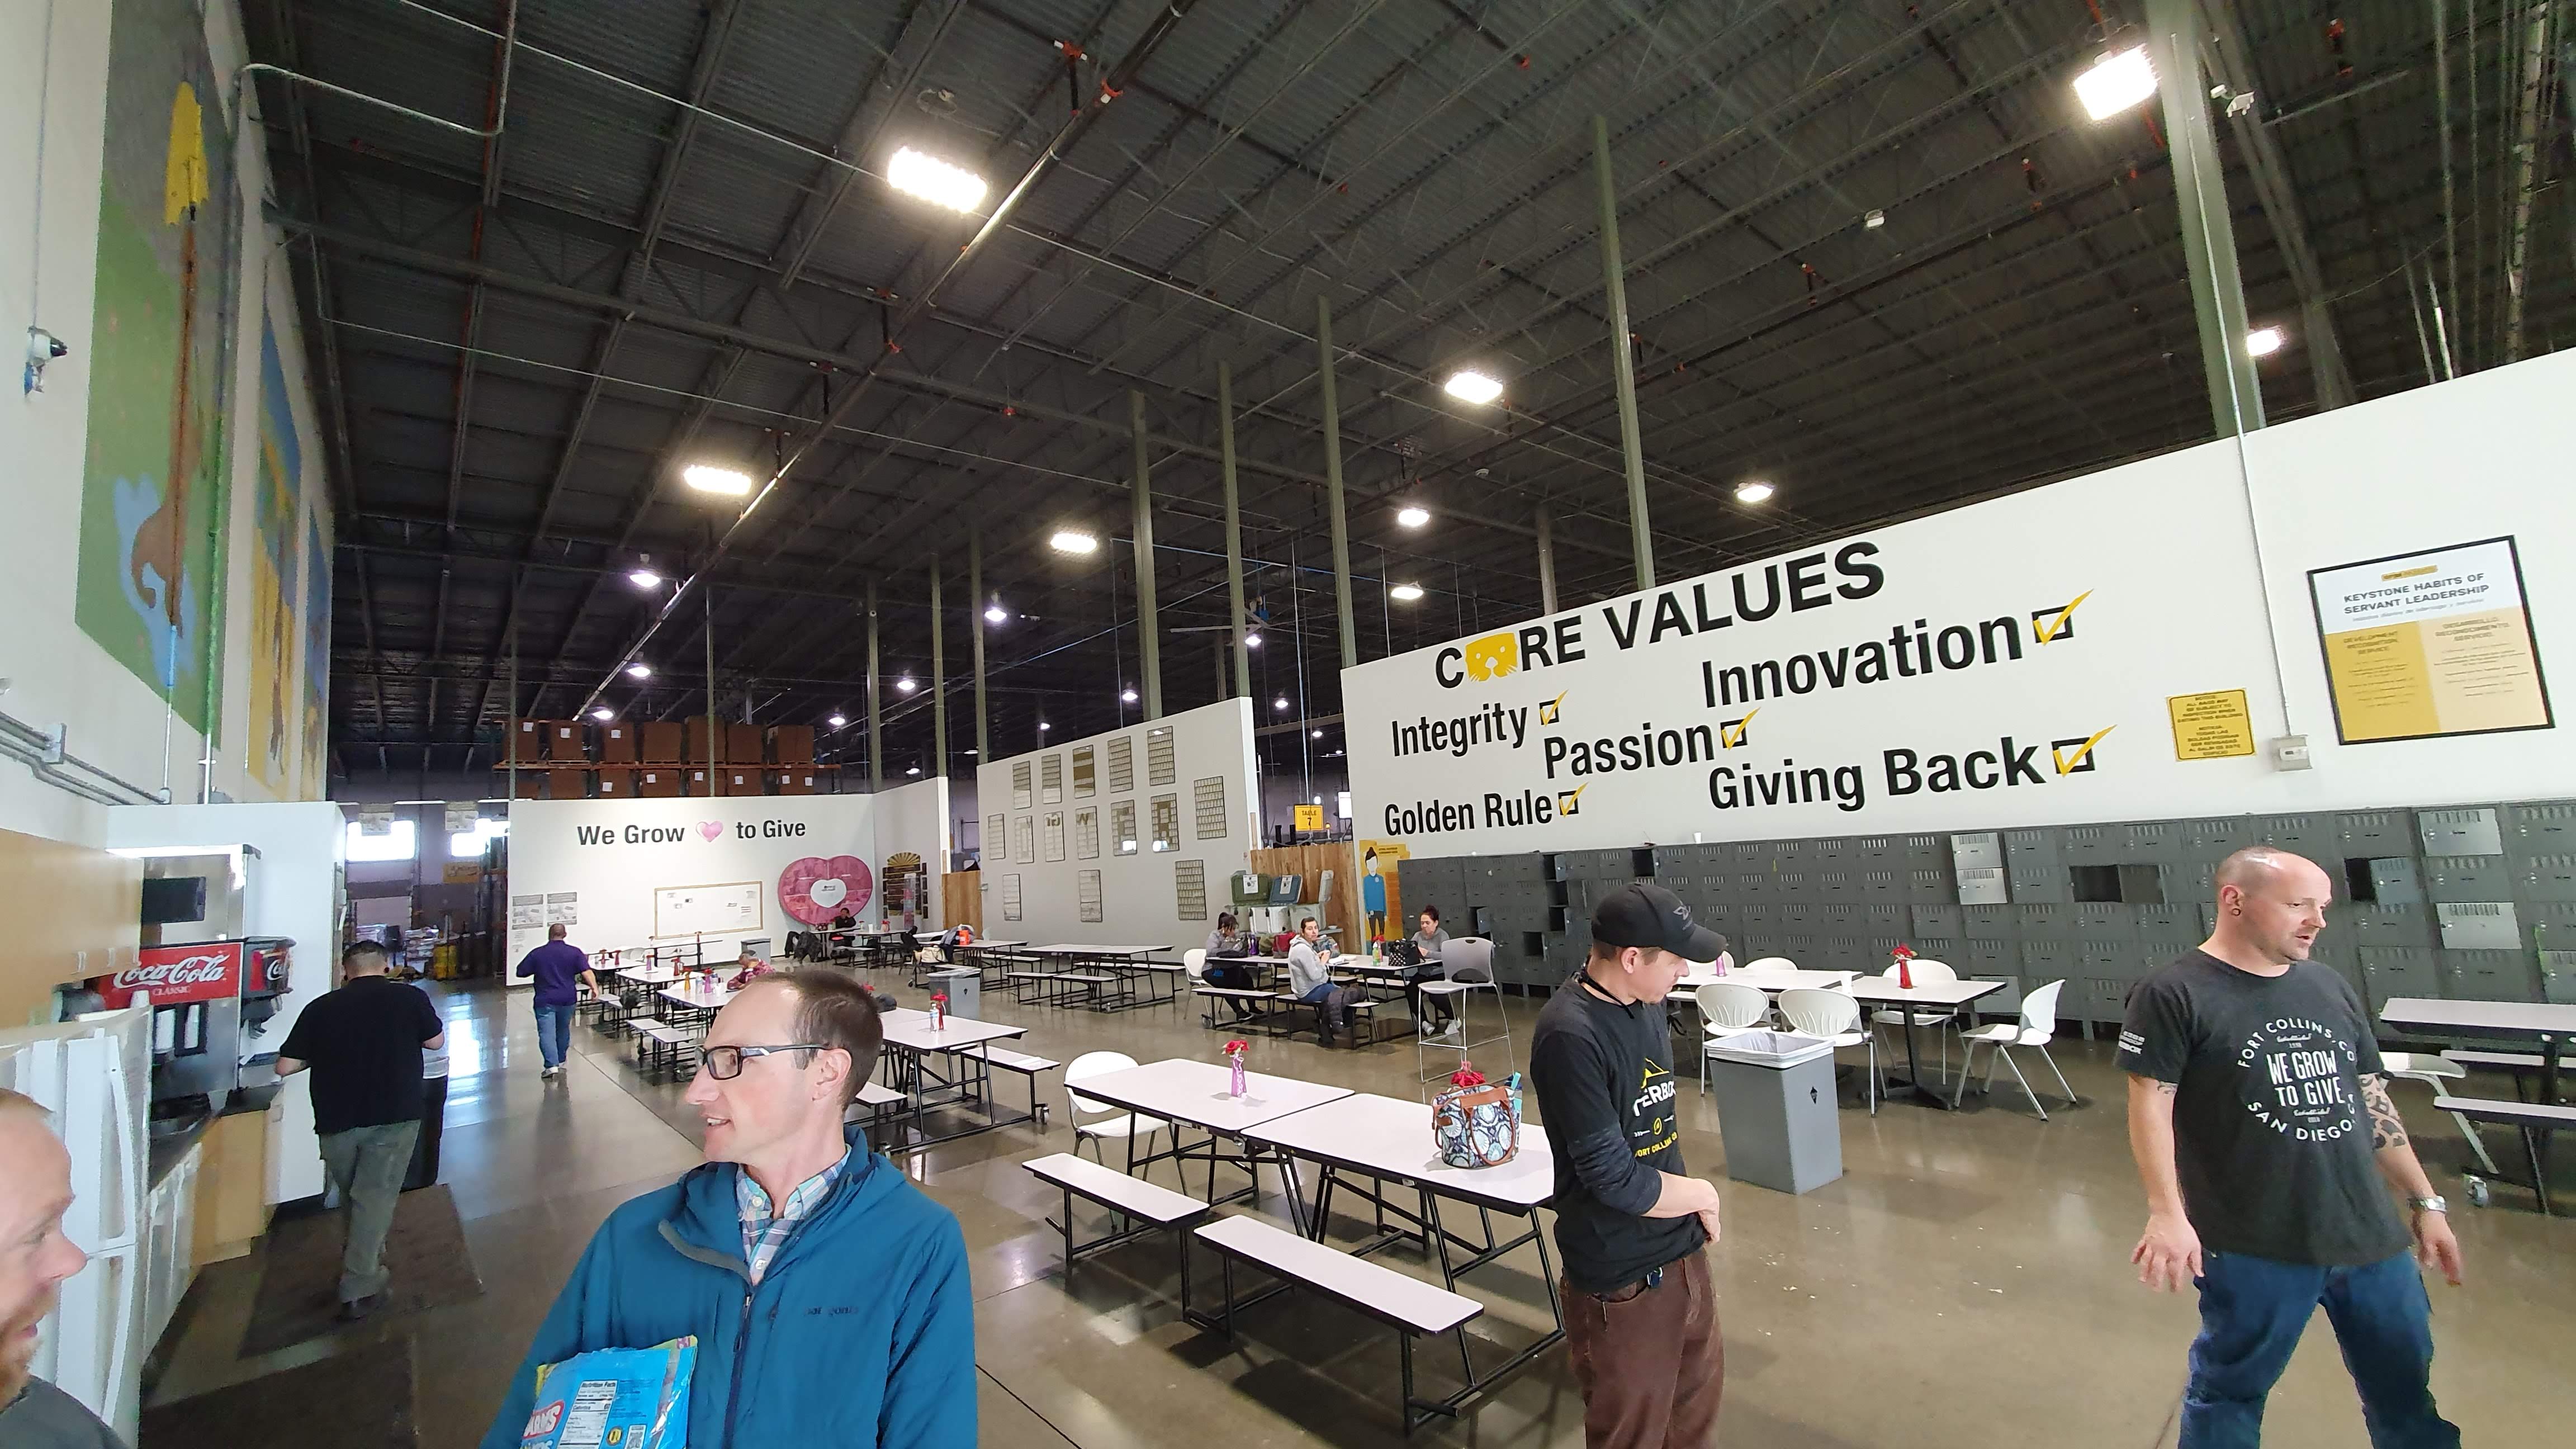
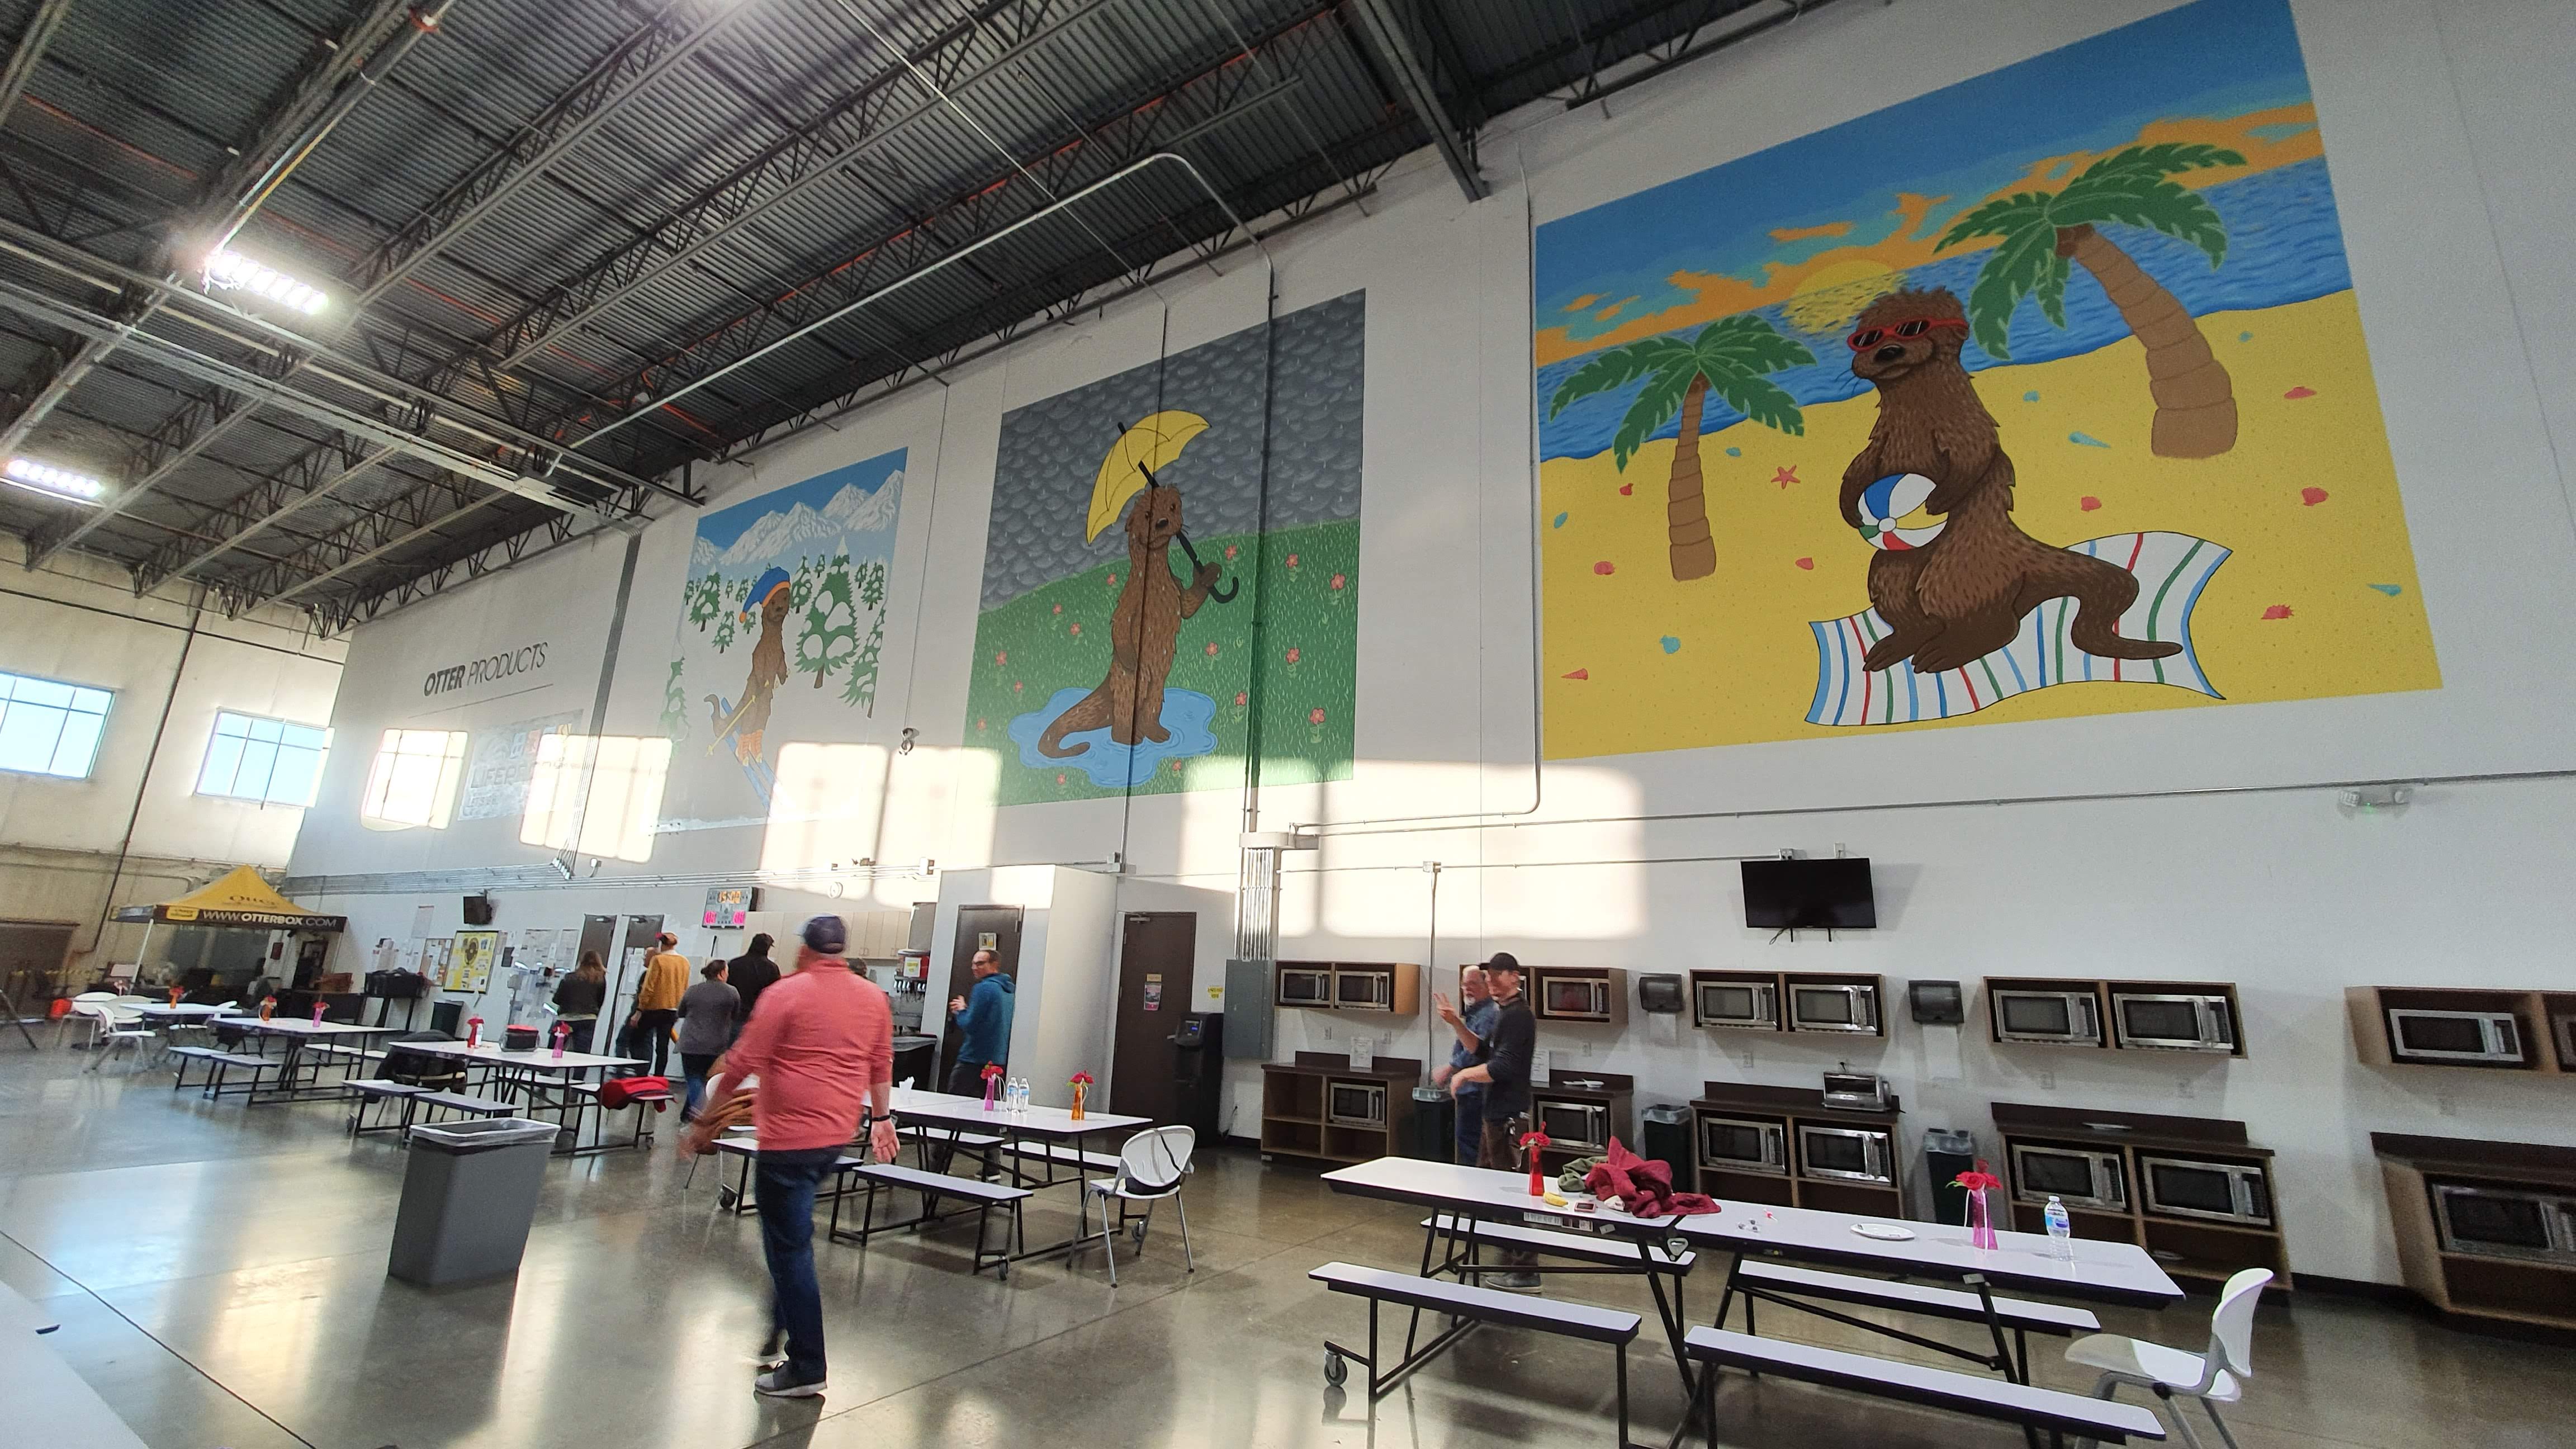
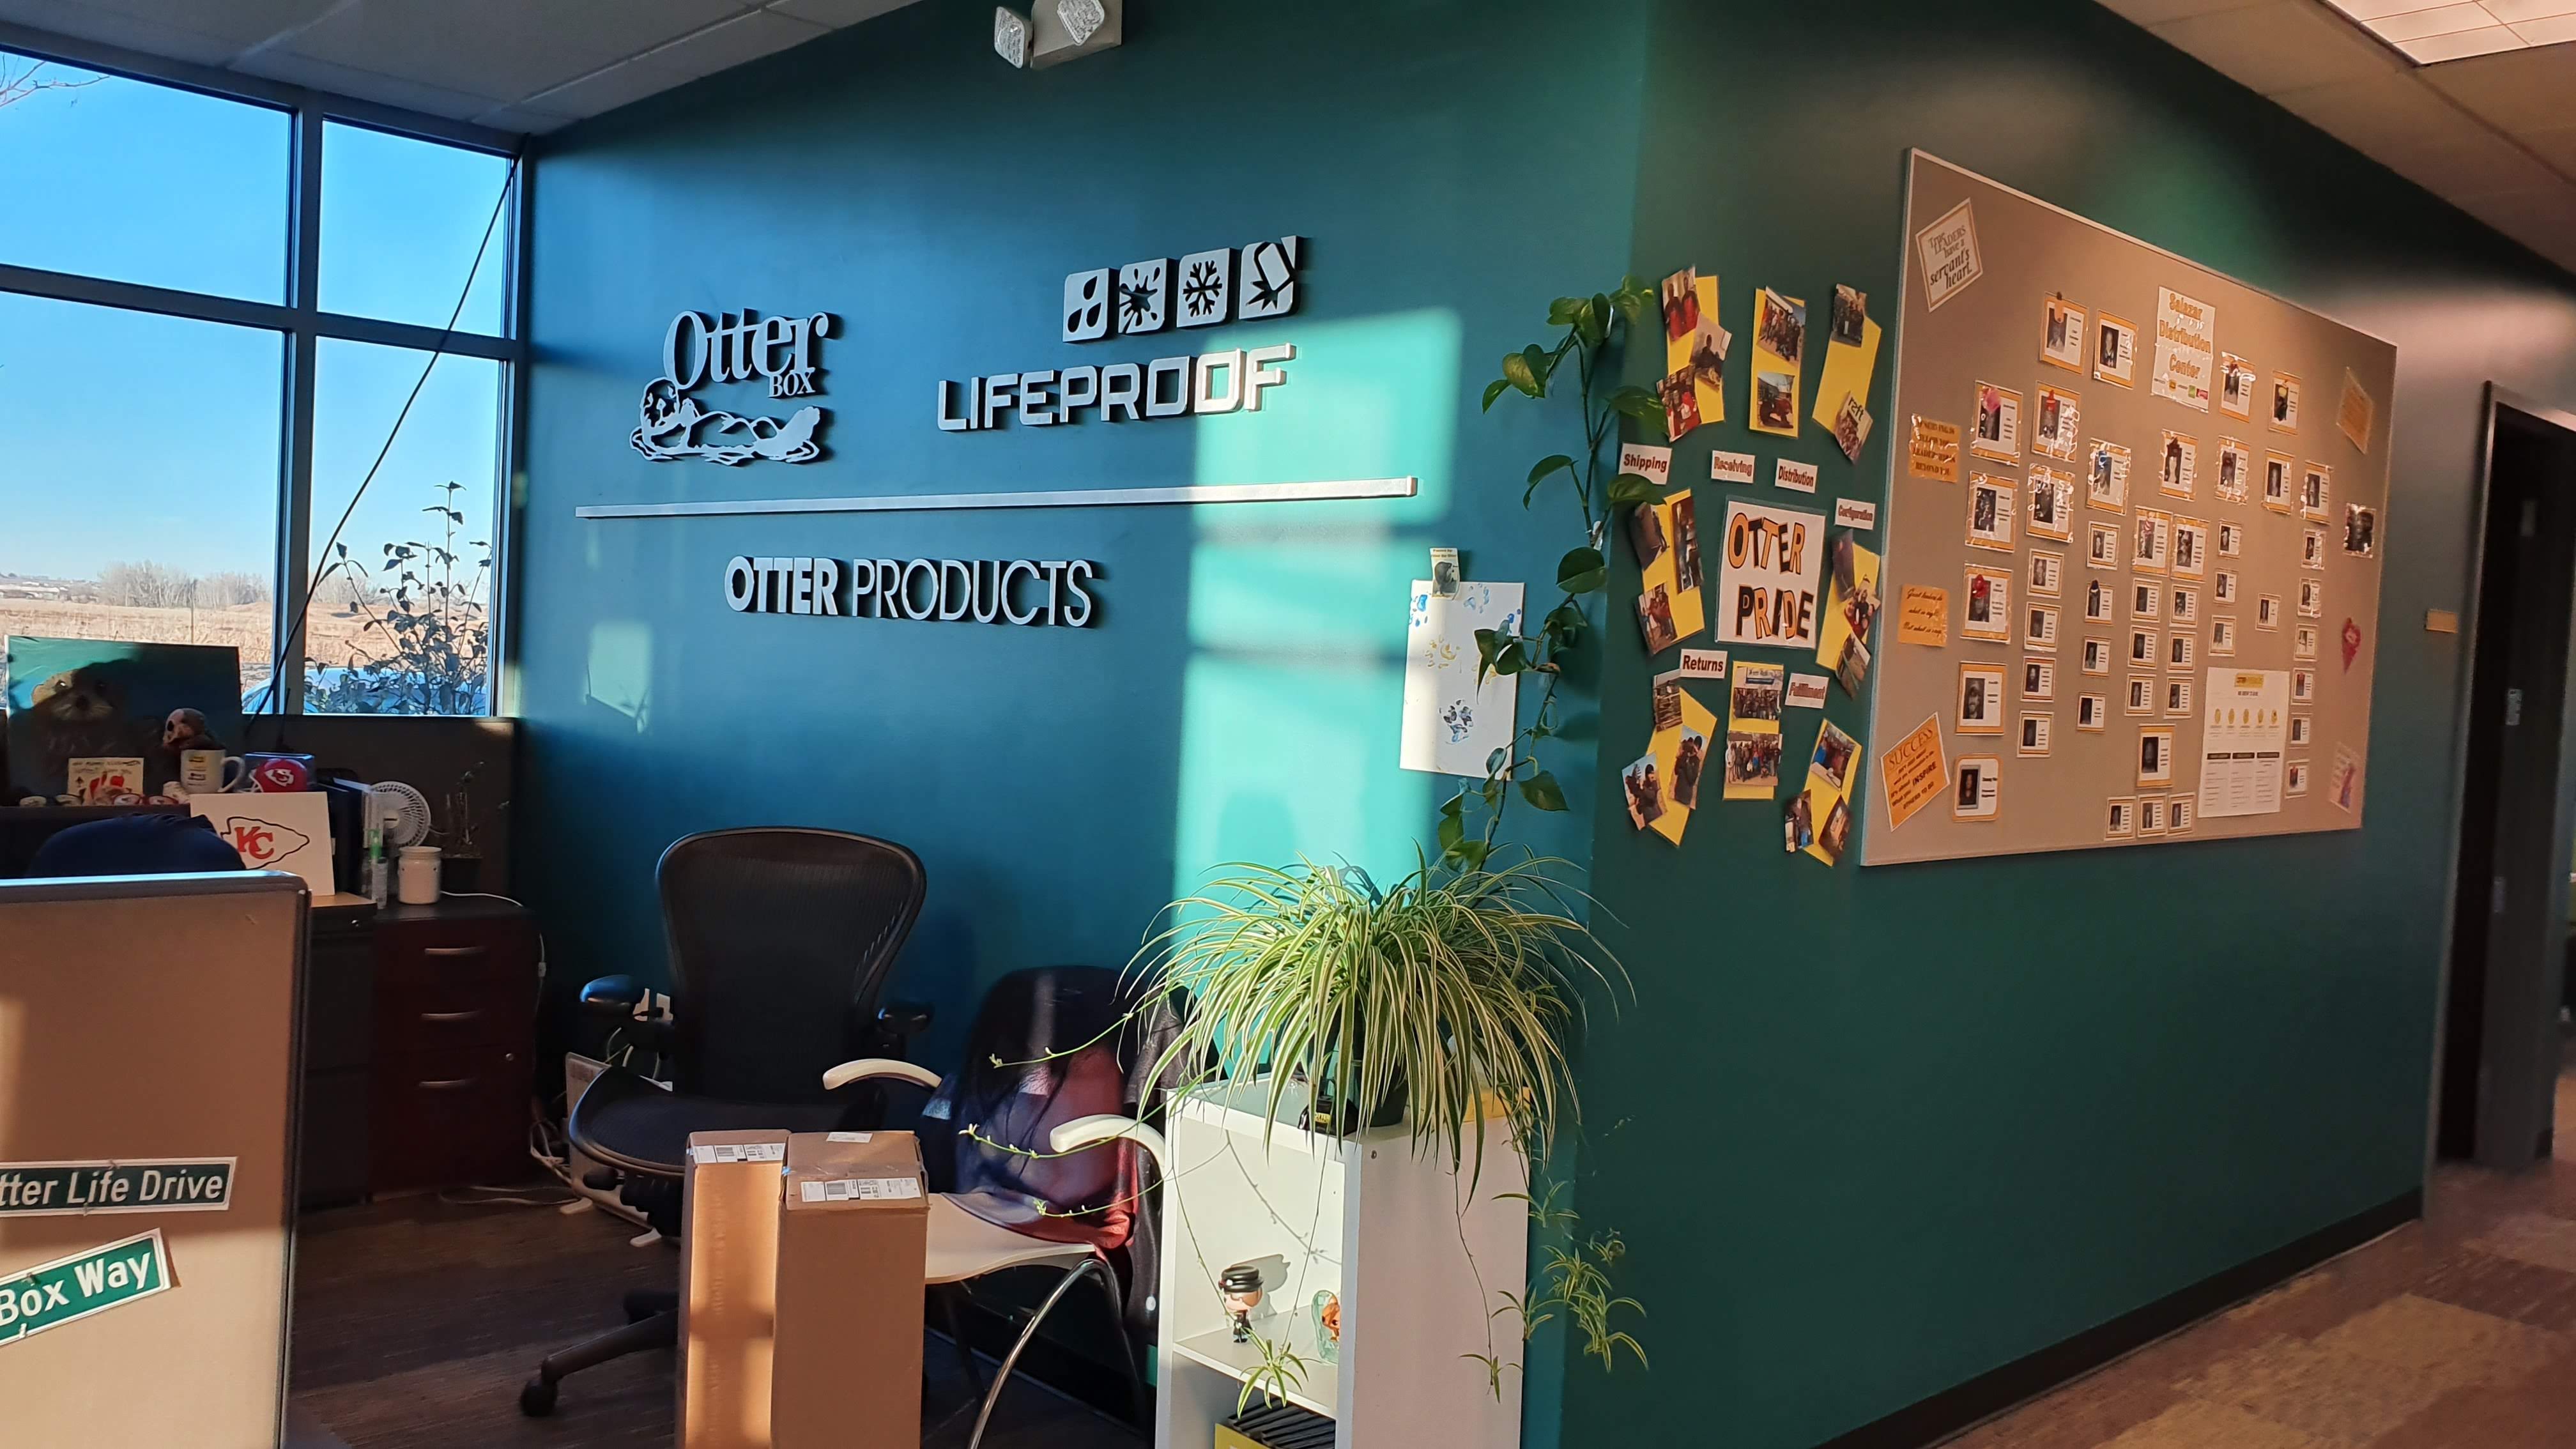
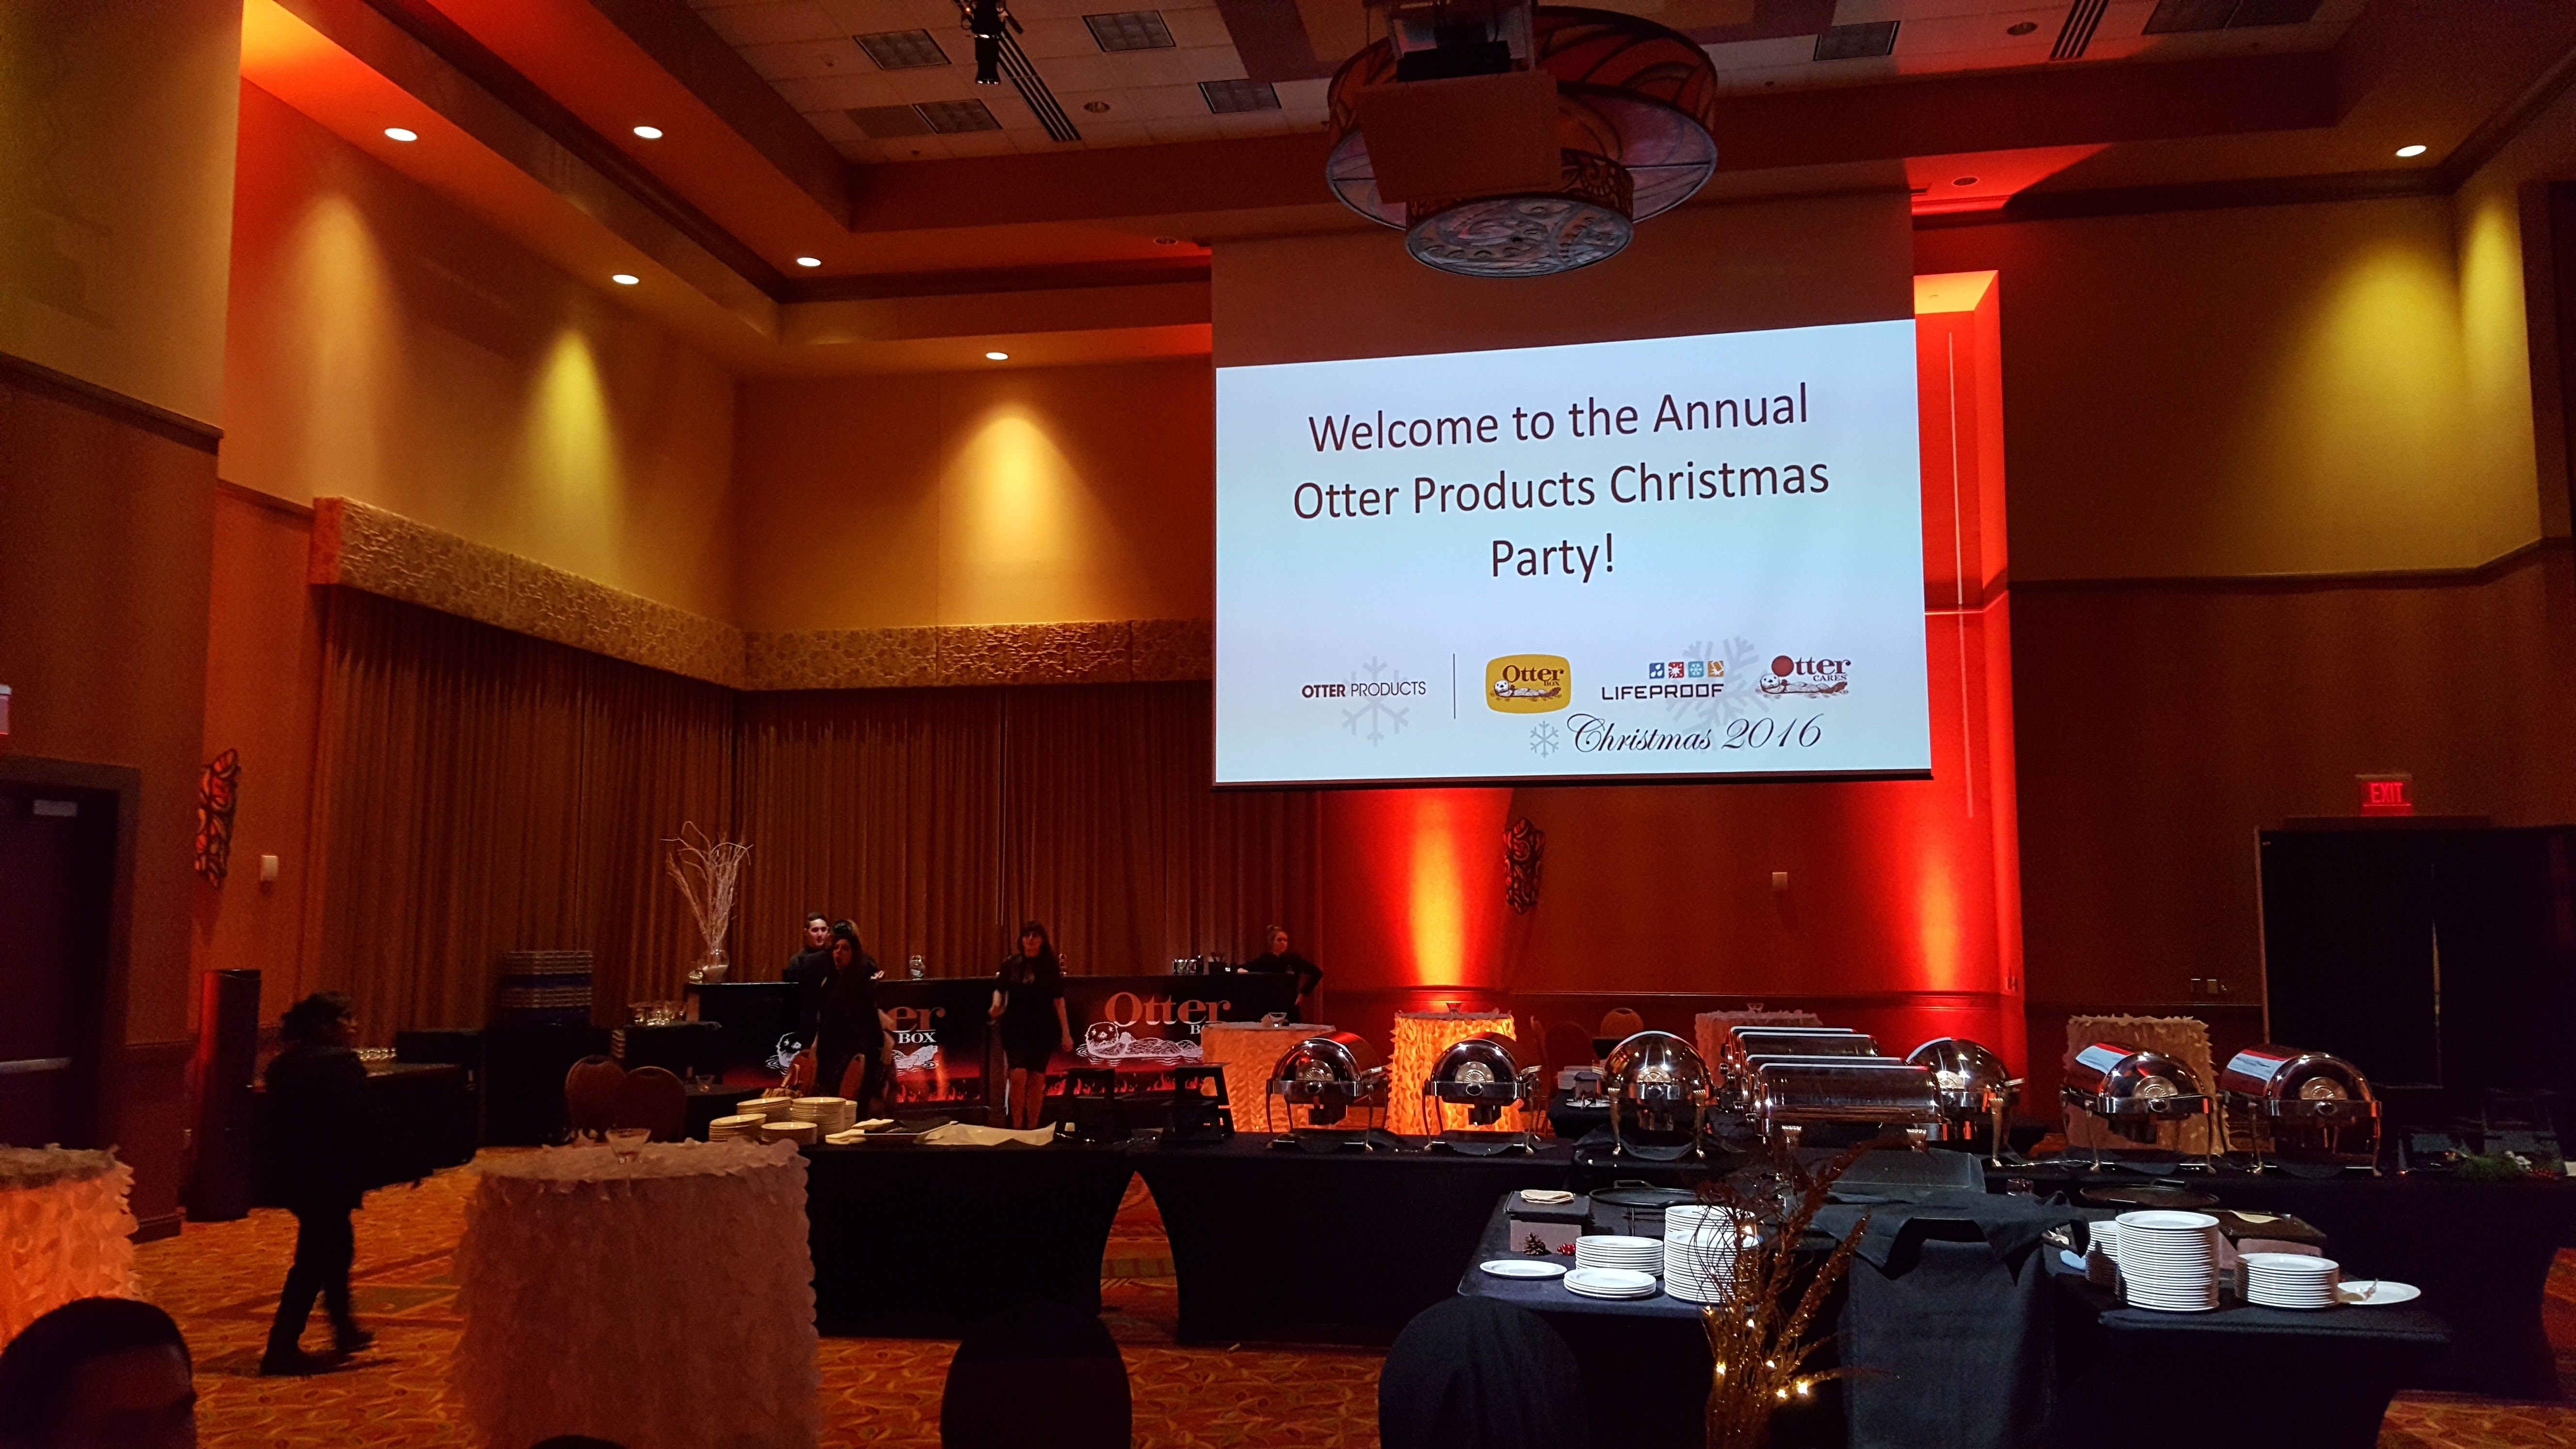
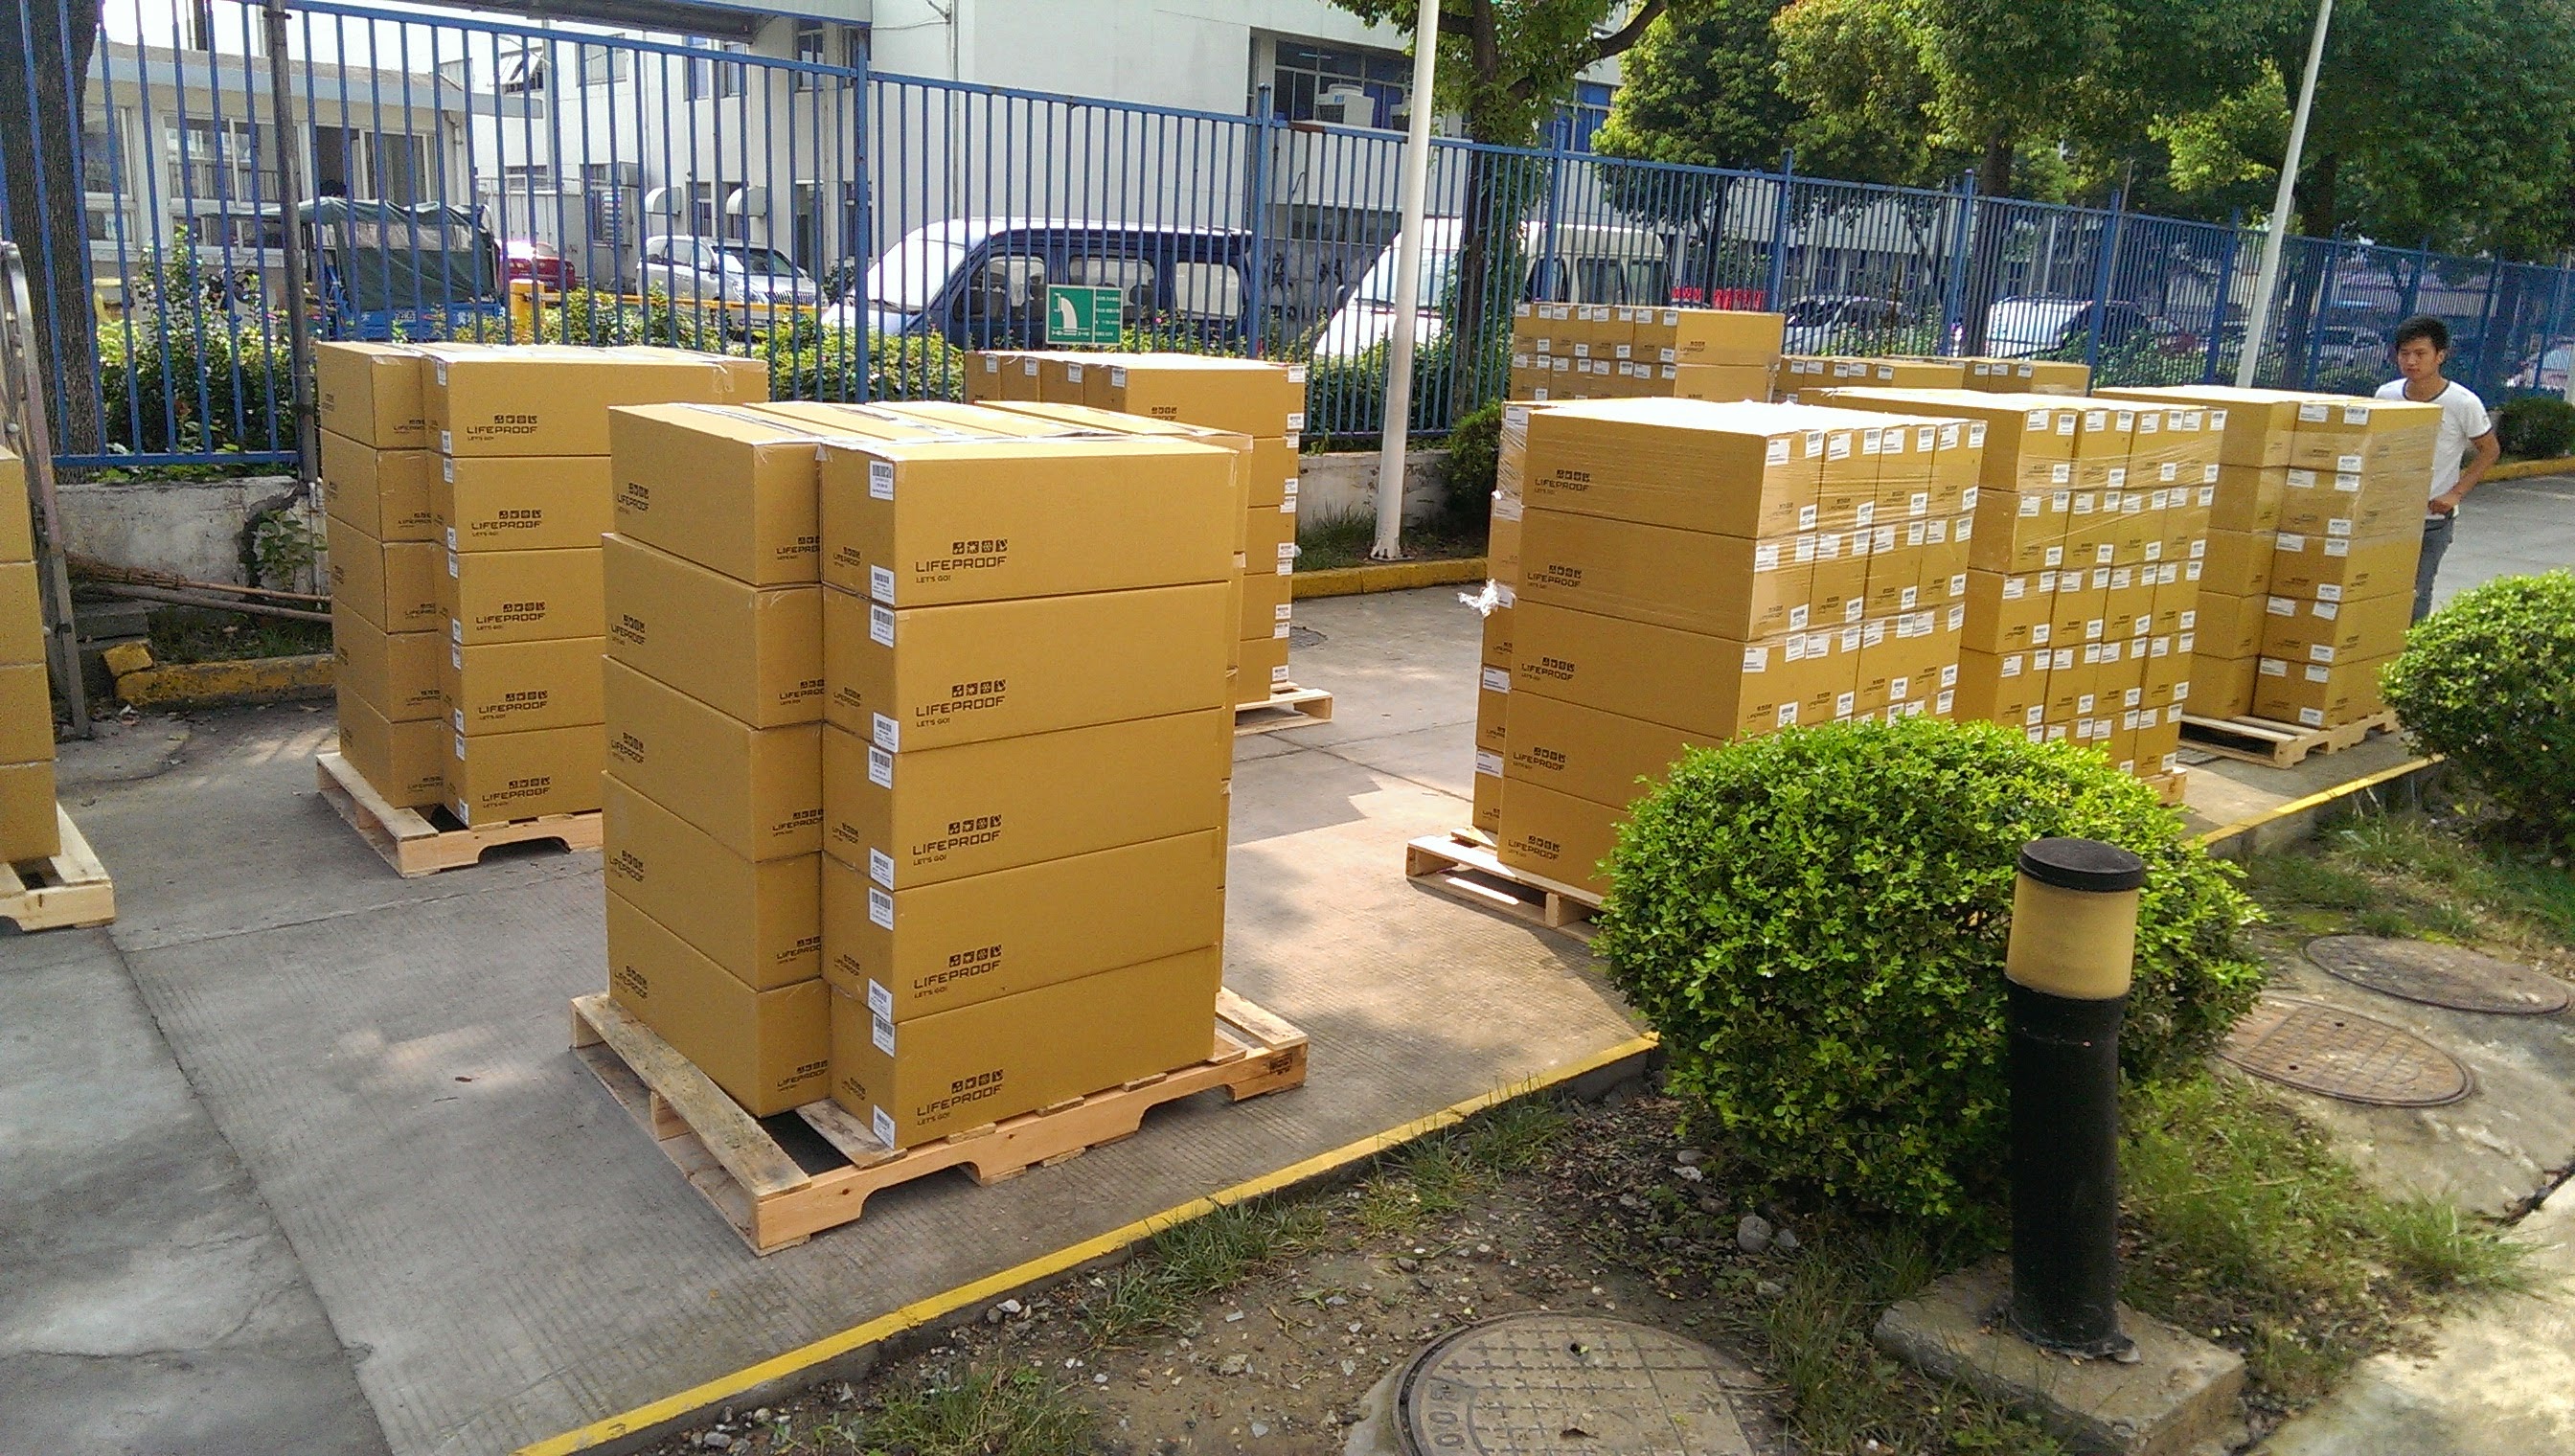
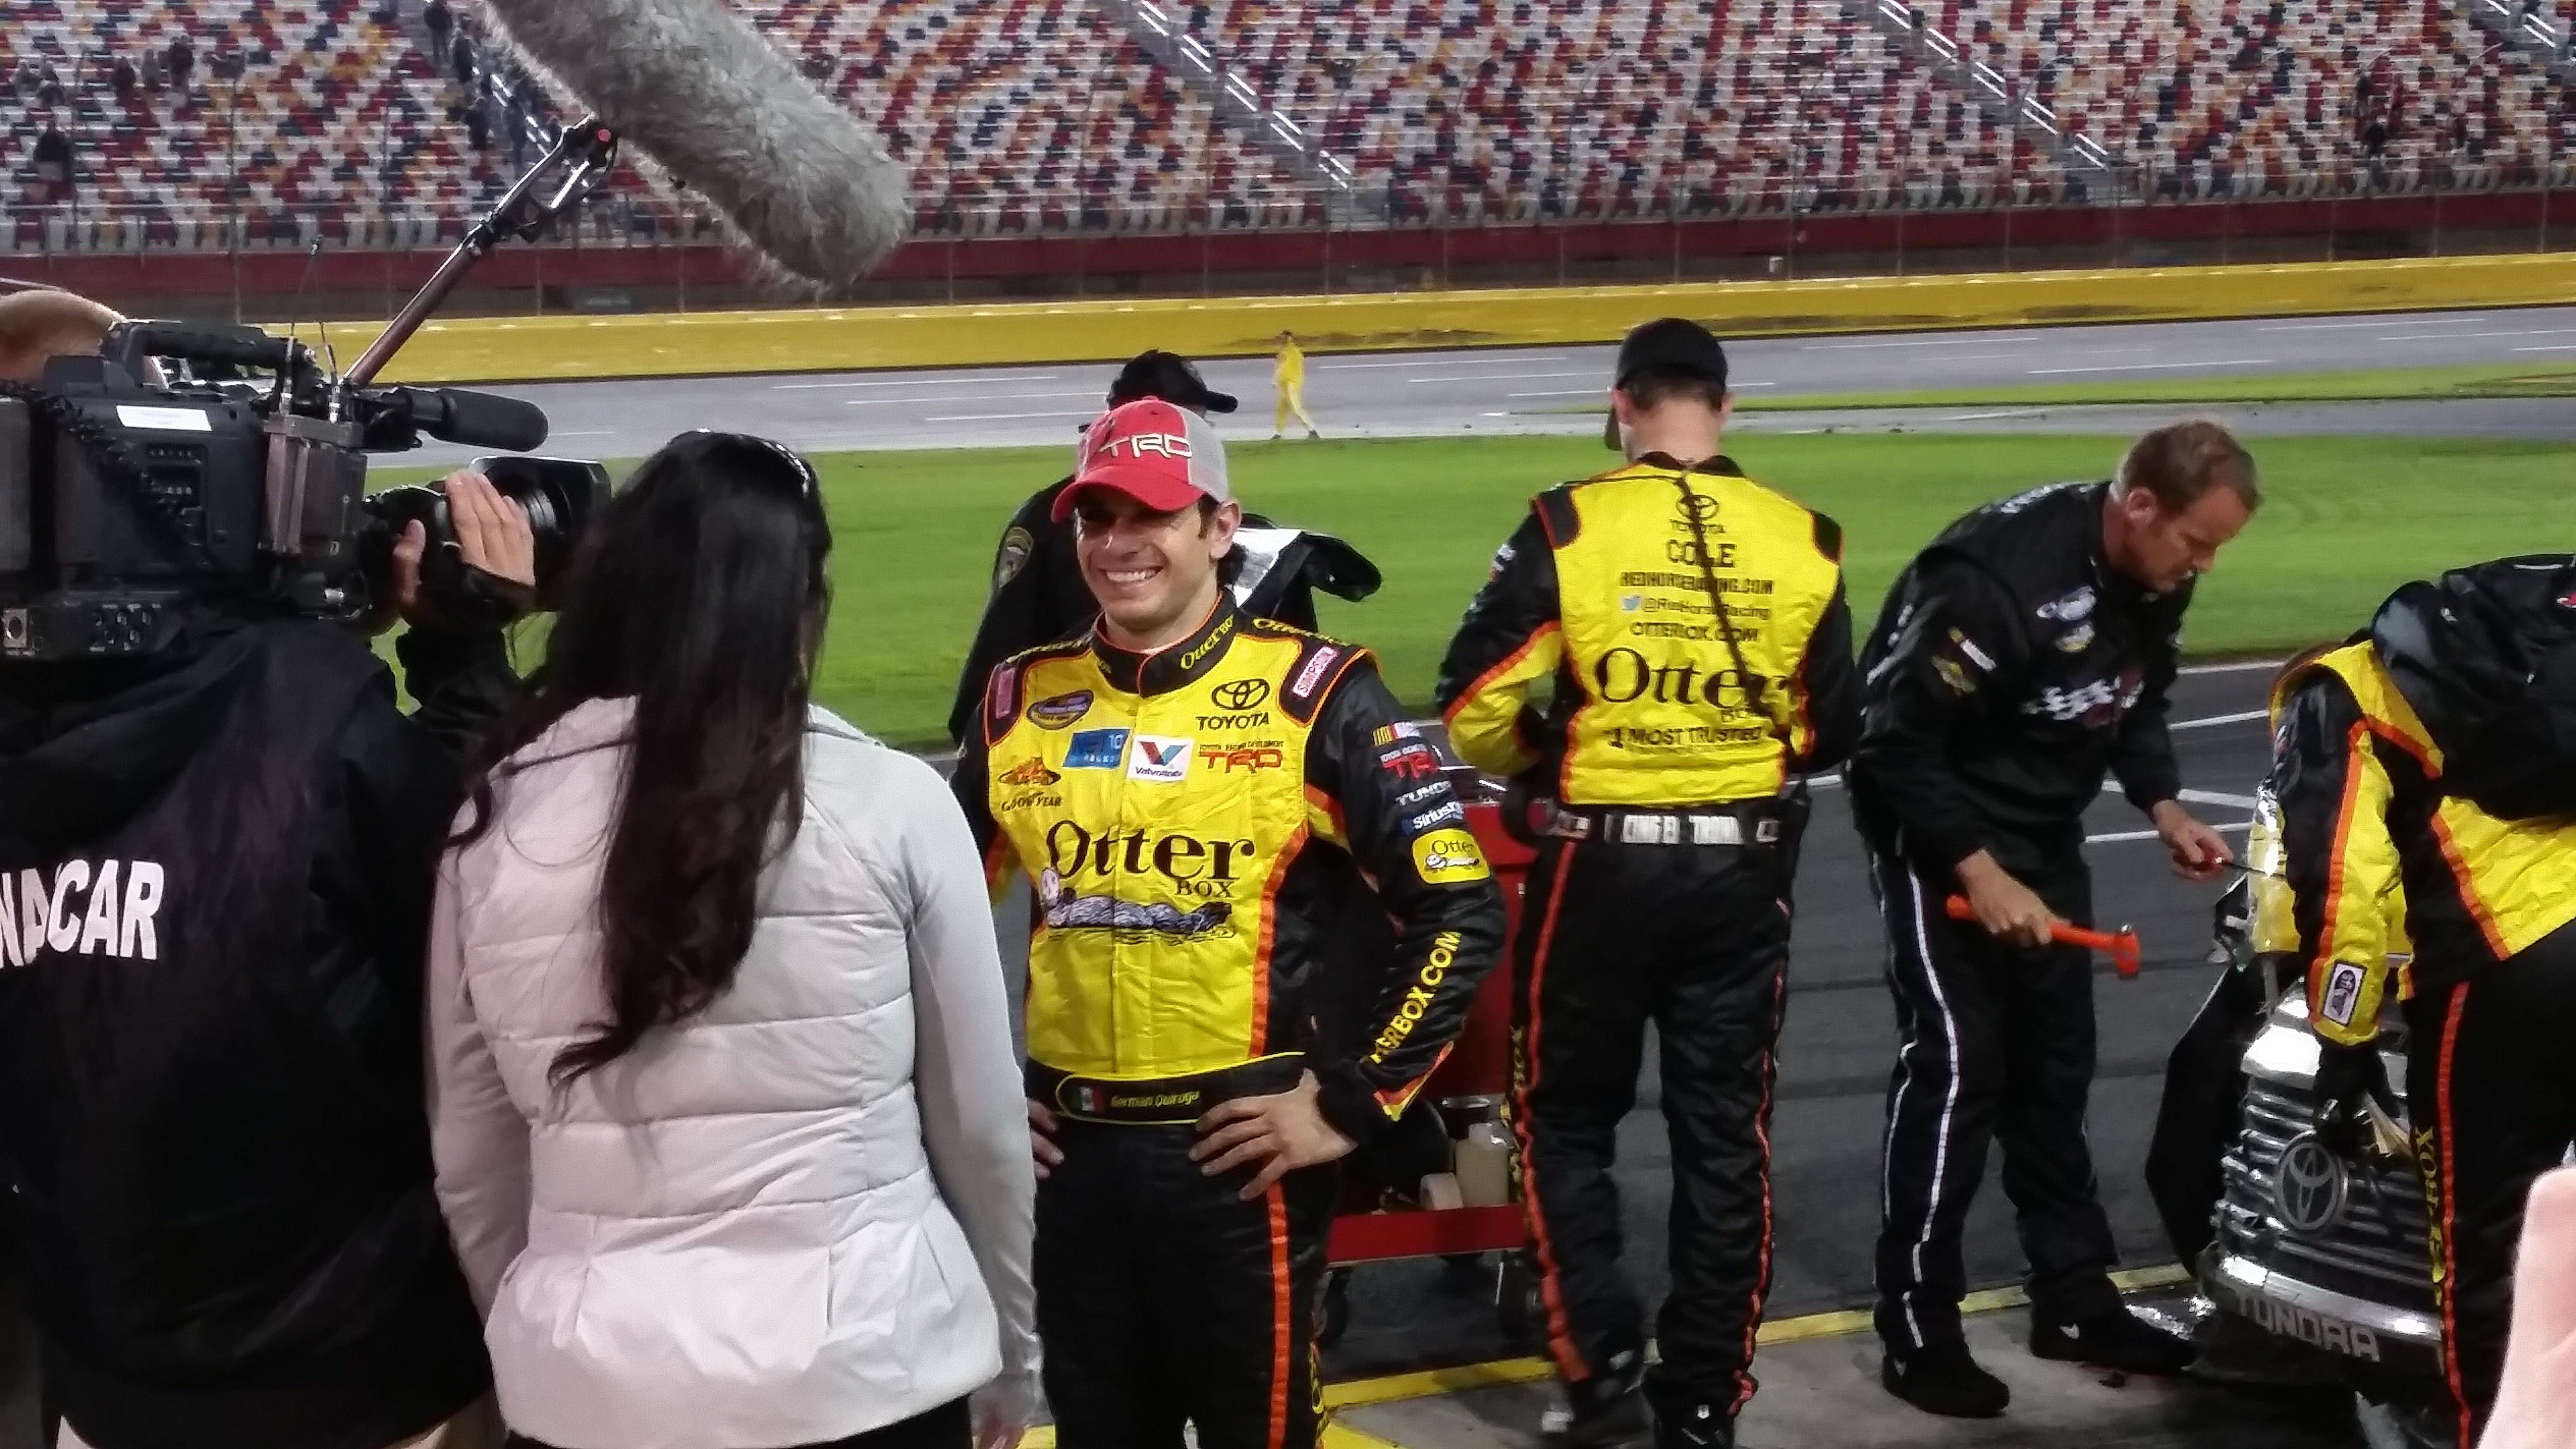
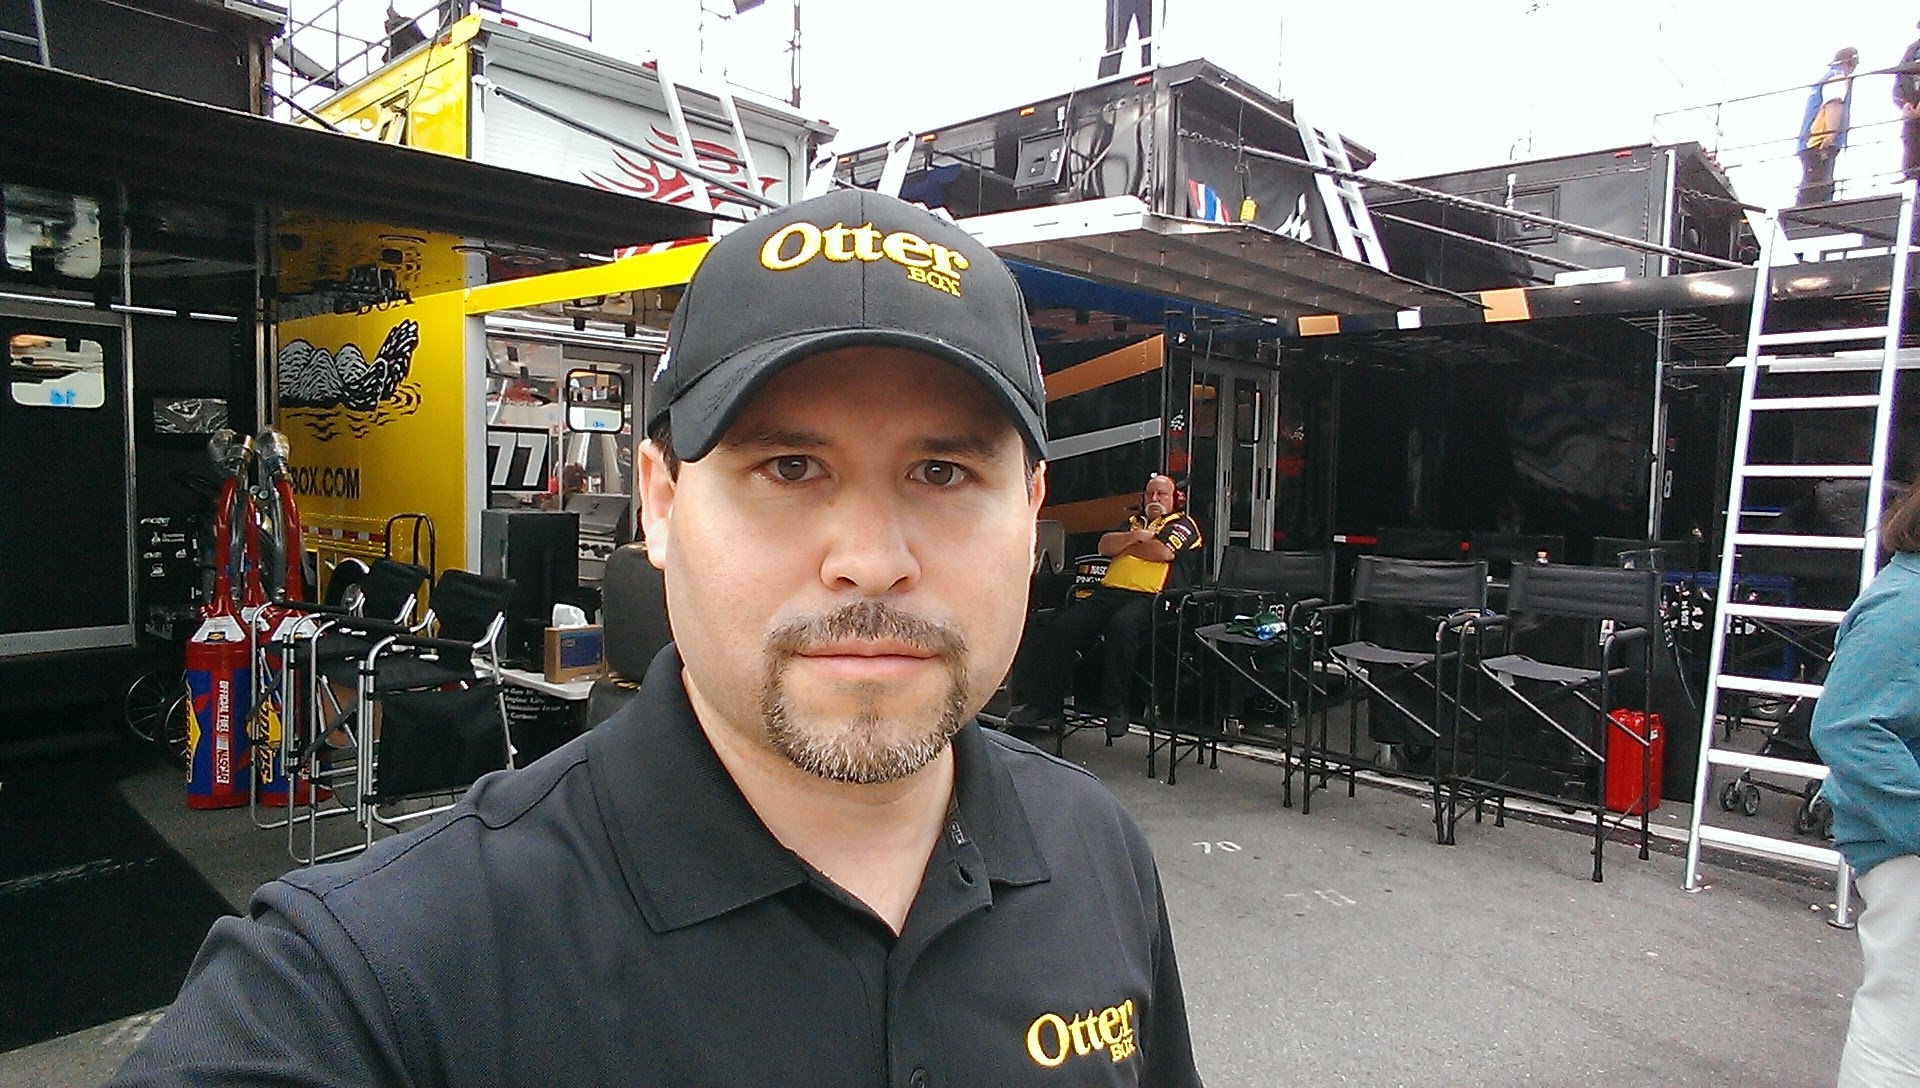
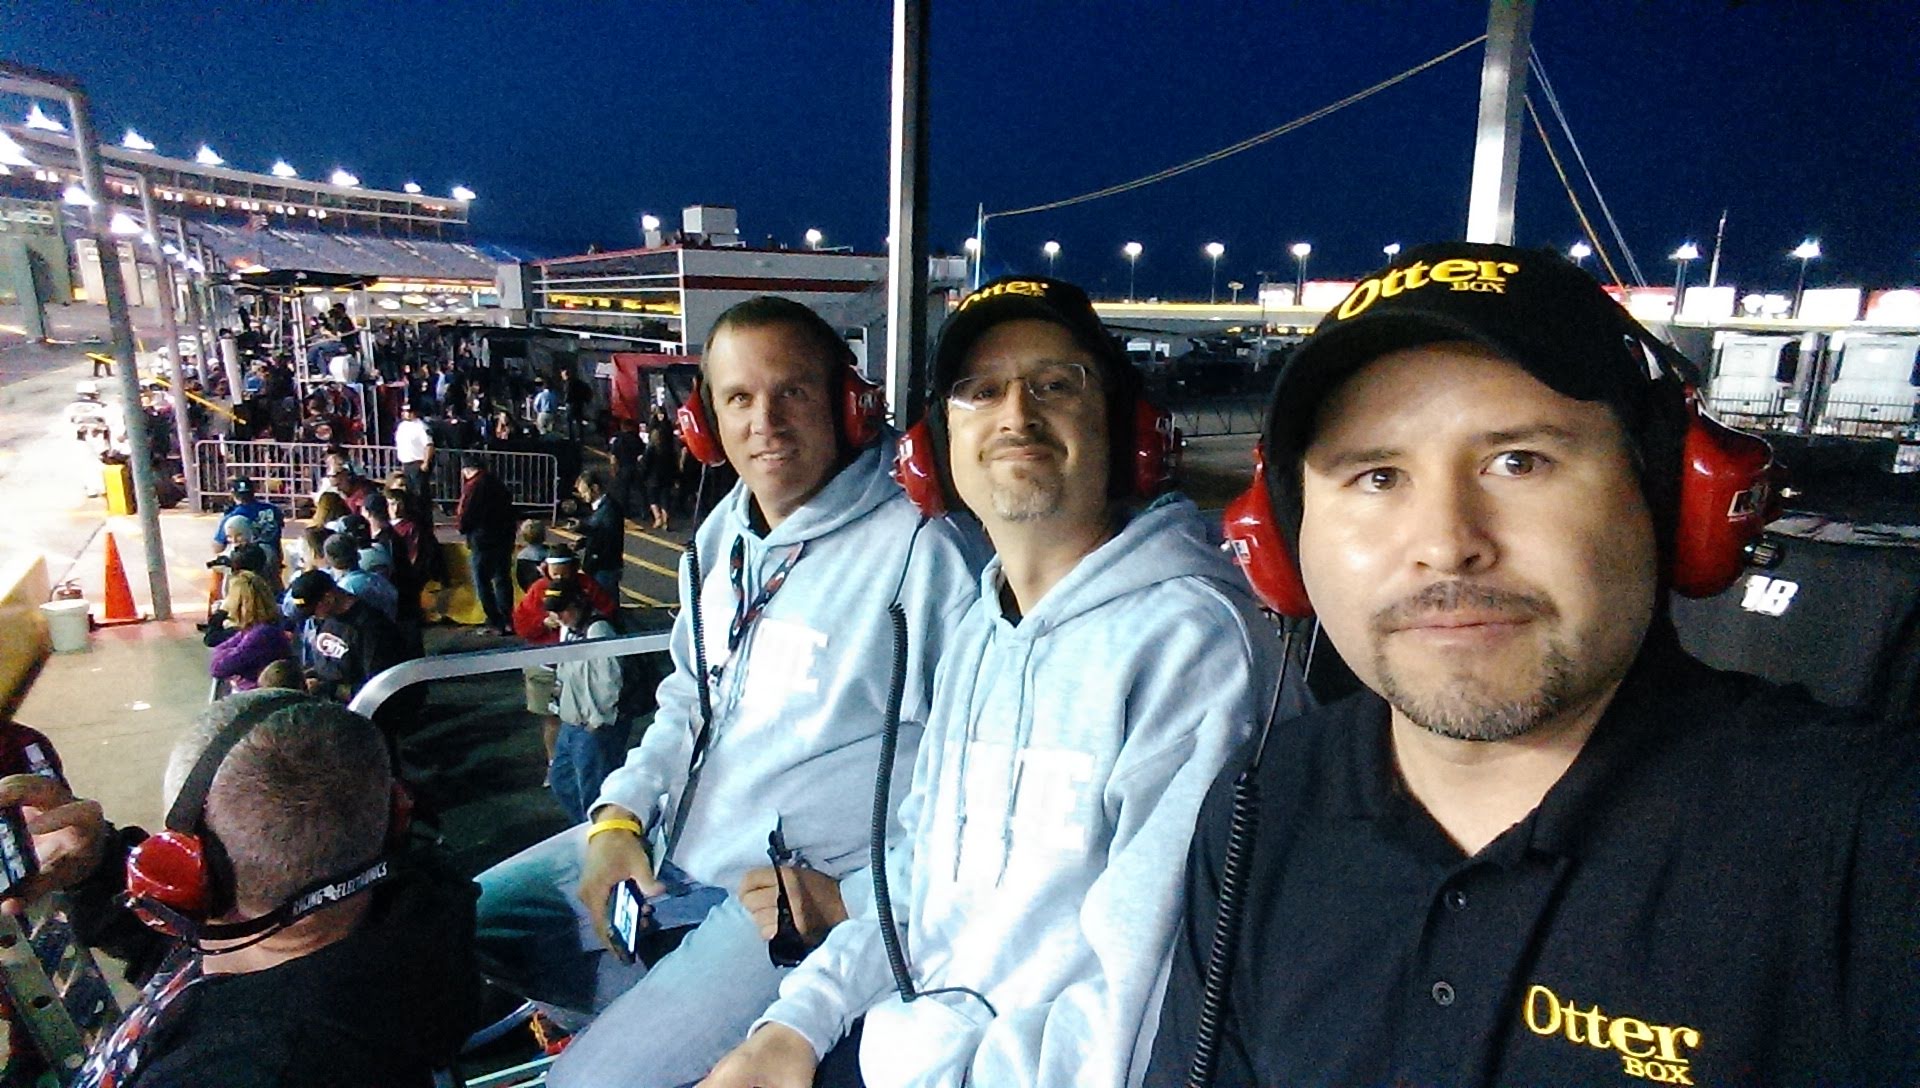
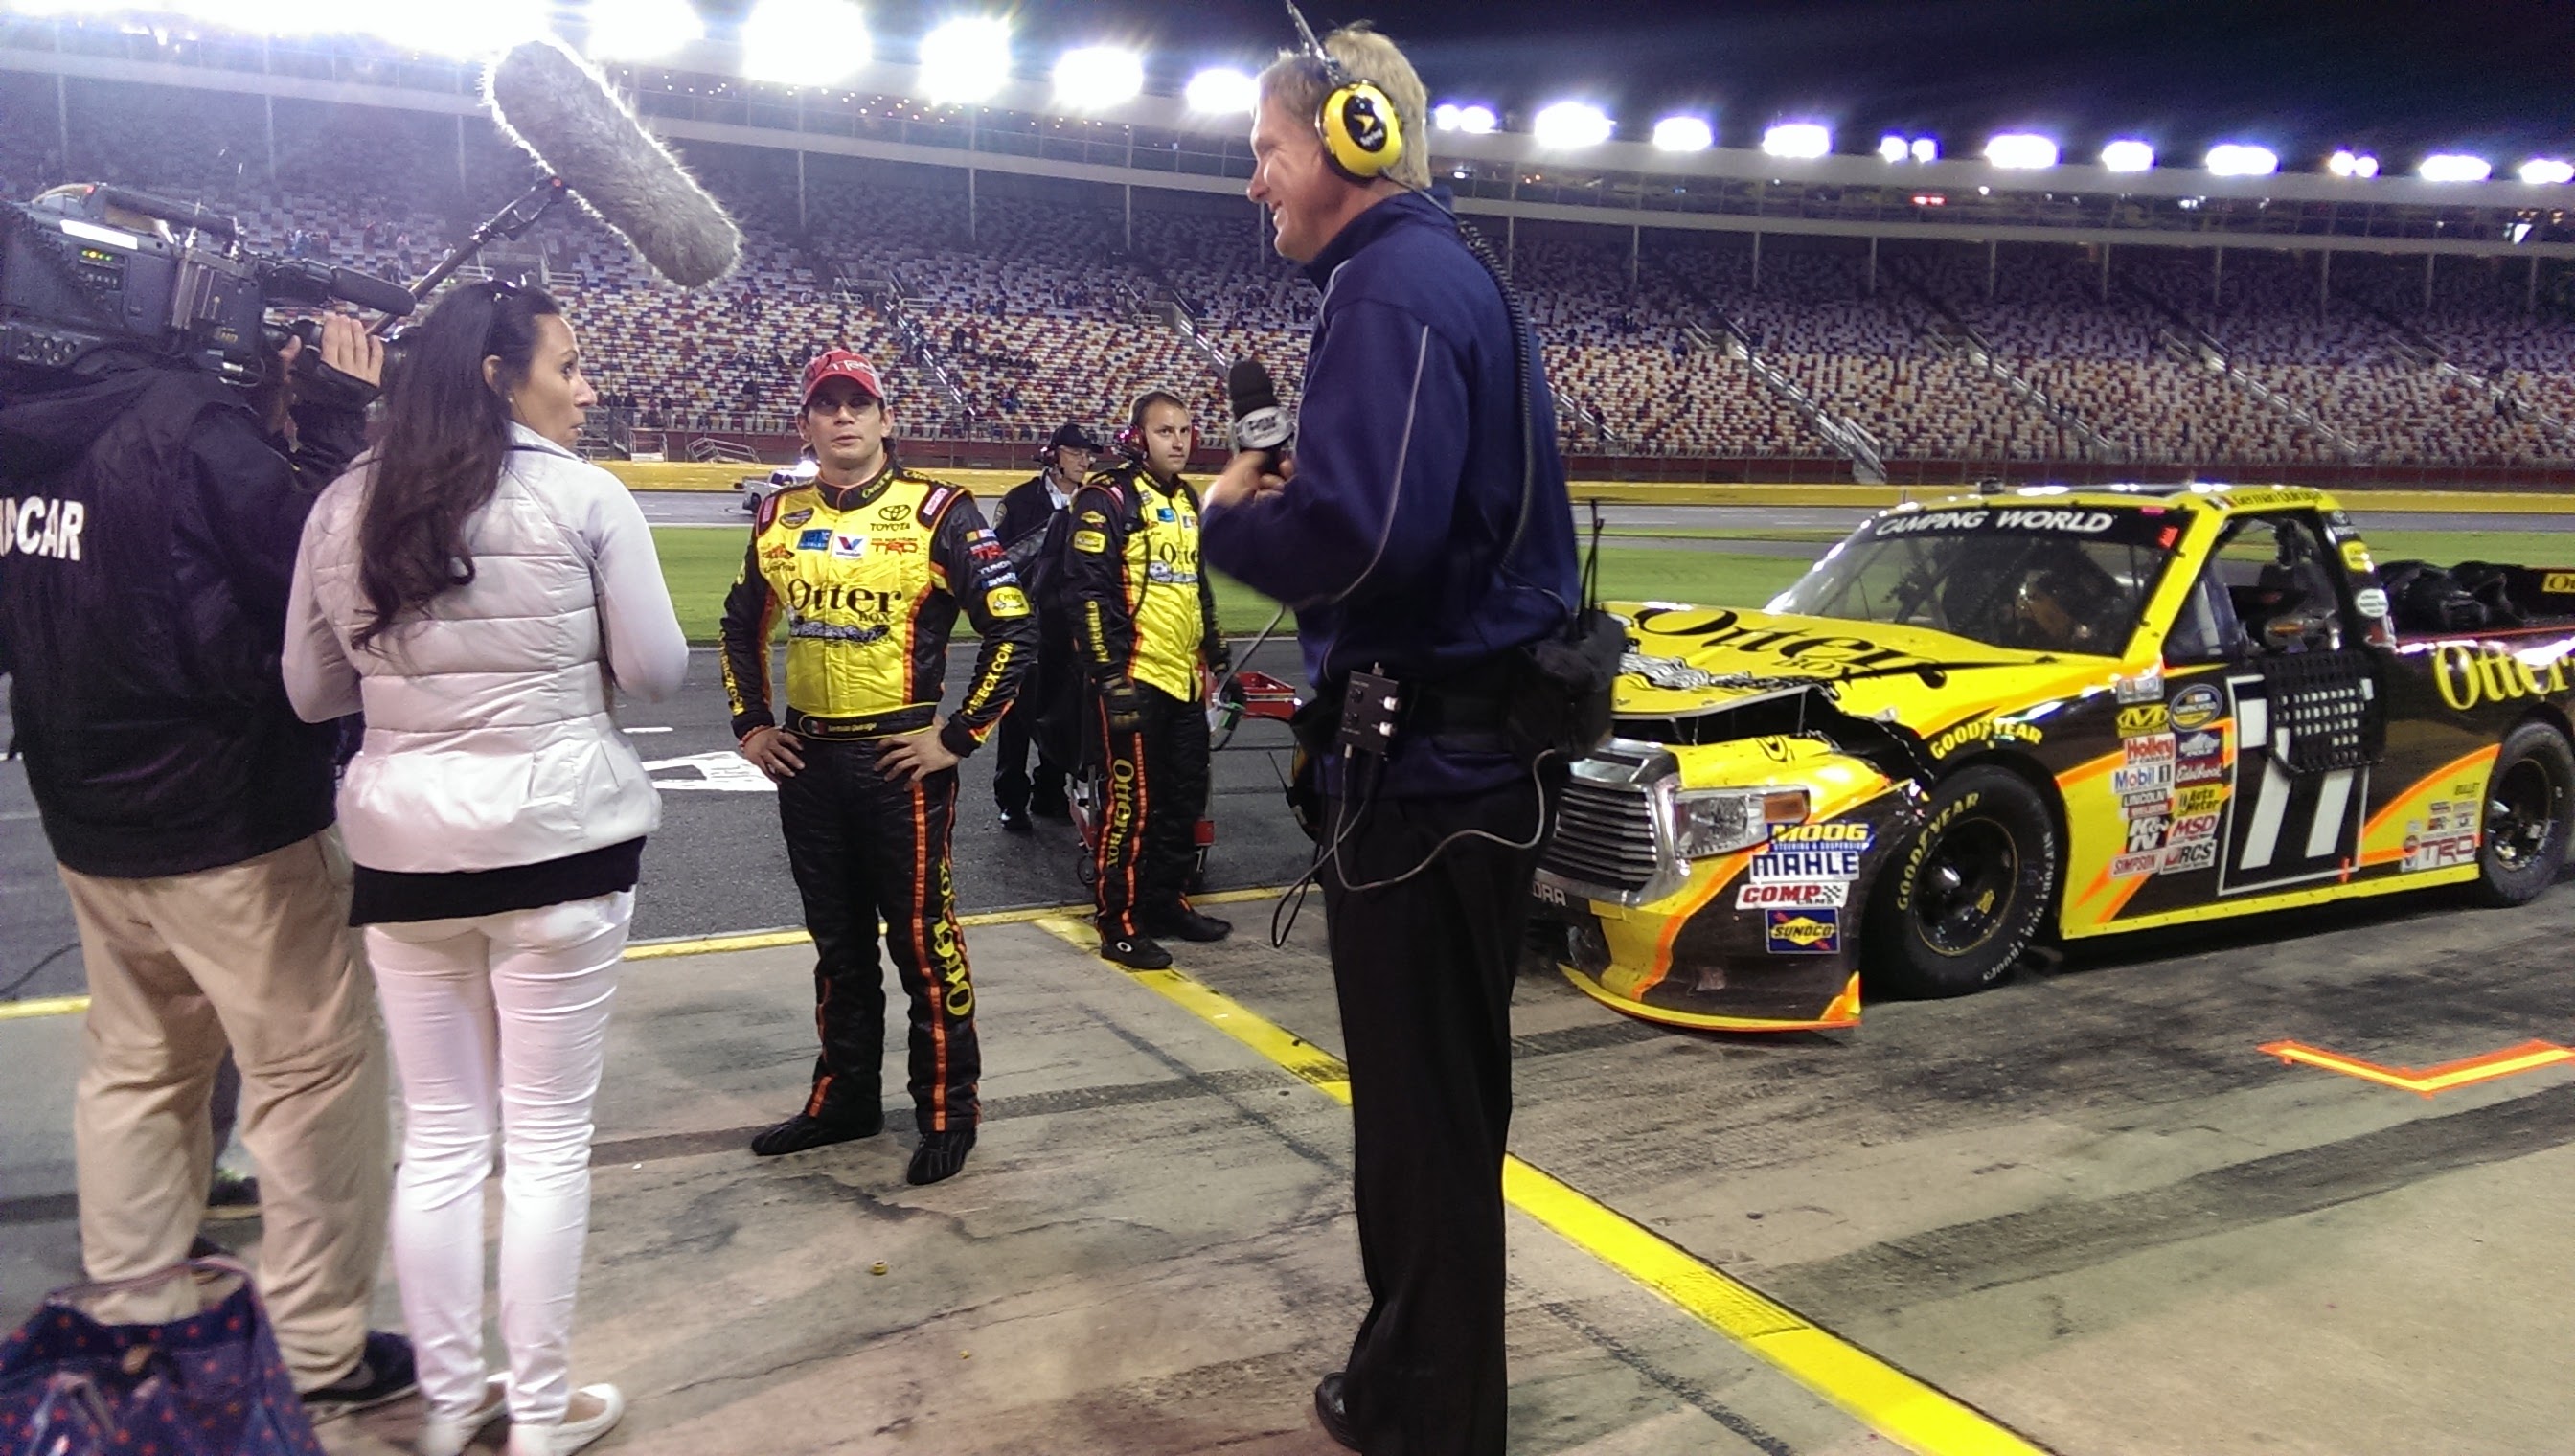
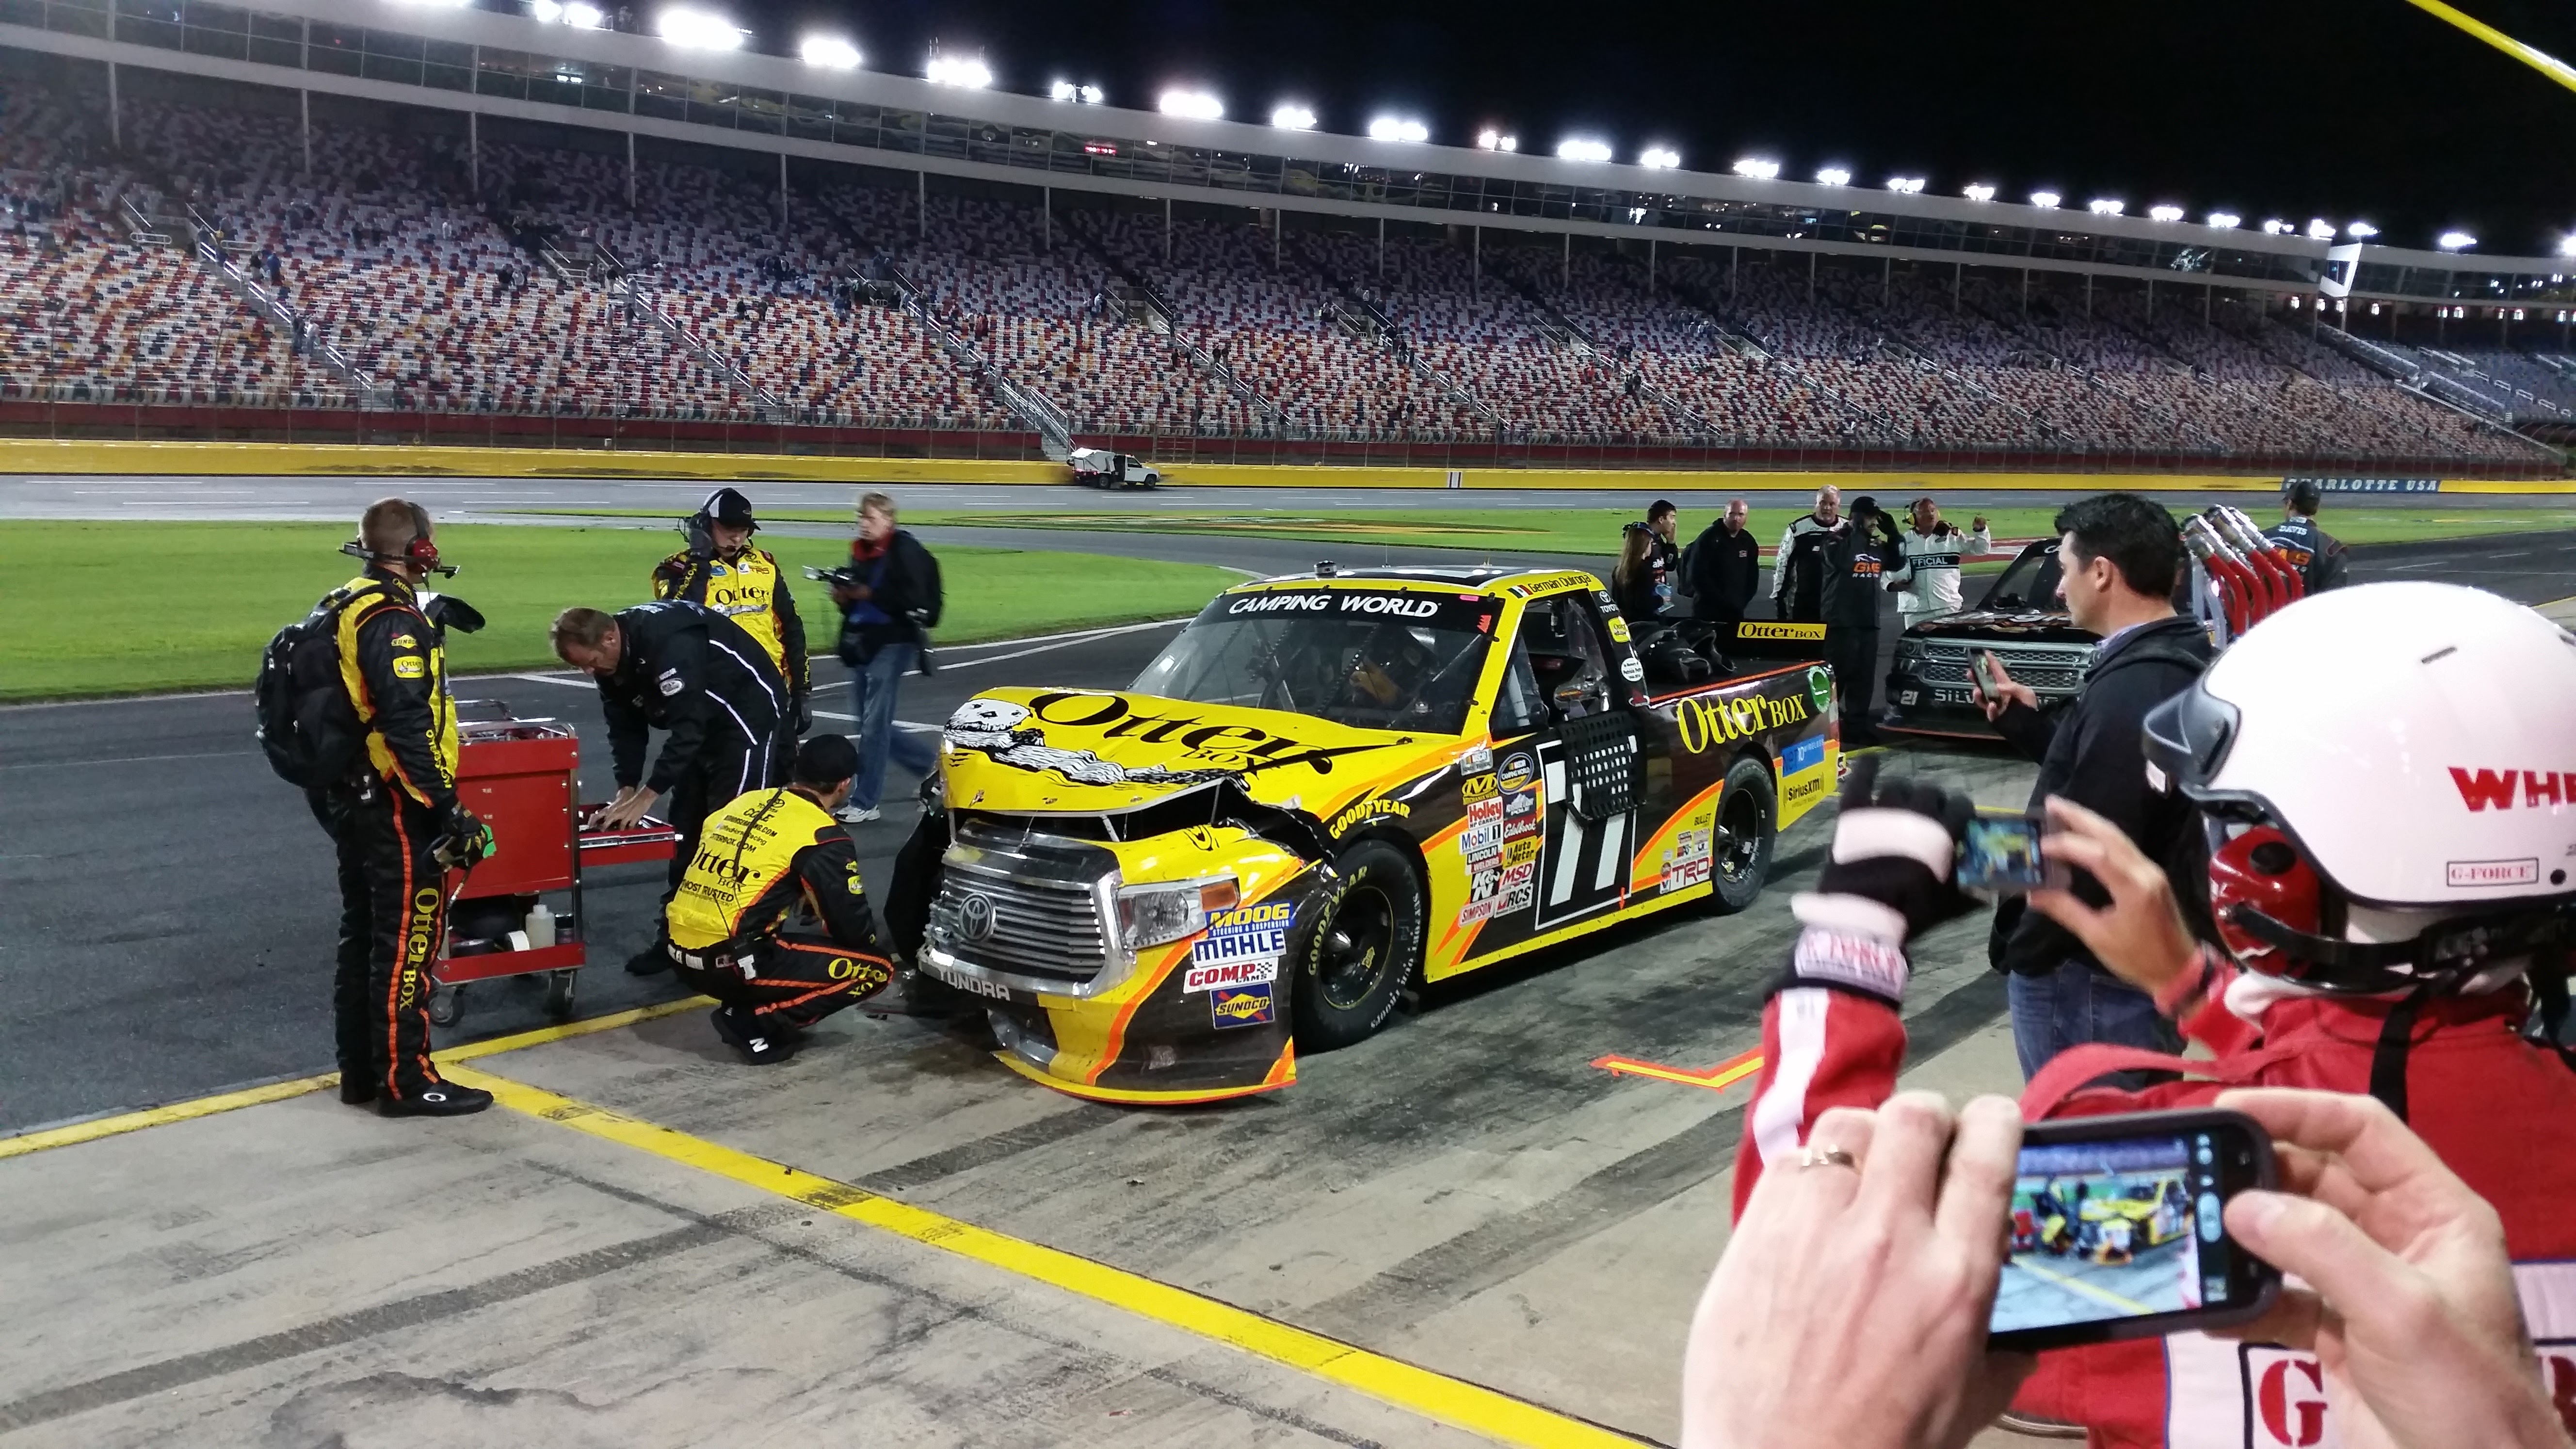
In this restructuring event, a lot of people were let go including the remote Mechanical Engineering force in San Diego, the OG brilliant minds from LifeProof, the ones that figured out, developed and delivered fully waterproof mobile device cases while allowing for full functionality, the LifeProof FRE case.

I’m a bit bitter, a bit sad, seeing my coworkers, my brothers in arms of many years, one by one announcing getting the dreaded email including myself, no explanation yet but we had it seen a mile away.

What makes FRE special? It’s just a waterproof case, why not use a Ziploc bag? Well, once you seal a phone device in a watertight enclosure, you need to worry about sound, about the microphones and how they interact with the software algorithms, the cameras with optically clear lenses and the flash that wants to bleed light wherever it can. And the touchscreen, it needs to seal out 100%, prevent it from creating those rainbow ring artifacts, reduce fingerprints, add scratch resistance, etc., the materials used are also tested for ultraviolet degradation, common solutions (think lotions, sunscreen, alcohol, etc.), button forces, latch retention… and, yeah, drops, the case should continue being waterproof after being dropped, all in a very sleek package that rivals drop protection only cases in size and style. Oh, and it has to be produced millions of times, assembled and tested, yes, each case is tested for water ingress before packaging.
Back to the situation, maybe it was a good thing, maybe it was time, there was no development career for my position and salary was capped for many years. But what if… what if that’s what I wanted to do, to continue the challenges of designing and developing for new series, new devices, maybe I wanted to continue for 10 more years. Maybe there is something else waiting and I needed a push, after all, I wouldn’t been here if it wasn’t for these life nudges.
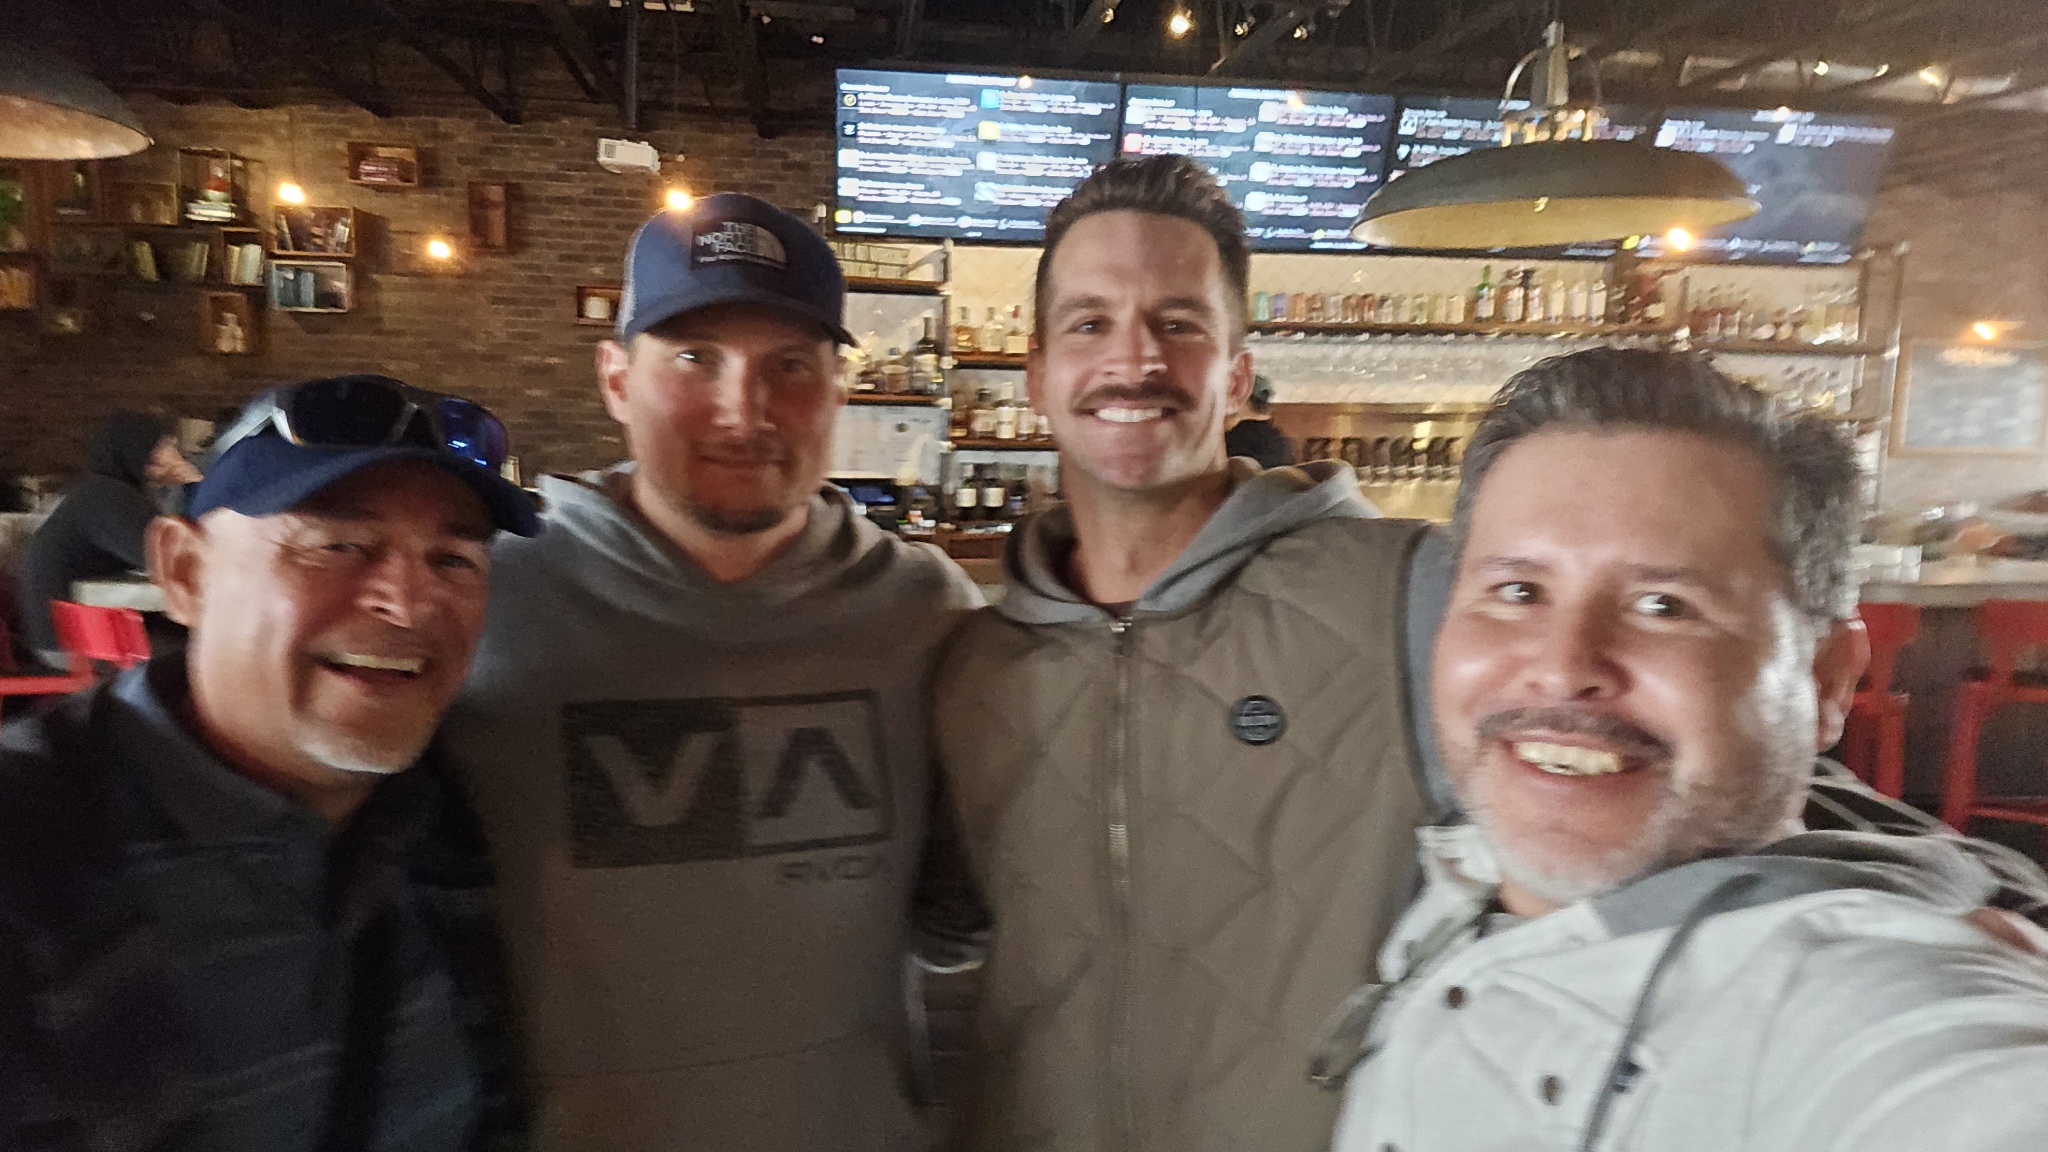
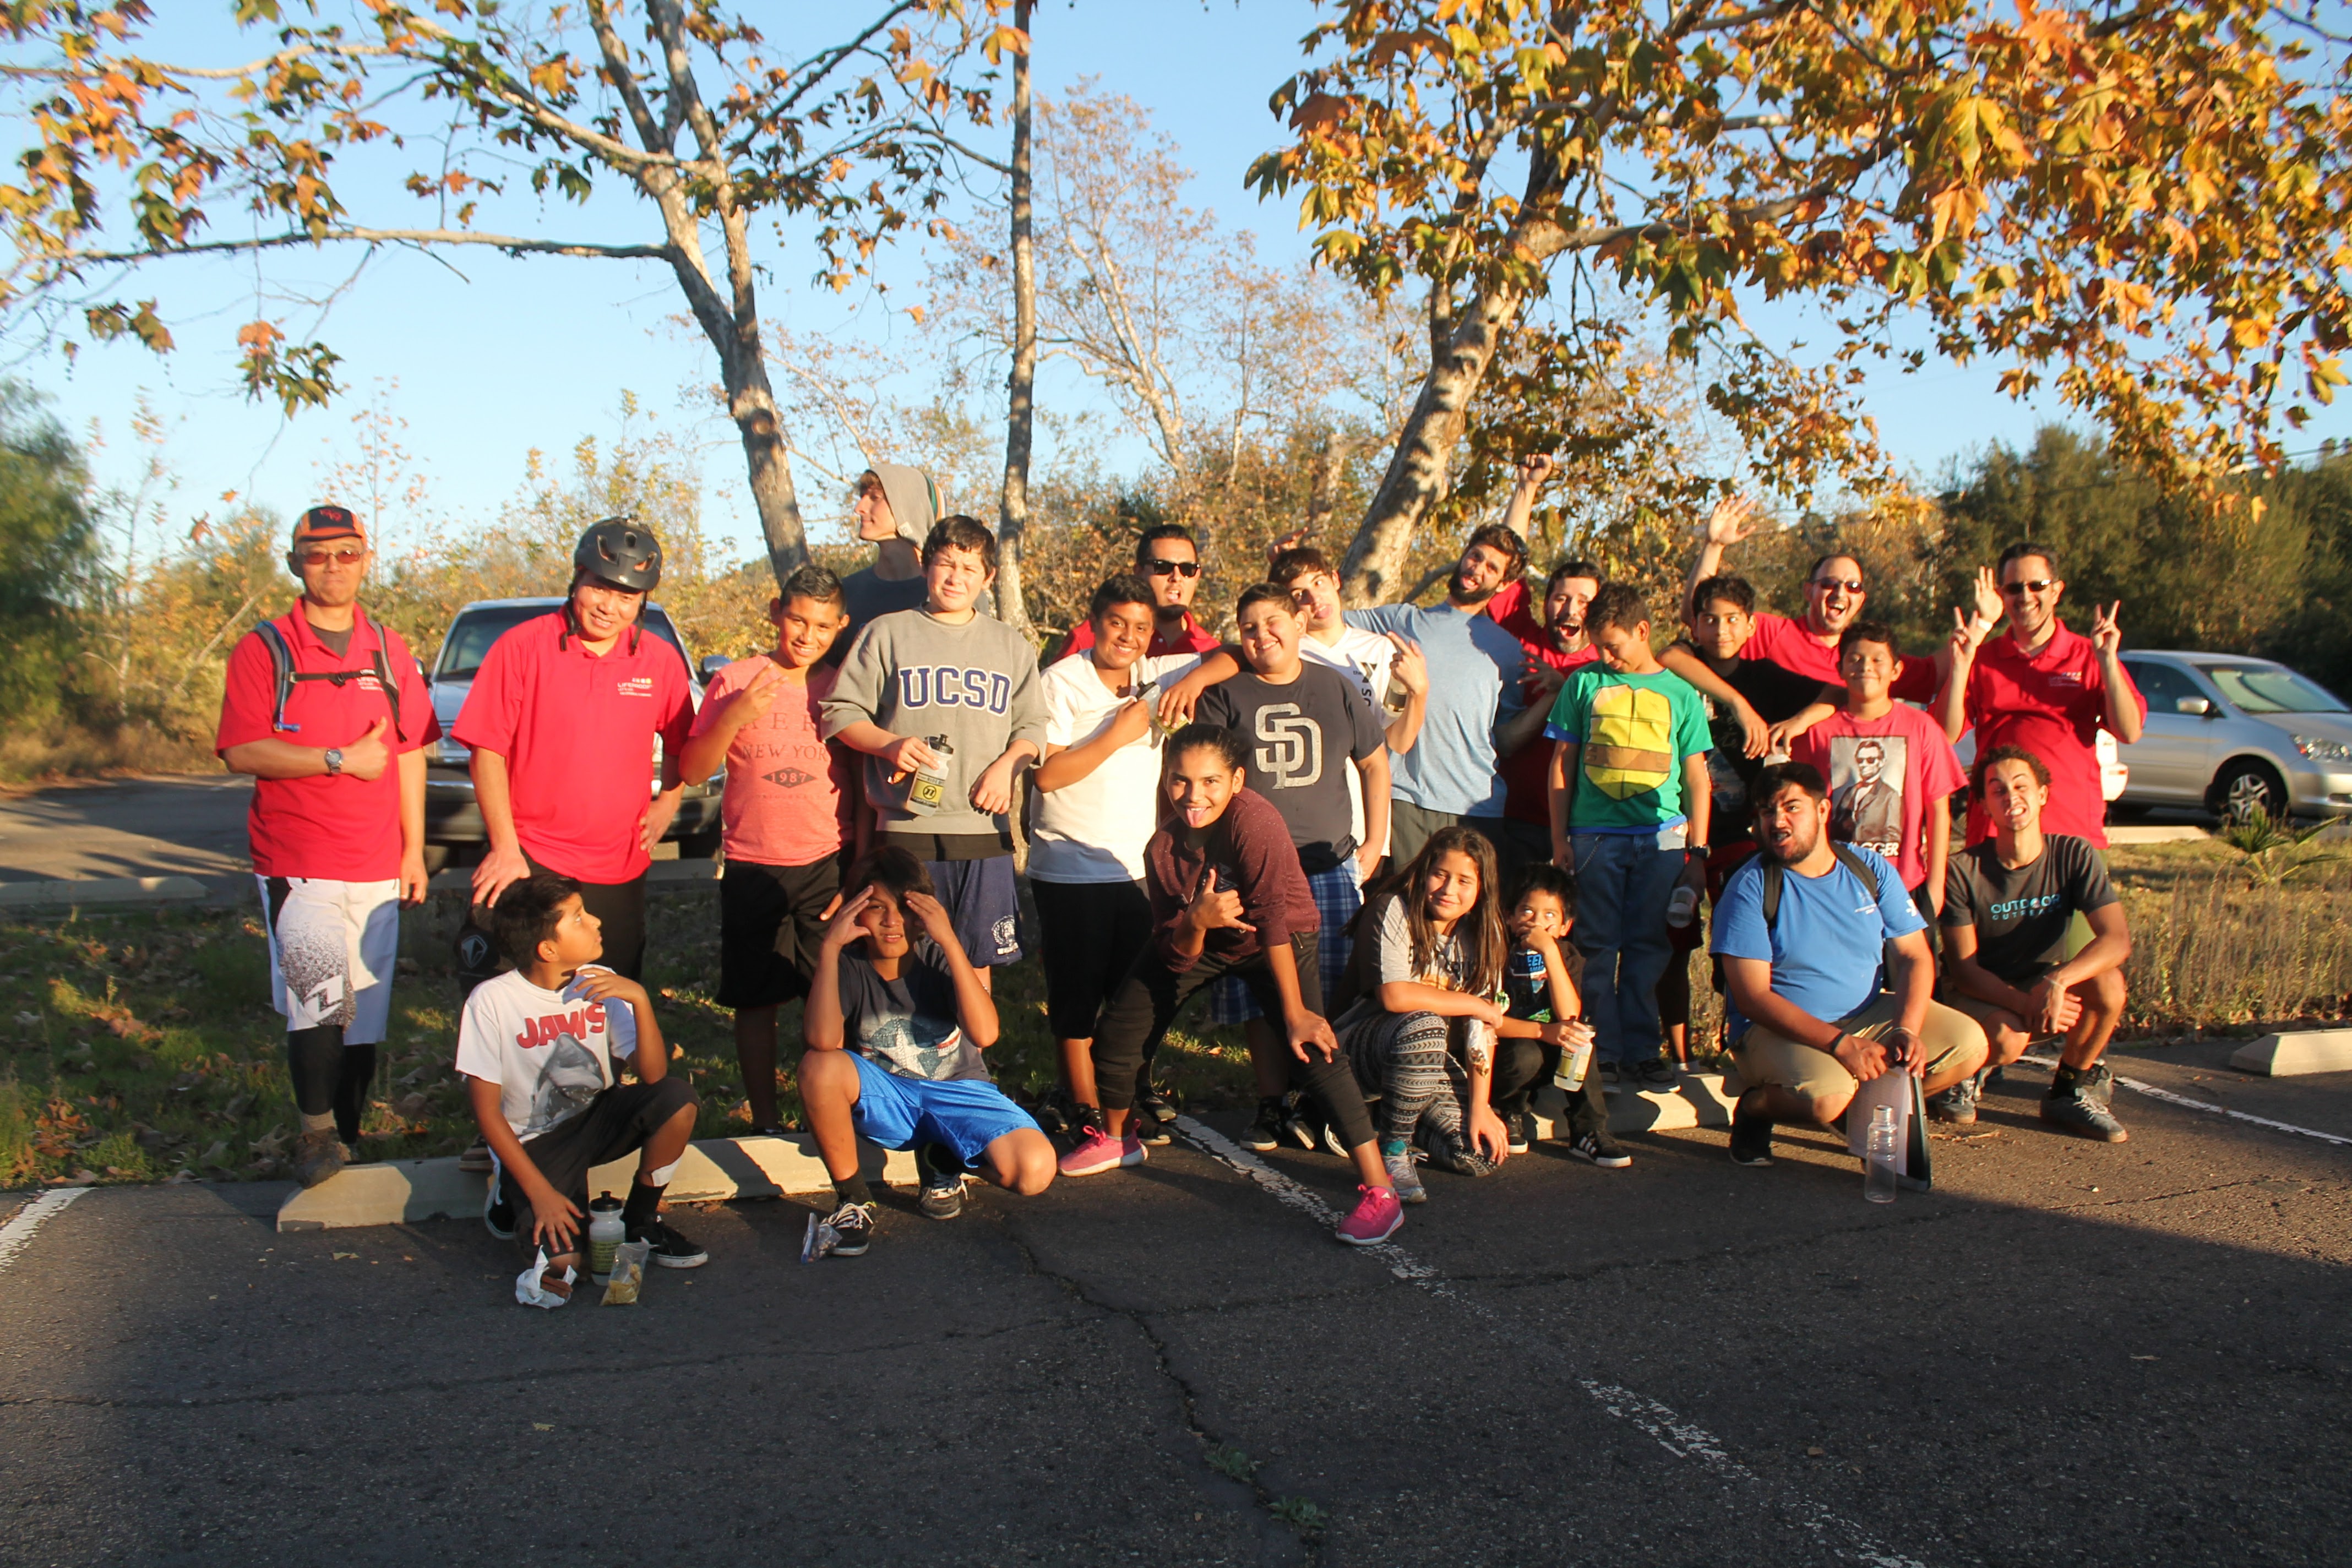
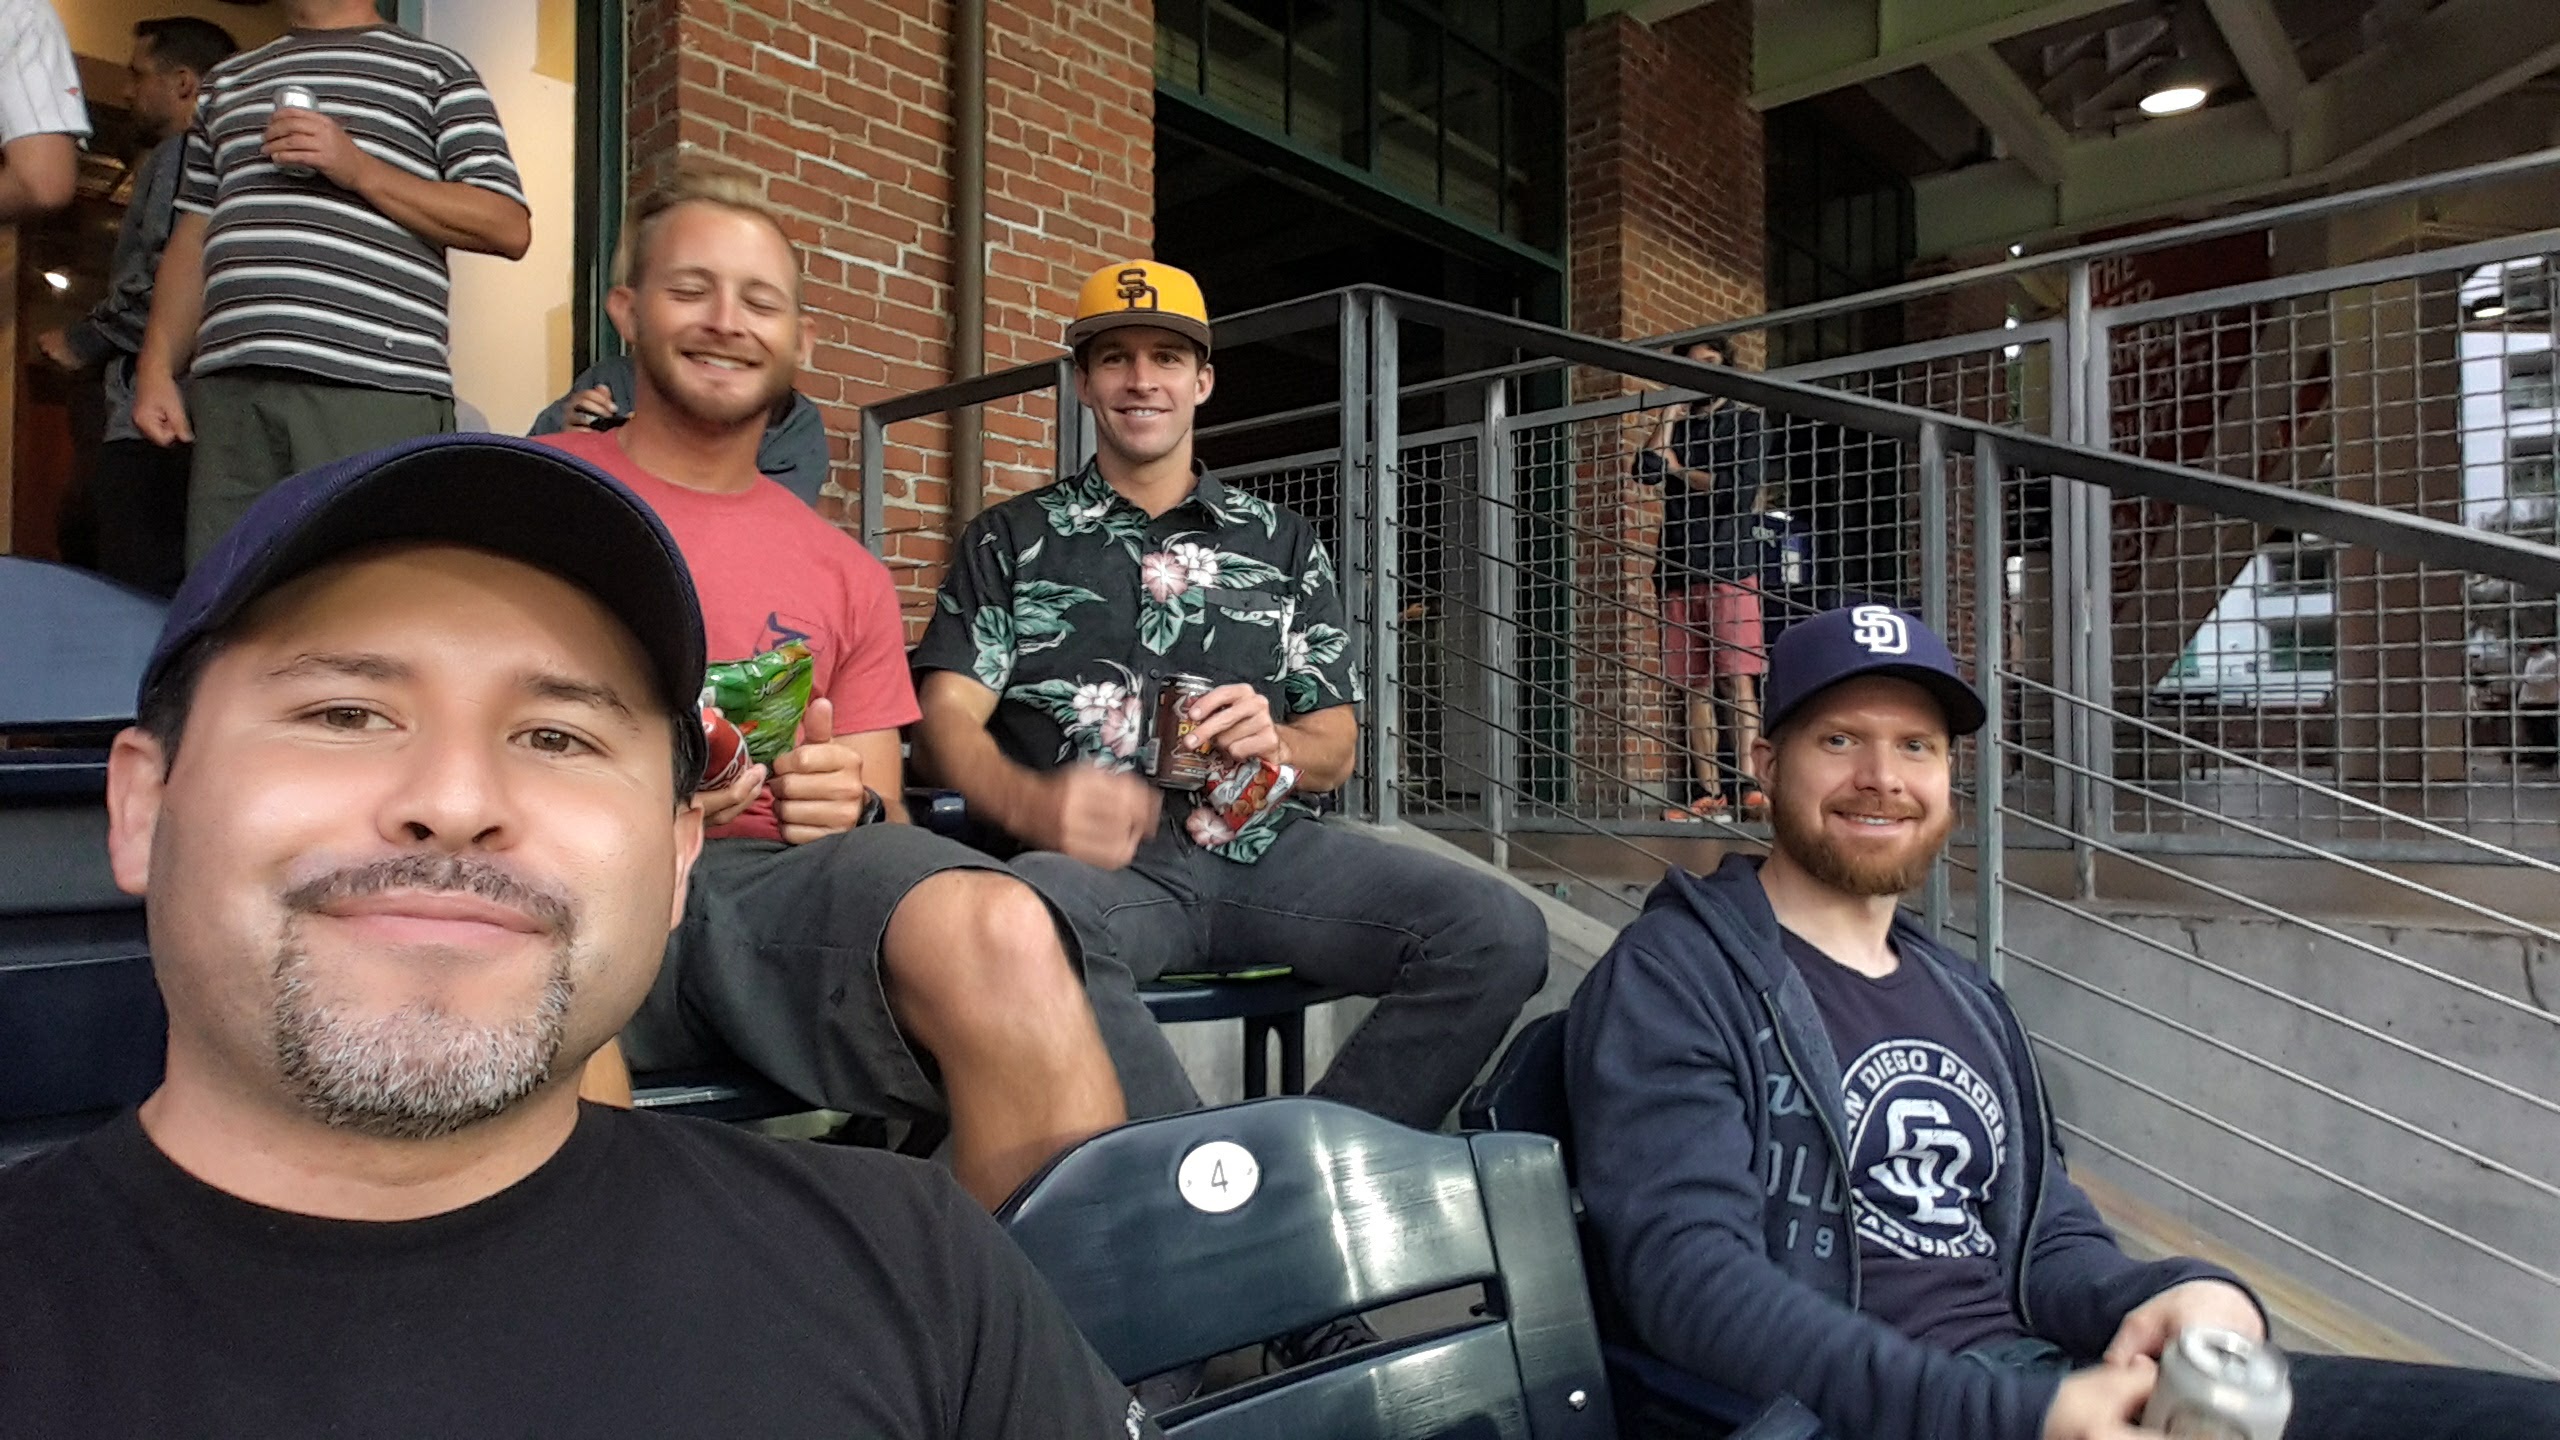
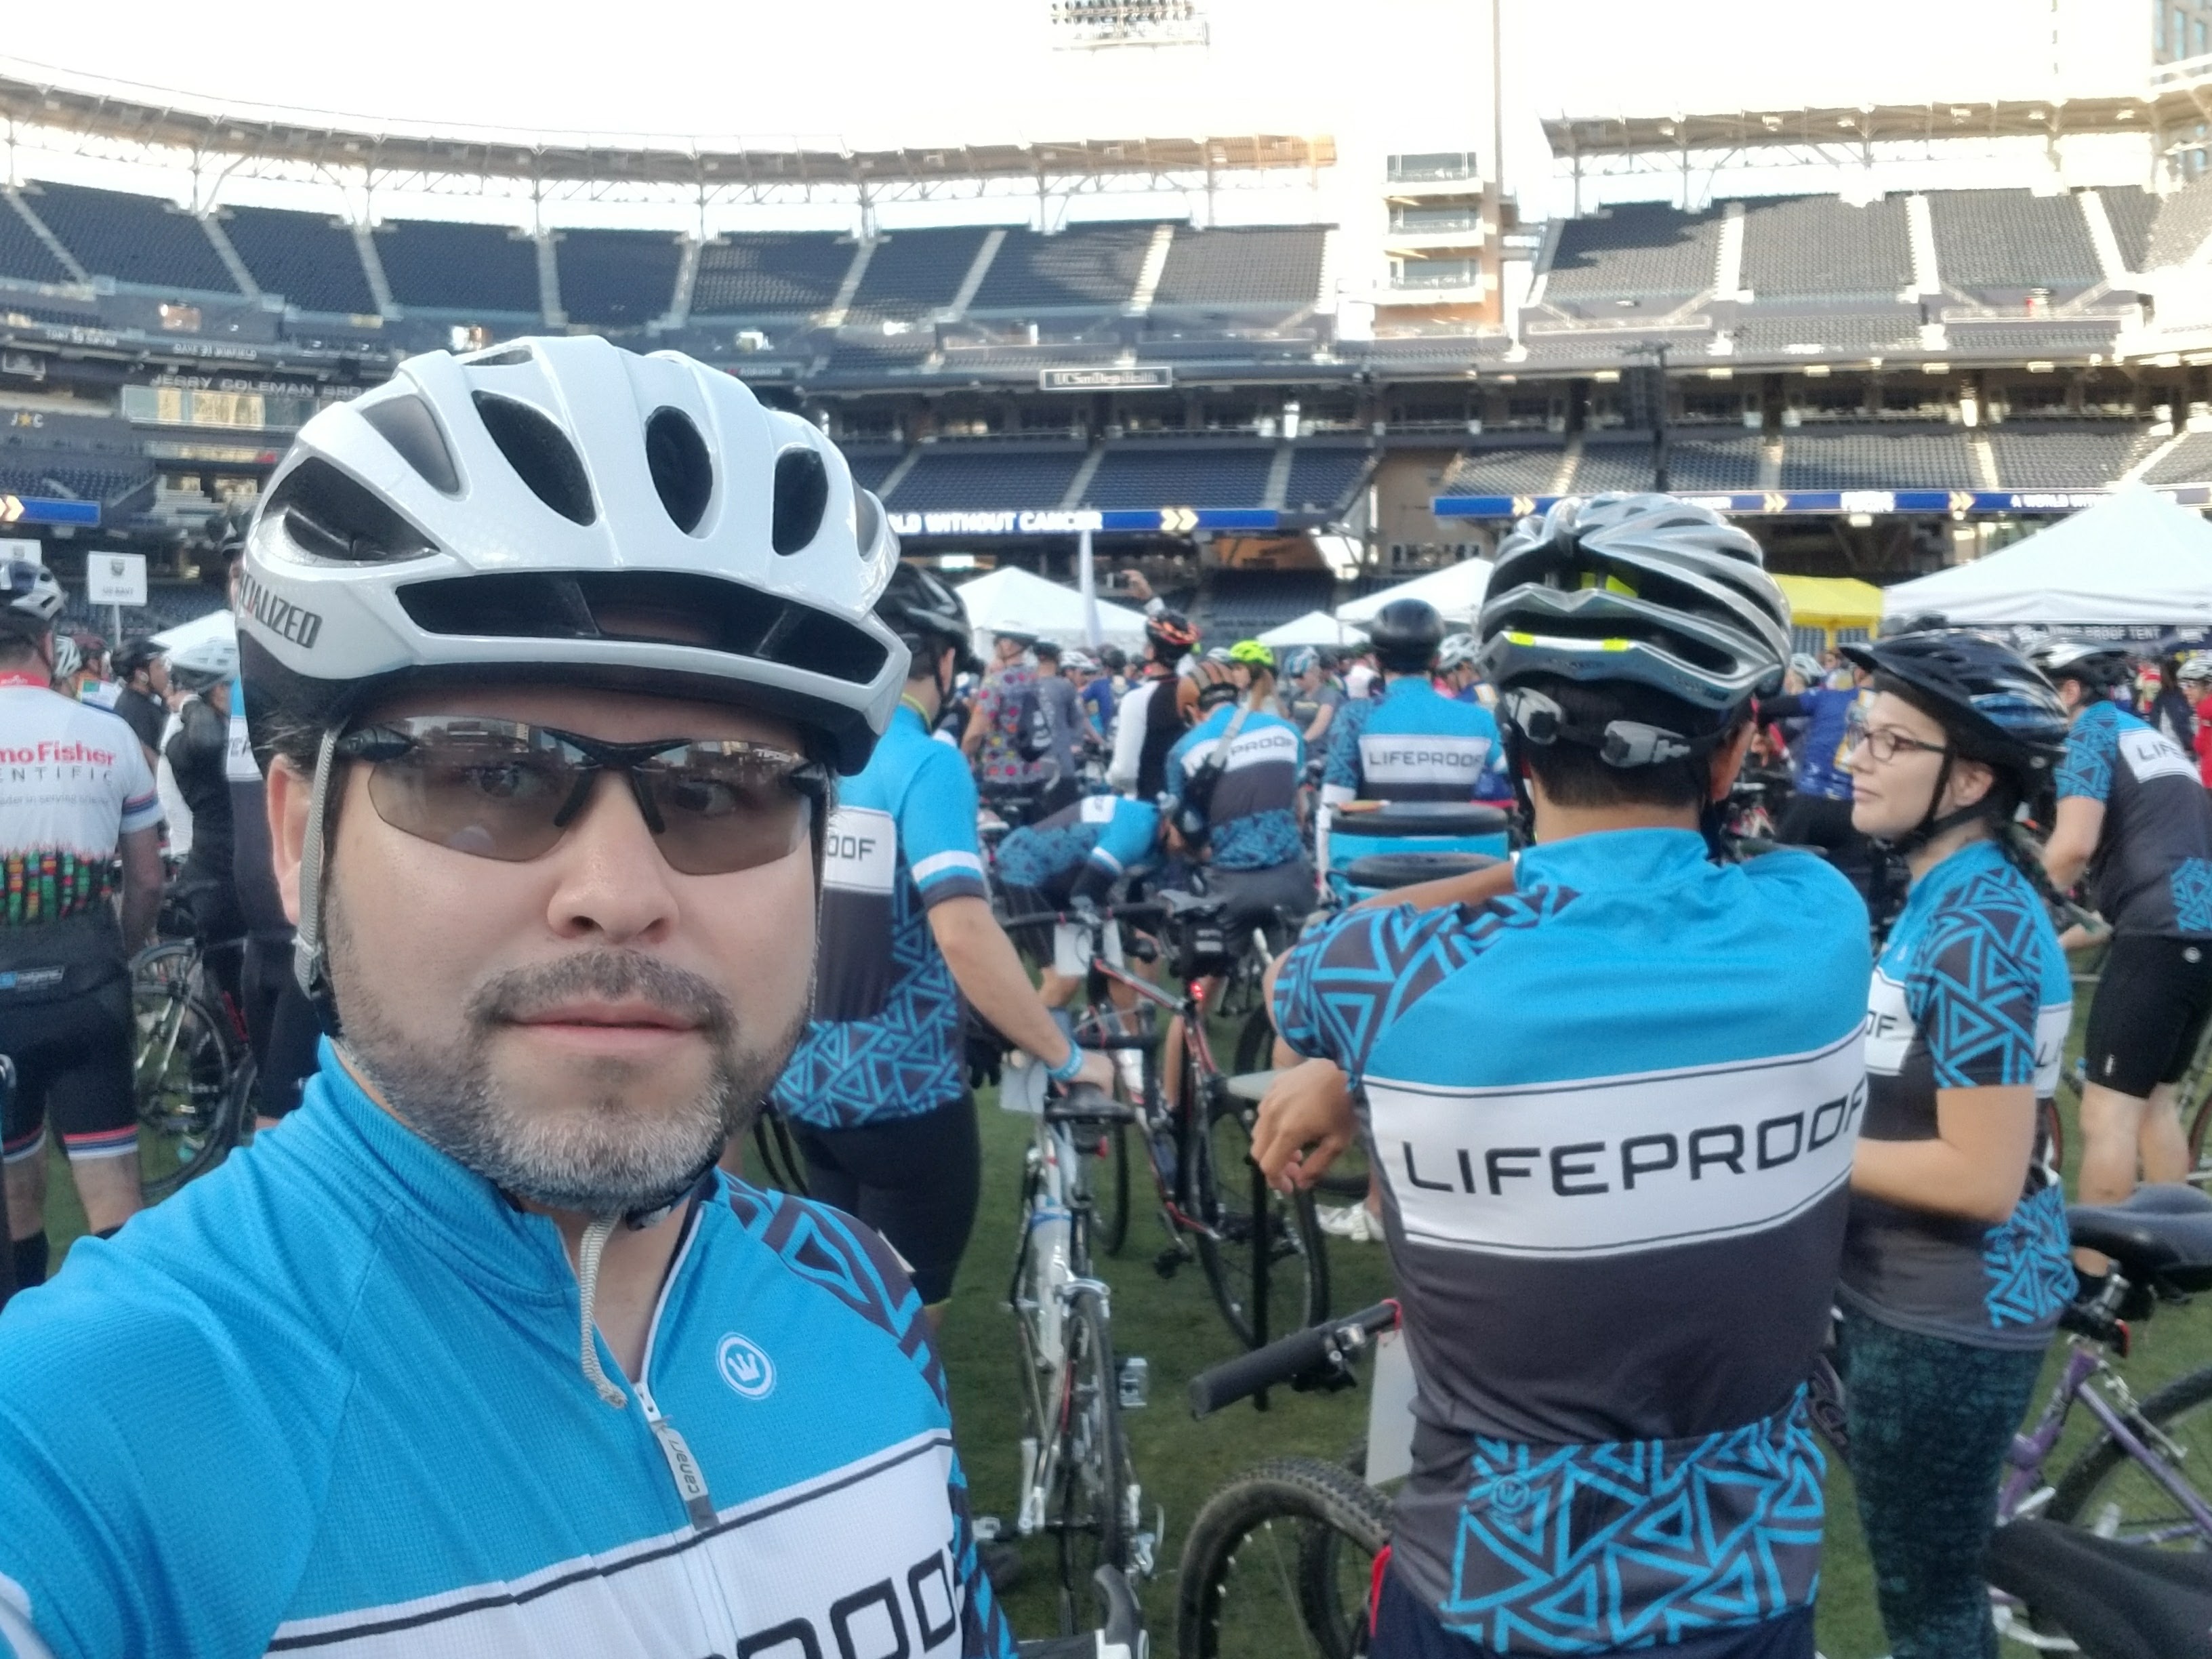
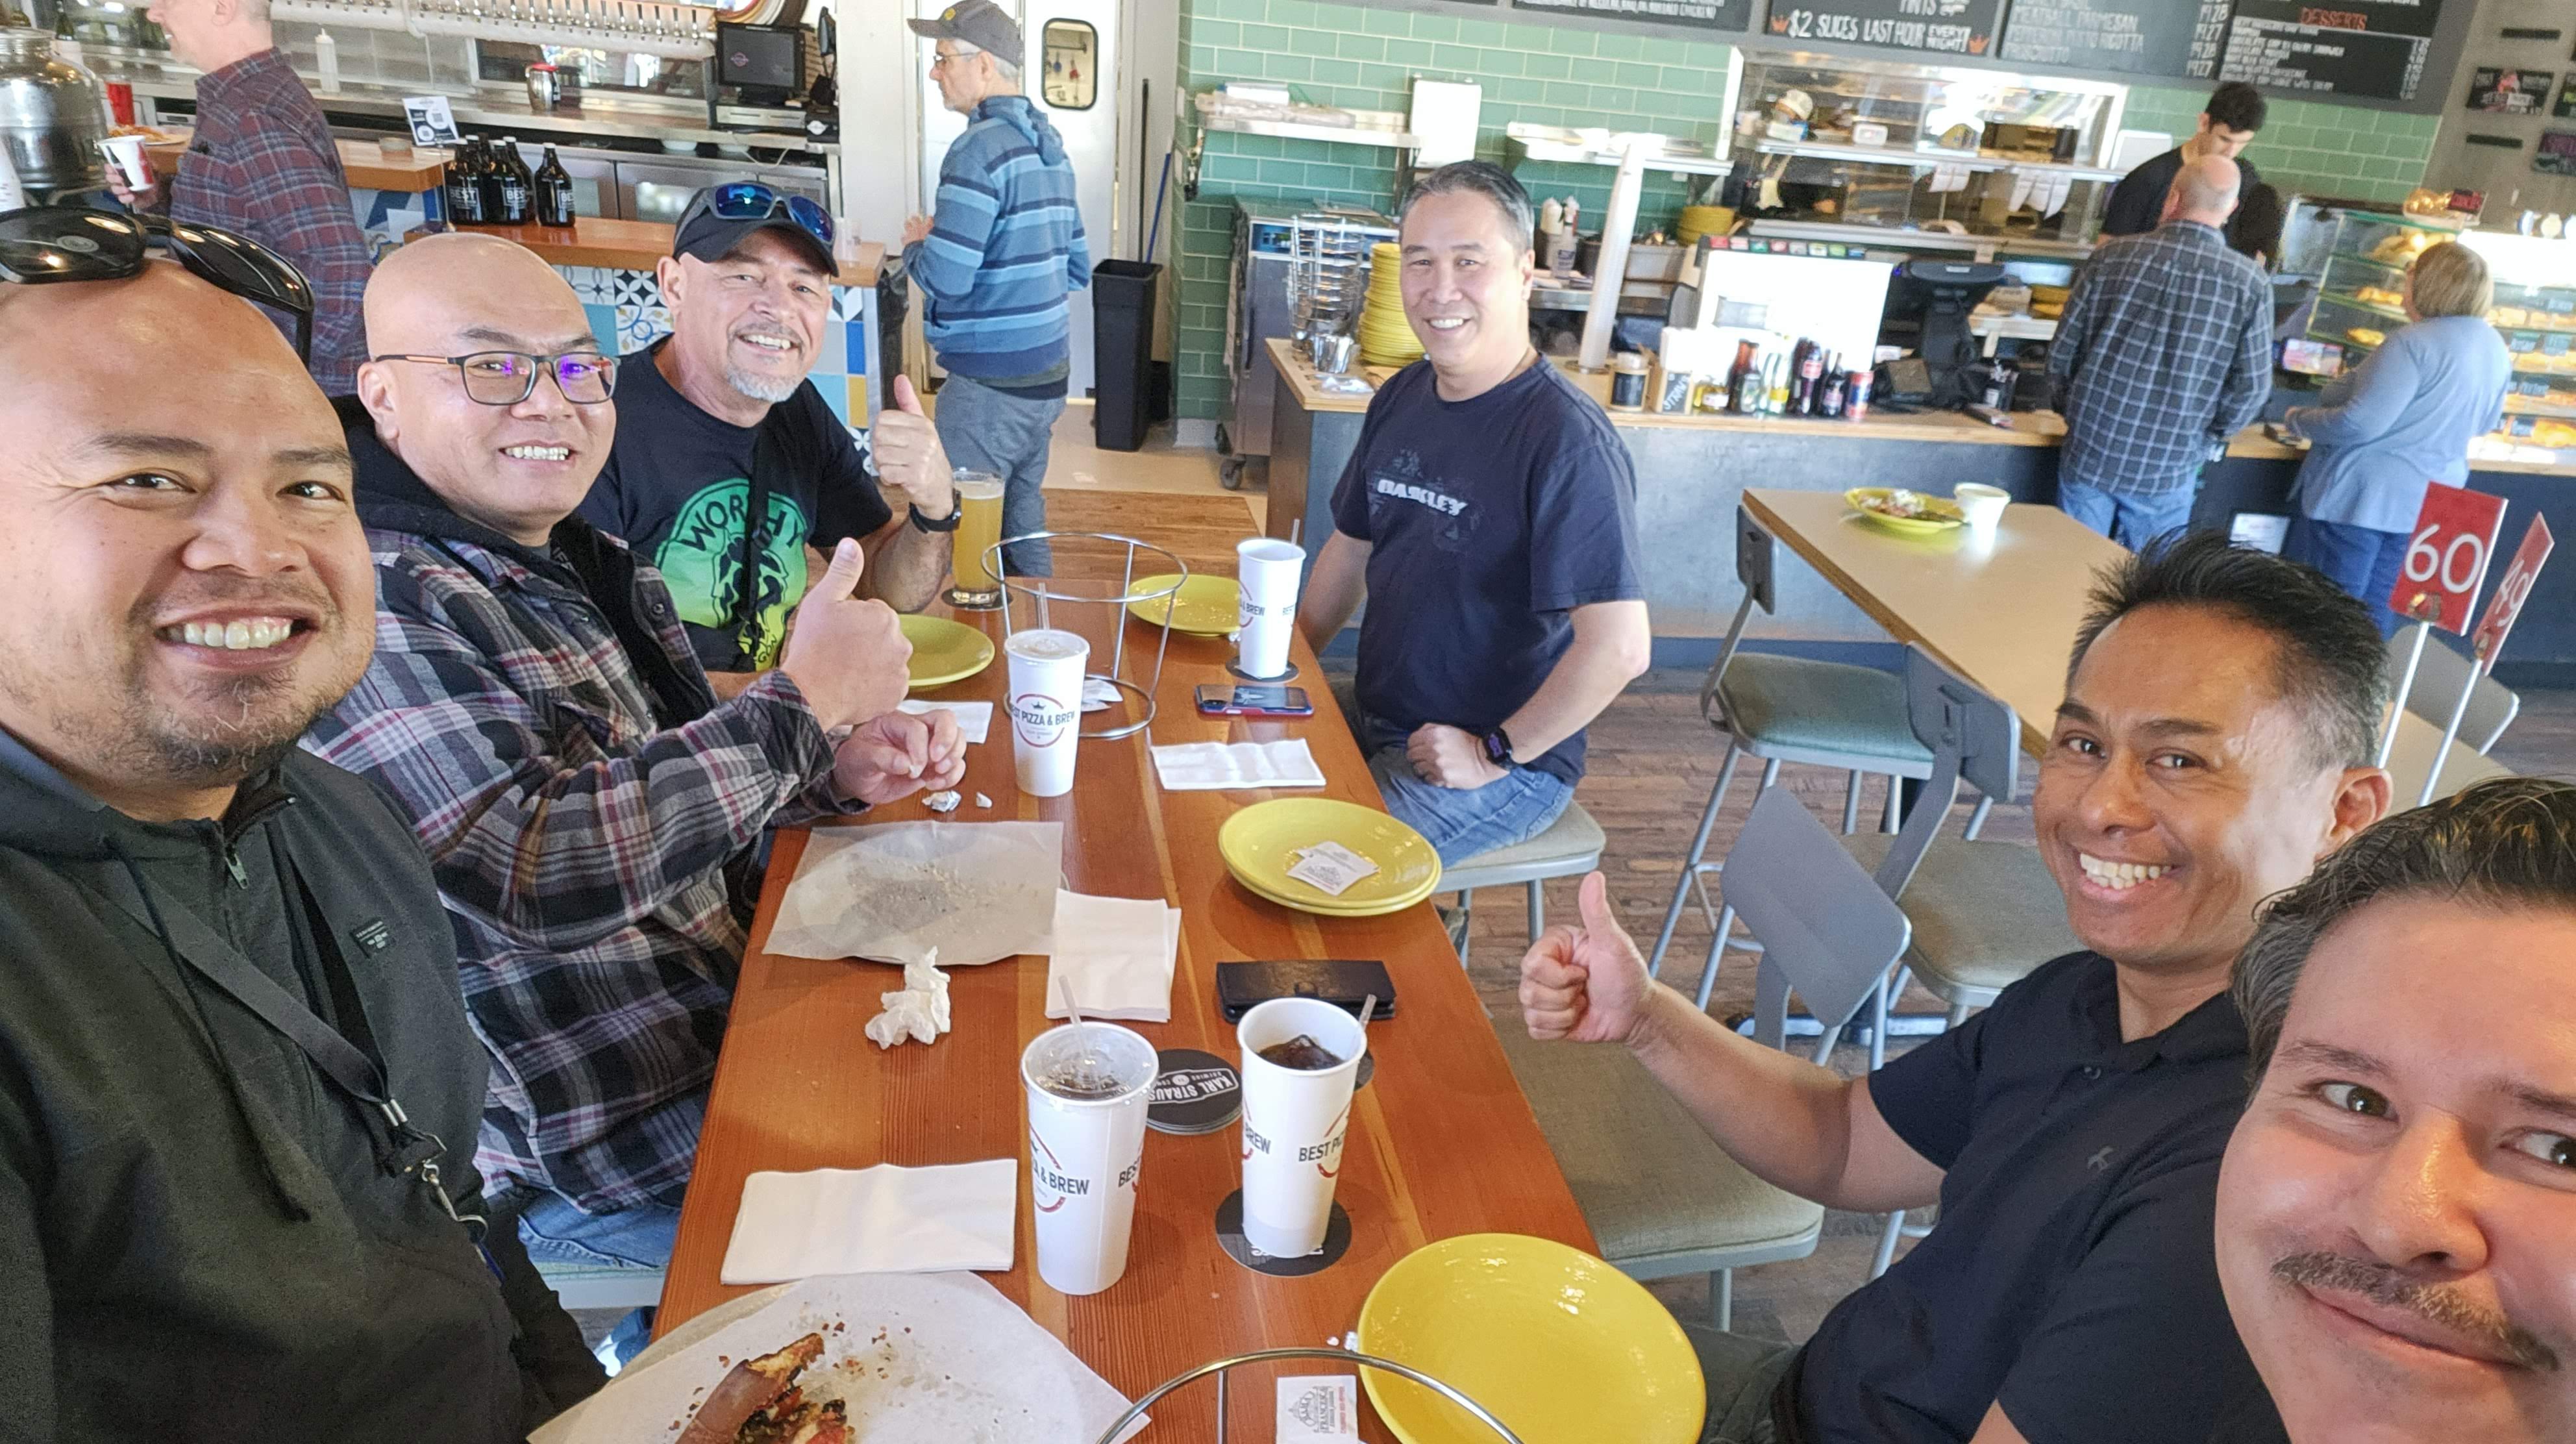
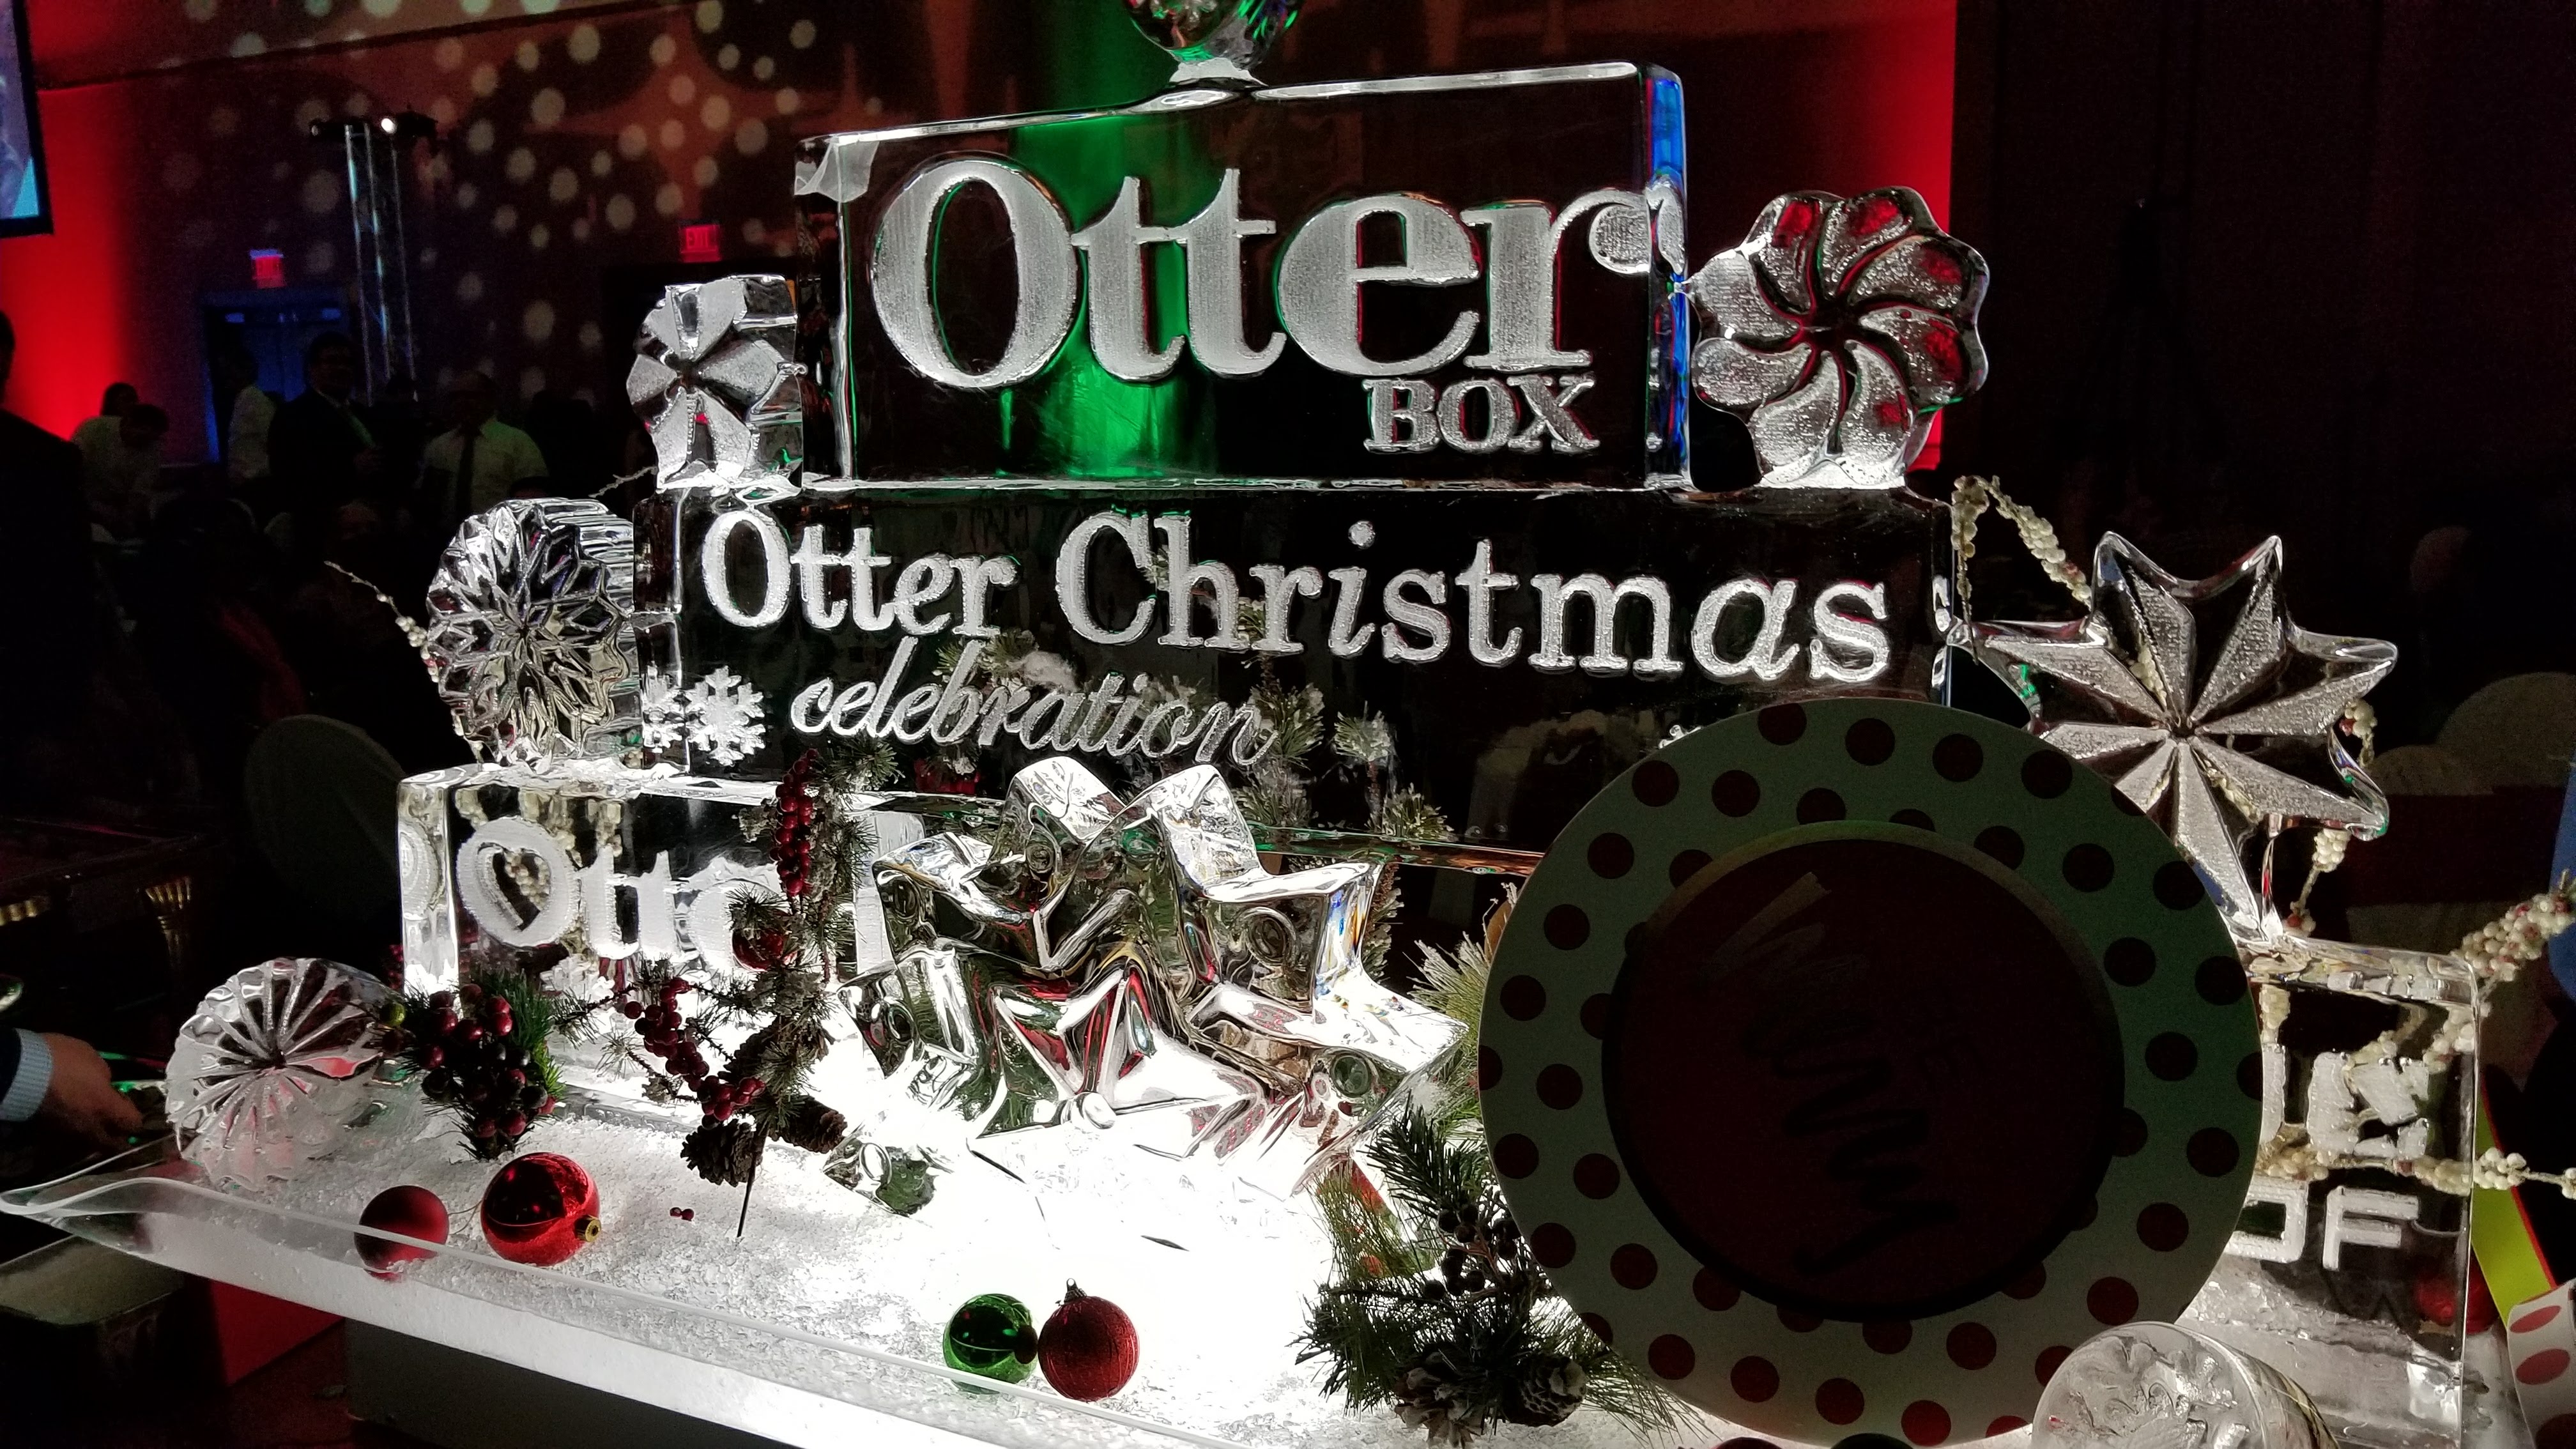
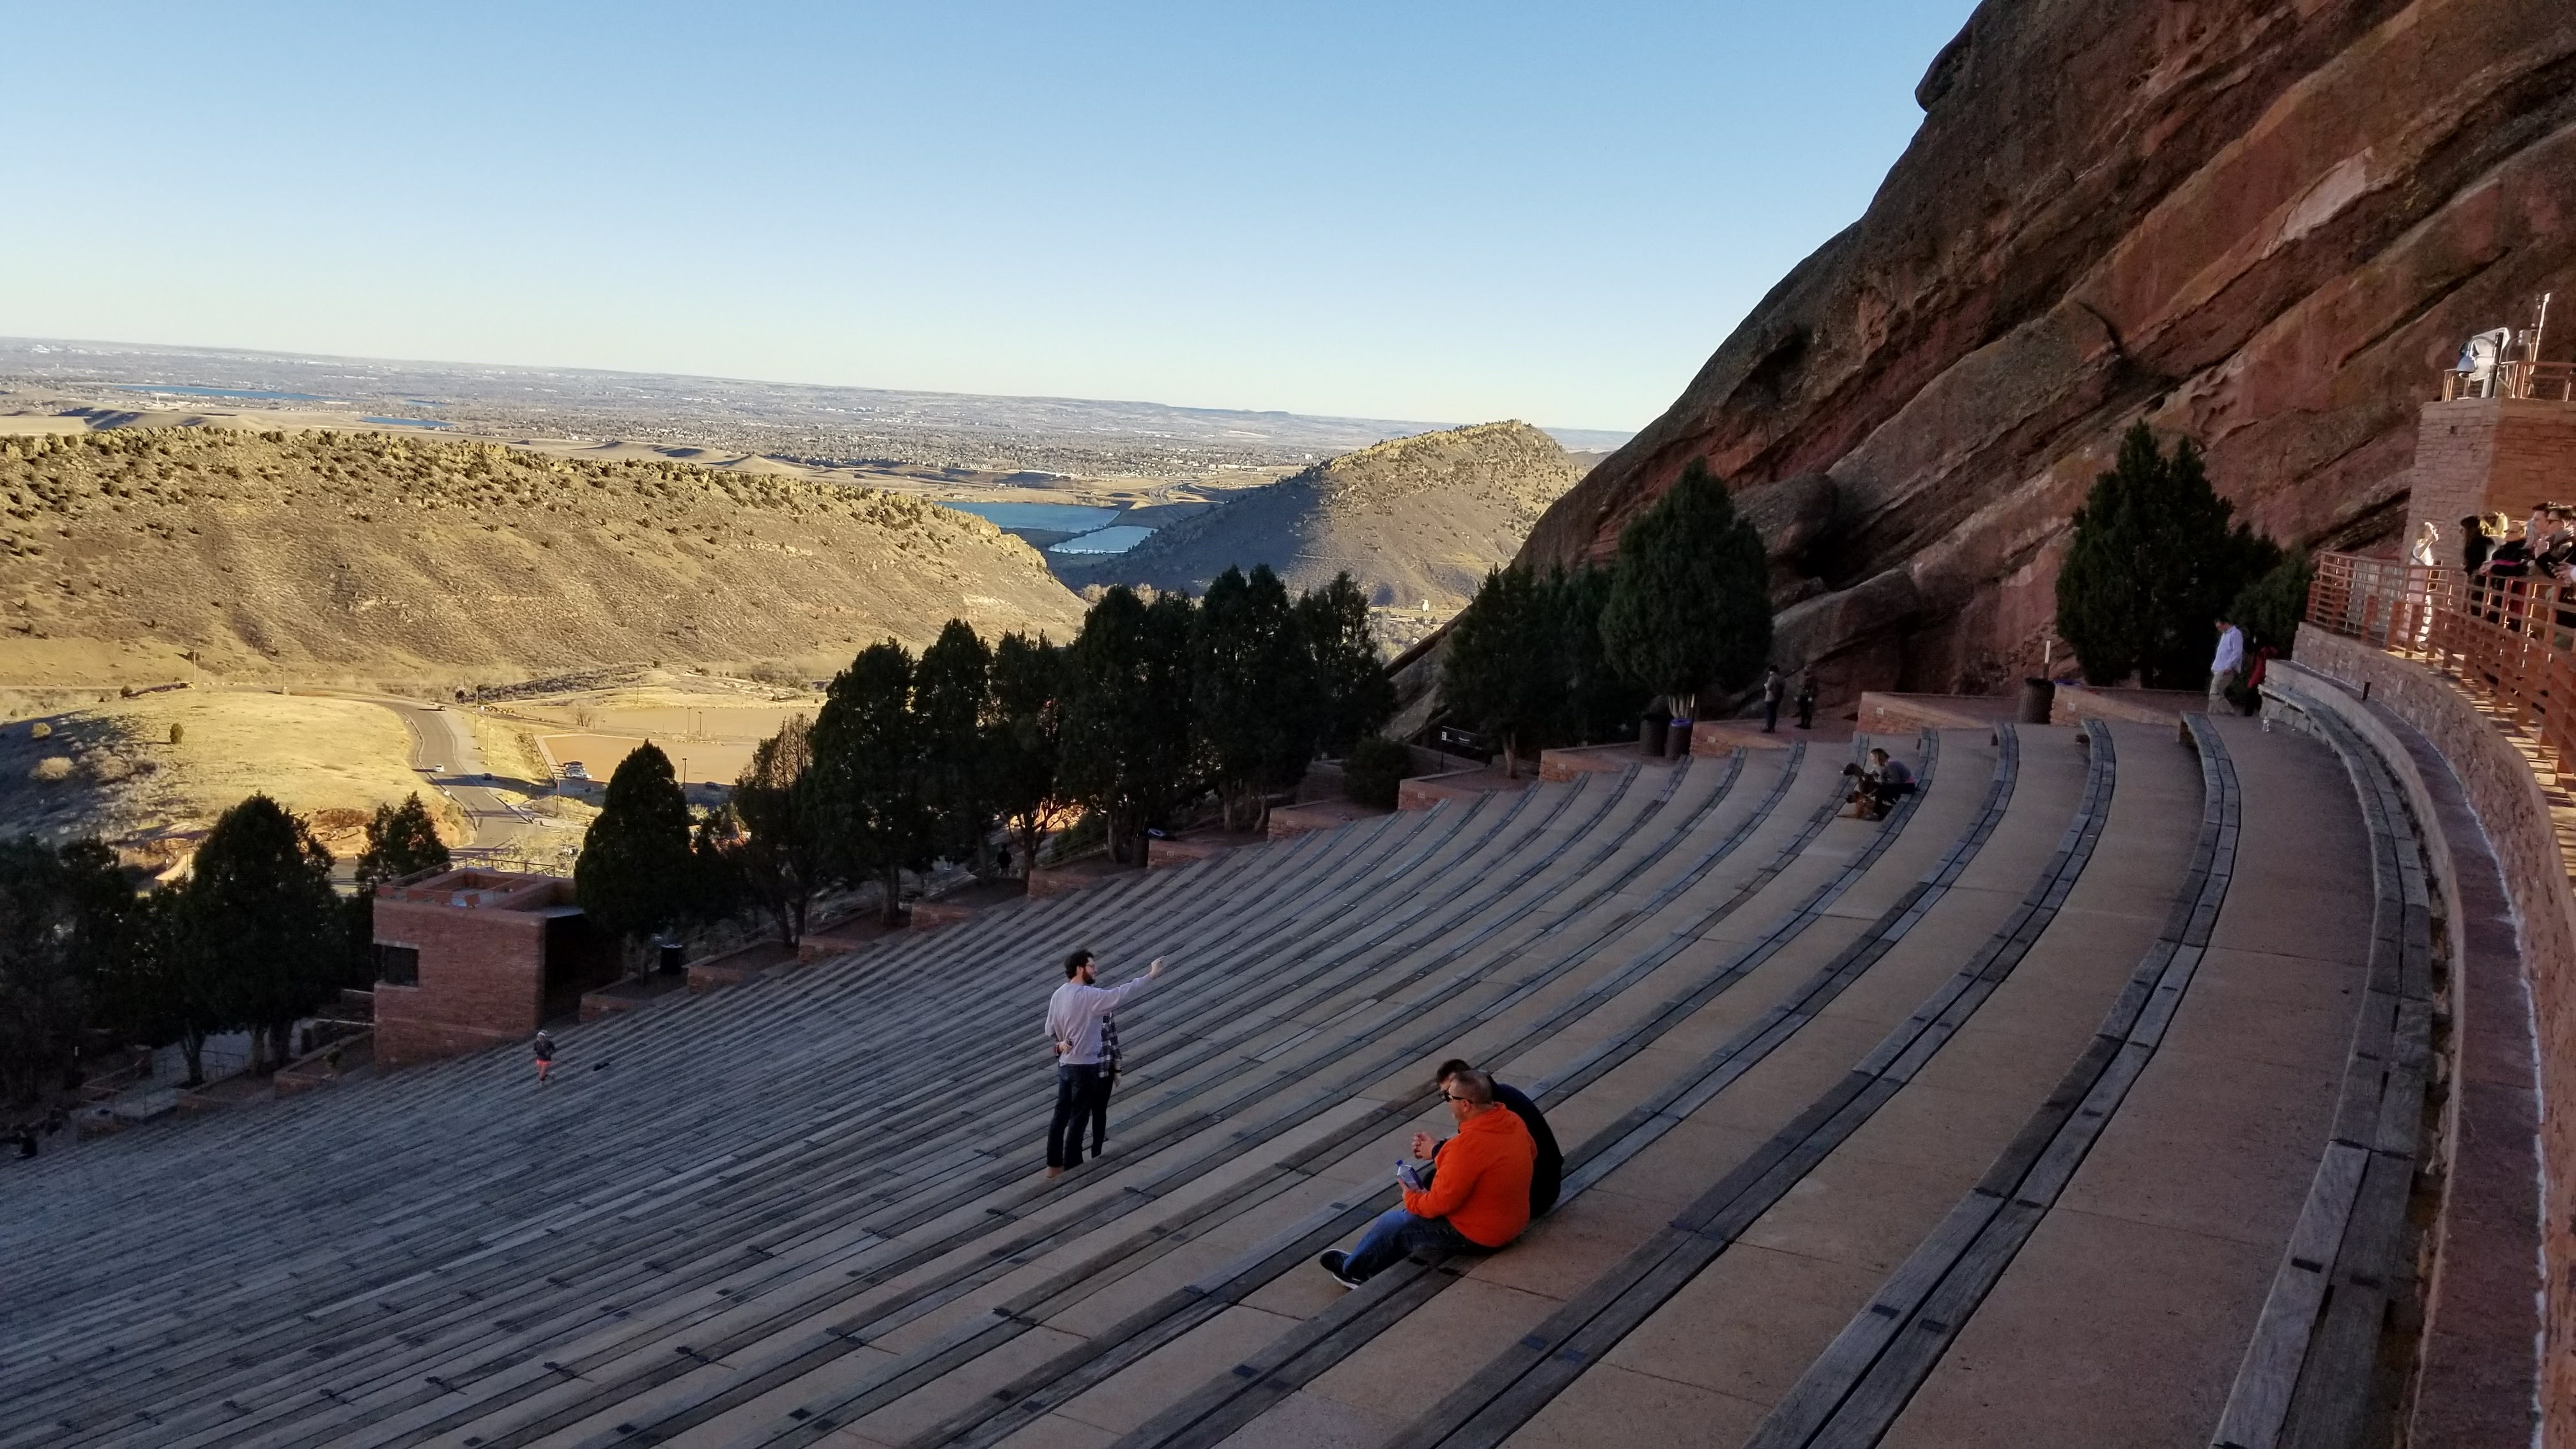
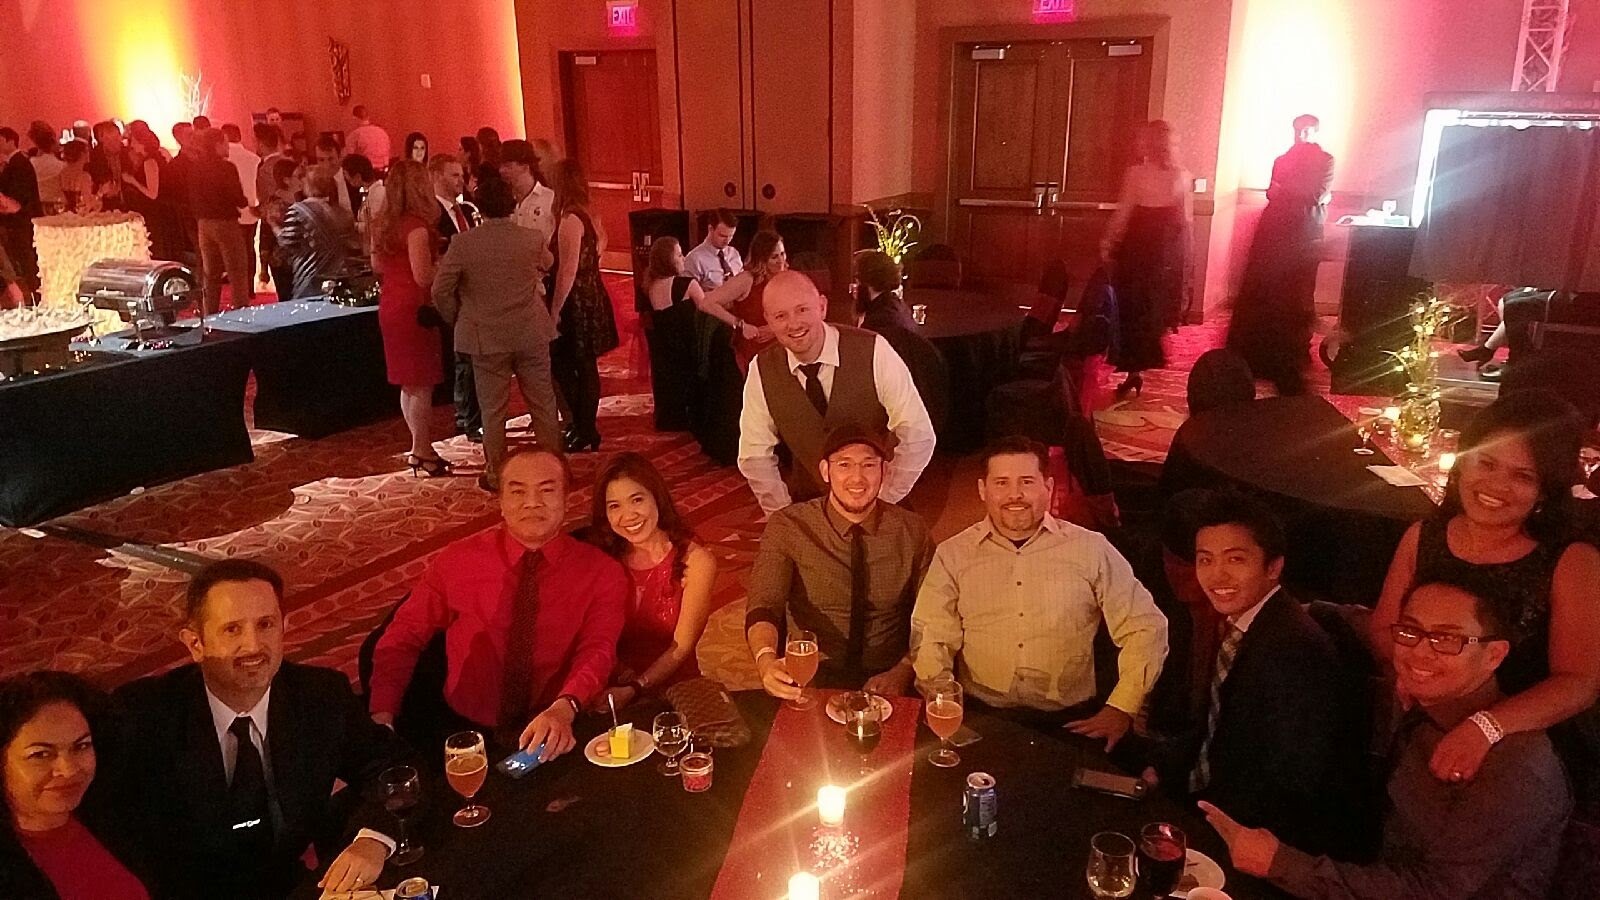
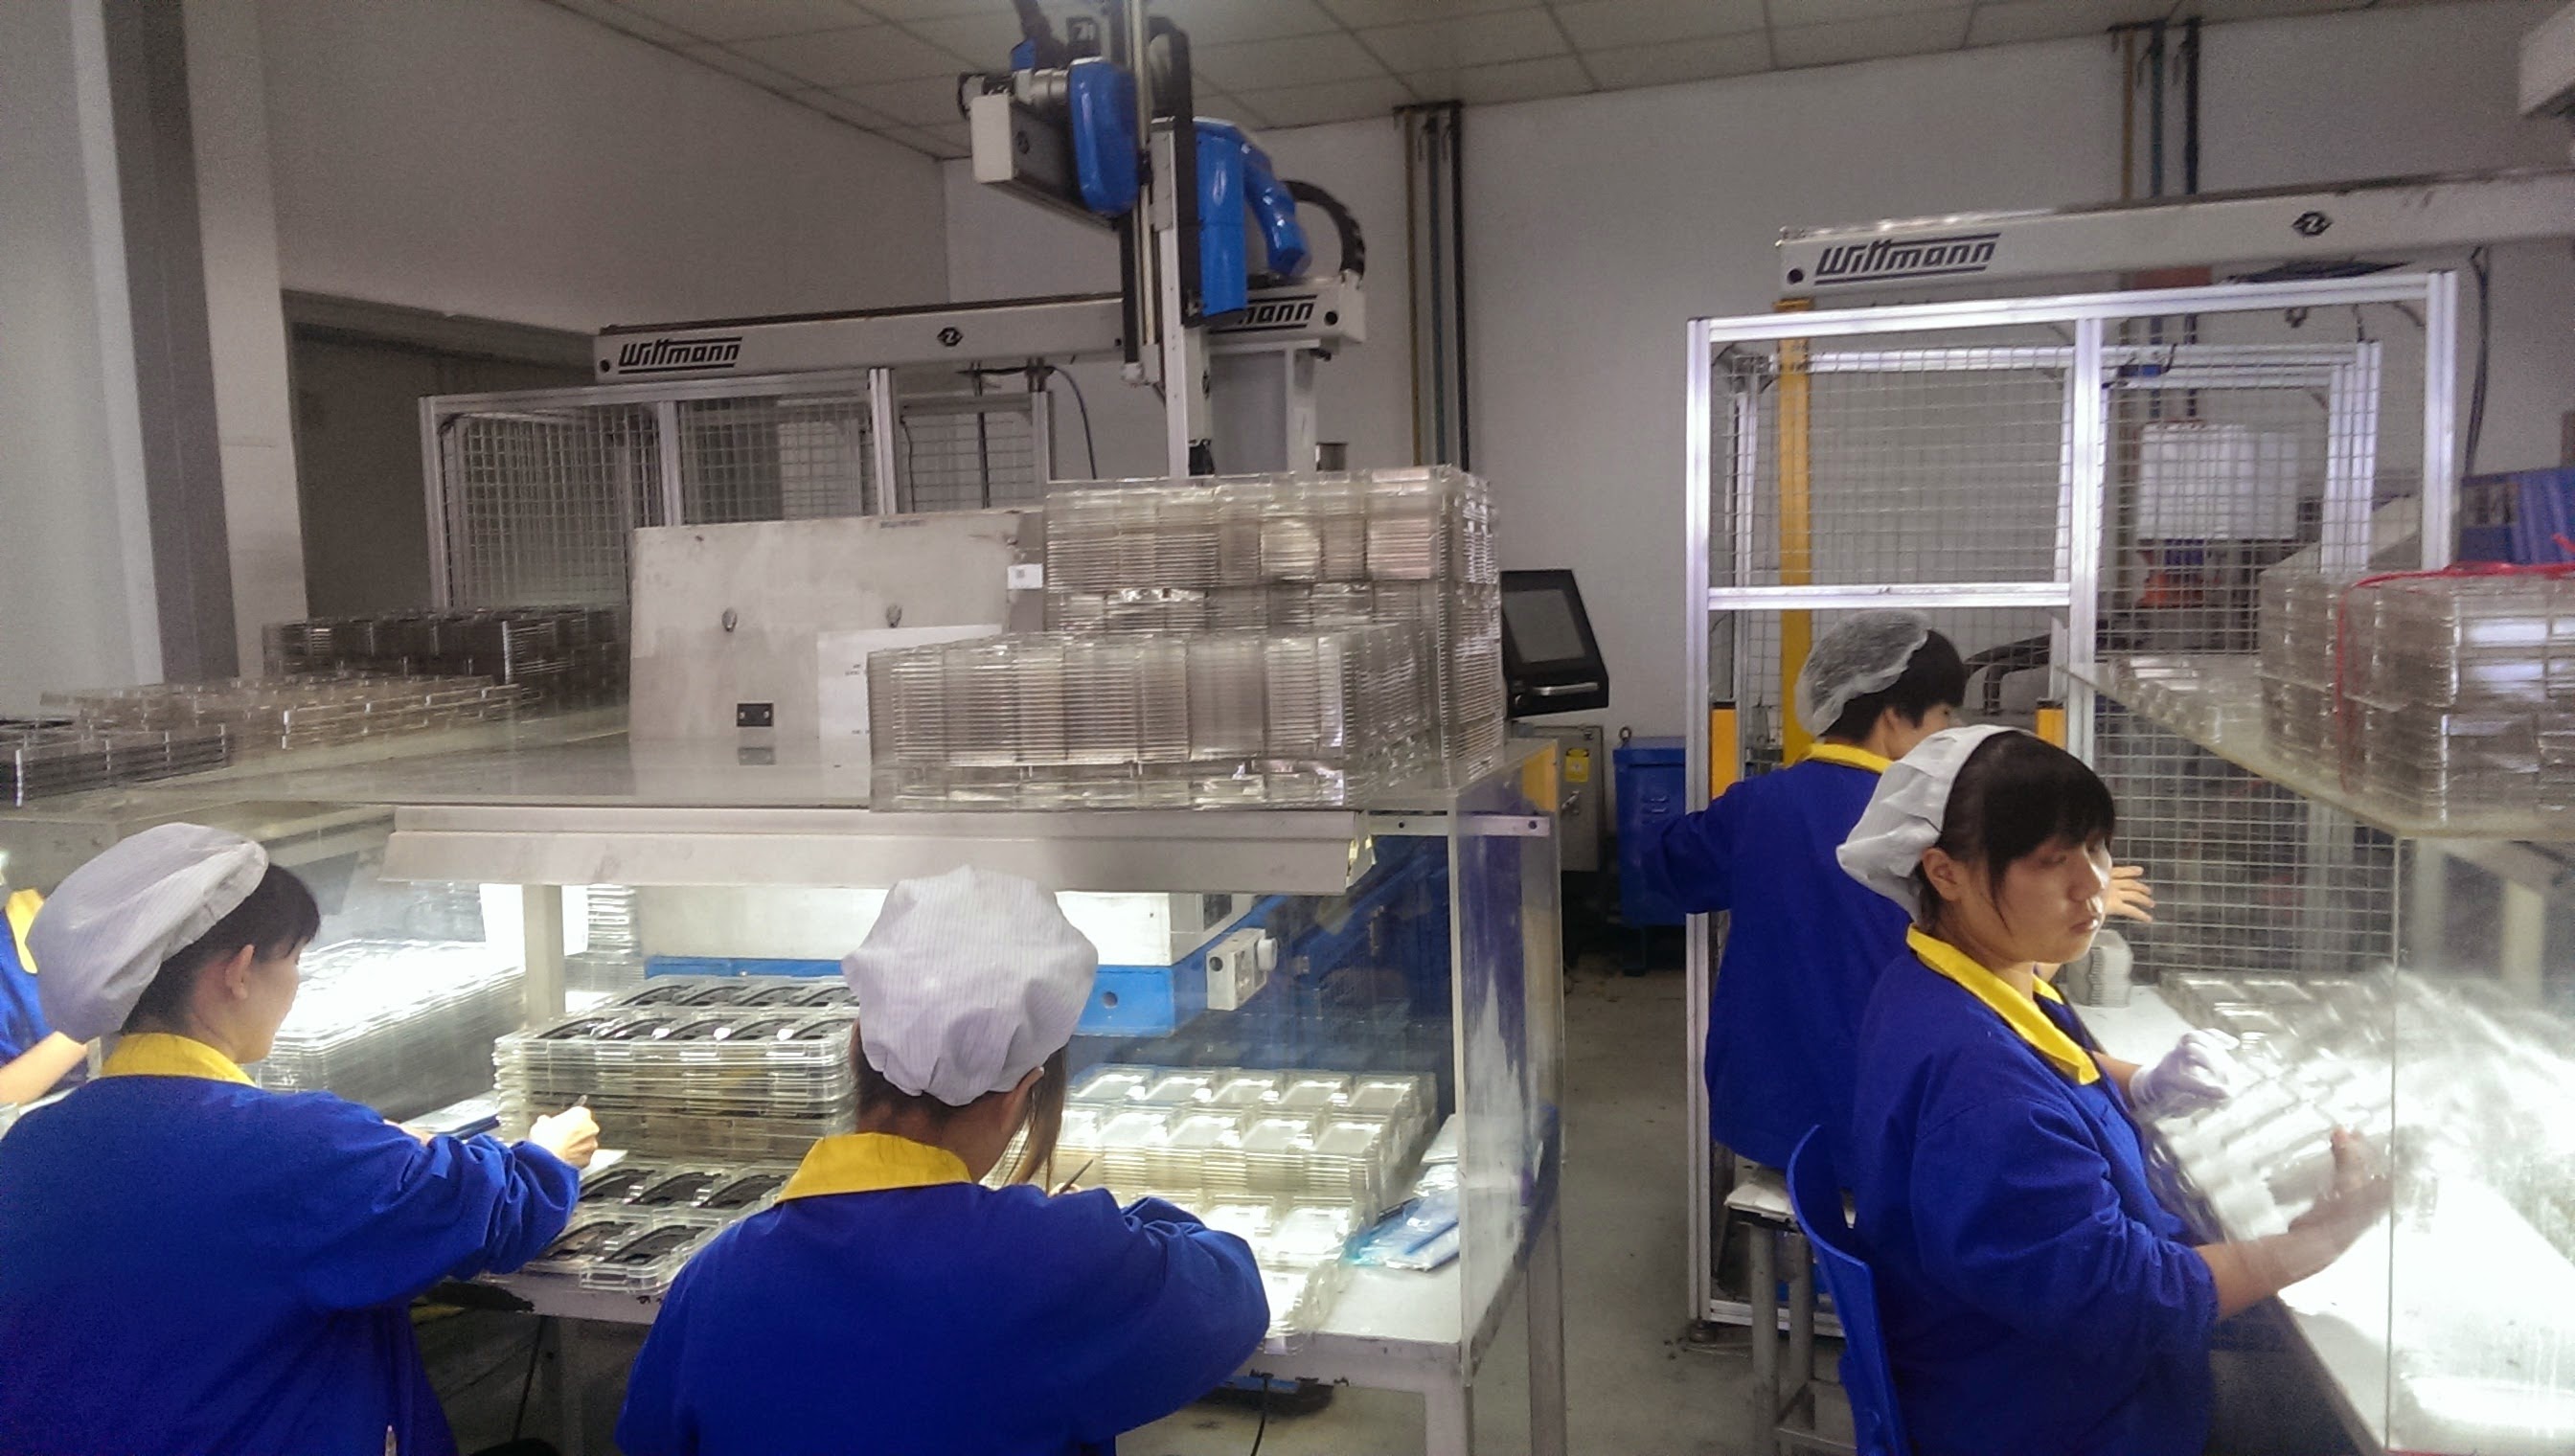
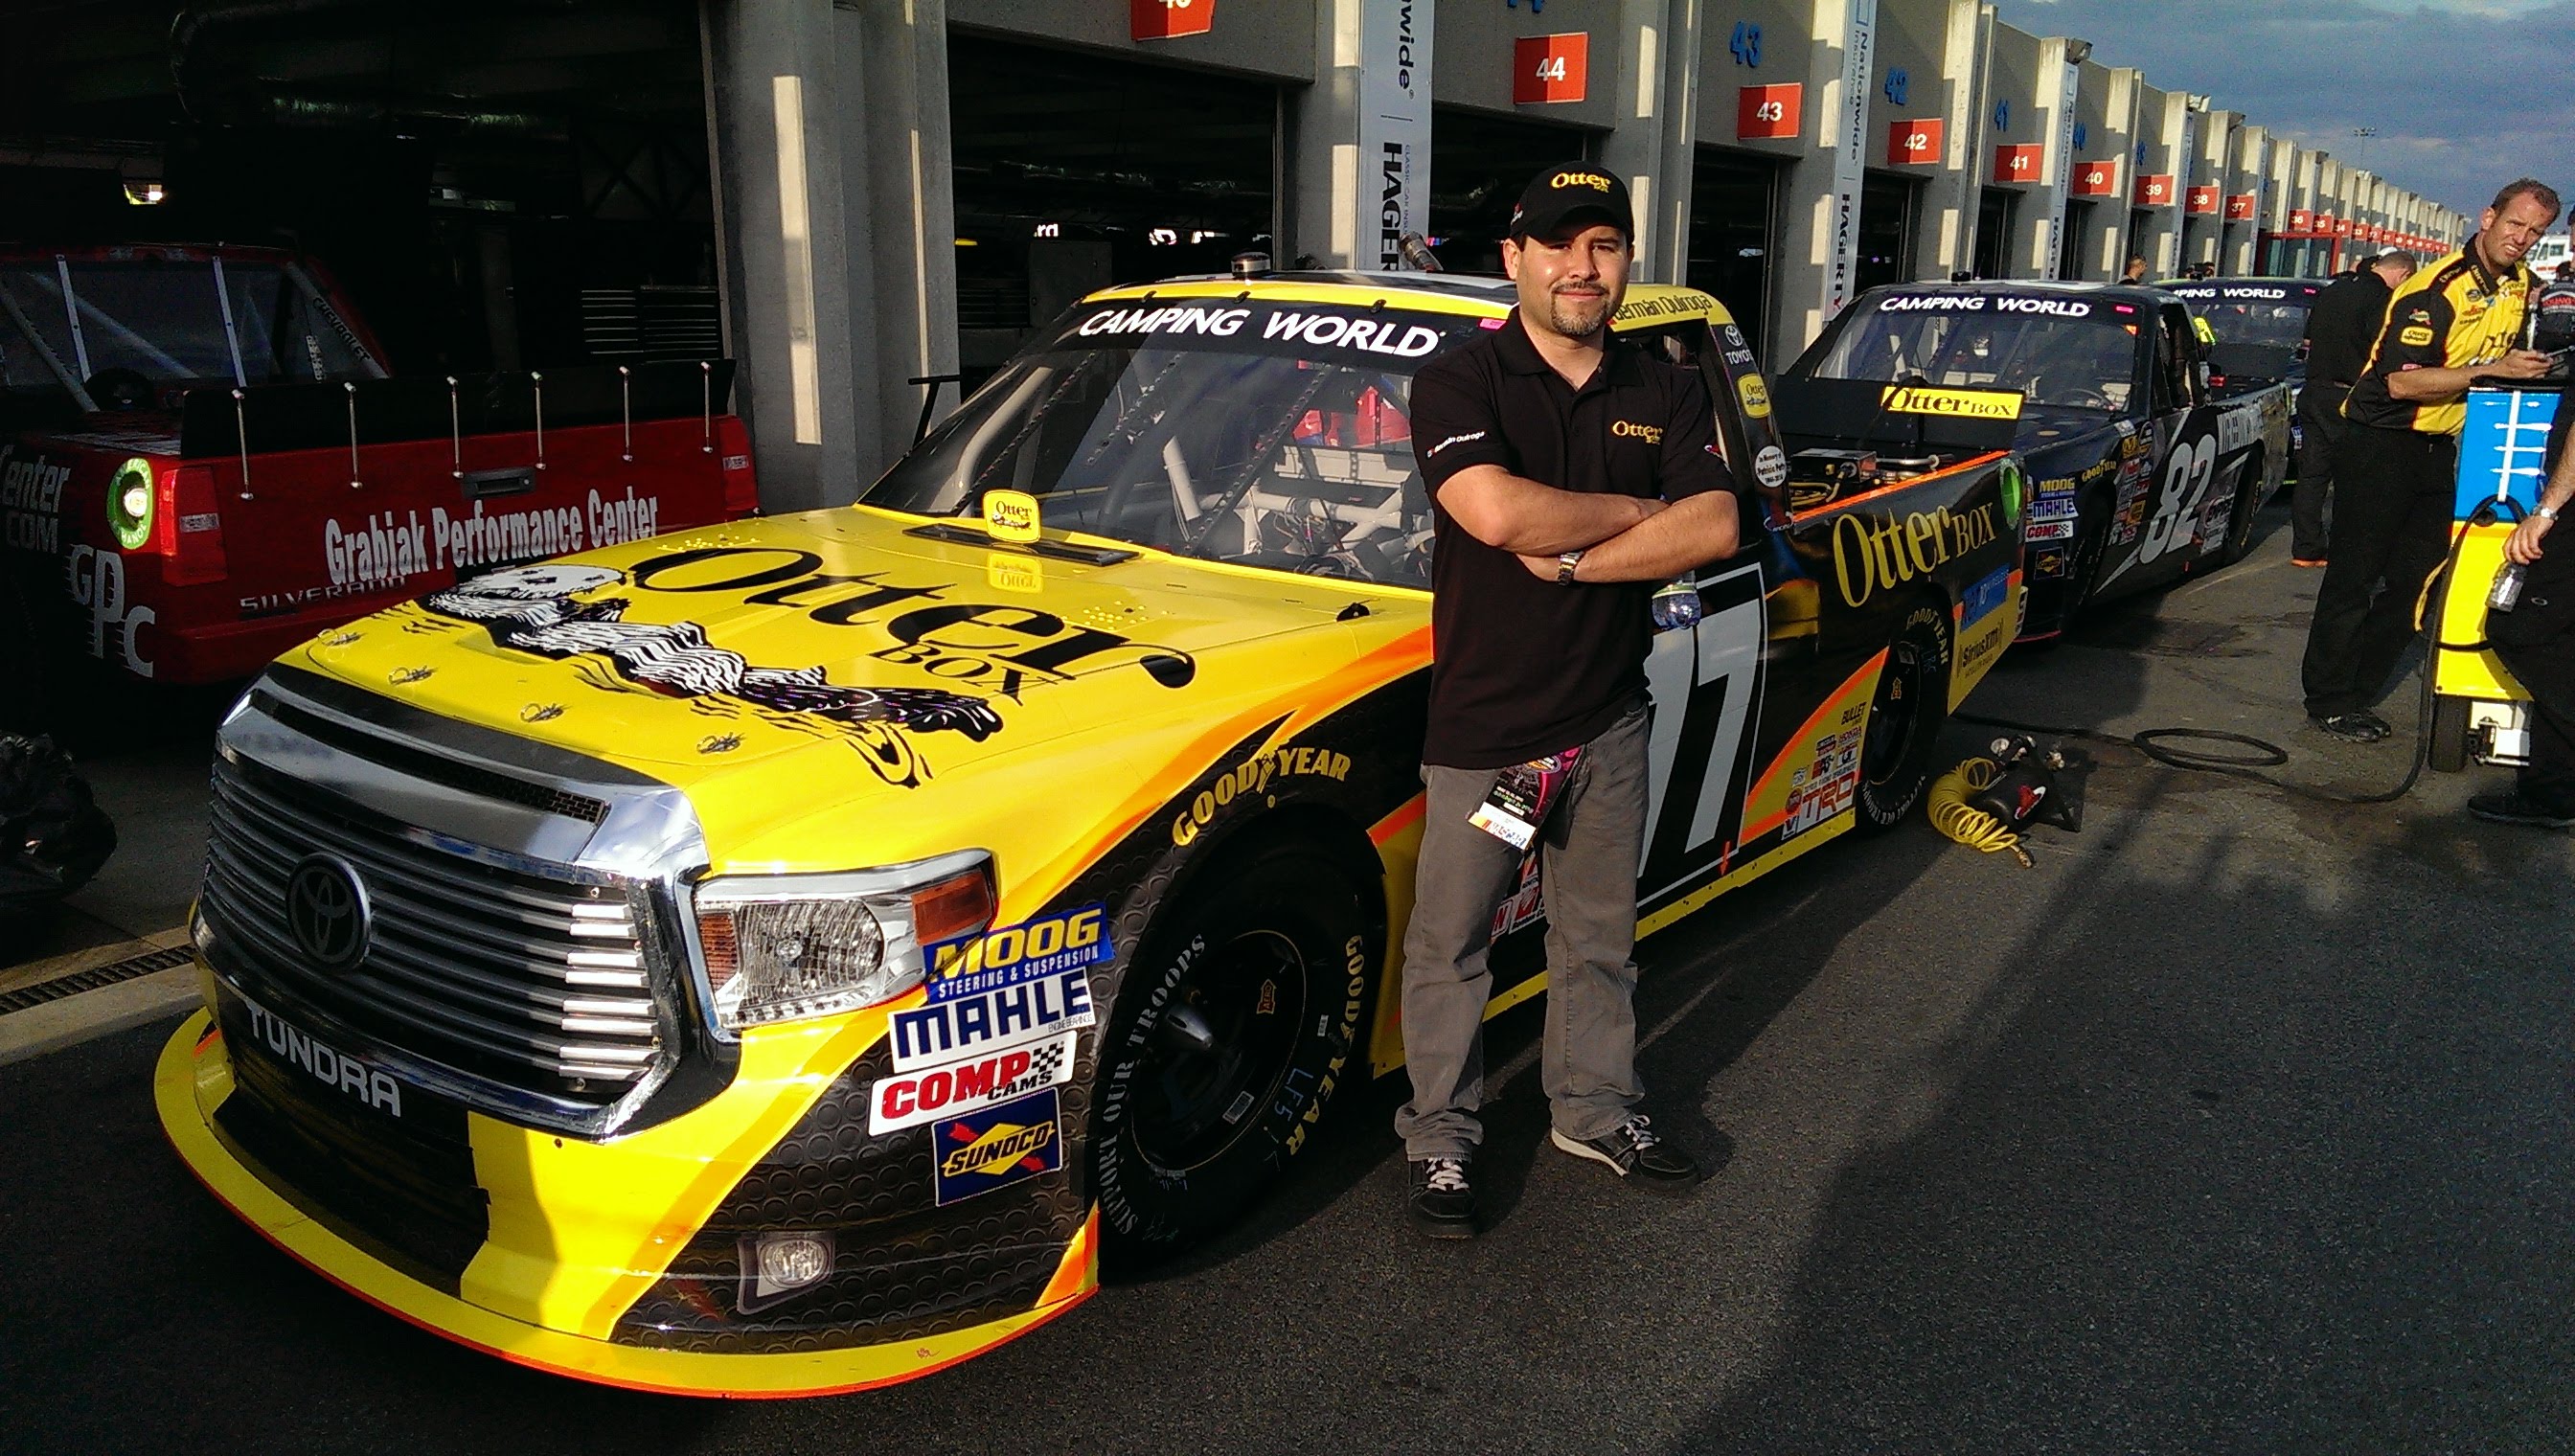
But oh well, after 11.5 years in the company seeing the evolution from LifeProof to OtterBox and everything in between, my daughter was born a few months before starting here, I’m very grateful to have had the opportunity to build, shape and implement a modeling infrastructure that helped reduce design time from months to weeks to days in some “cases”, the foundation has been baked-in across all case series templates and it’s amazing to see it develop and deploy way further by the team of awesome Mechanical Designers (YOU’RE NOT A CAD DESIGNER, YOU’RE A MECHANICAL DESIGNER, keep the fight on); I’m grateful for being part of the design and development of our most challenging product series, I’m grateful for the opportunity to visit OEM partners and factories across the sea, and out-of-state events; I’m grateful for all the ongoing learning and development that an environment like this provides; but above everything else, I’m grateful to have worked with the most amazing engineering minds here and in Fort Collins, seeing them “kick-ass” solving issues (features) that new devices constantly threw at us, and their growth across all these years, our managers who always put their peers before them and doing the best with what the company provided, and my mountain biking peers whose motivation sparked back my interest in the sport and adventure.
Thank you everyone.

I have gone through elevator cab building and designing, shipboard furniture design, injection molding tooling design, then product design and development, I can say that I have enjoyed the last one the most but I’m not afraid of venturing into other areas, I’m very interested in additive manufacturing (ref this website), maybe design services? I can’t be too picky, I have a lifetime project to take care of which is my family, but I hope that the answer comes sooner rather than later.

San Diego


Colorado


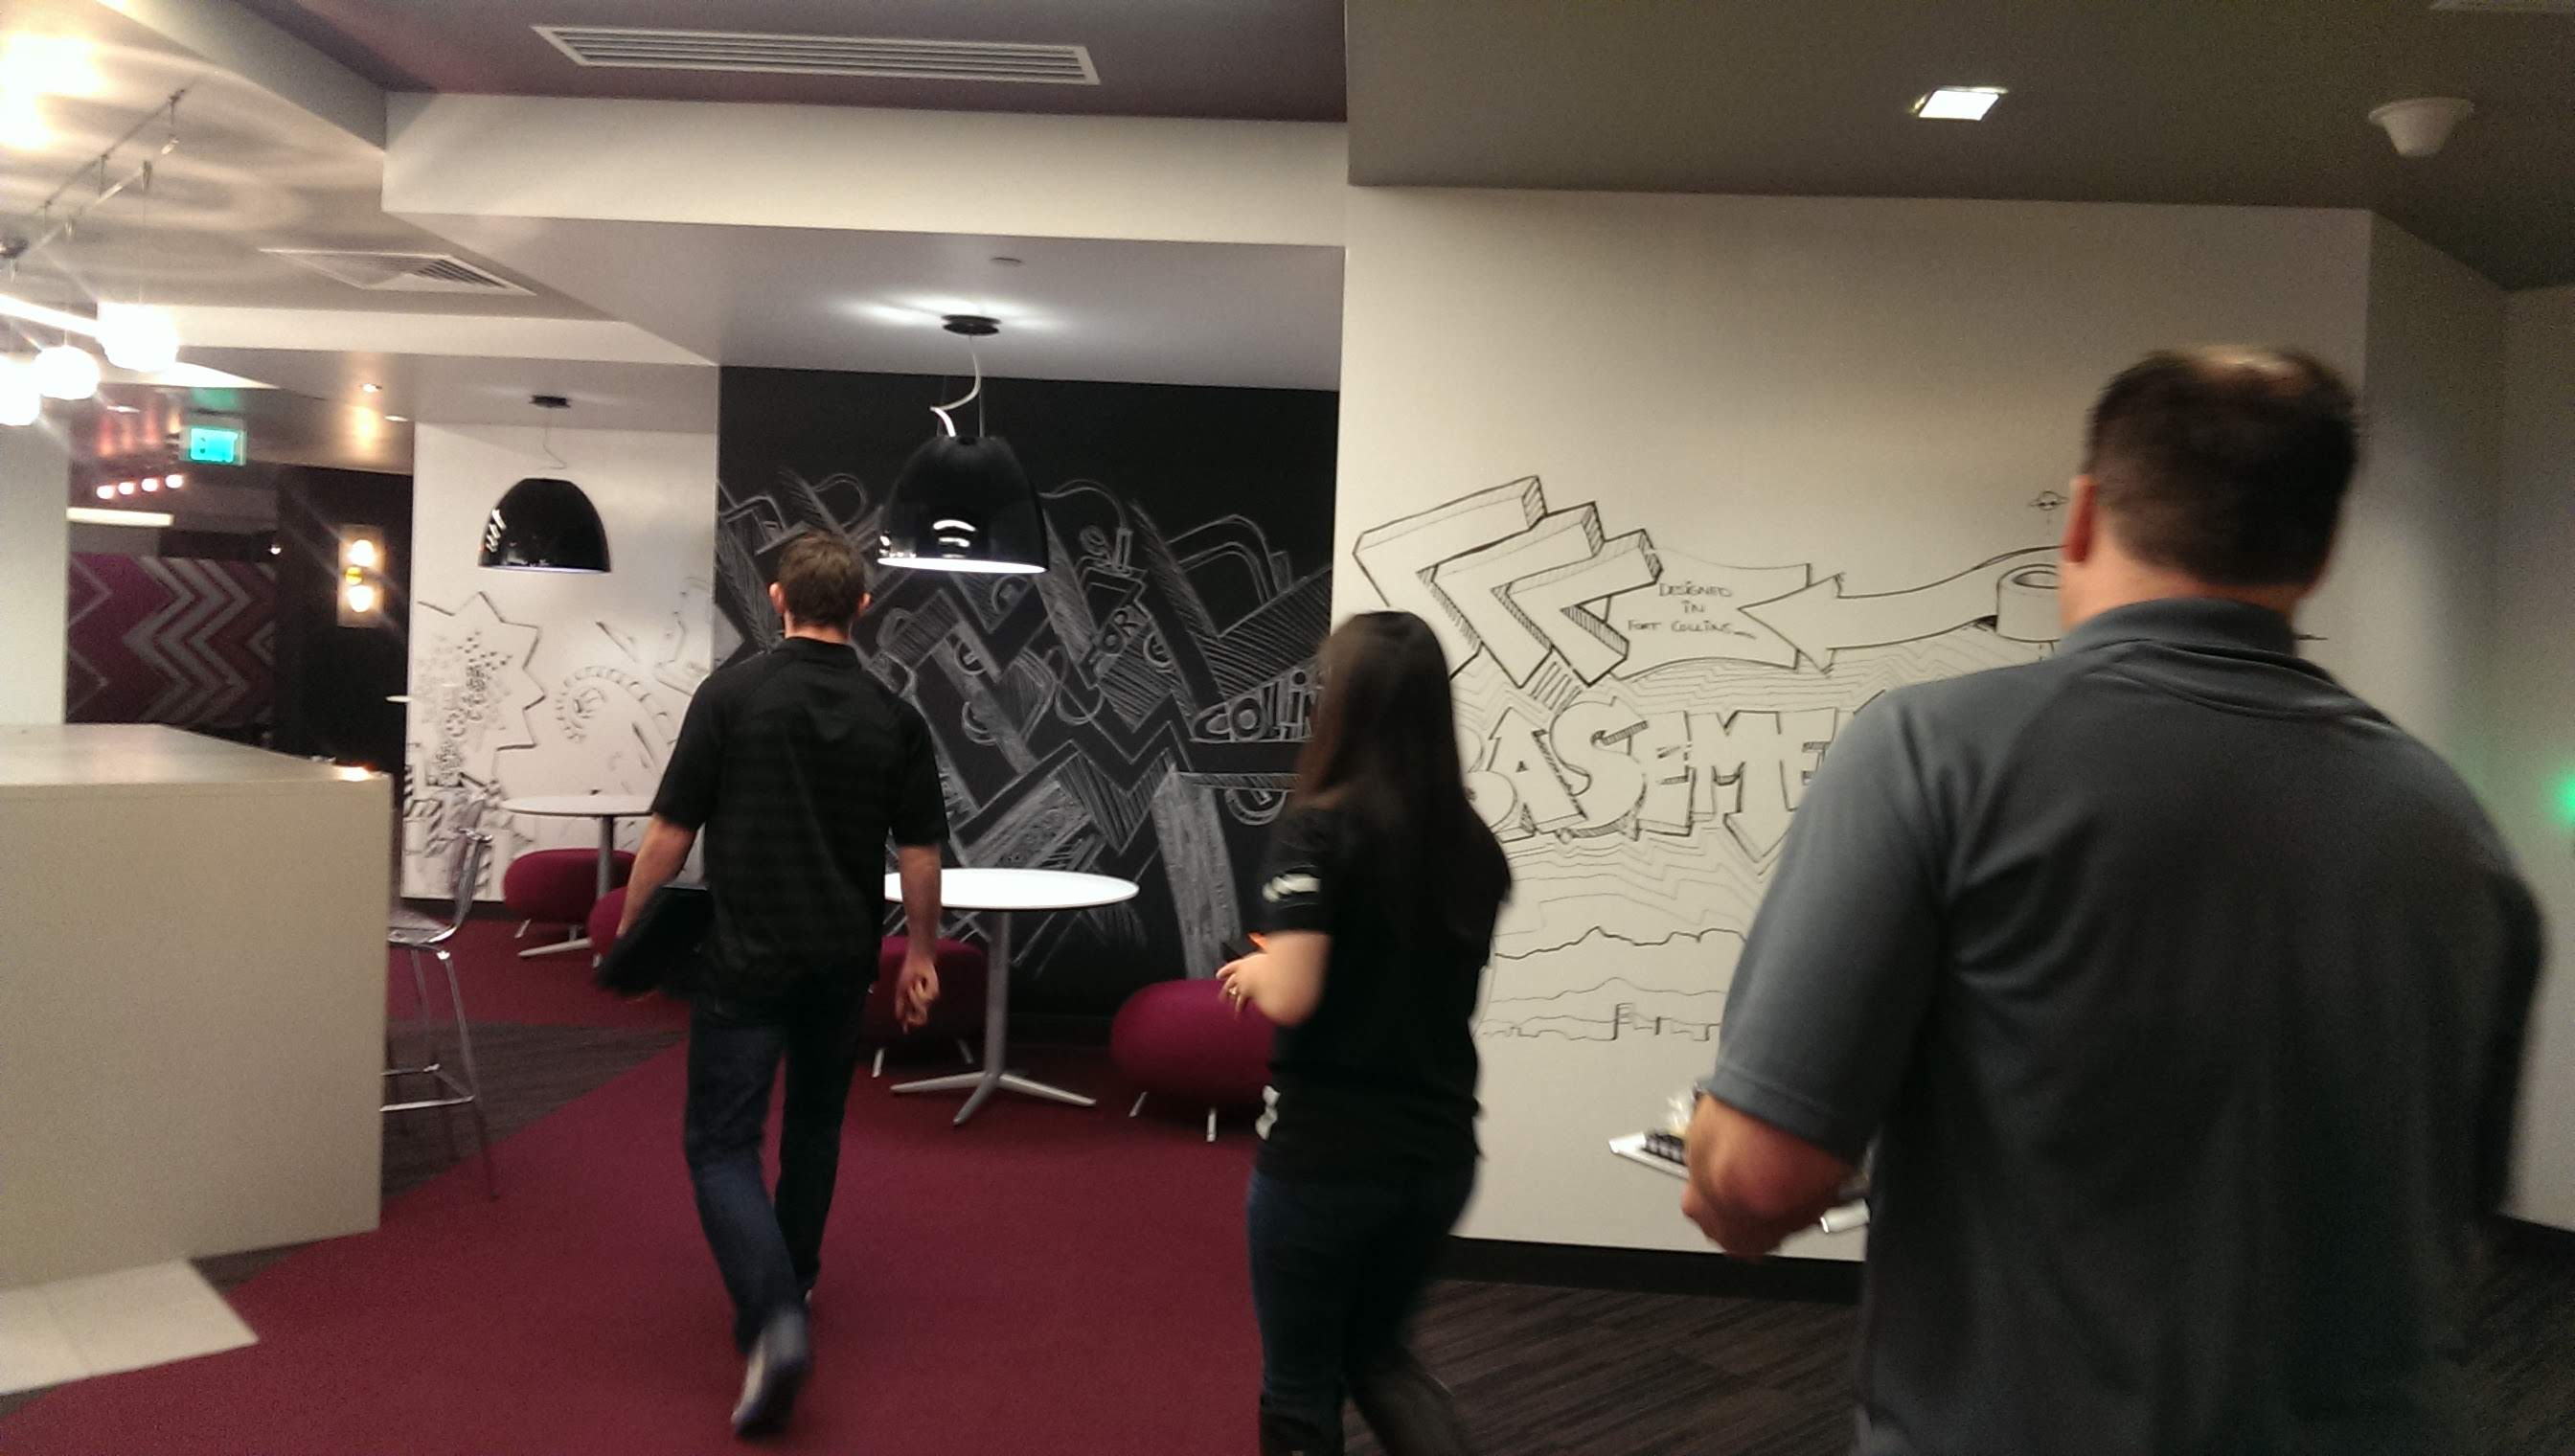


Suzhou


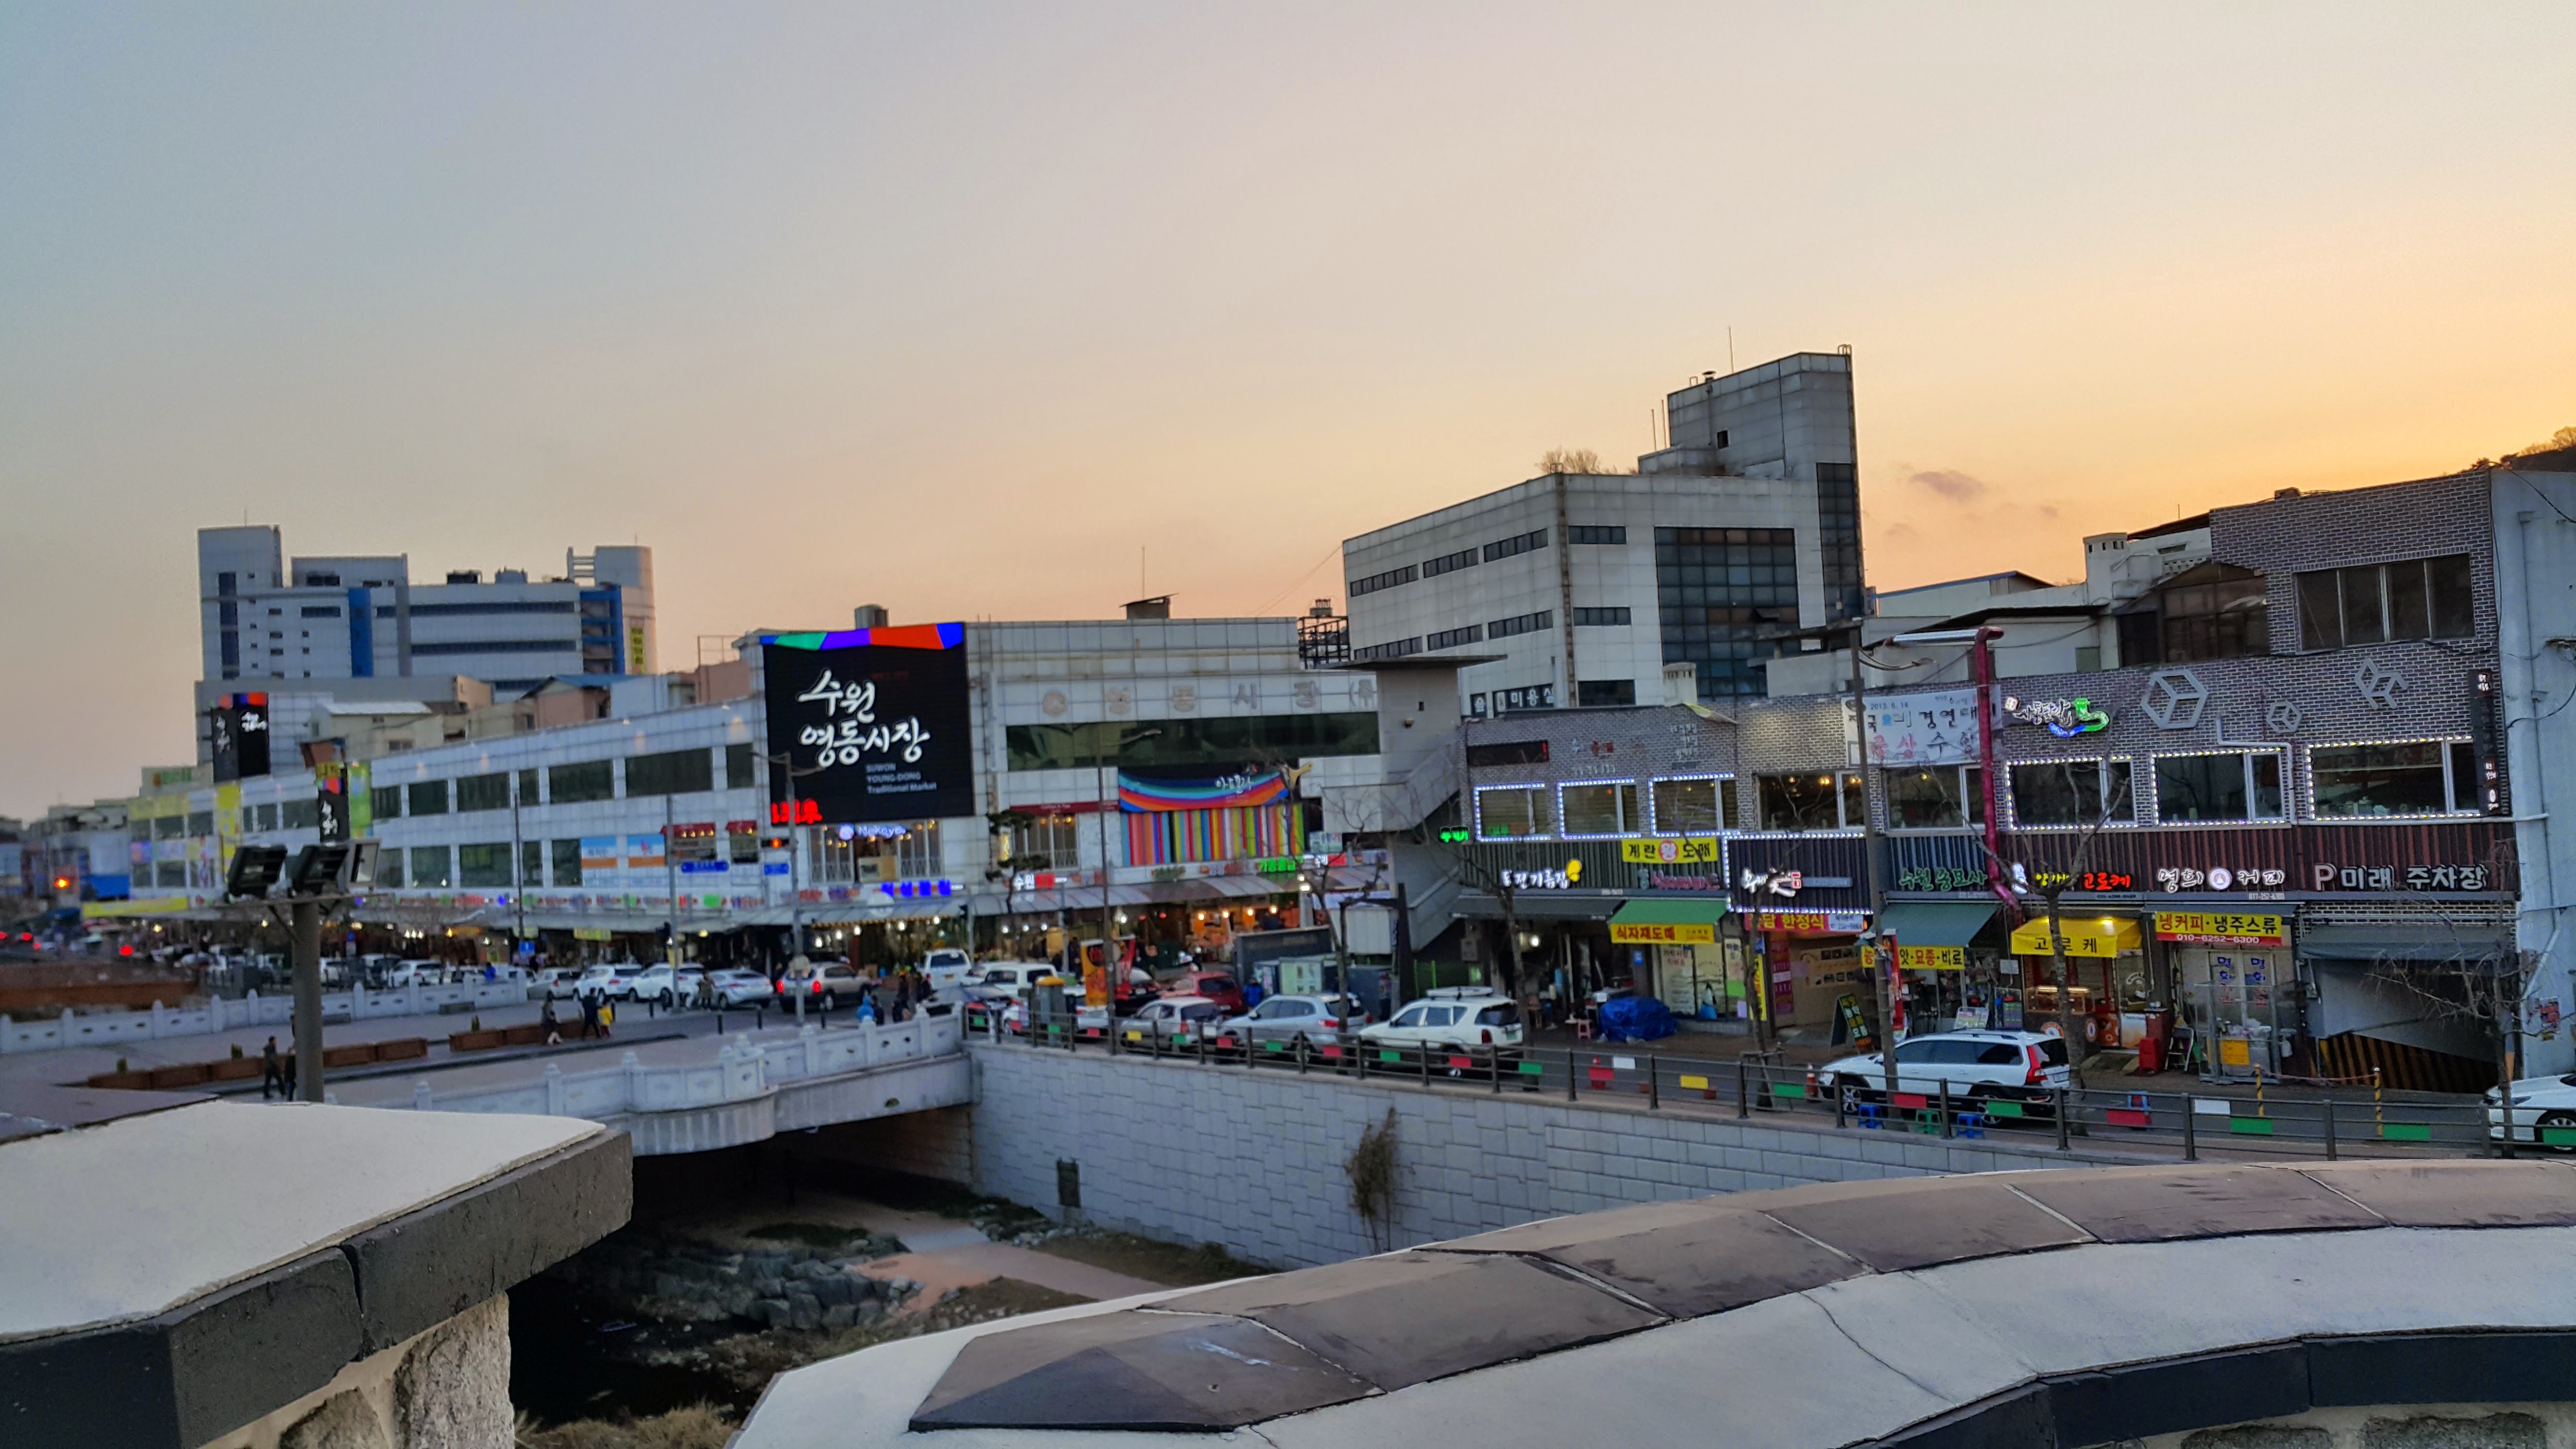
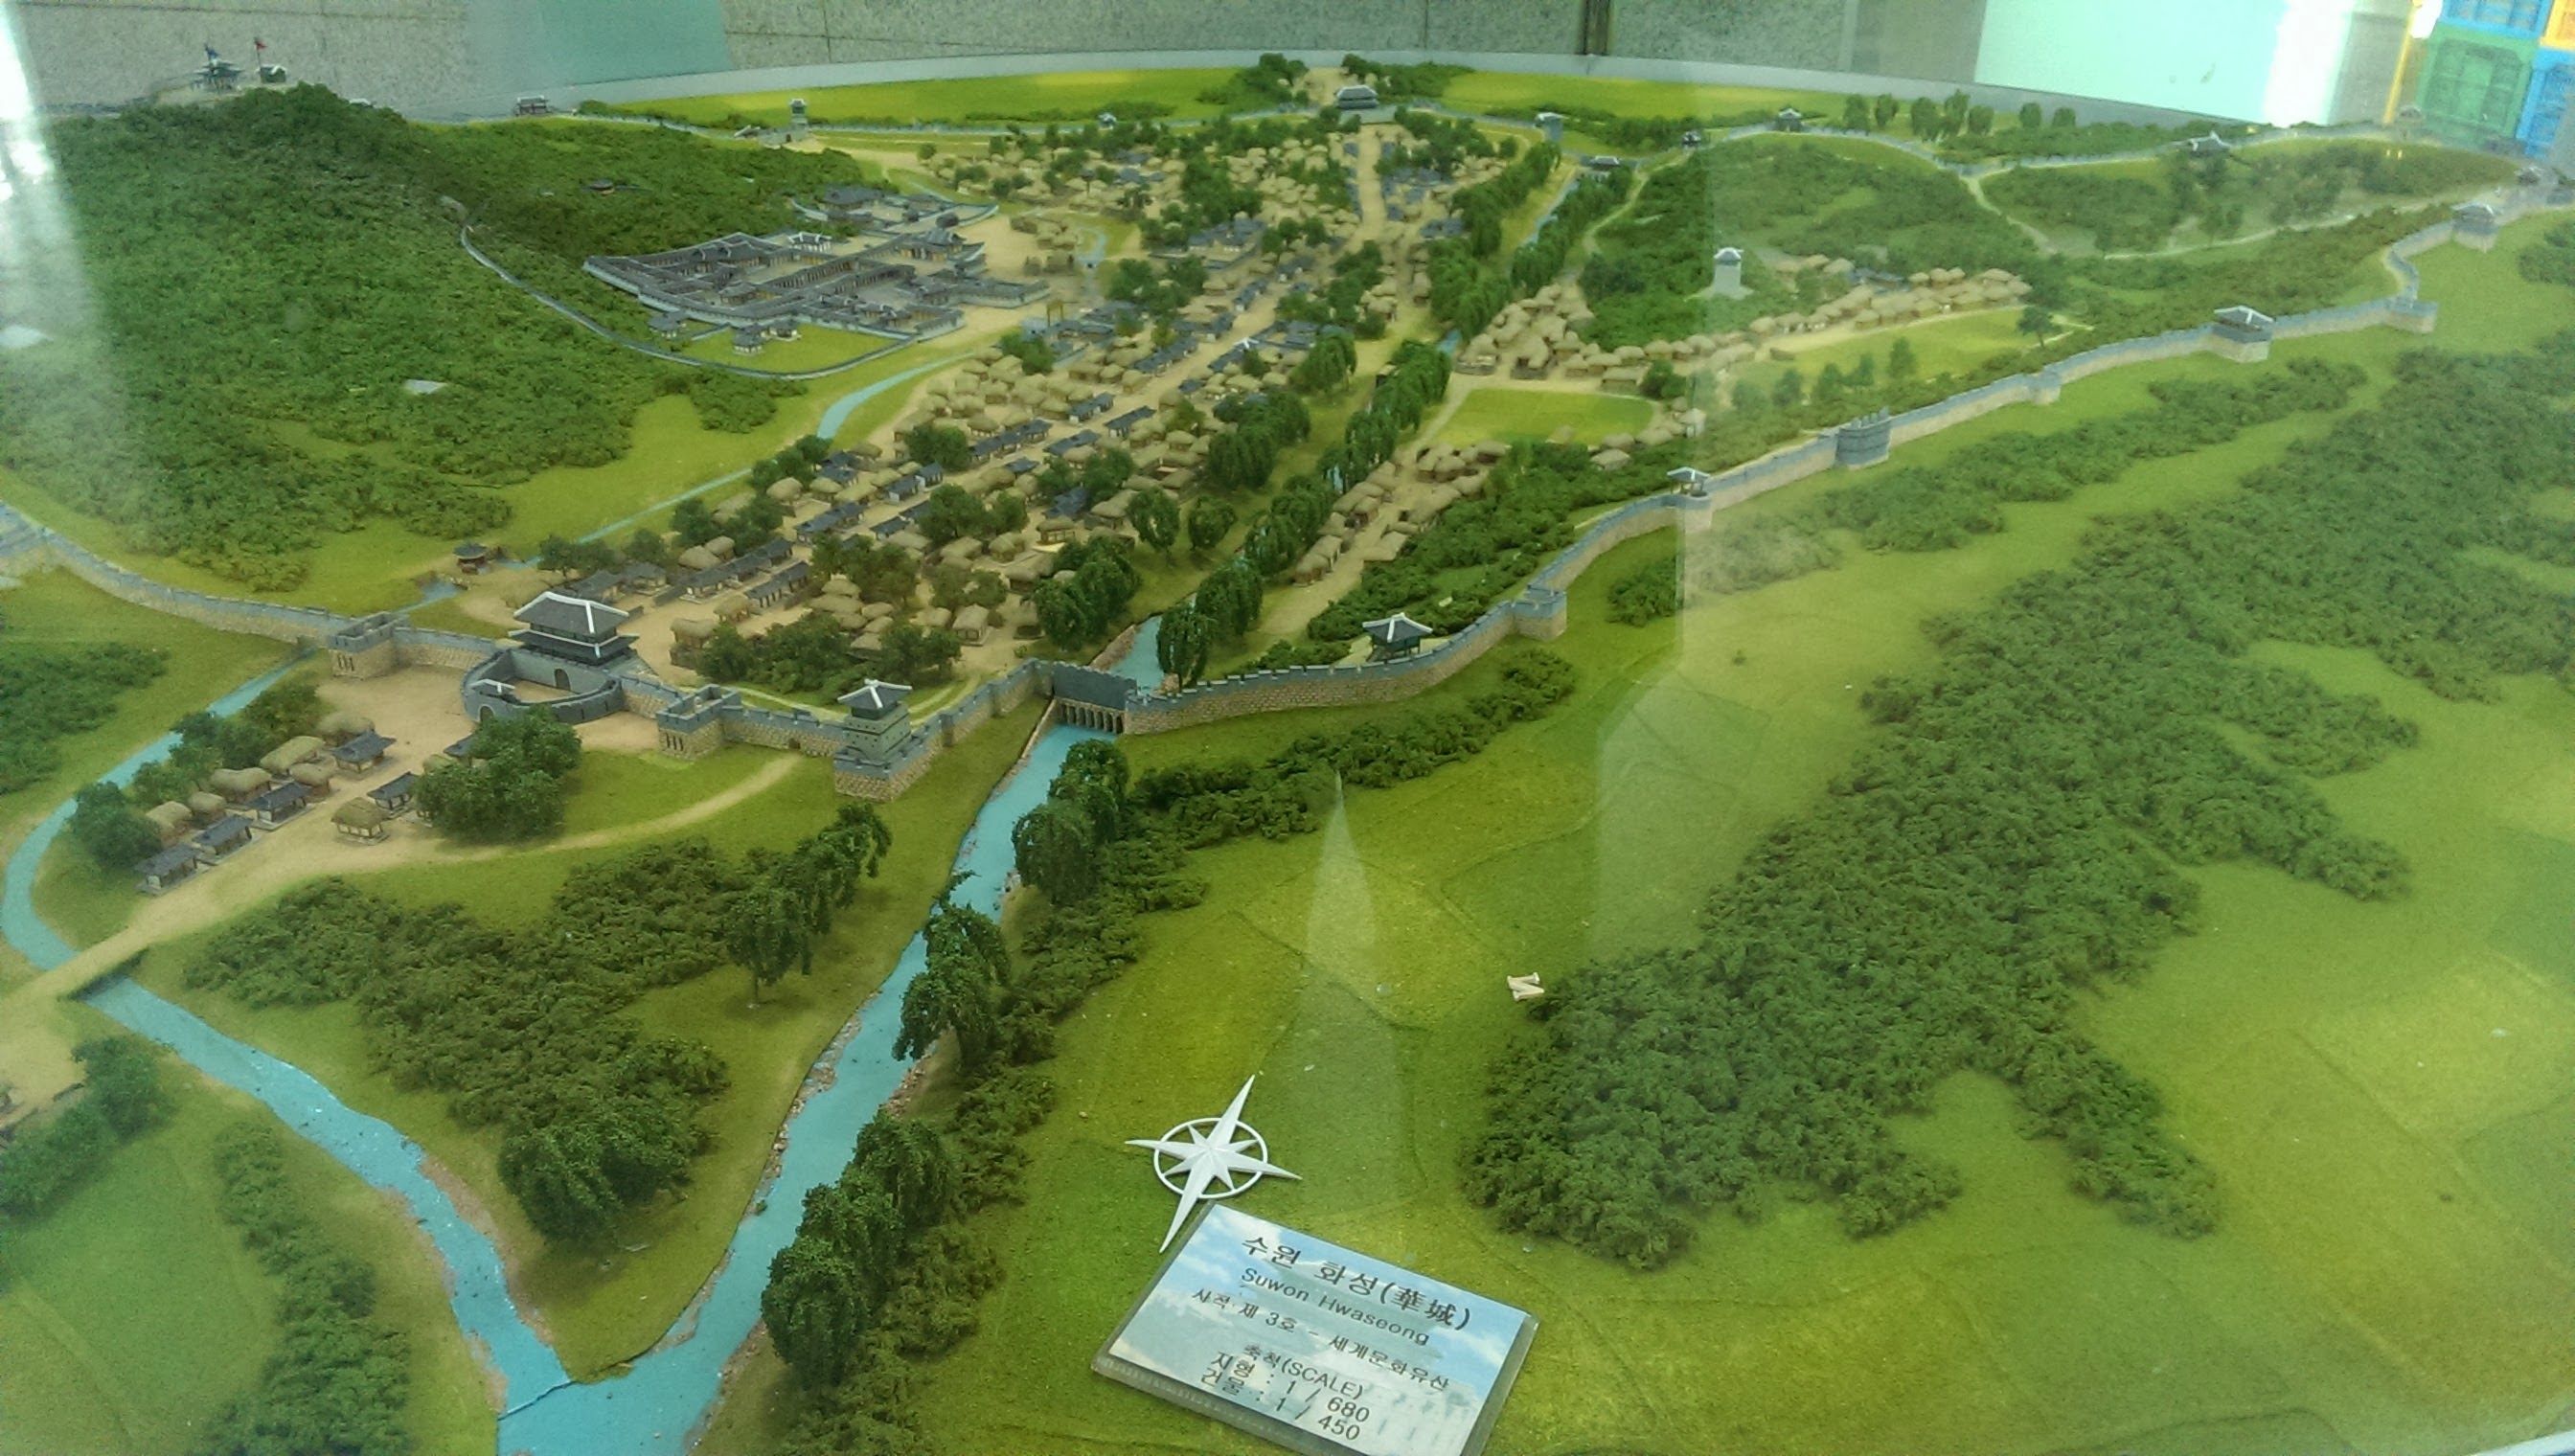
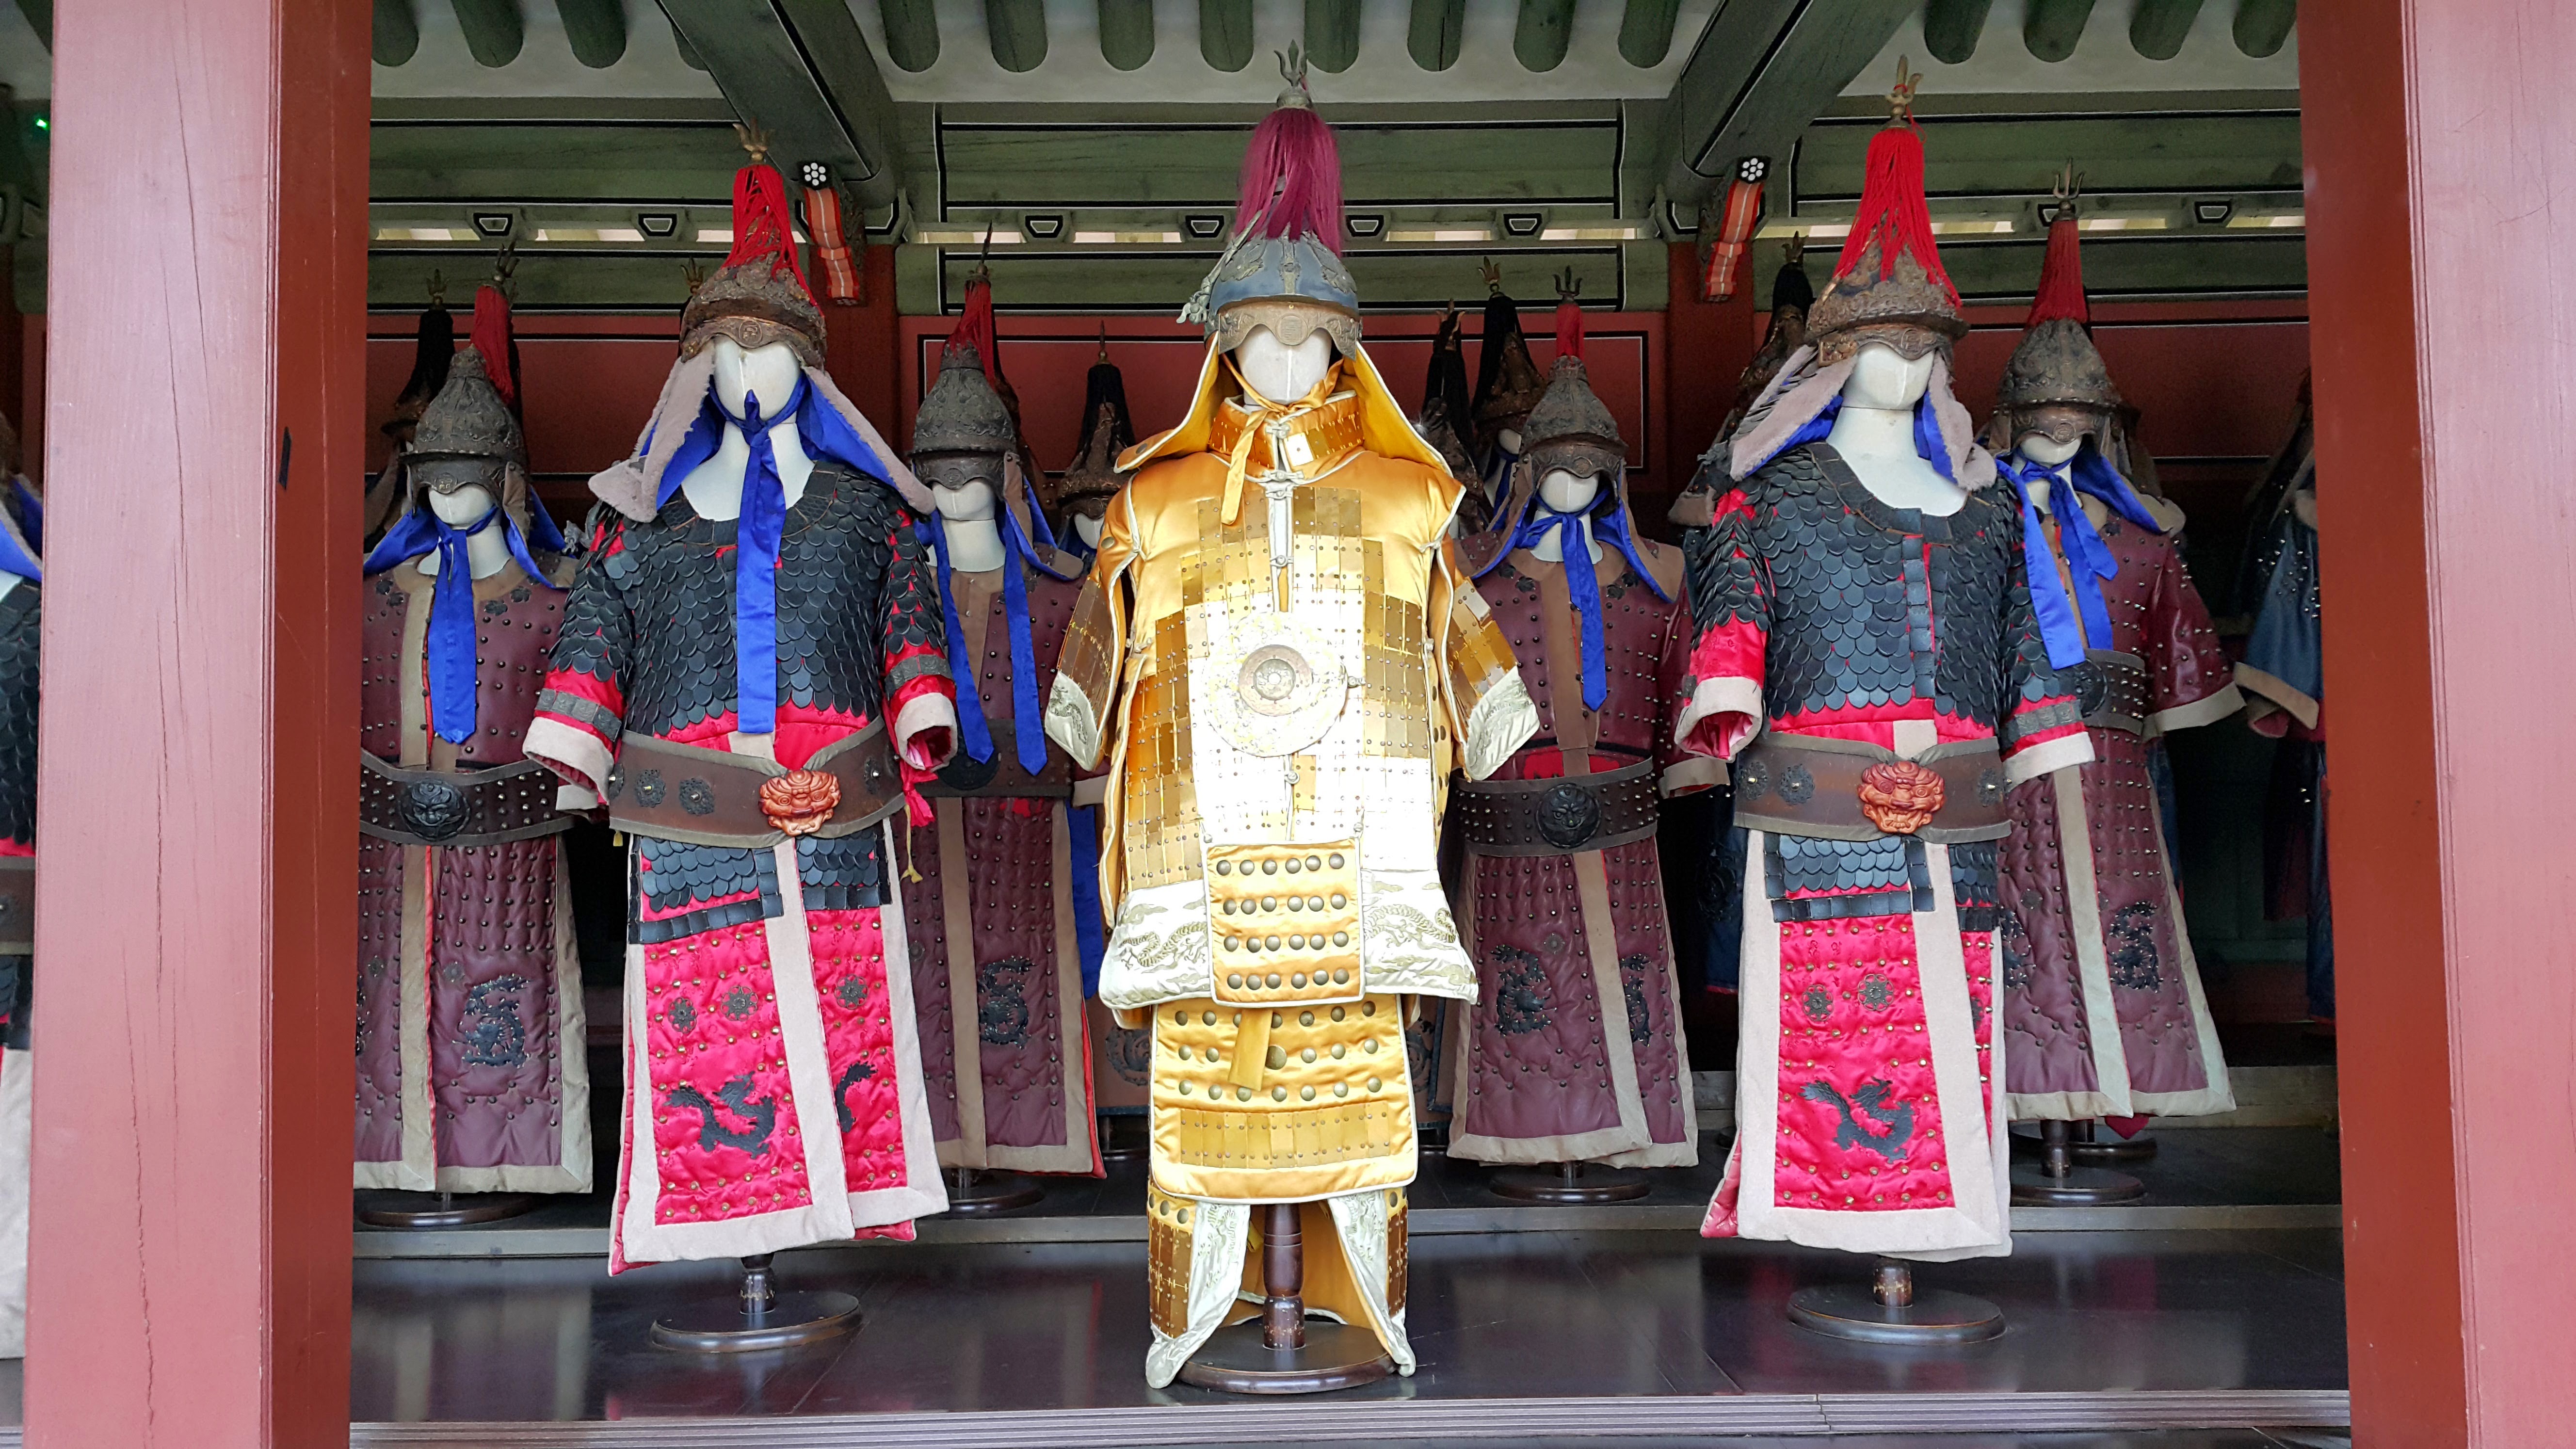
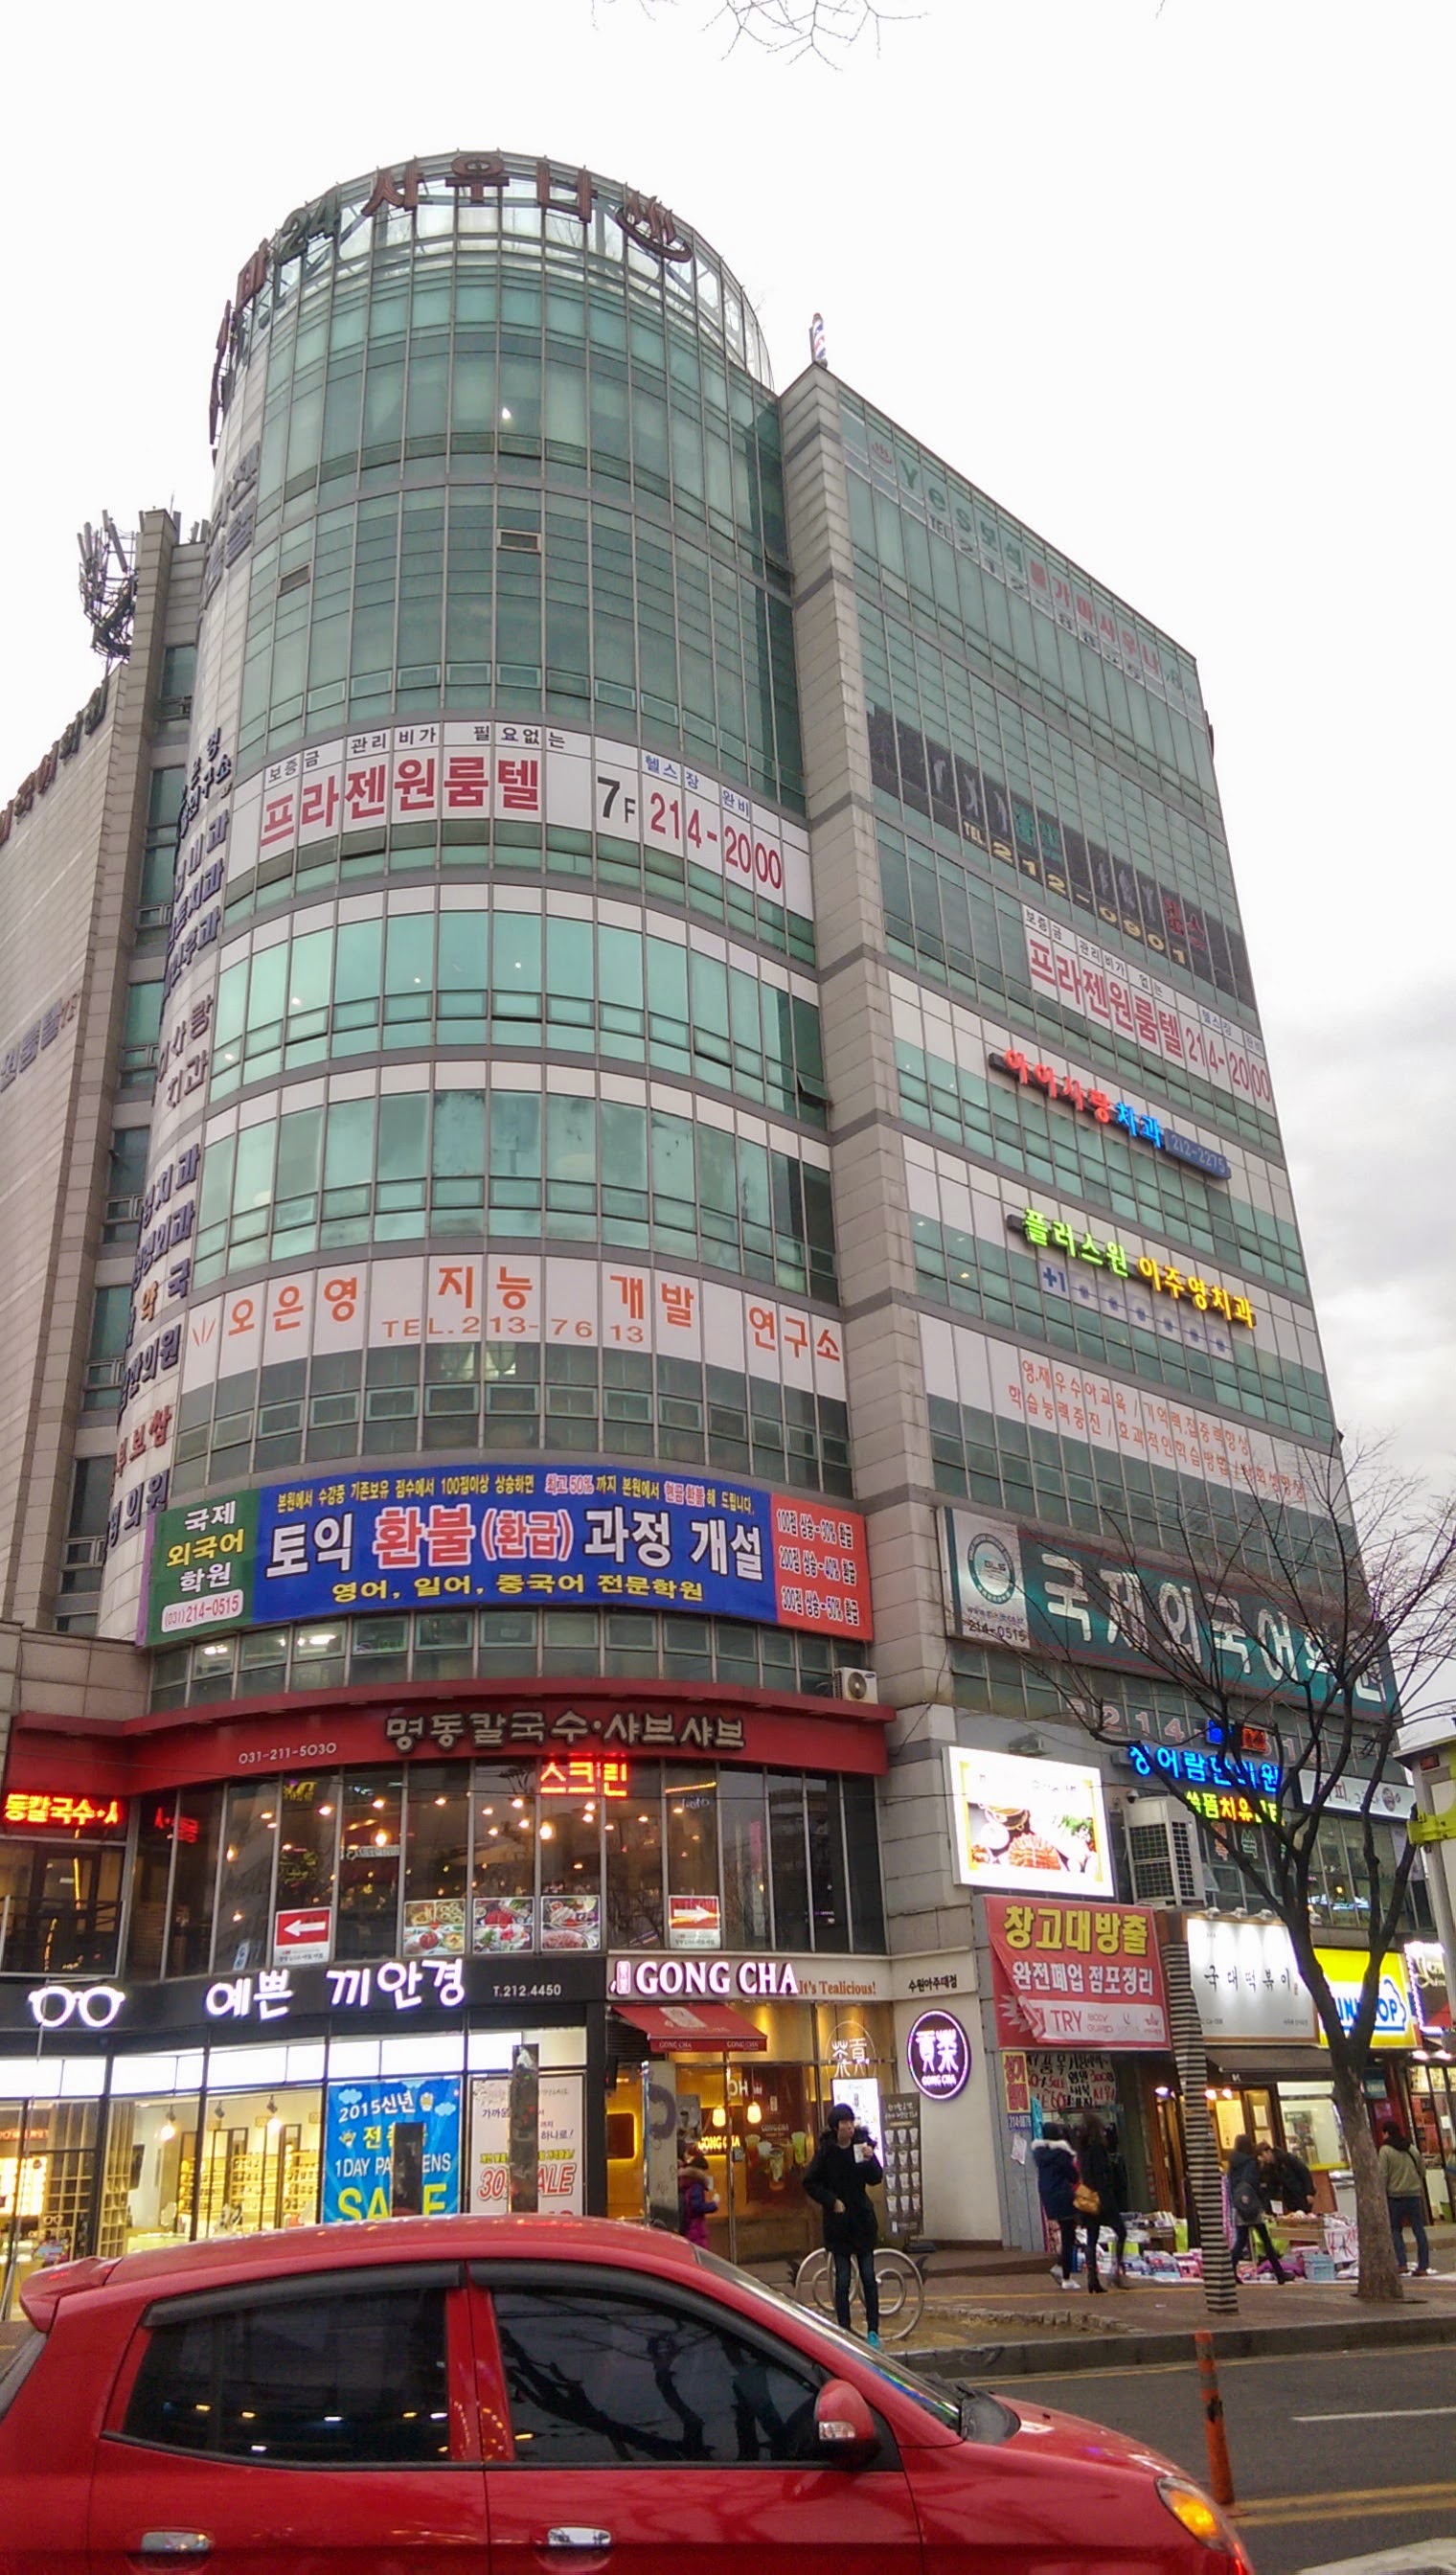
Suwon


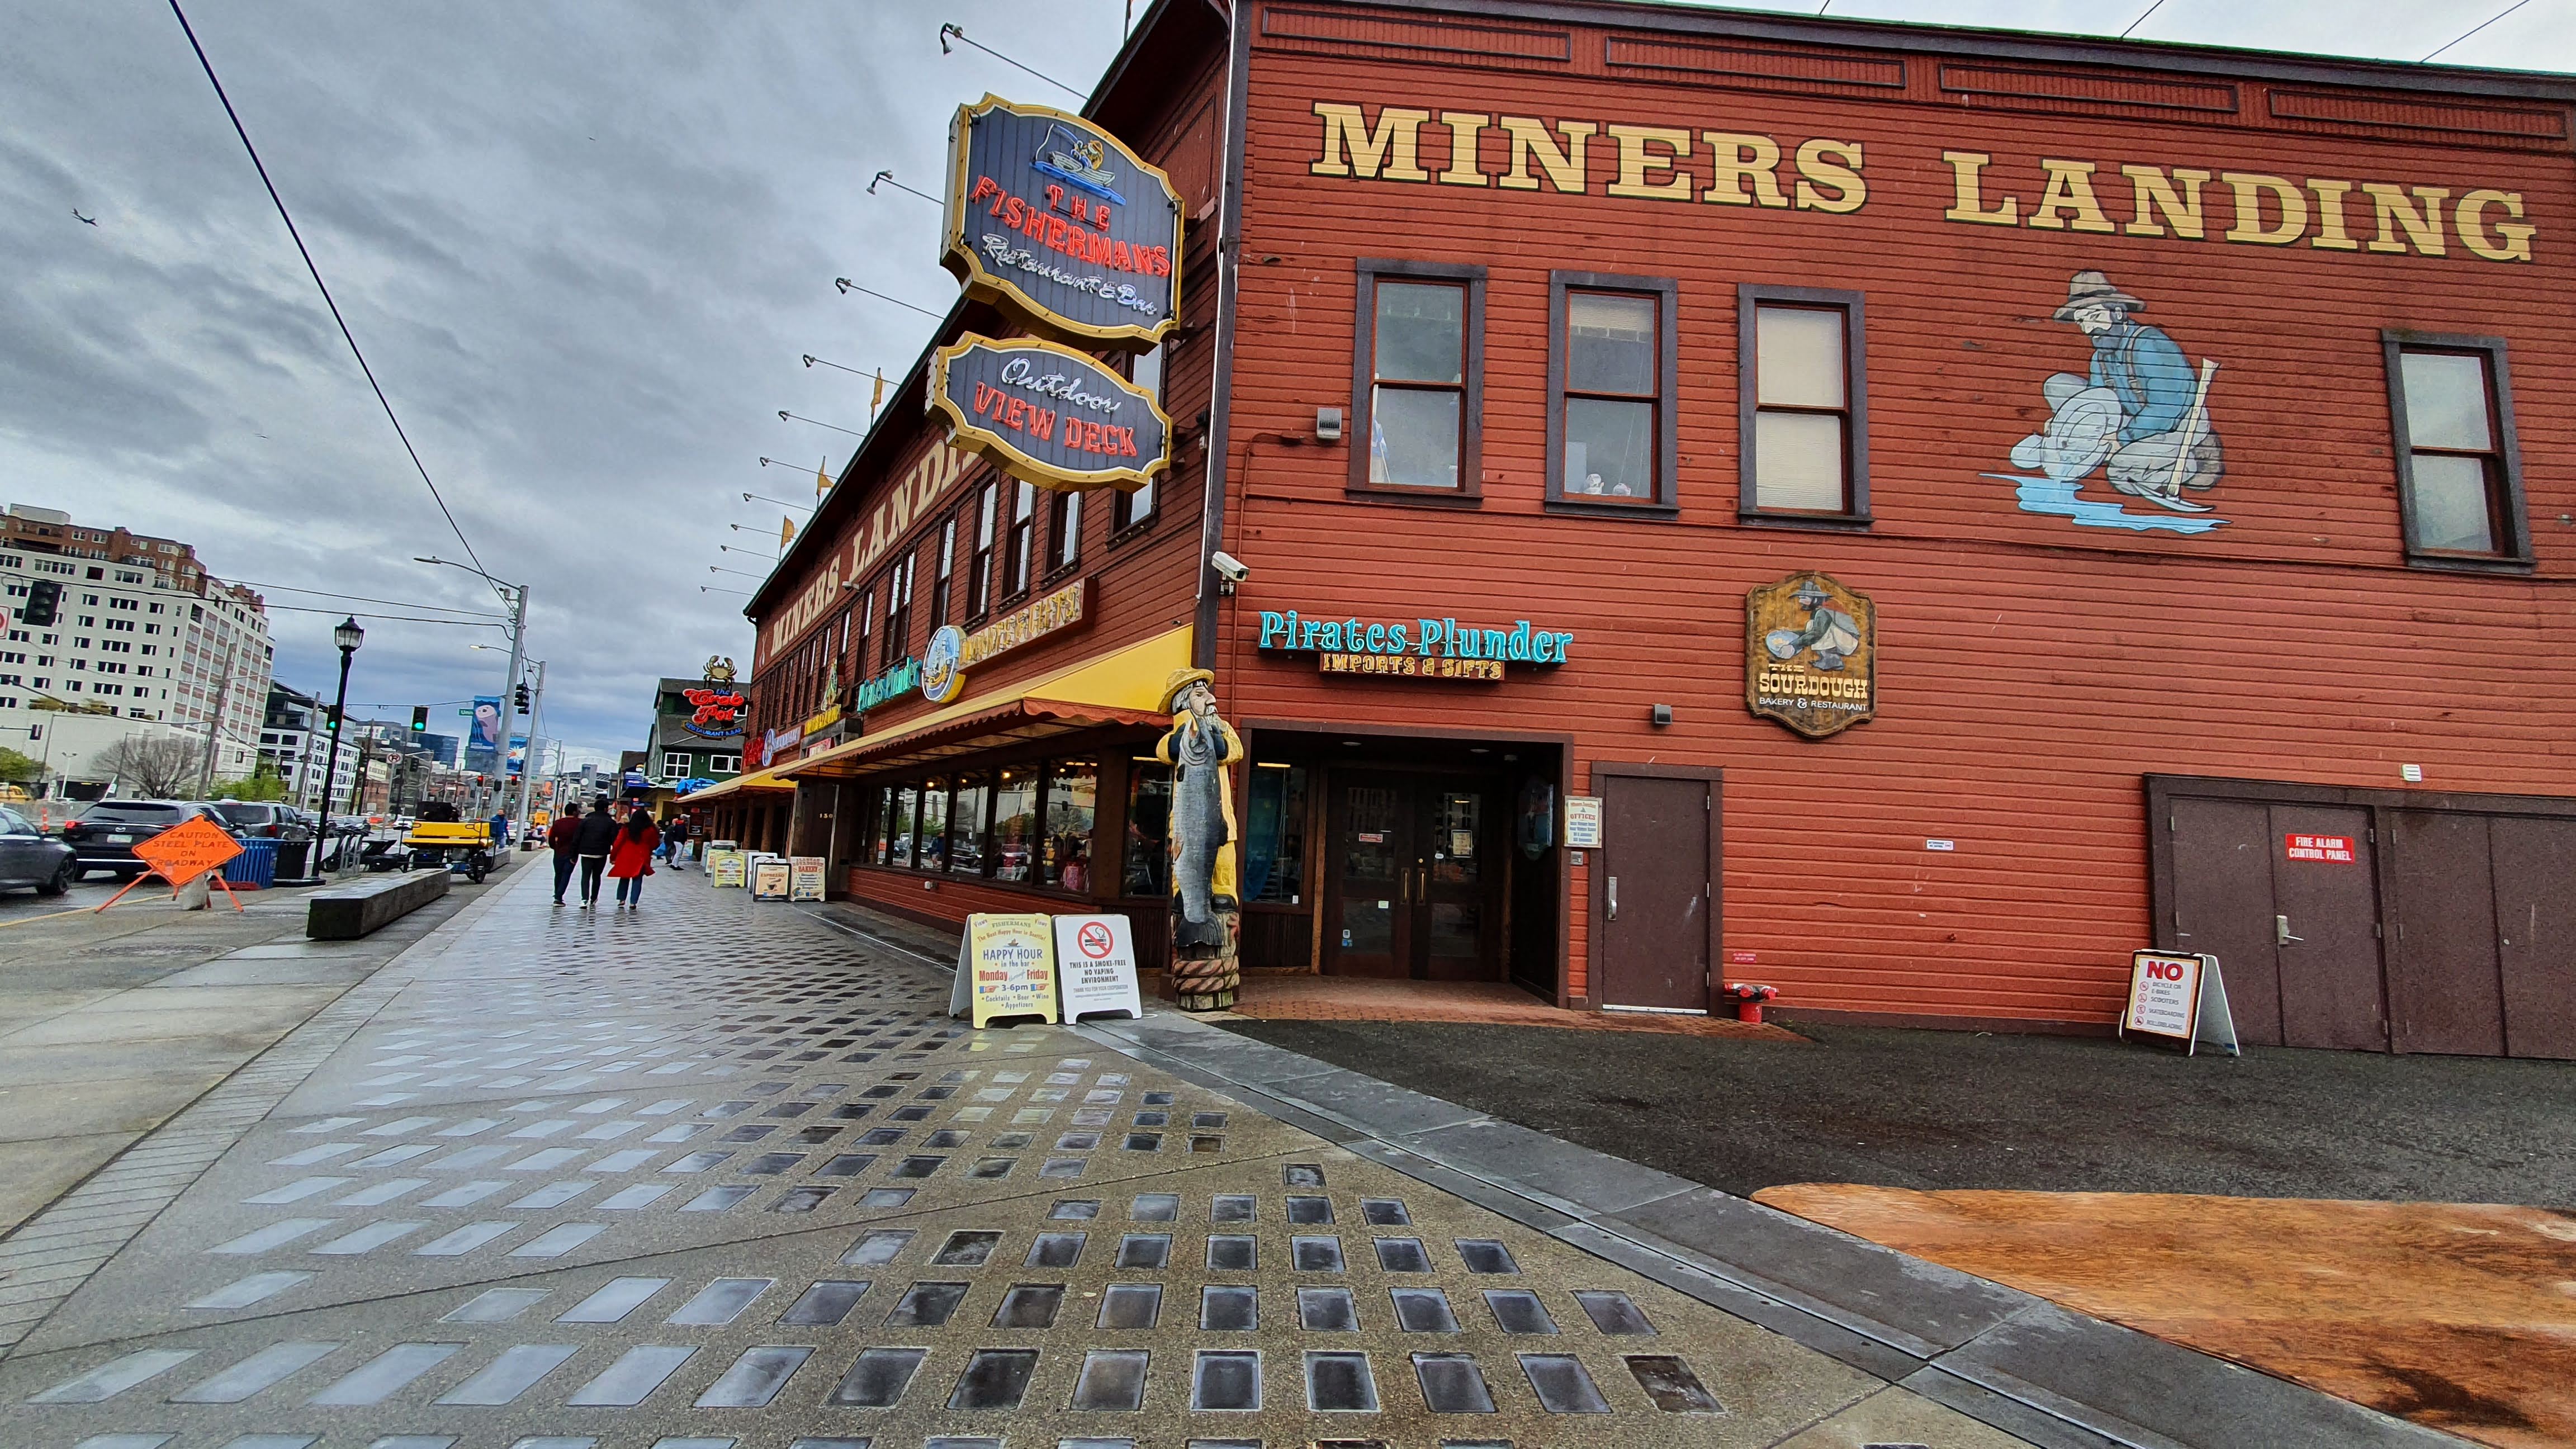
Seattle


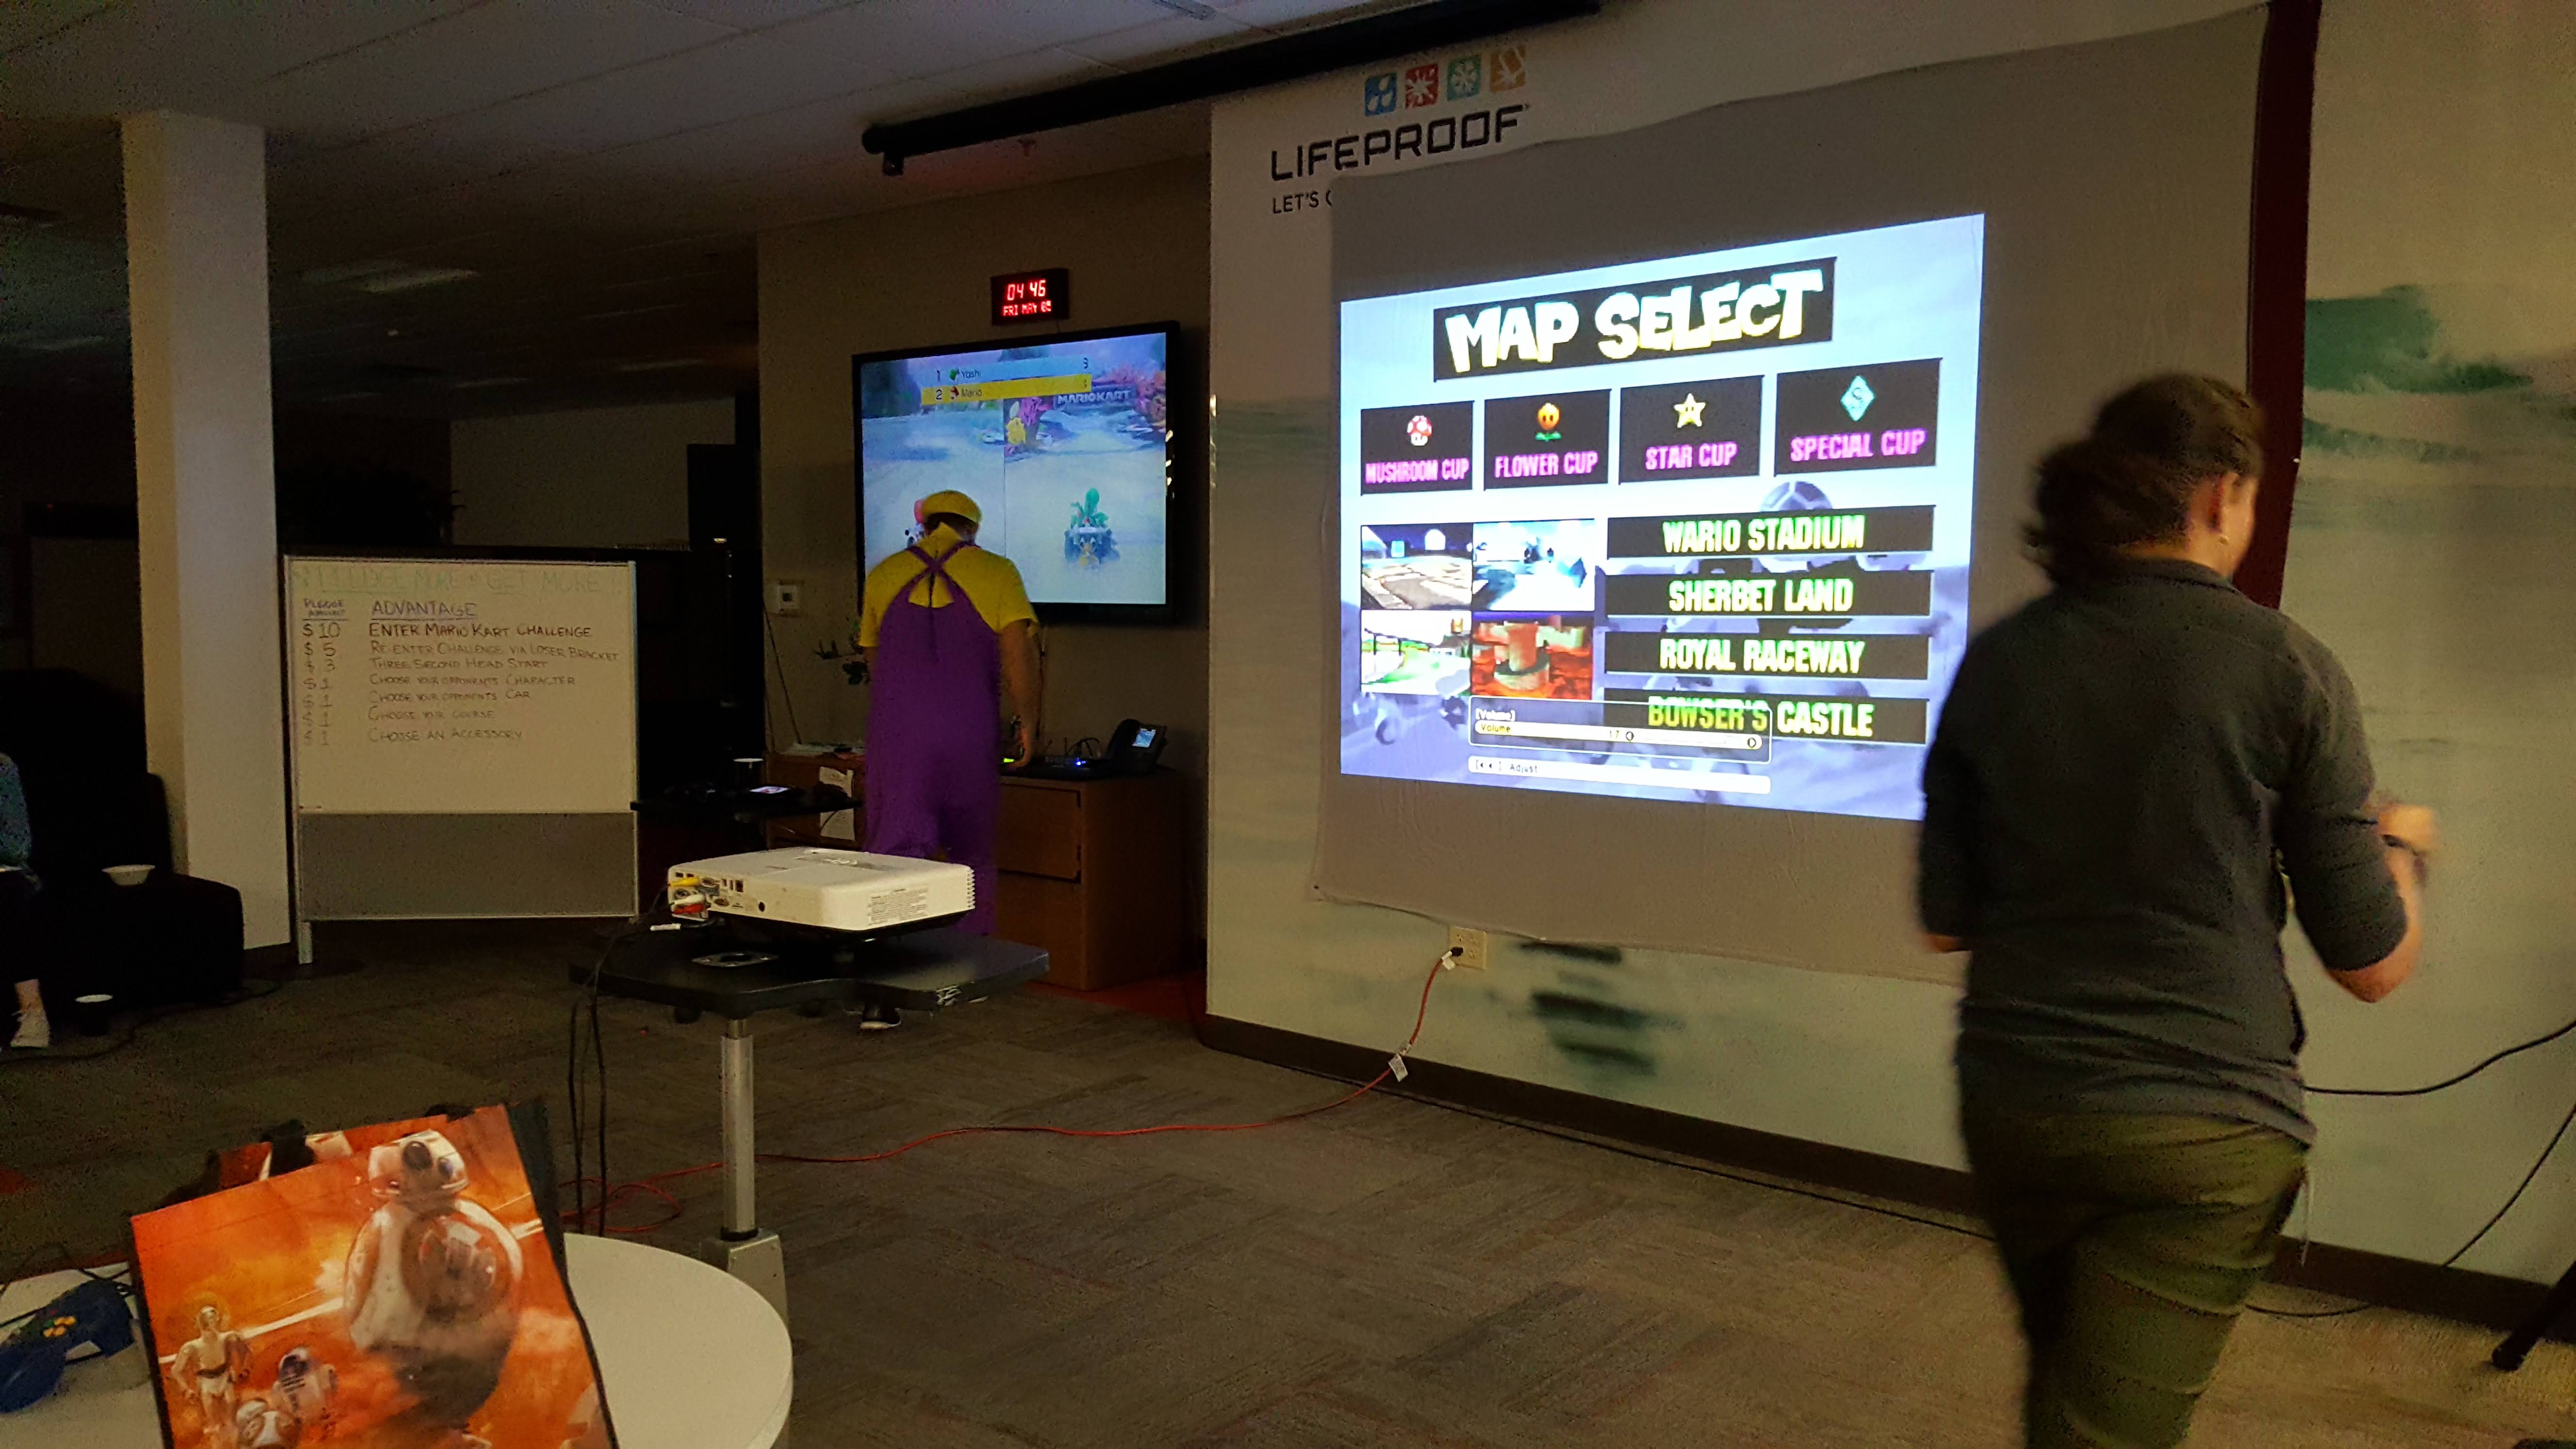
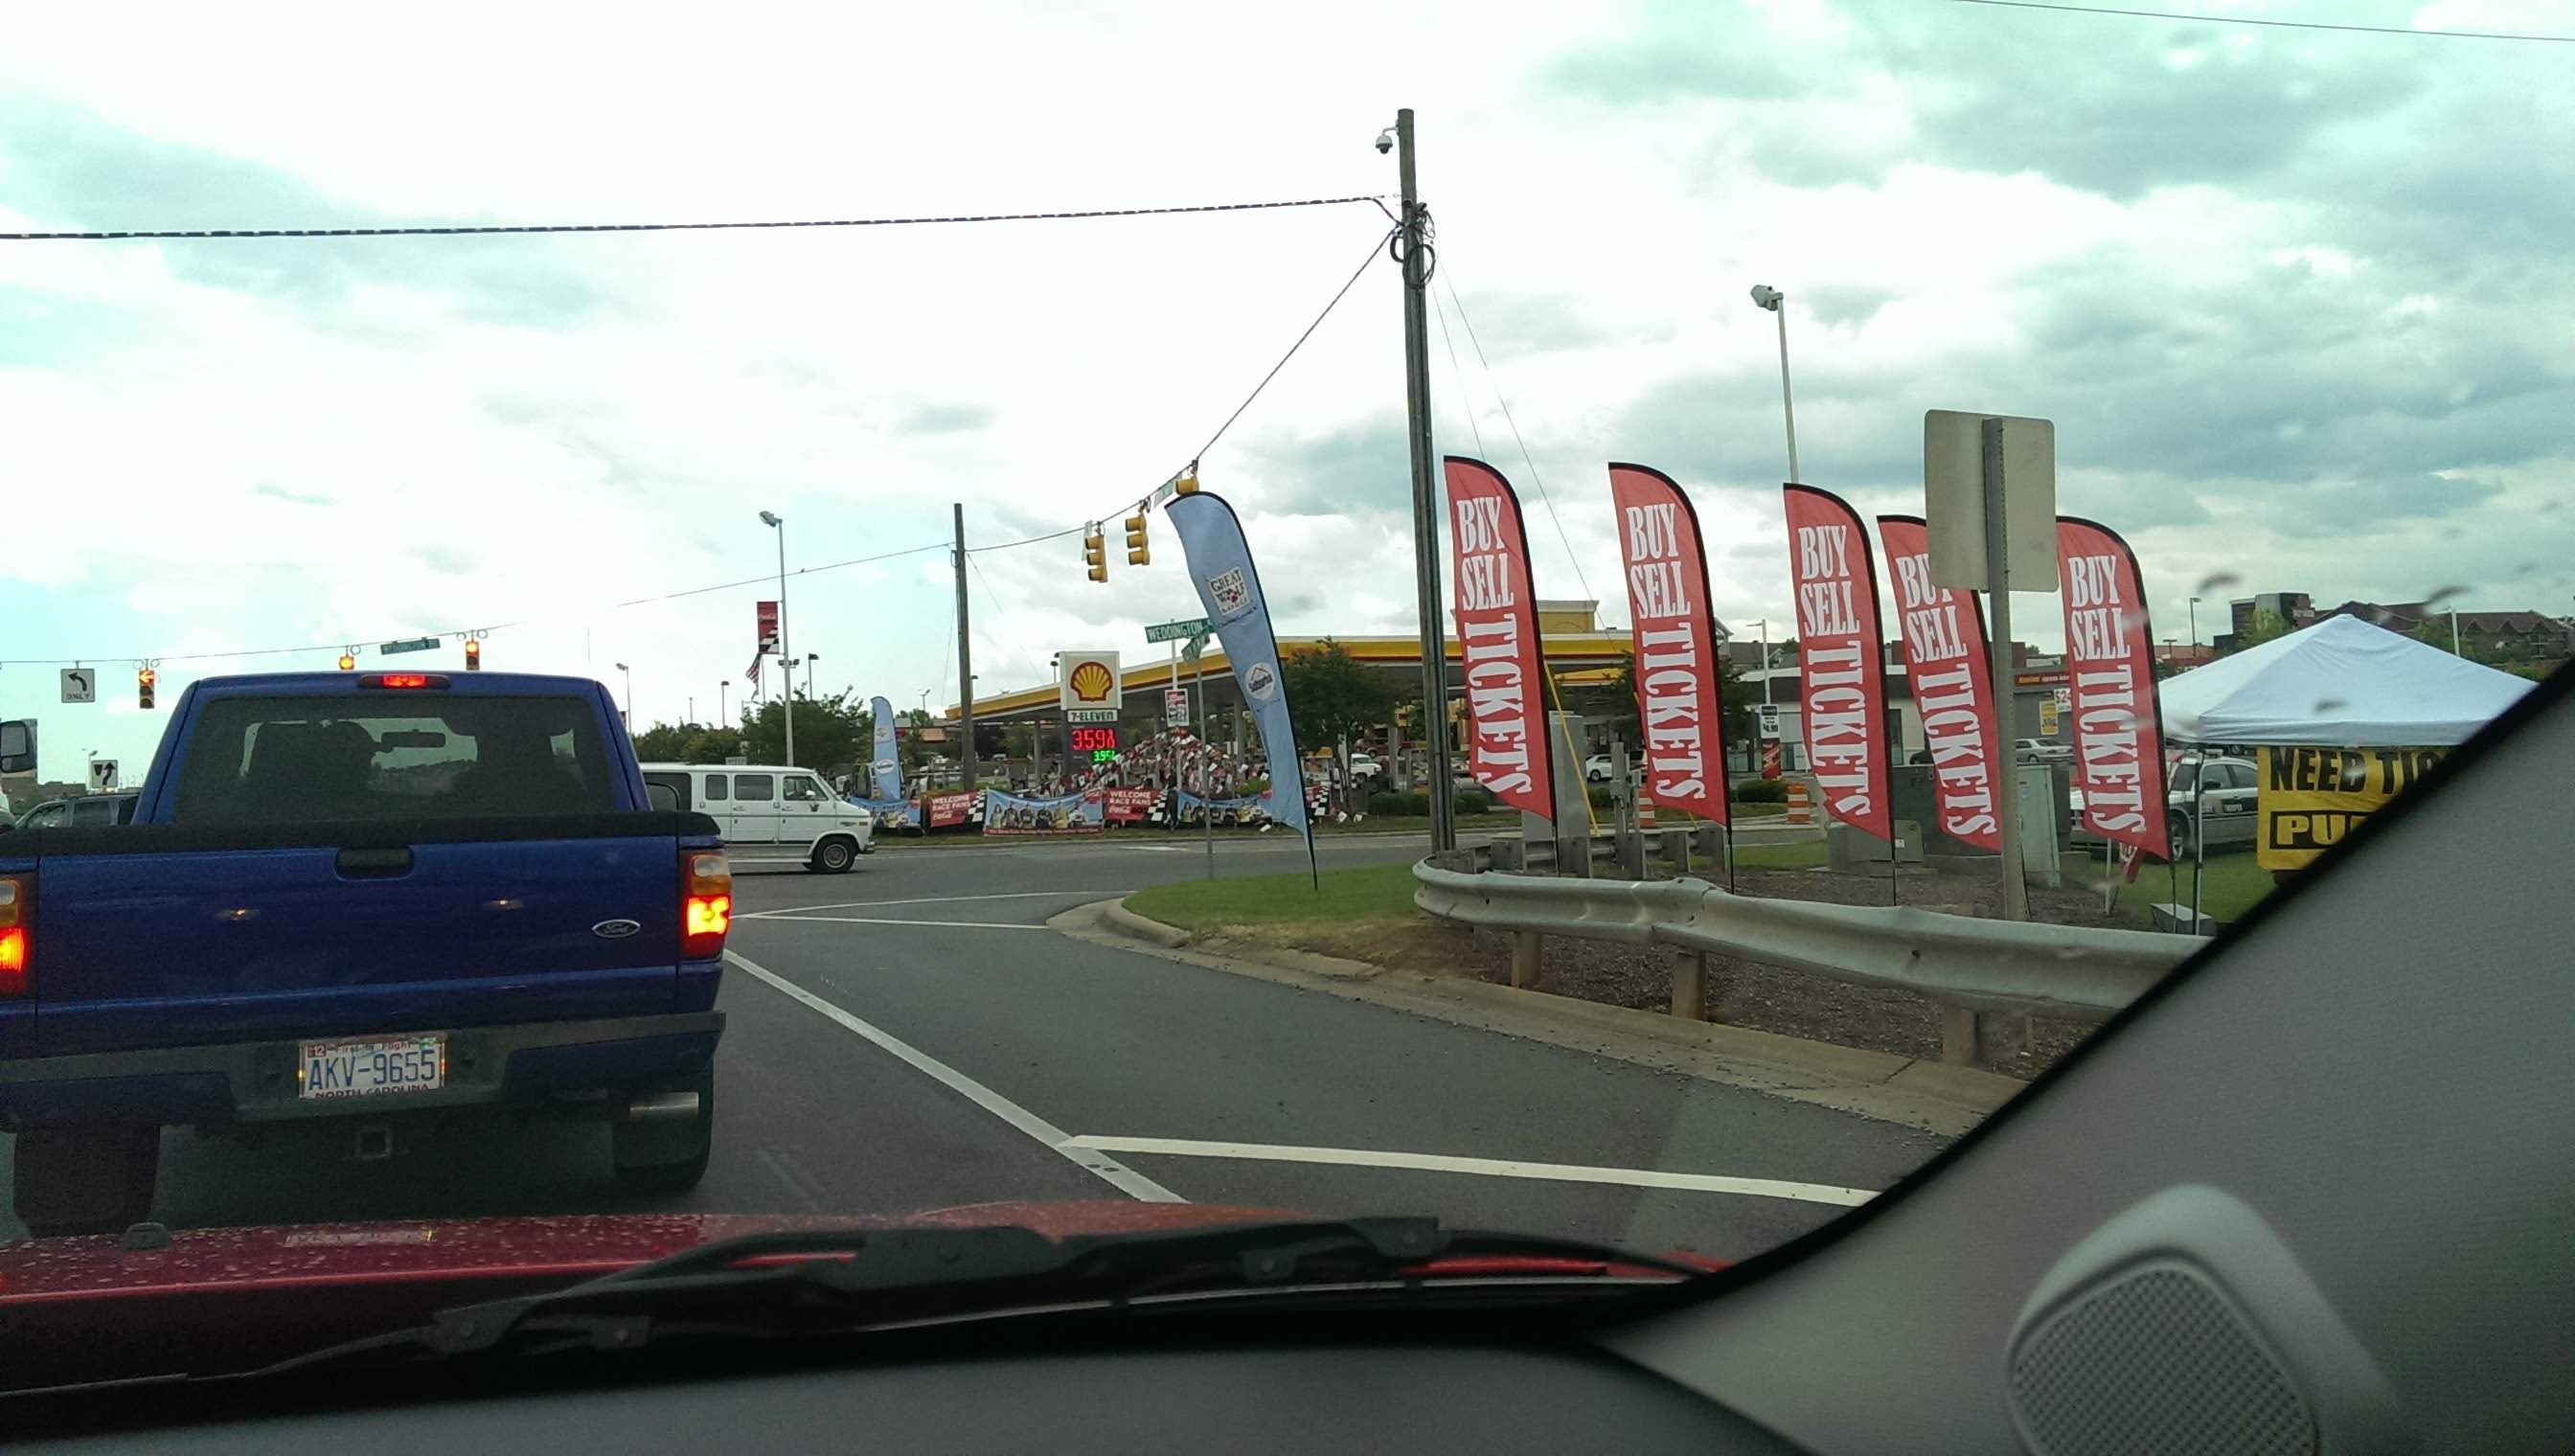
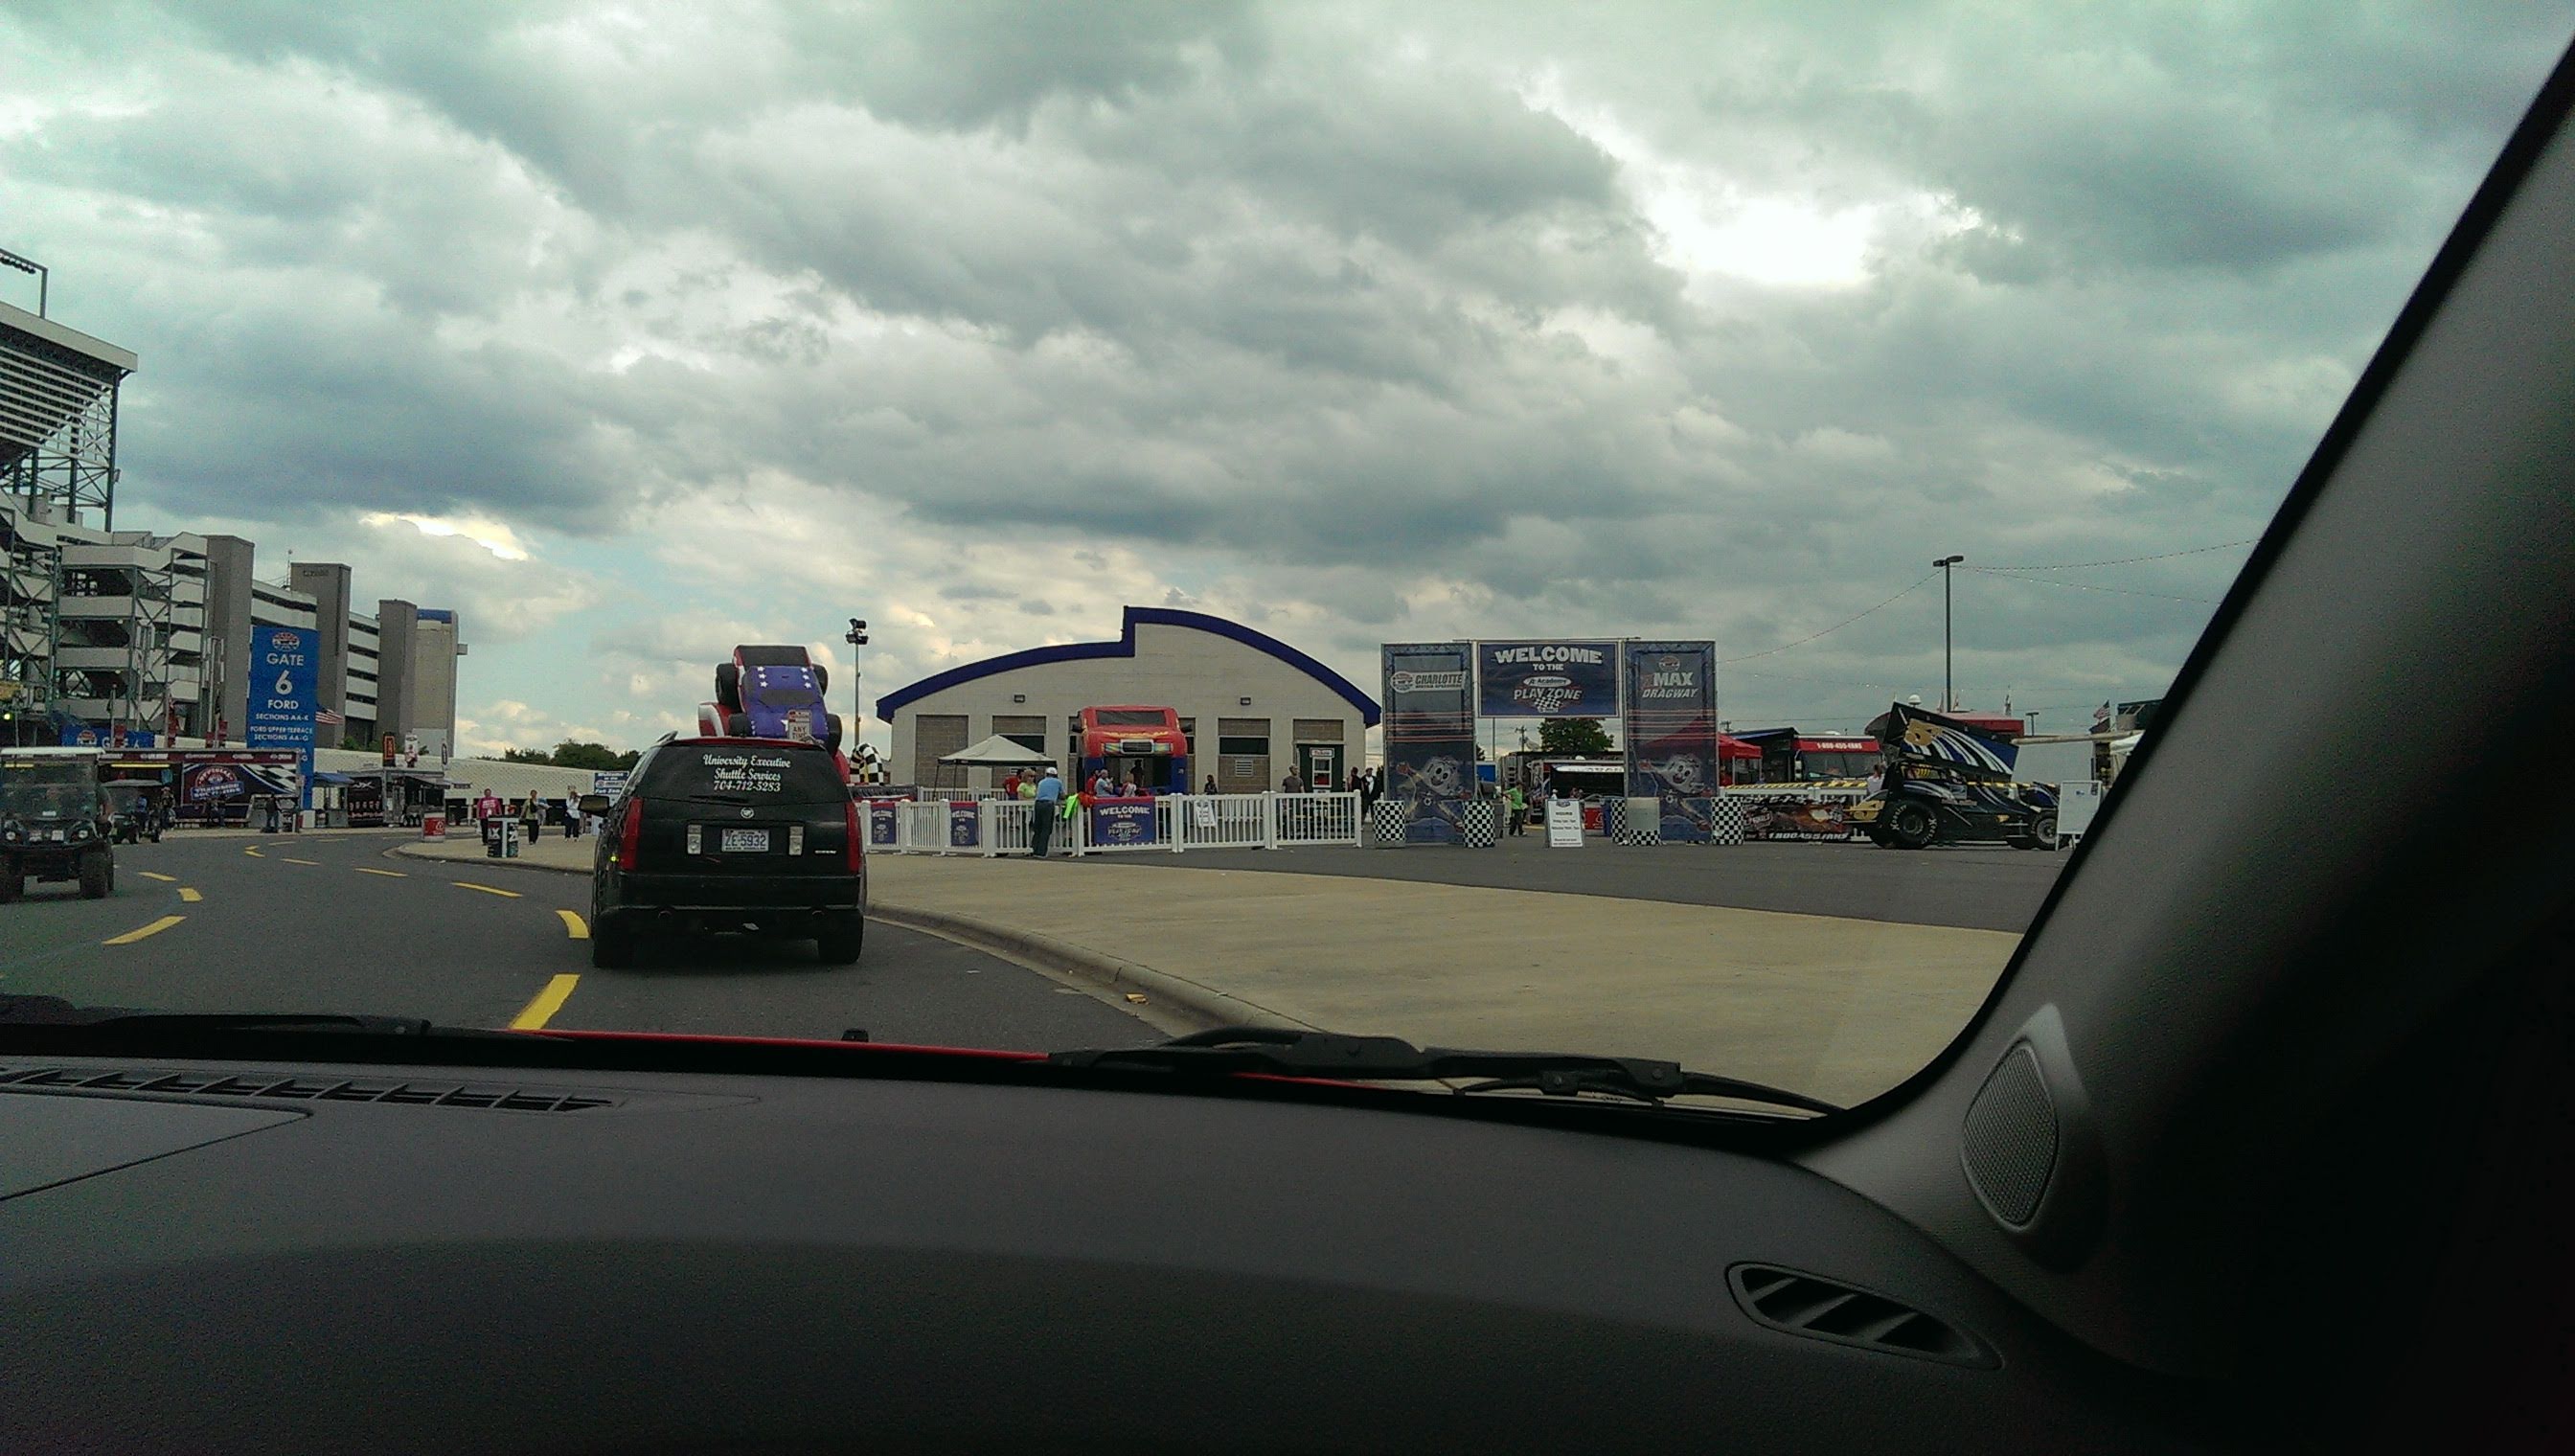
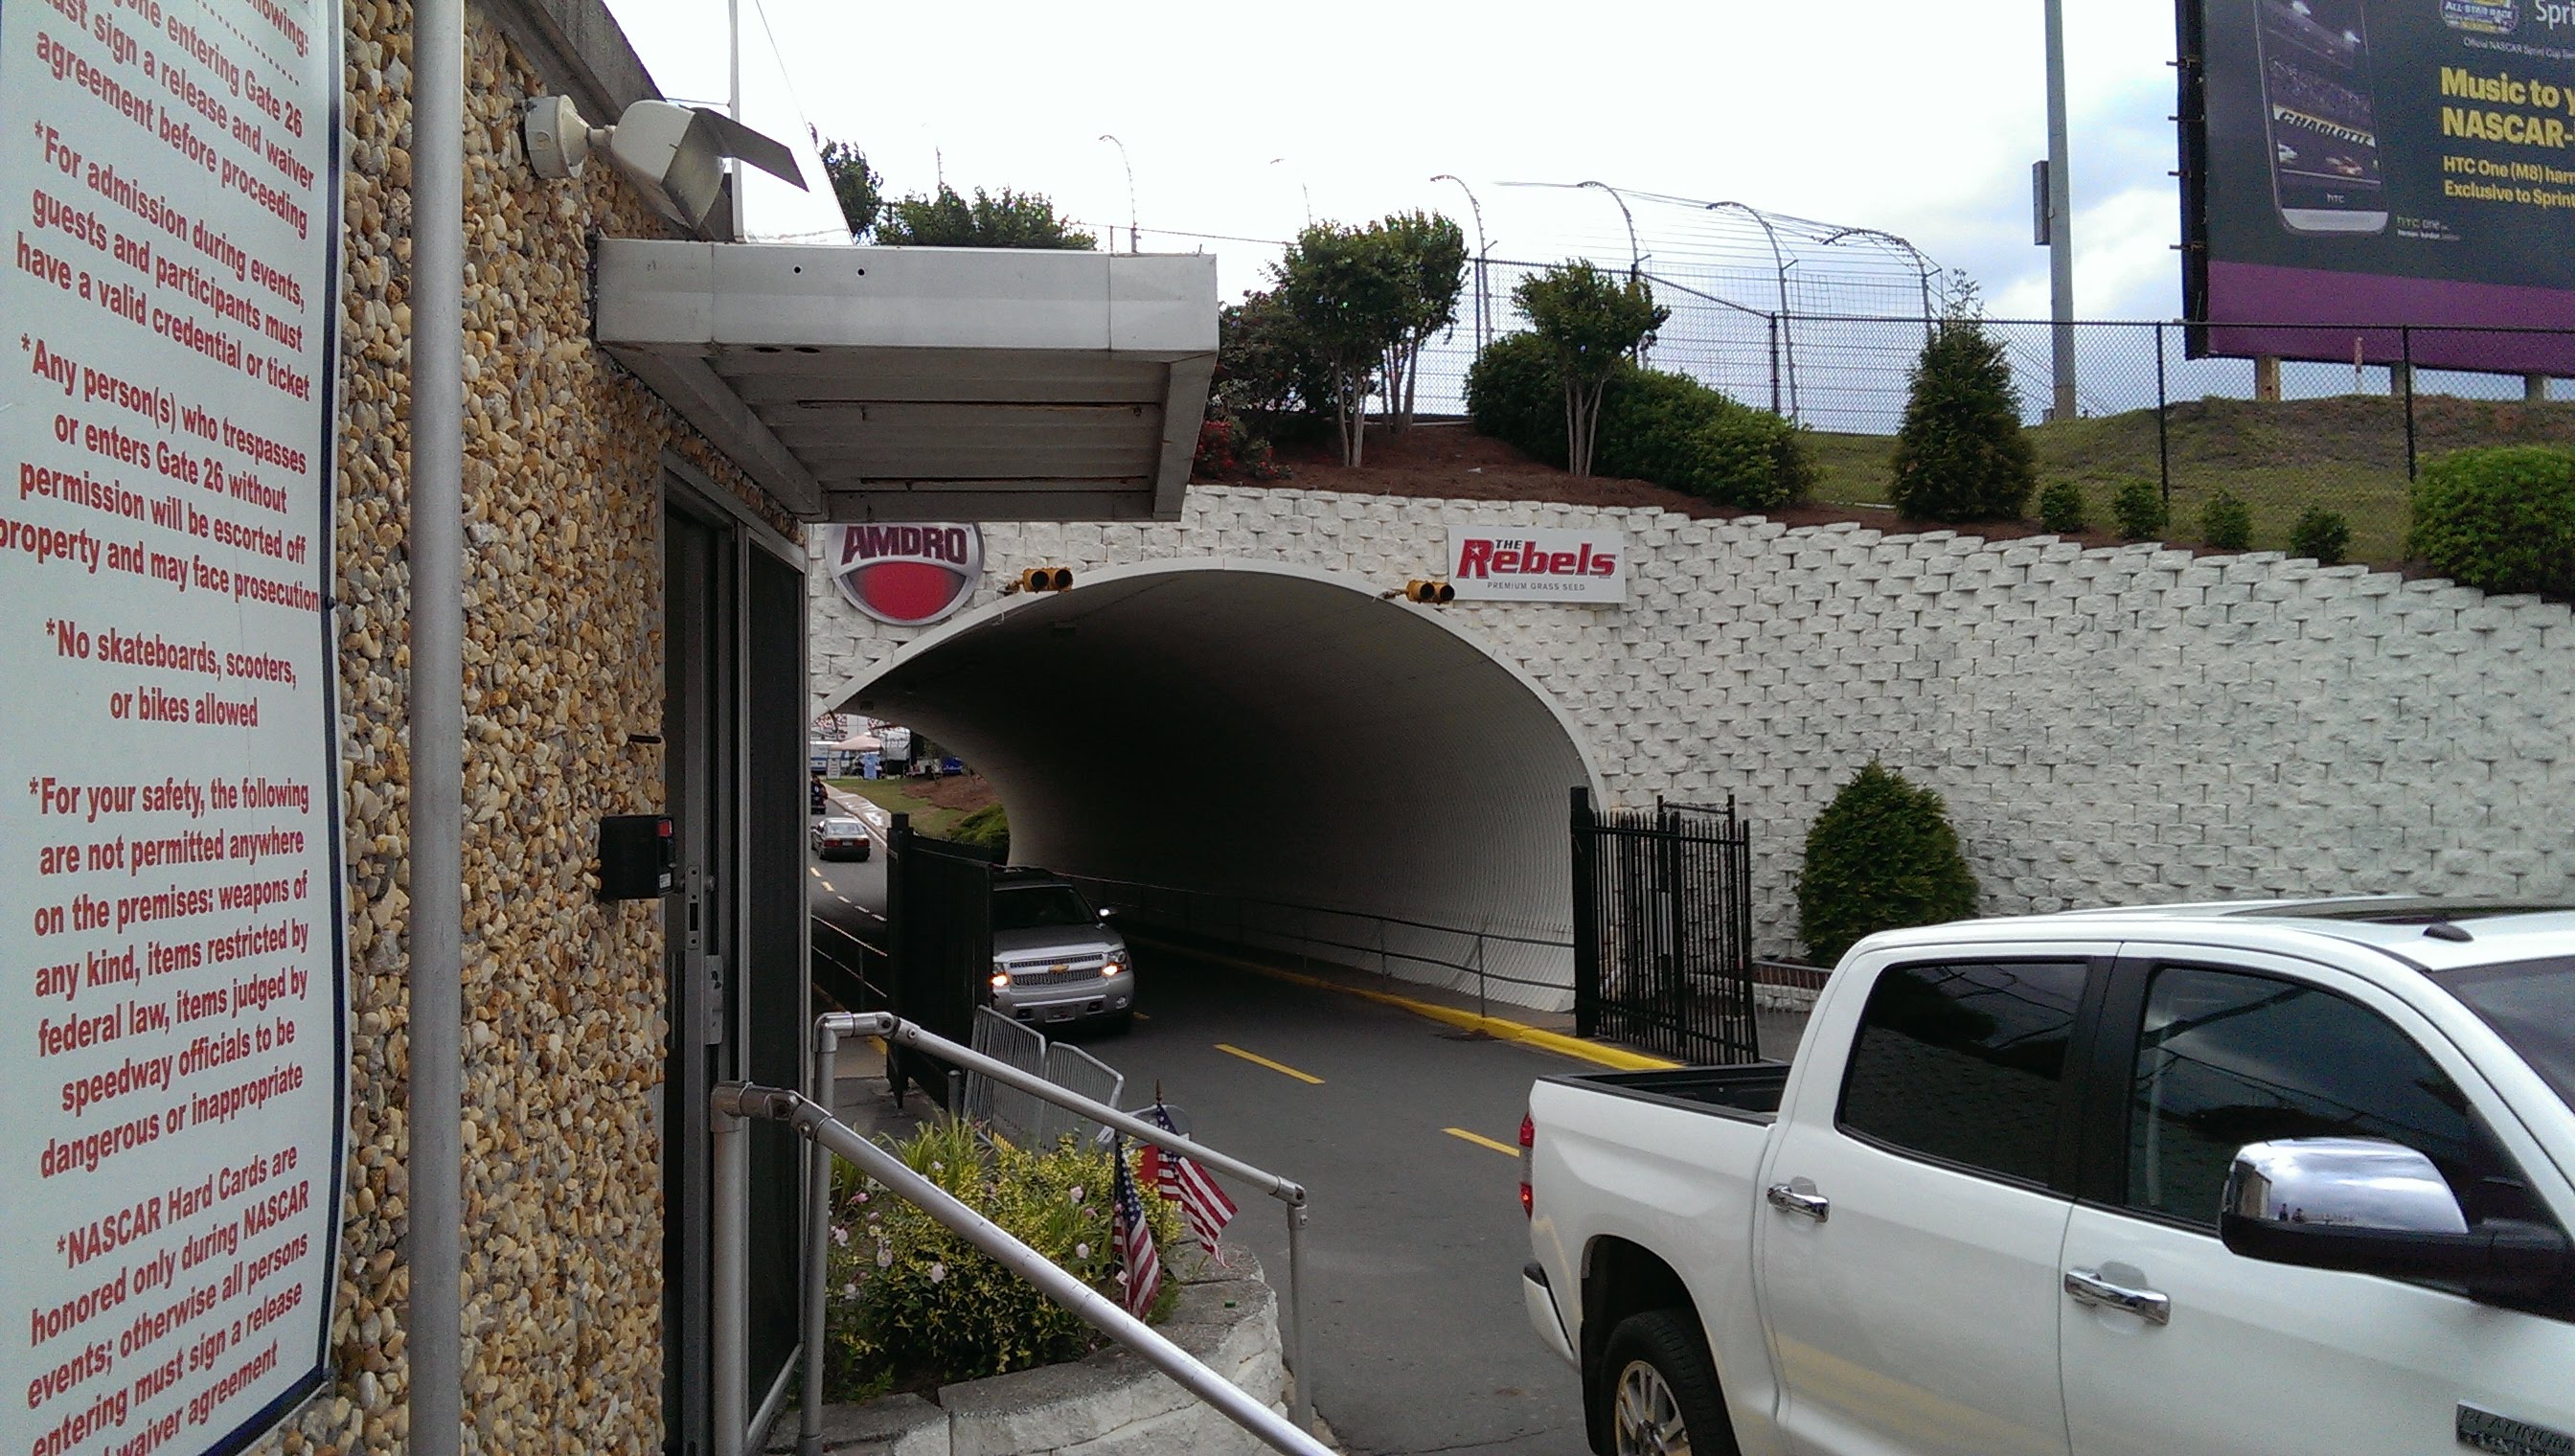
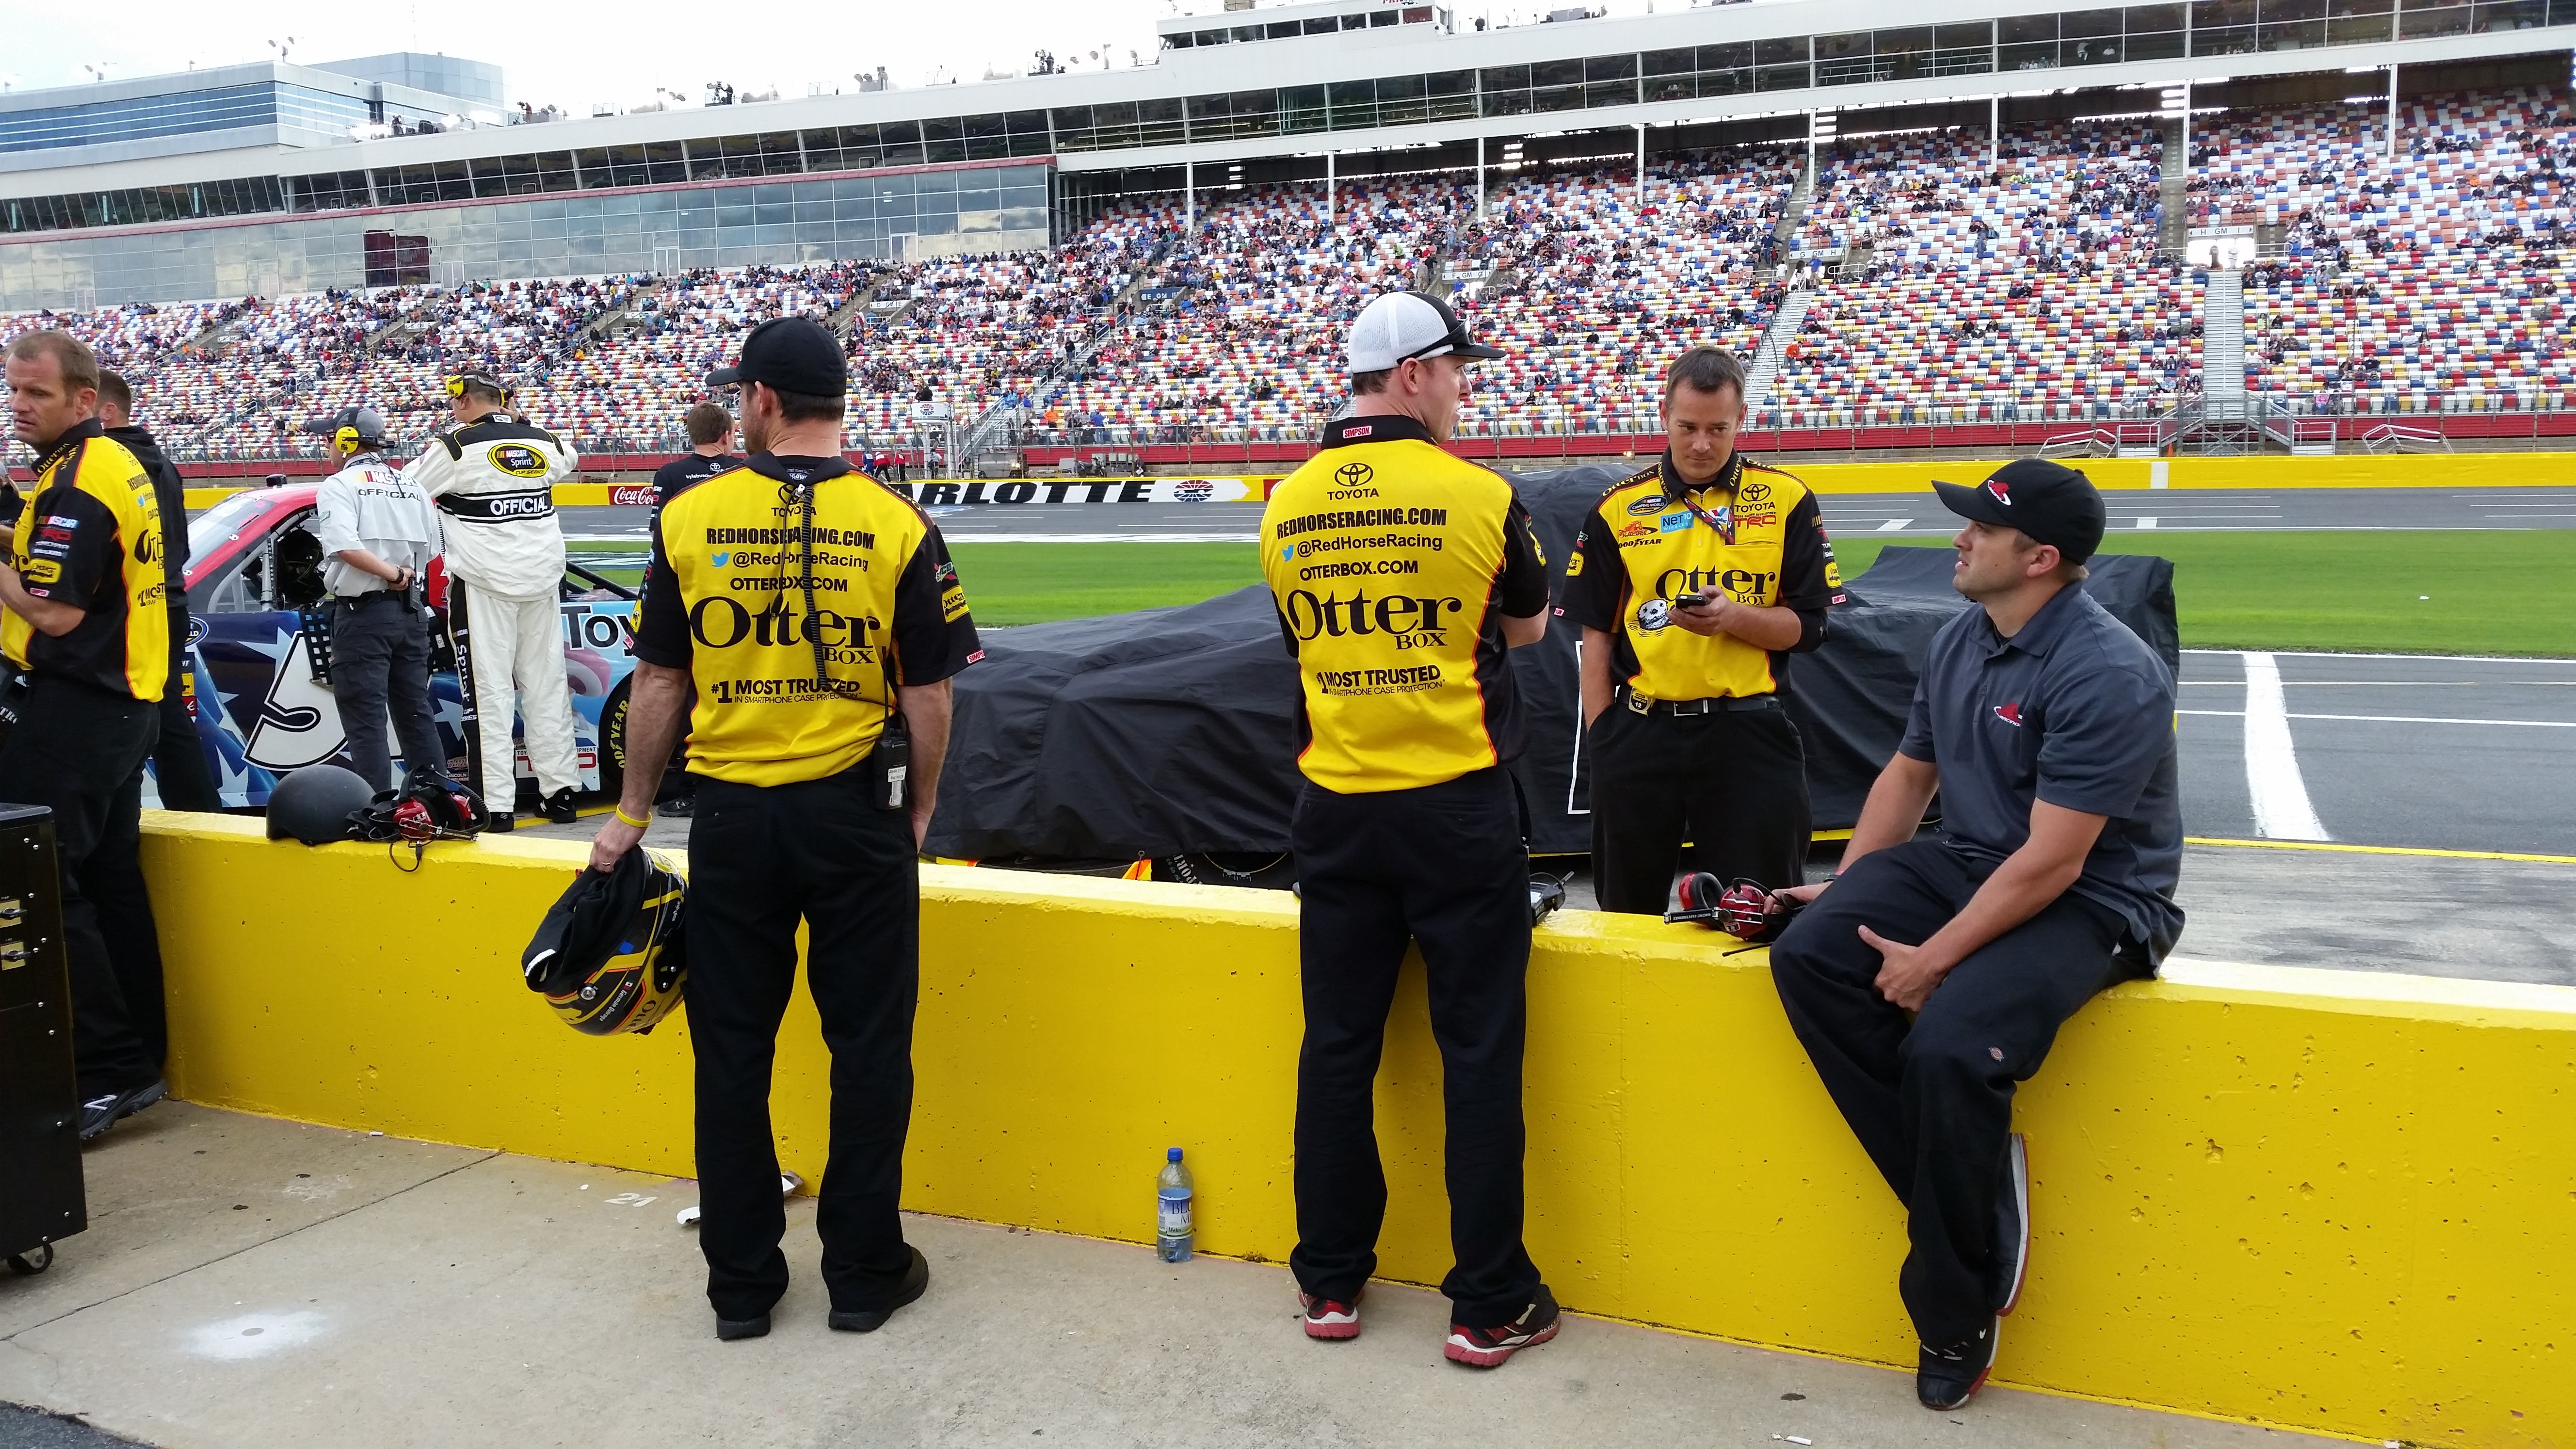
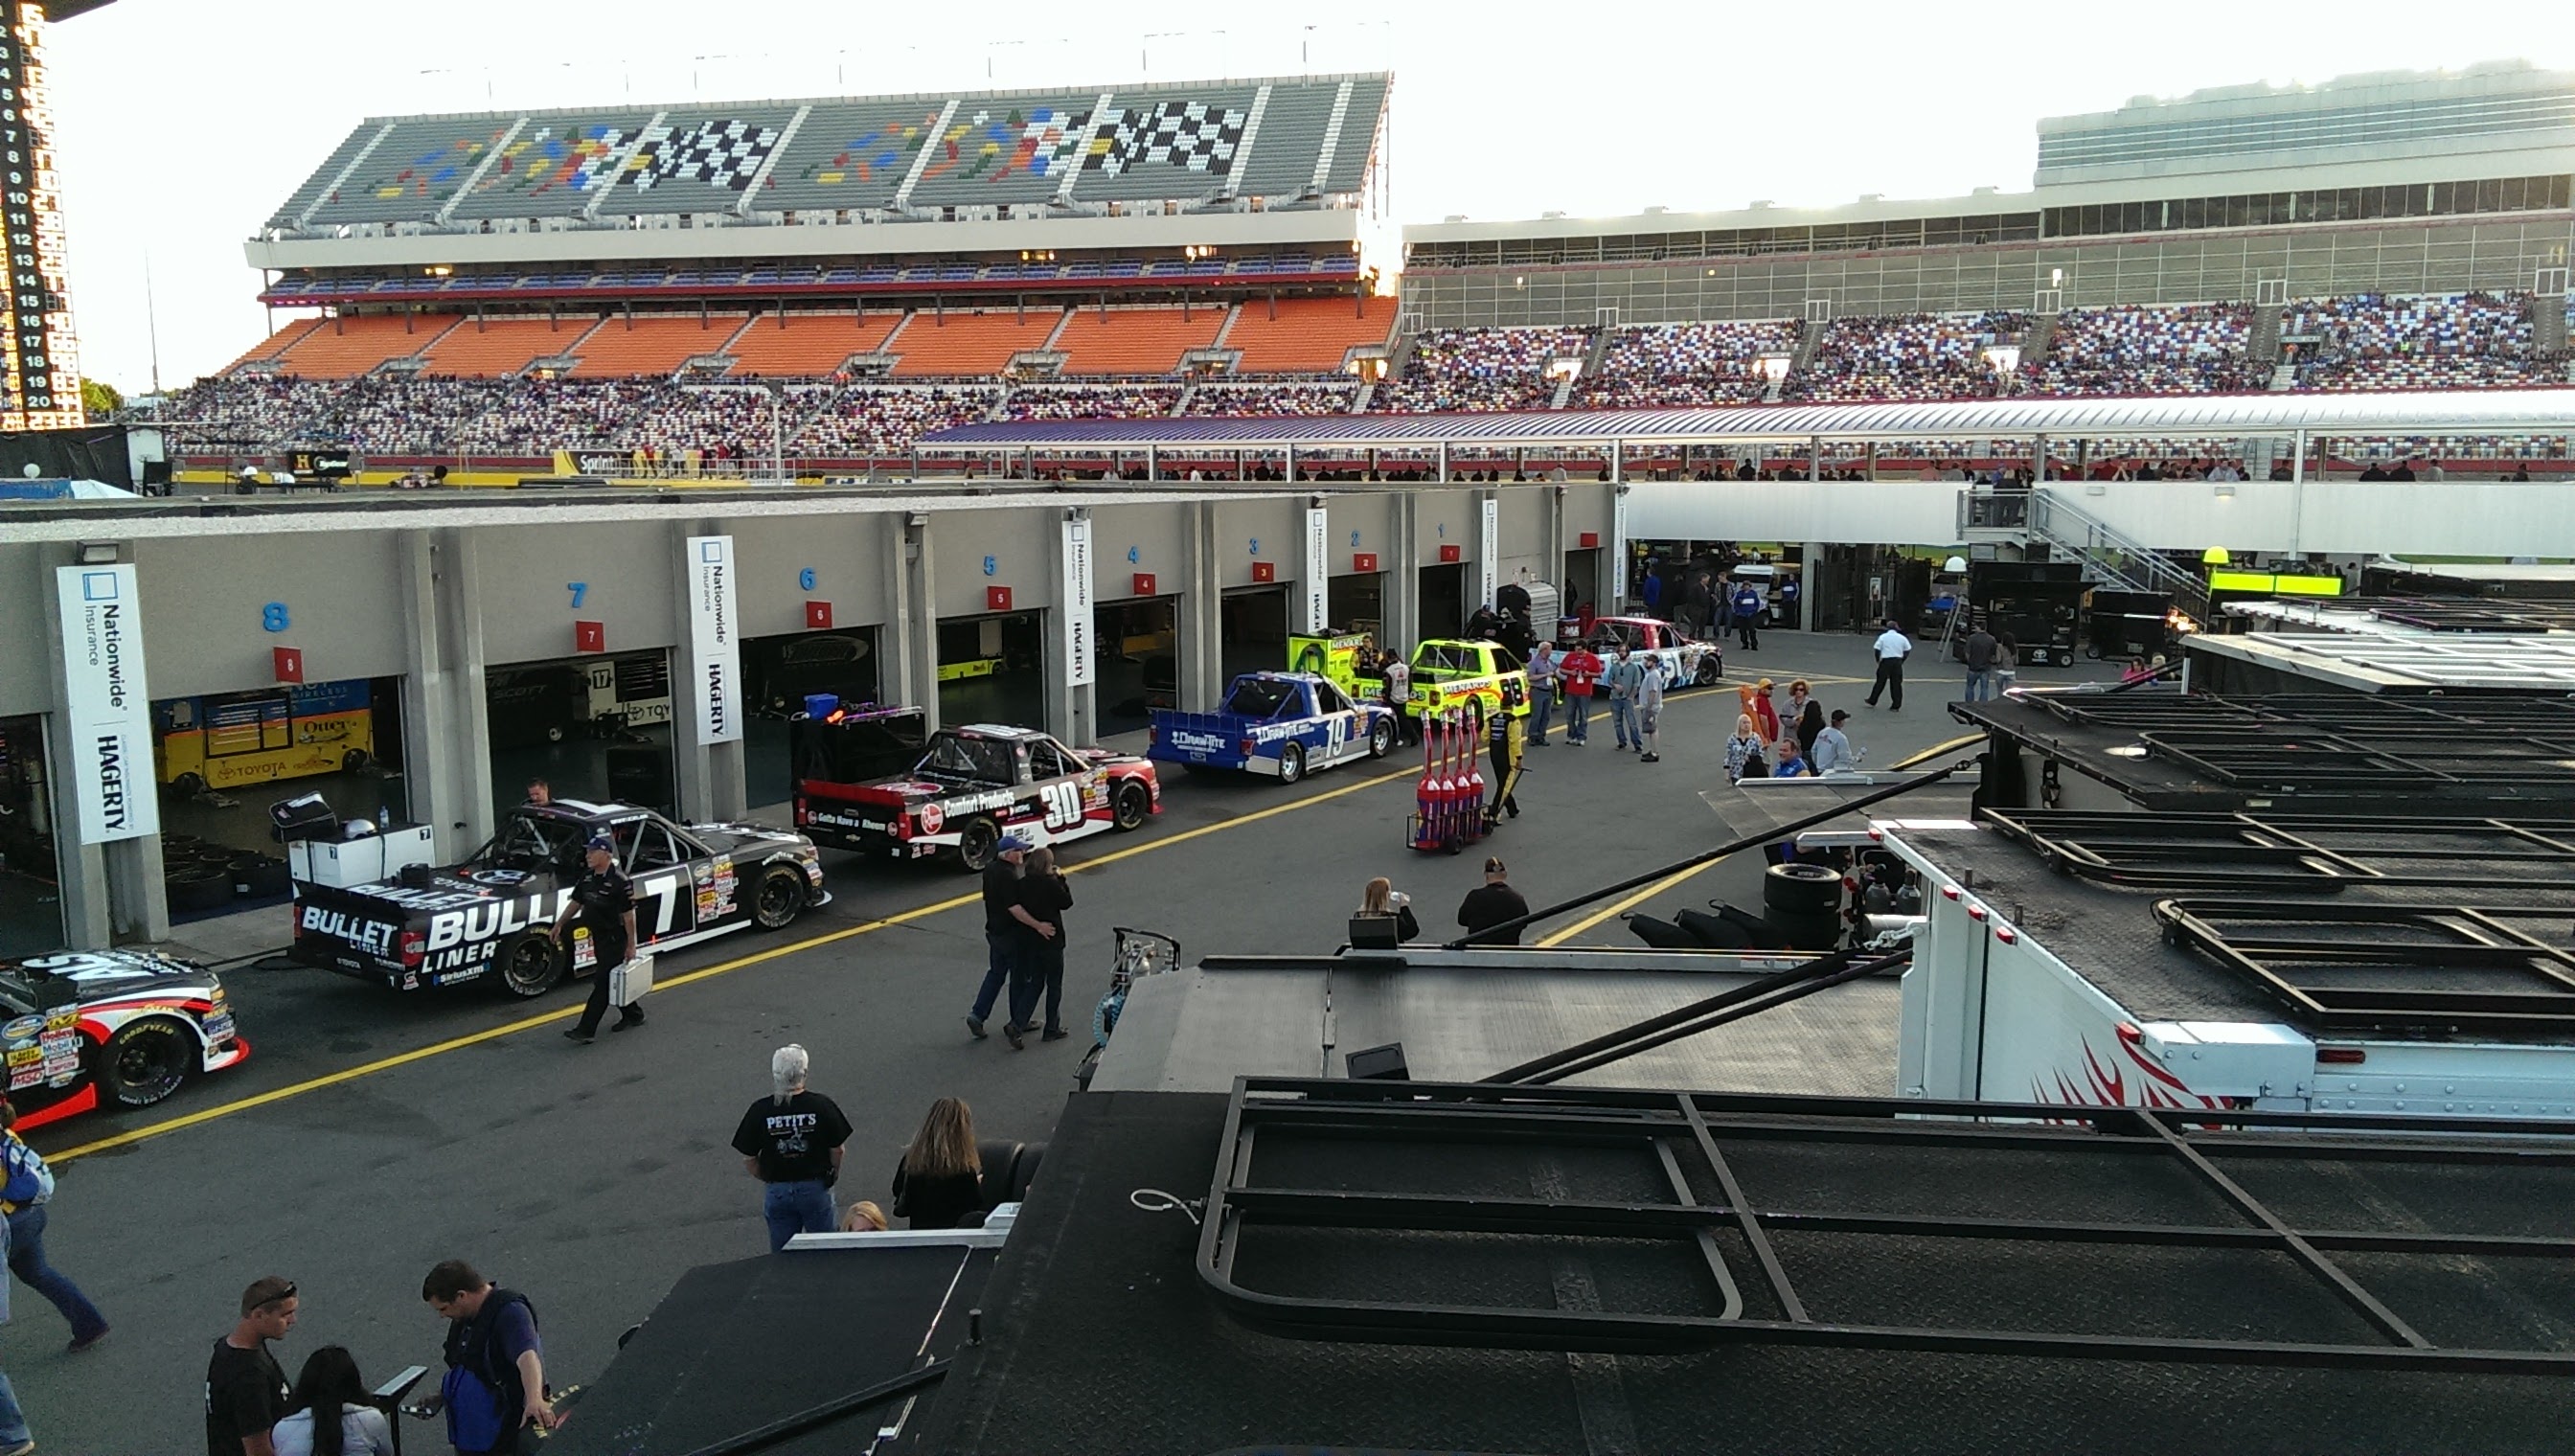
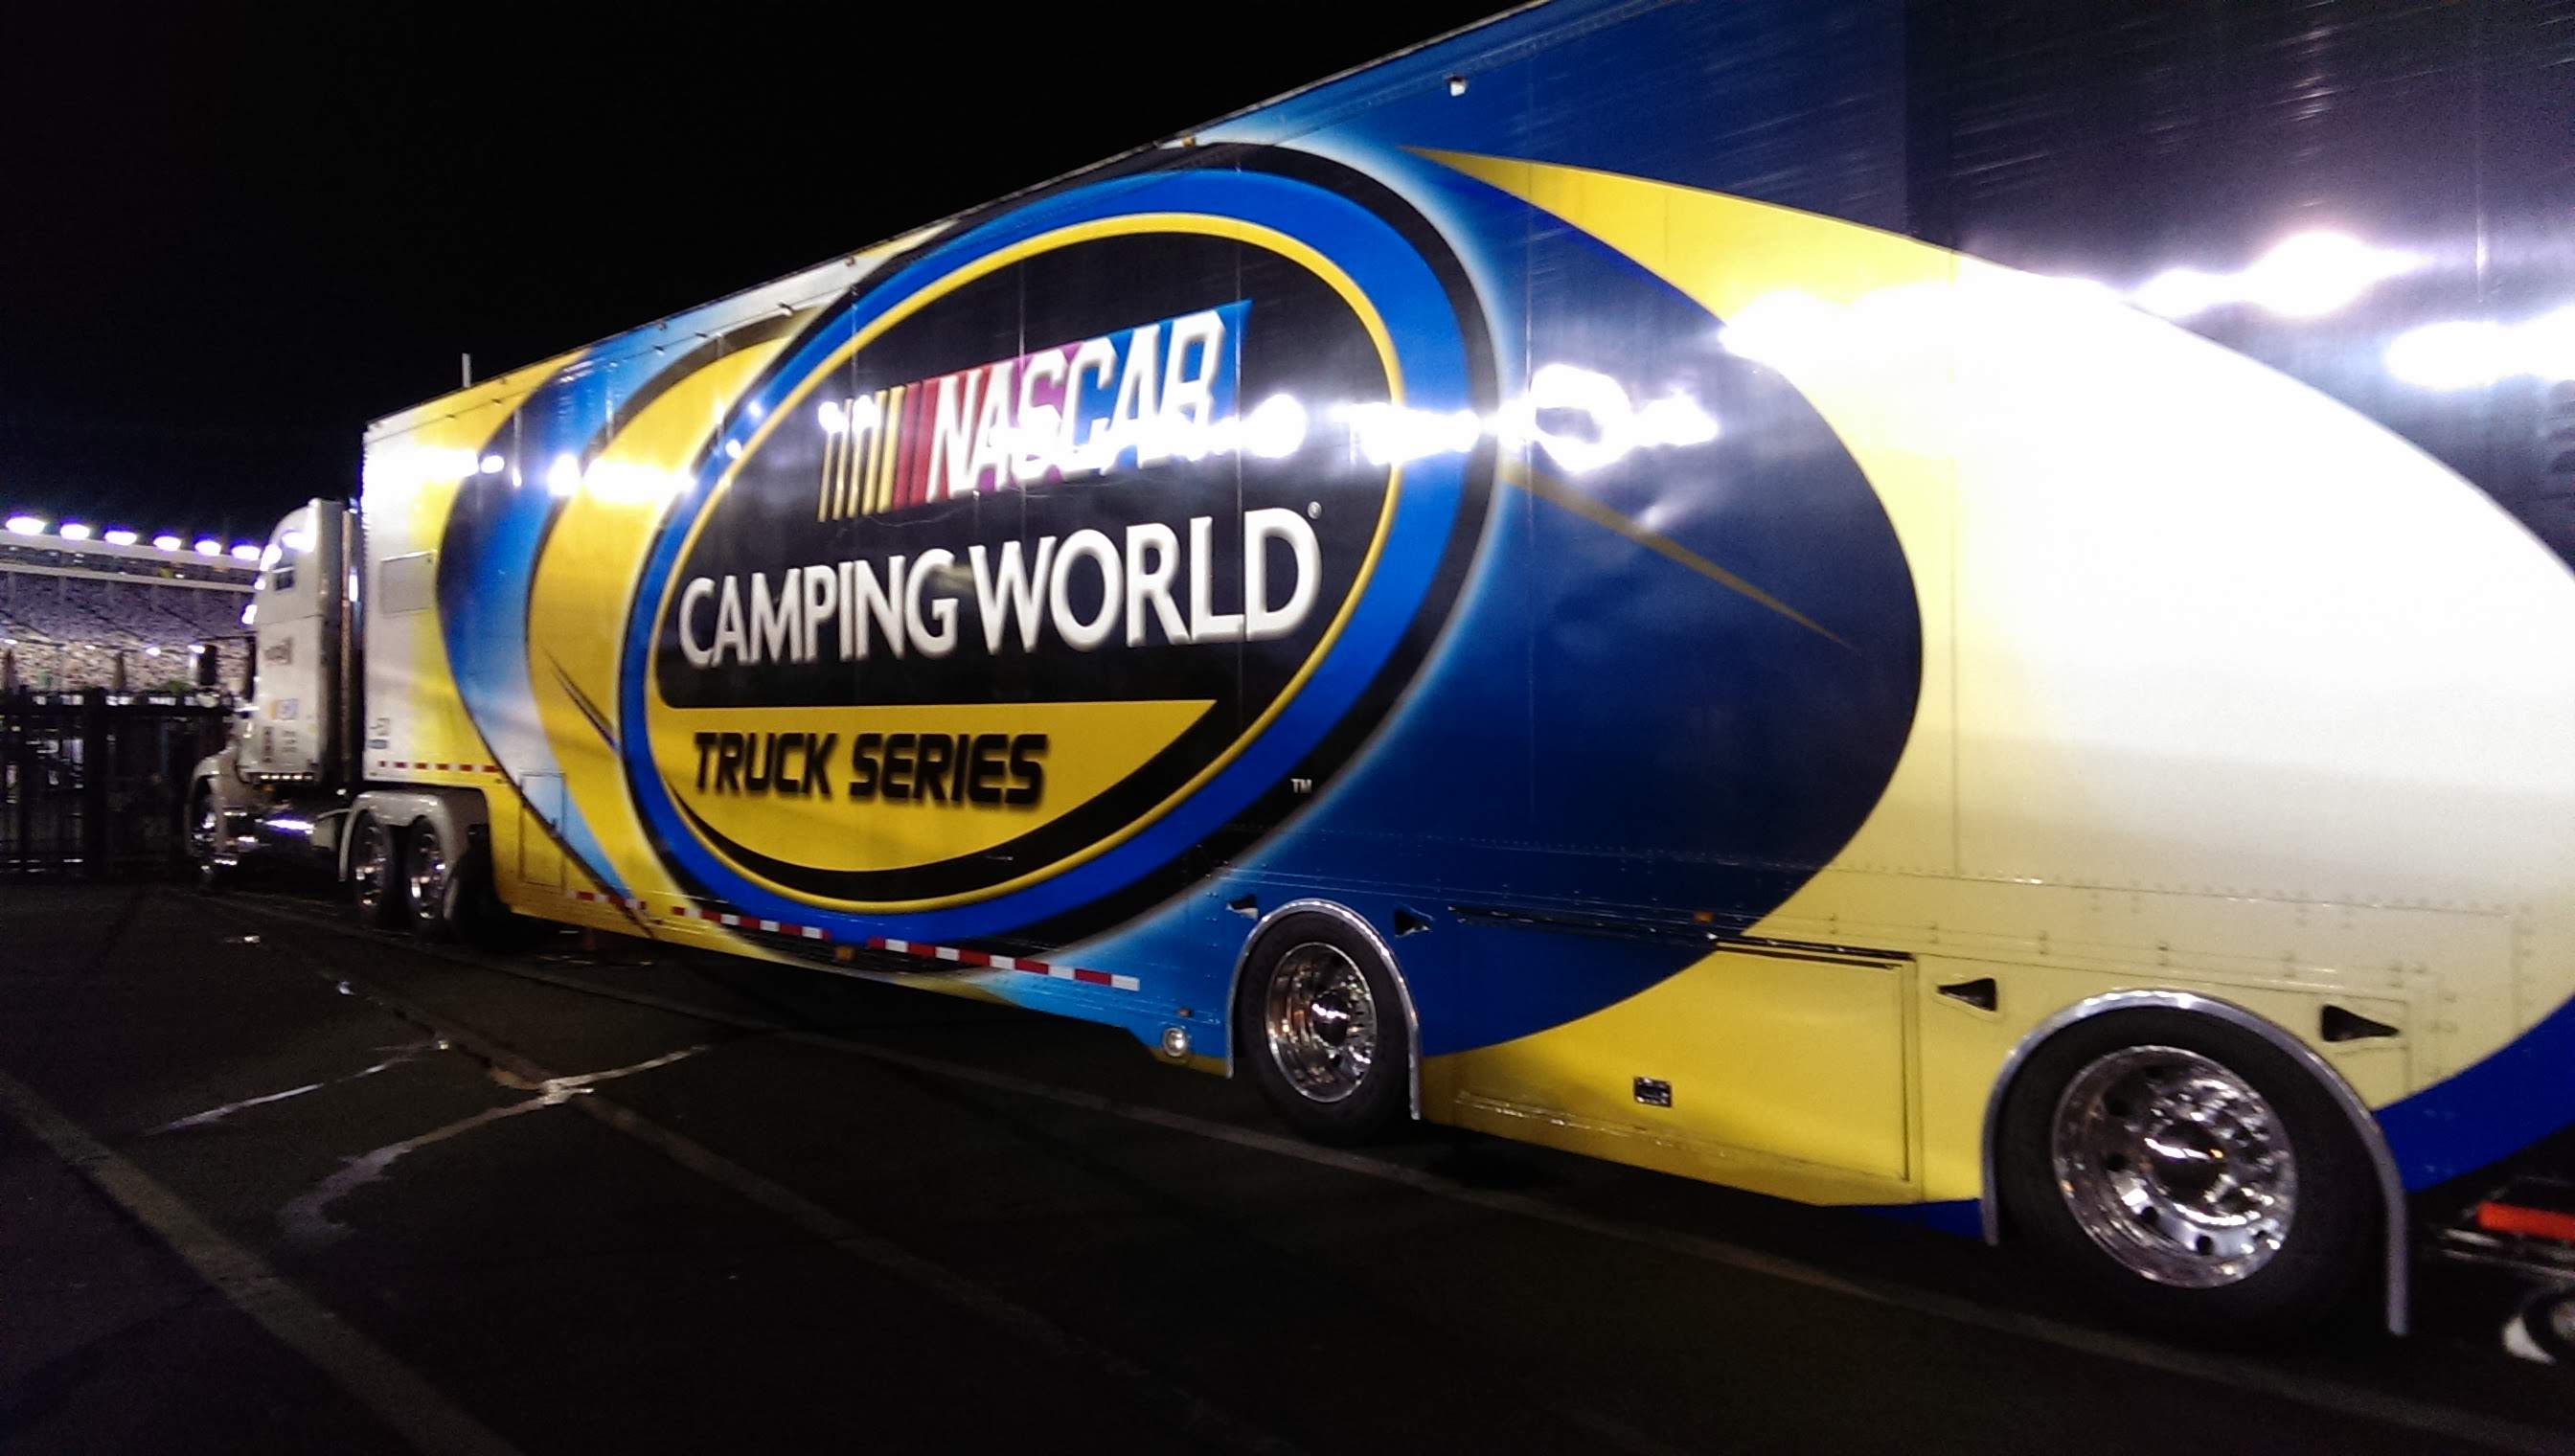
Charlotte Motor Speedway


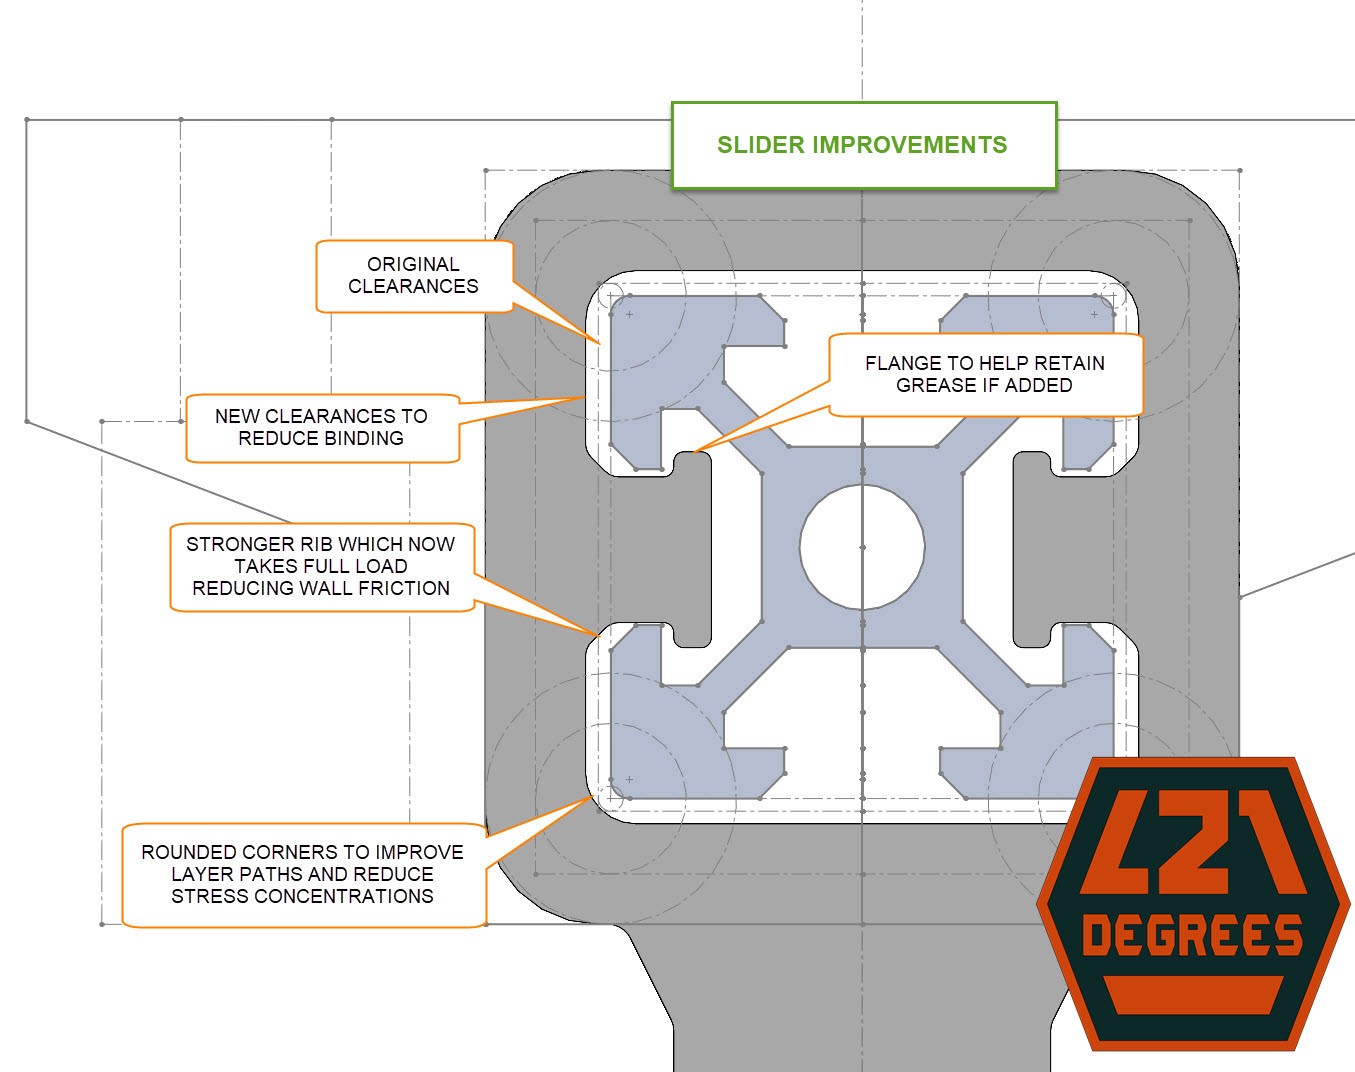
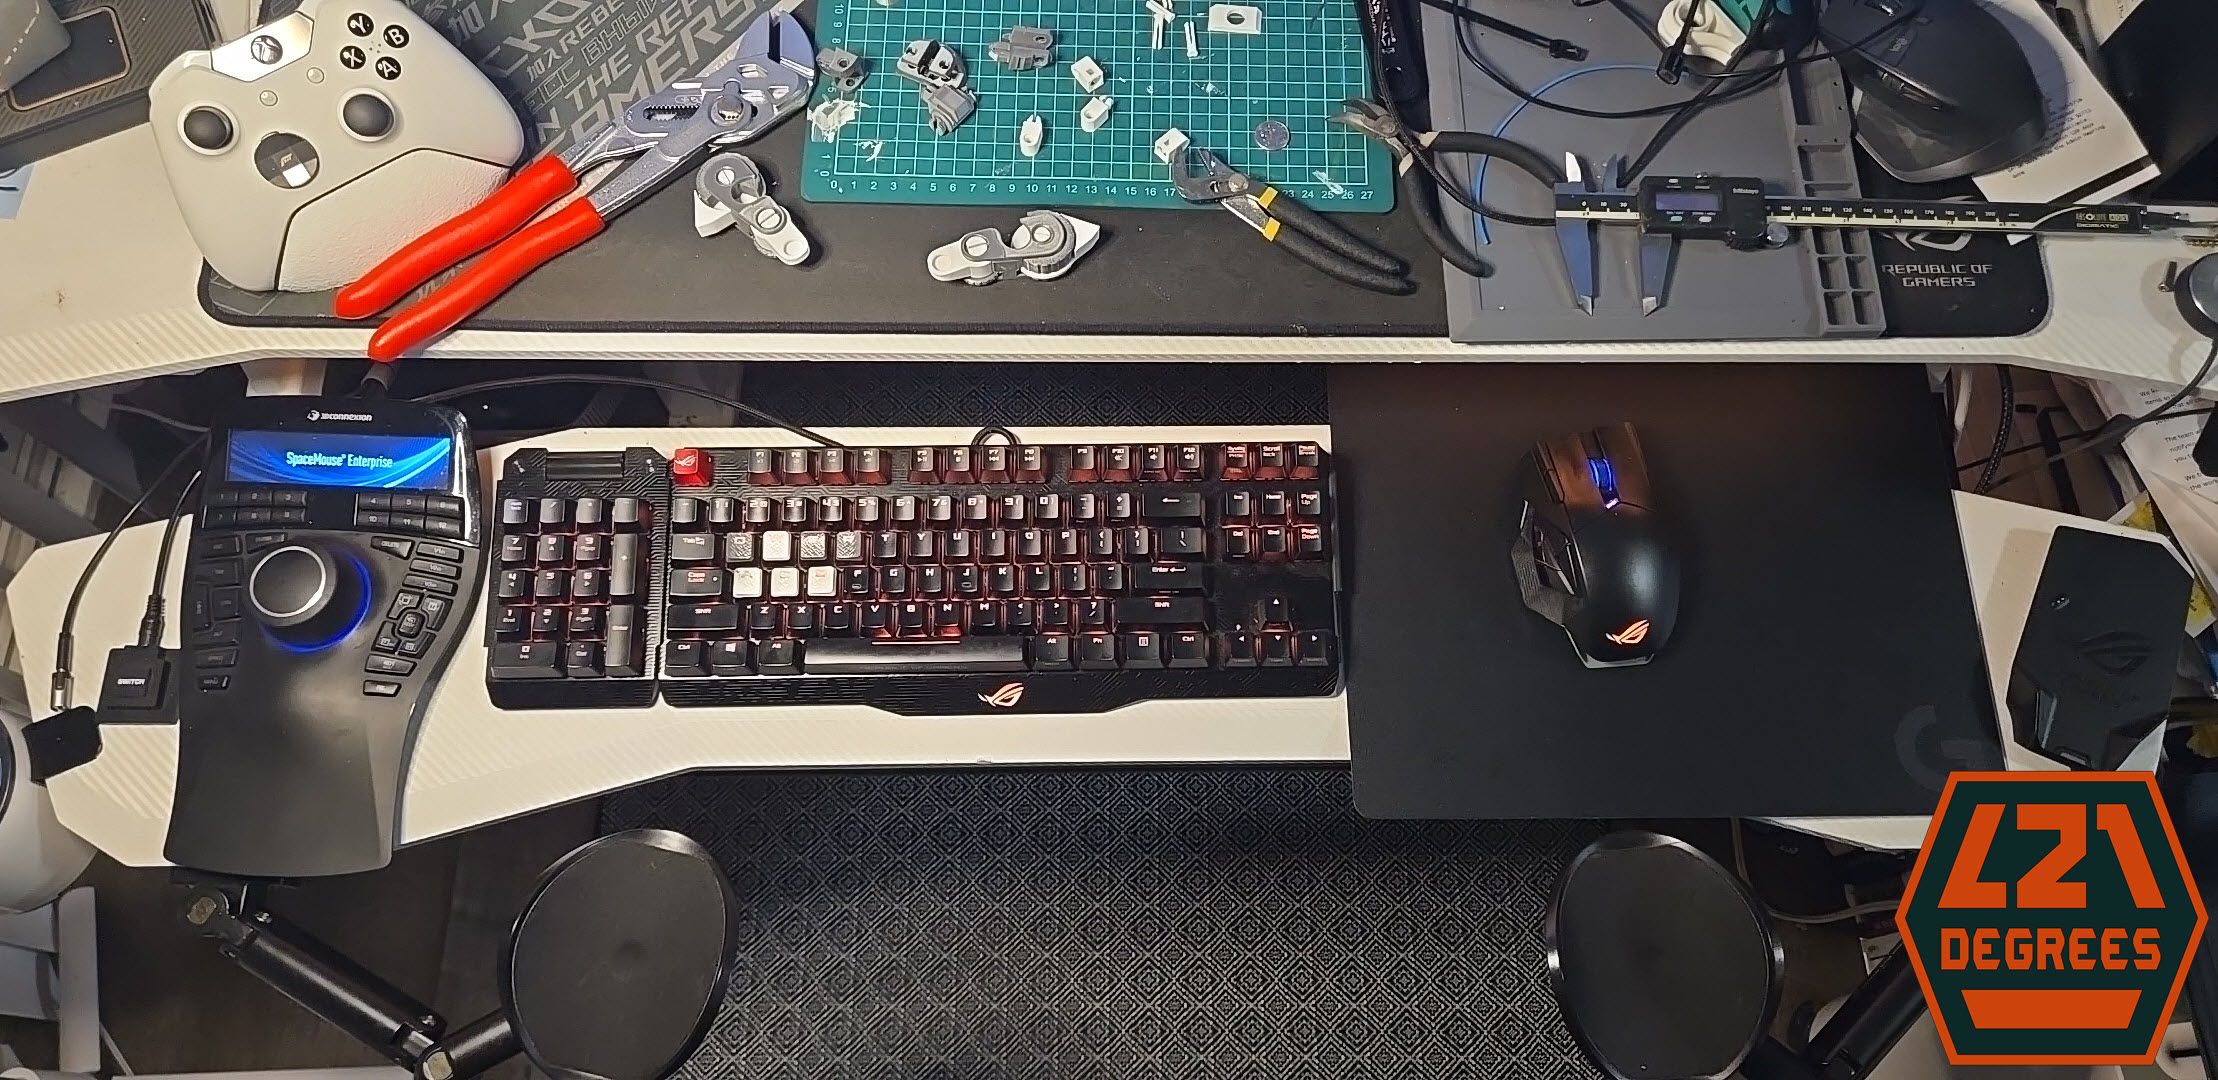
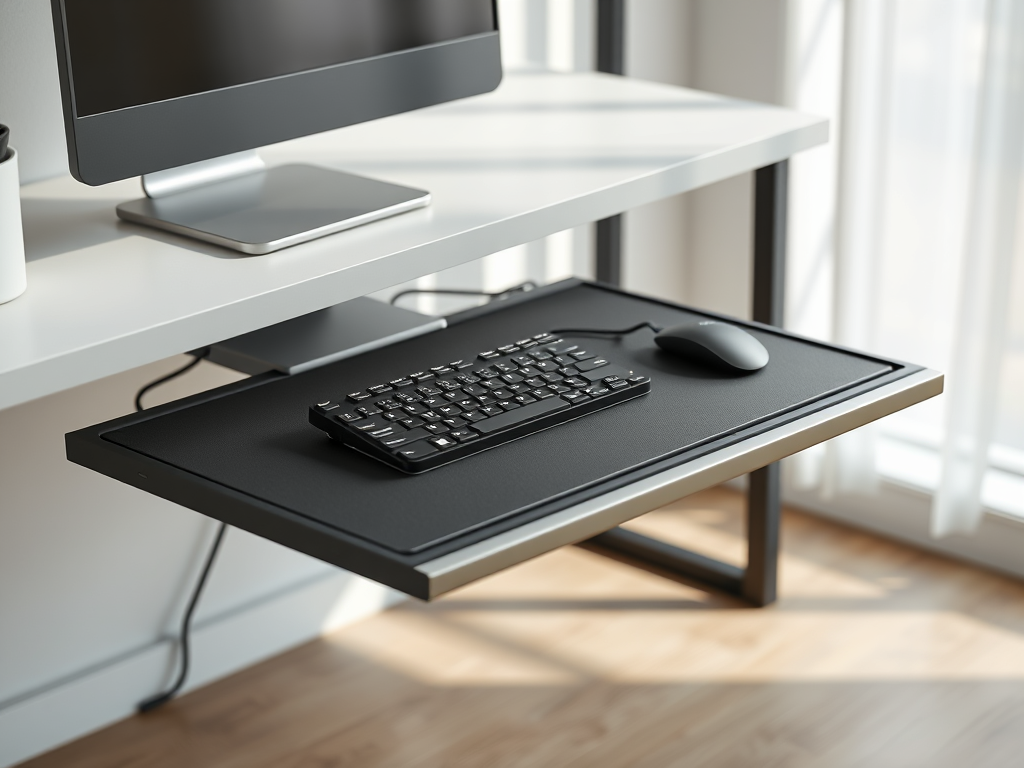
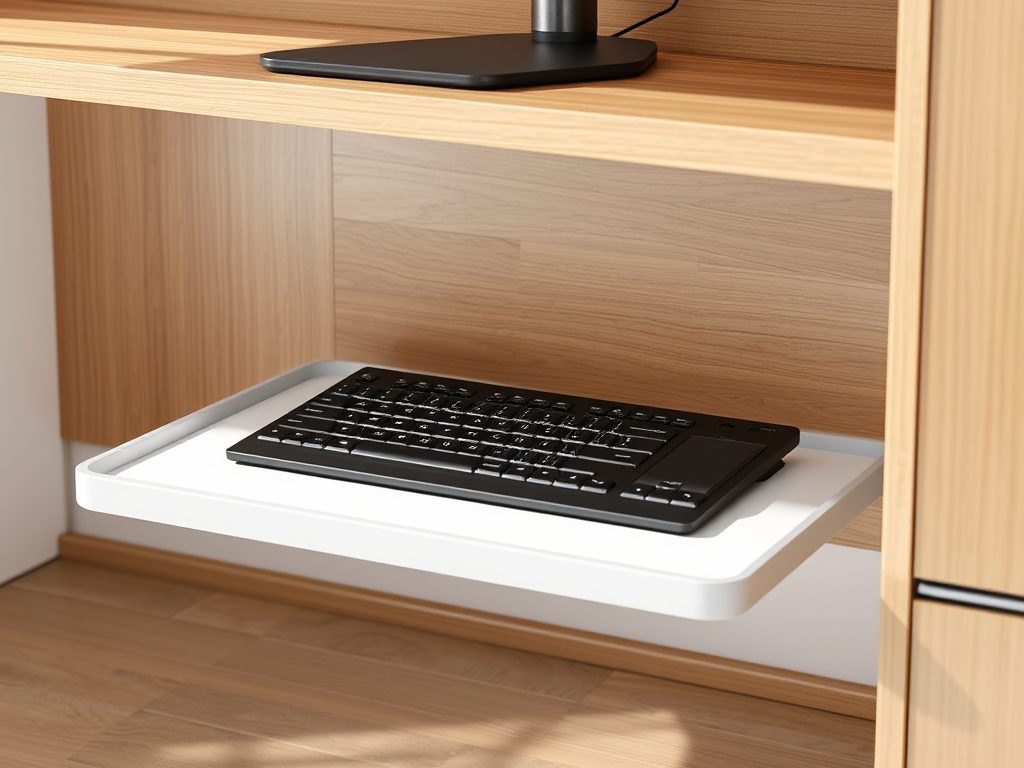
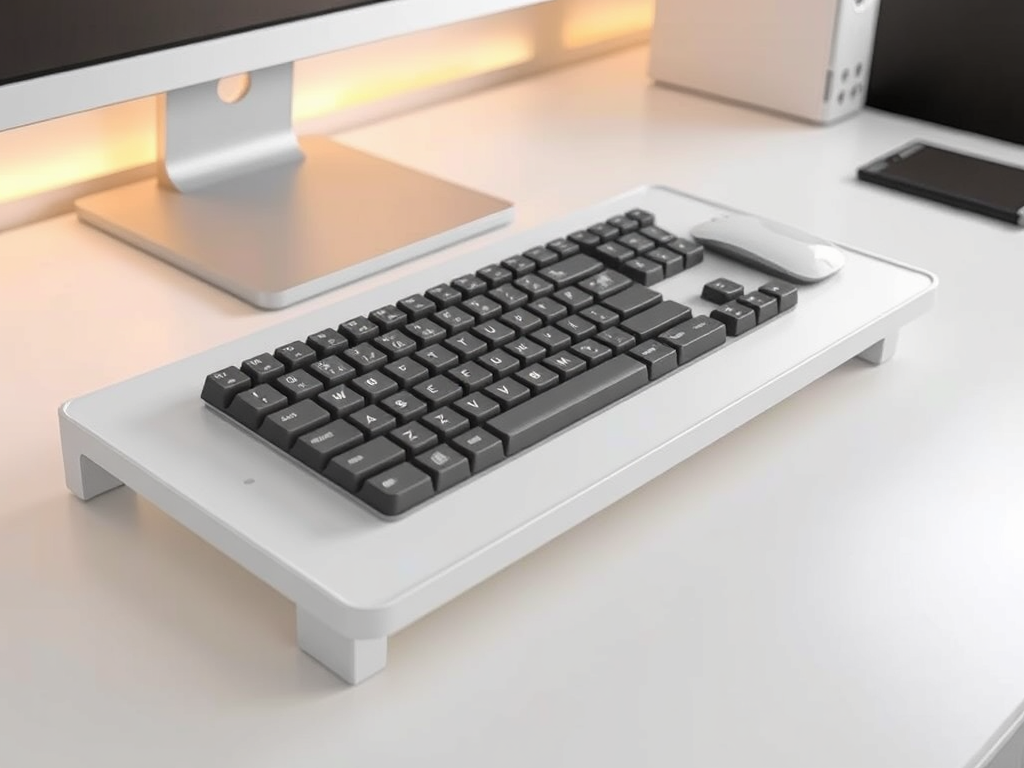
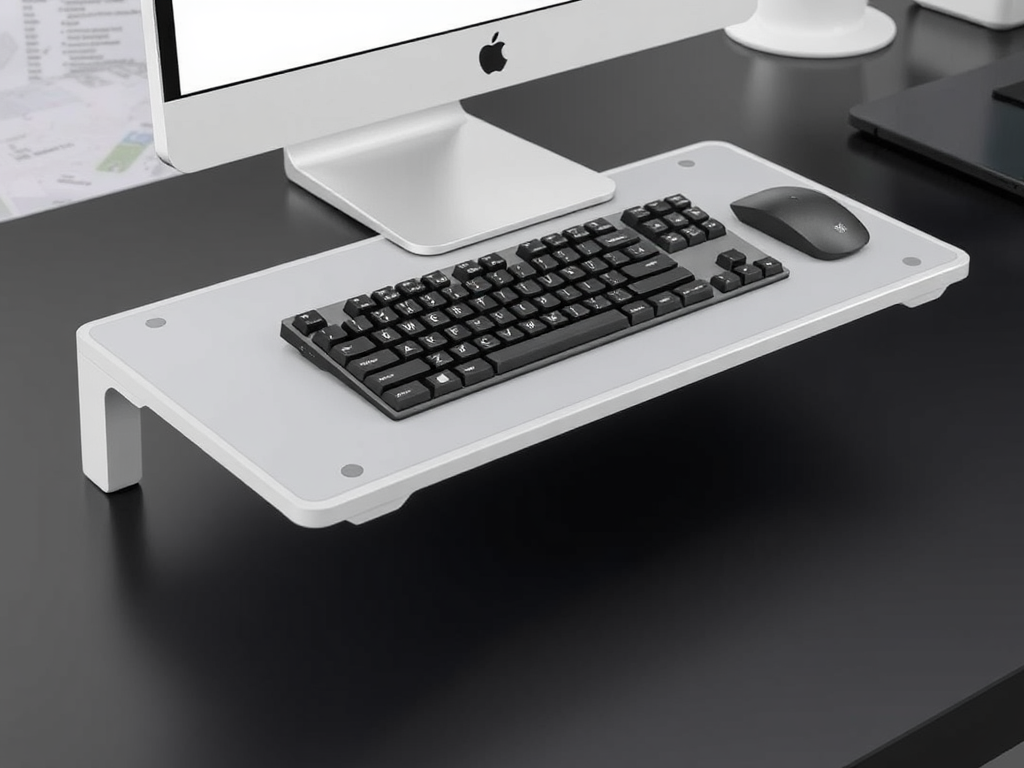
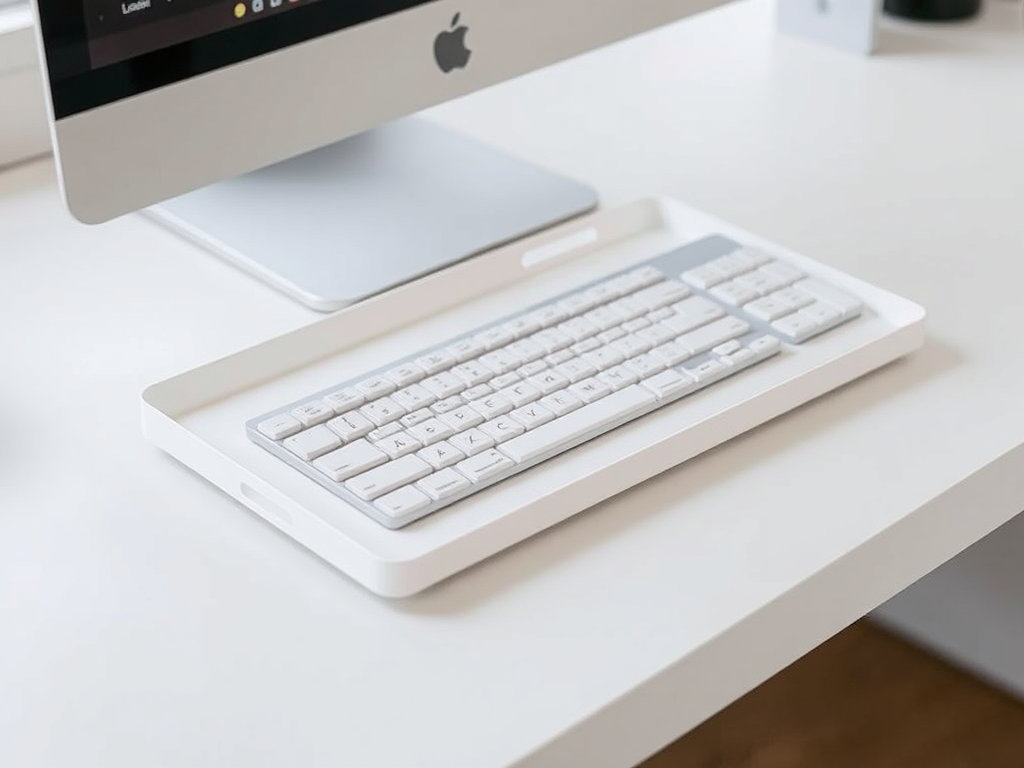
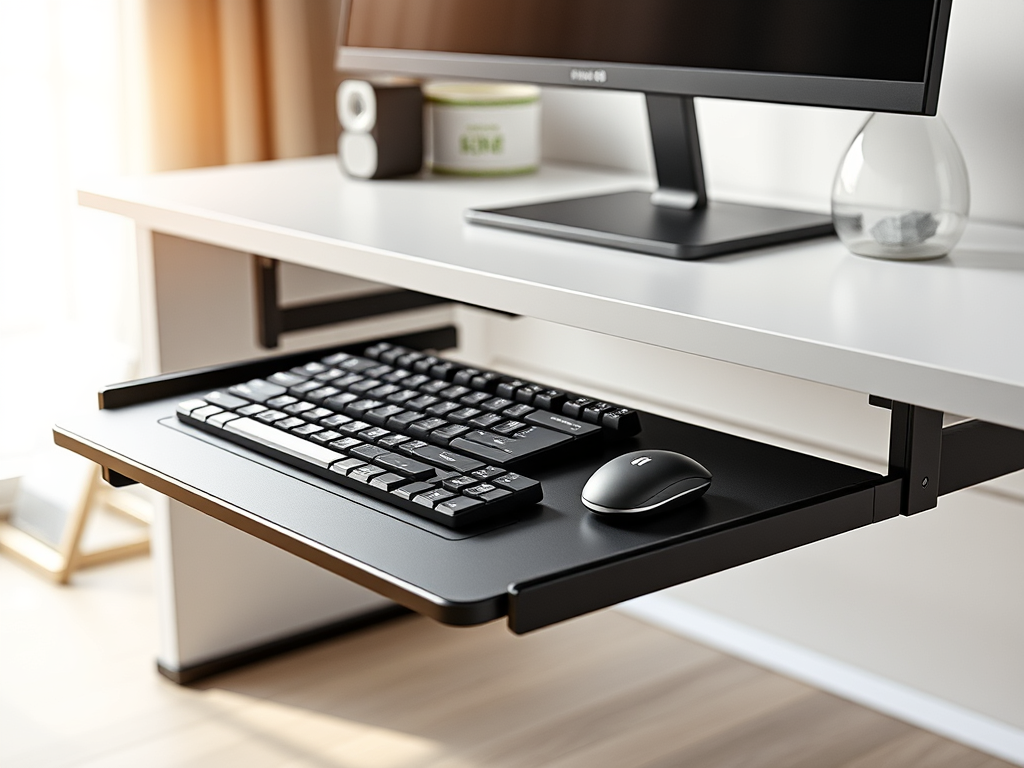
I decided to print my keyboard shelf parts on the P1S on PETG and gray color. But before that, I wanted to implement some changes to improve the mounting and sliding action.
Things I wanted to address in order of importance:
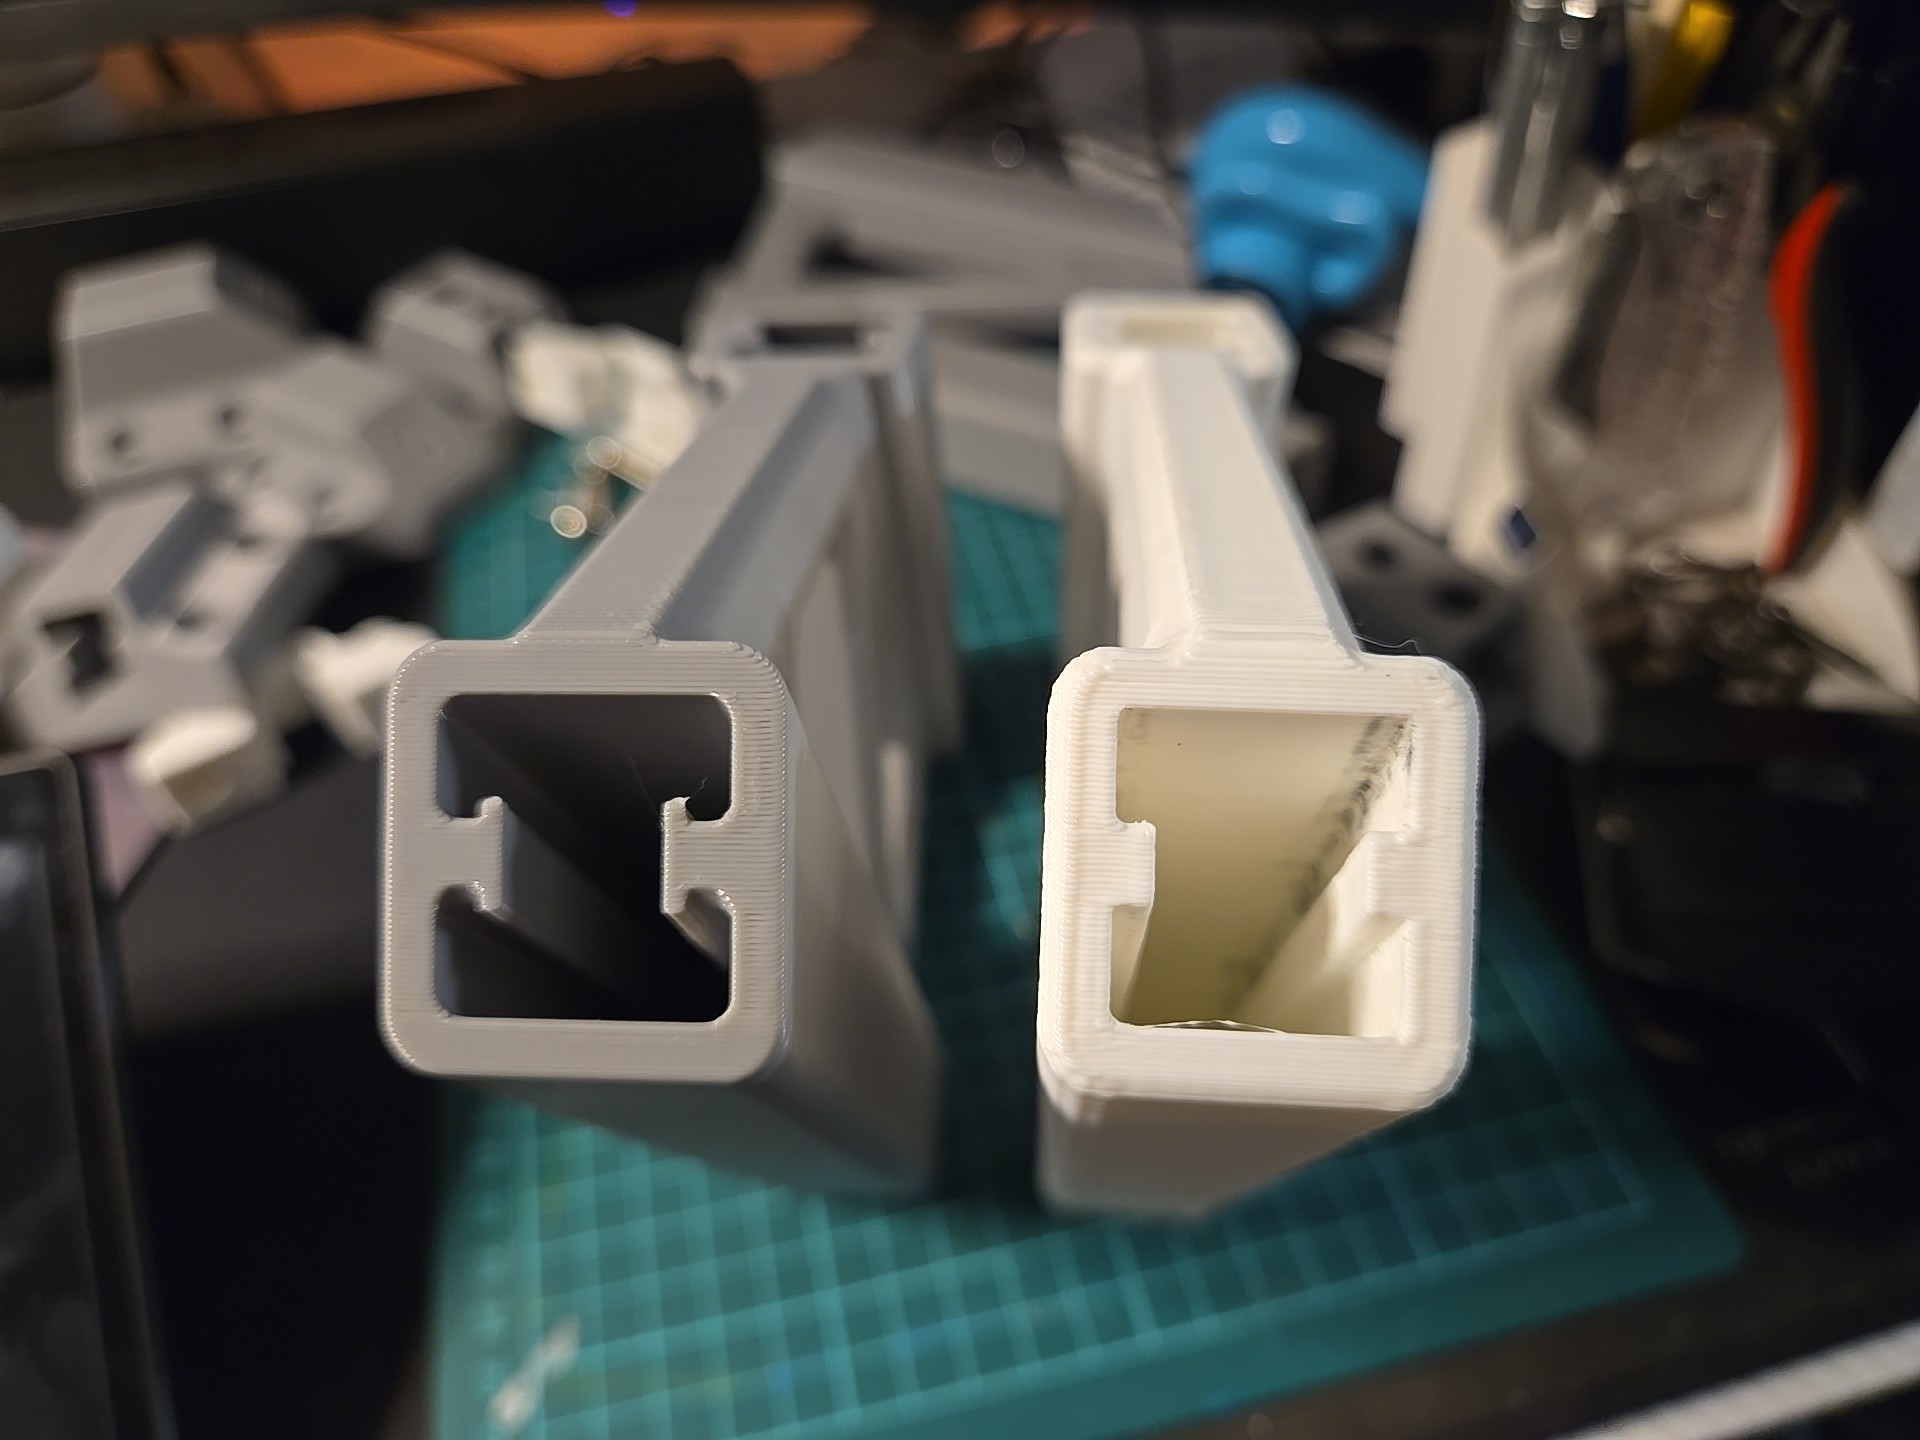
The image below shows the changes but in summary, I increased the side clearances to reduce/eliminate wall friction, strengthened the slider ribs and added a flange to help retain grease if added, and increased corner fillets (rounding) to reduce/eliminate stress concentrations:
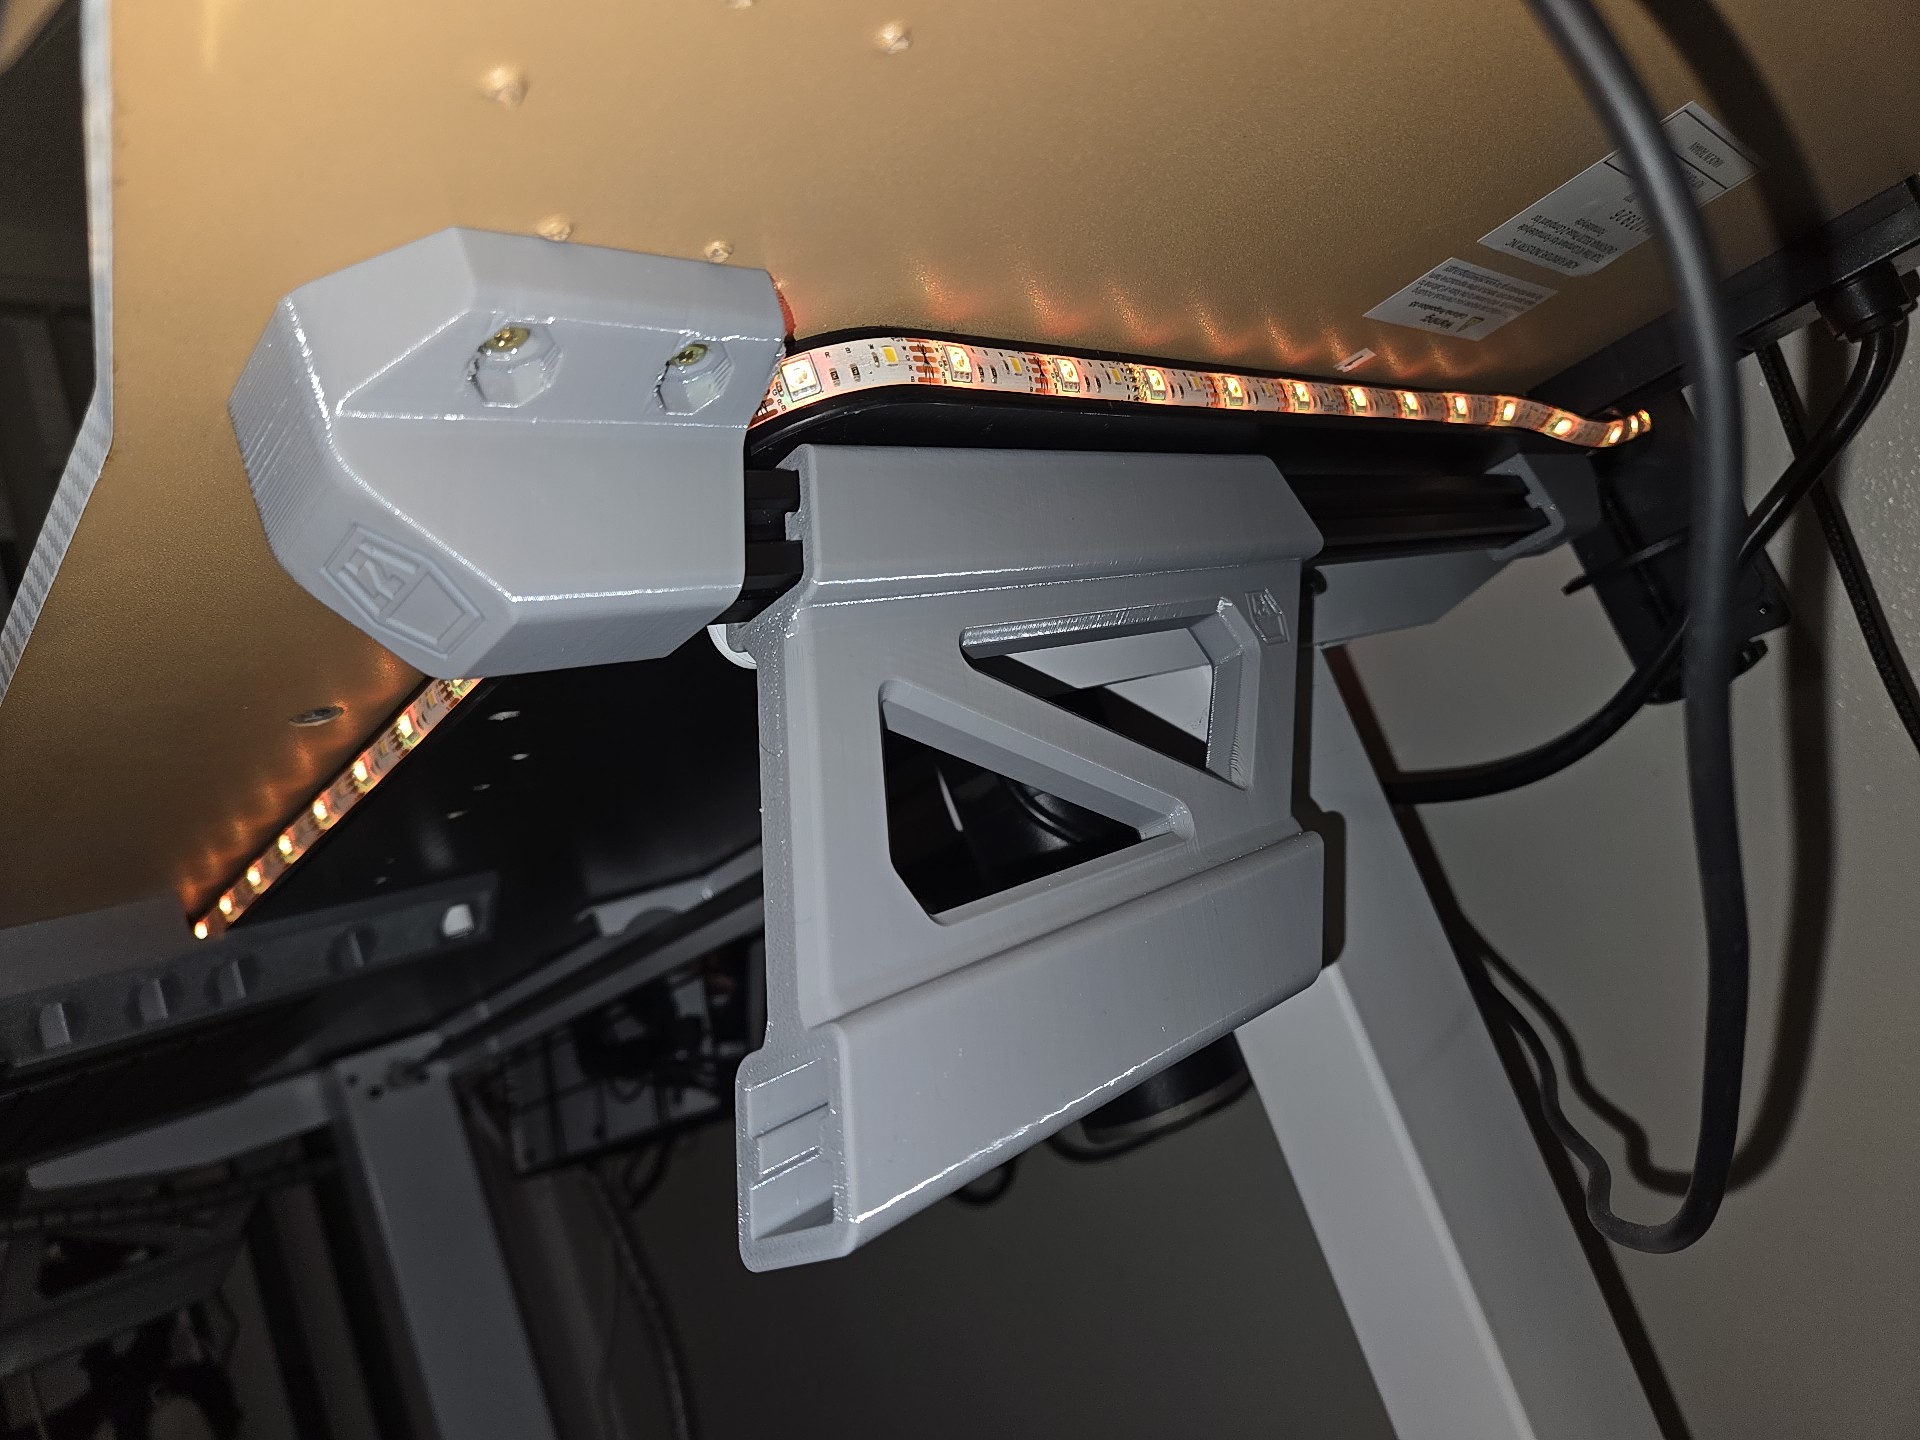
For the screw mounting, the shortest screw length I found at the hardware store was 1″ so I adjusted the mount spacing to take 1/2″ so they would thread 1/2″ into my 3/4″ desktop. Also, I didn’t pre-drill holes for them so some material would kick-back/lift out around the screw which separated the flat surface on the mounting brackets so I added chamfering around the mounting holes to help take it:

Available to download at MakerWorld: https://makerworld.com/en/models/878613
And recently uploaded to Printables: https://www.printables.com/model/1144913-keyboard-megashelf-sliding-keyboard-and-peripheral
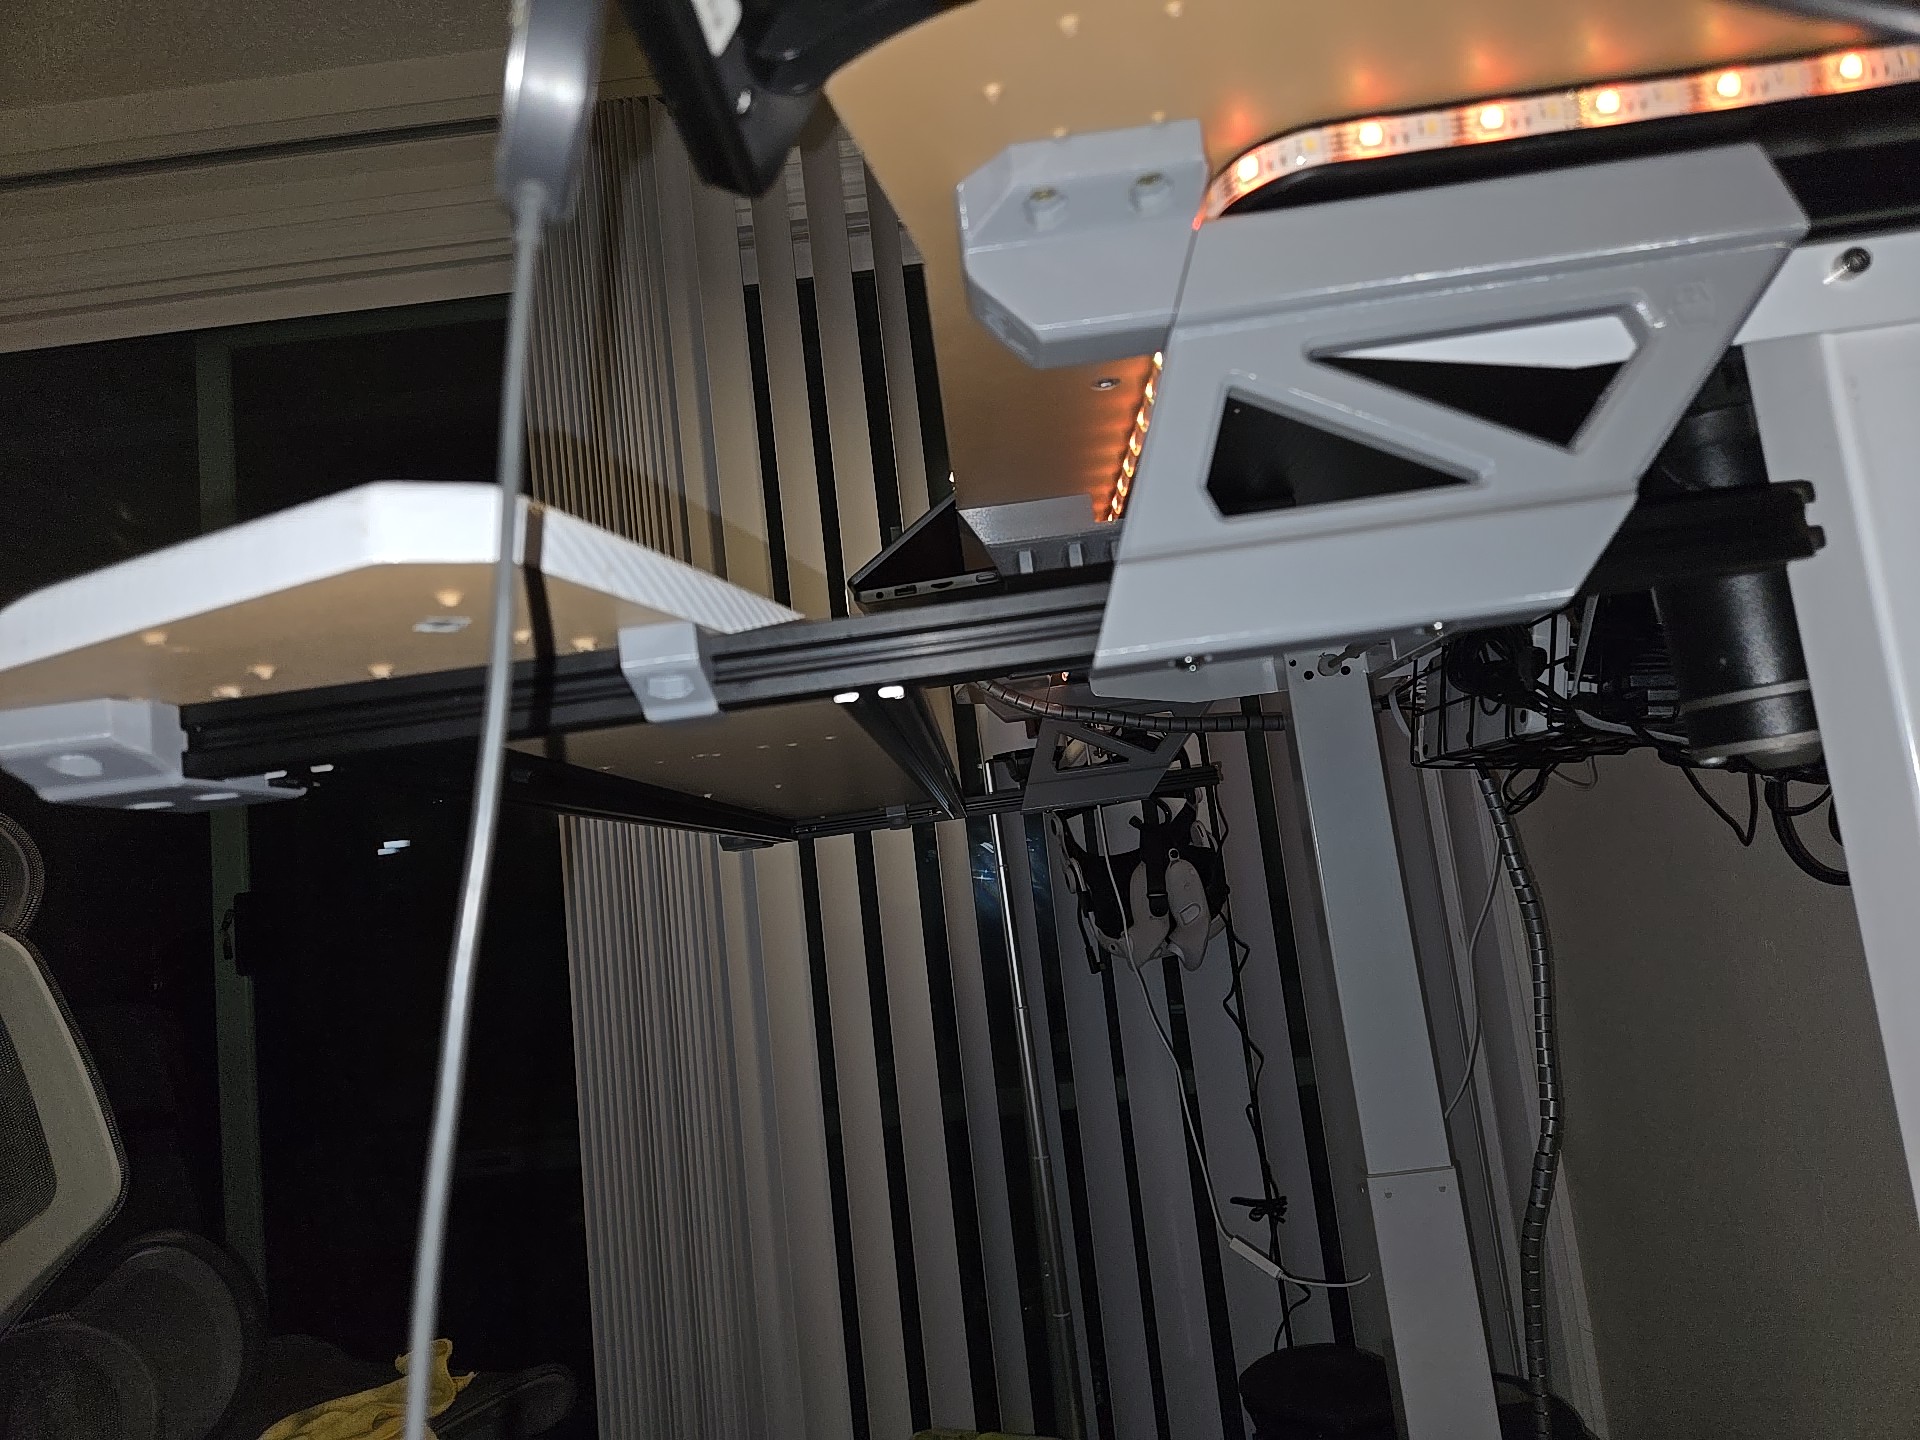
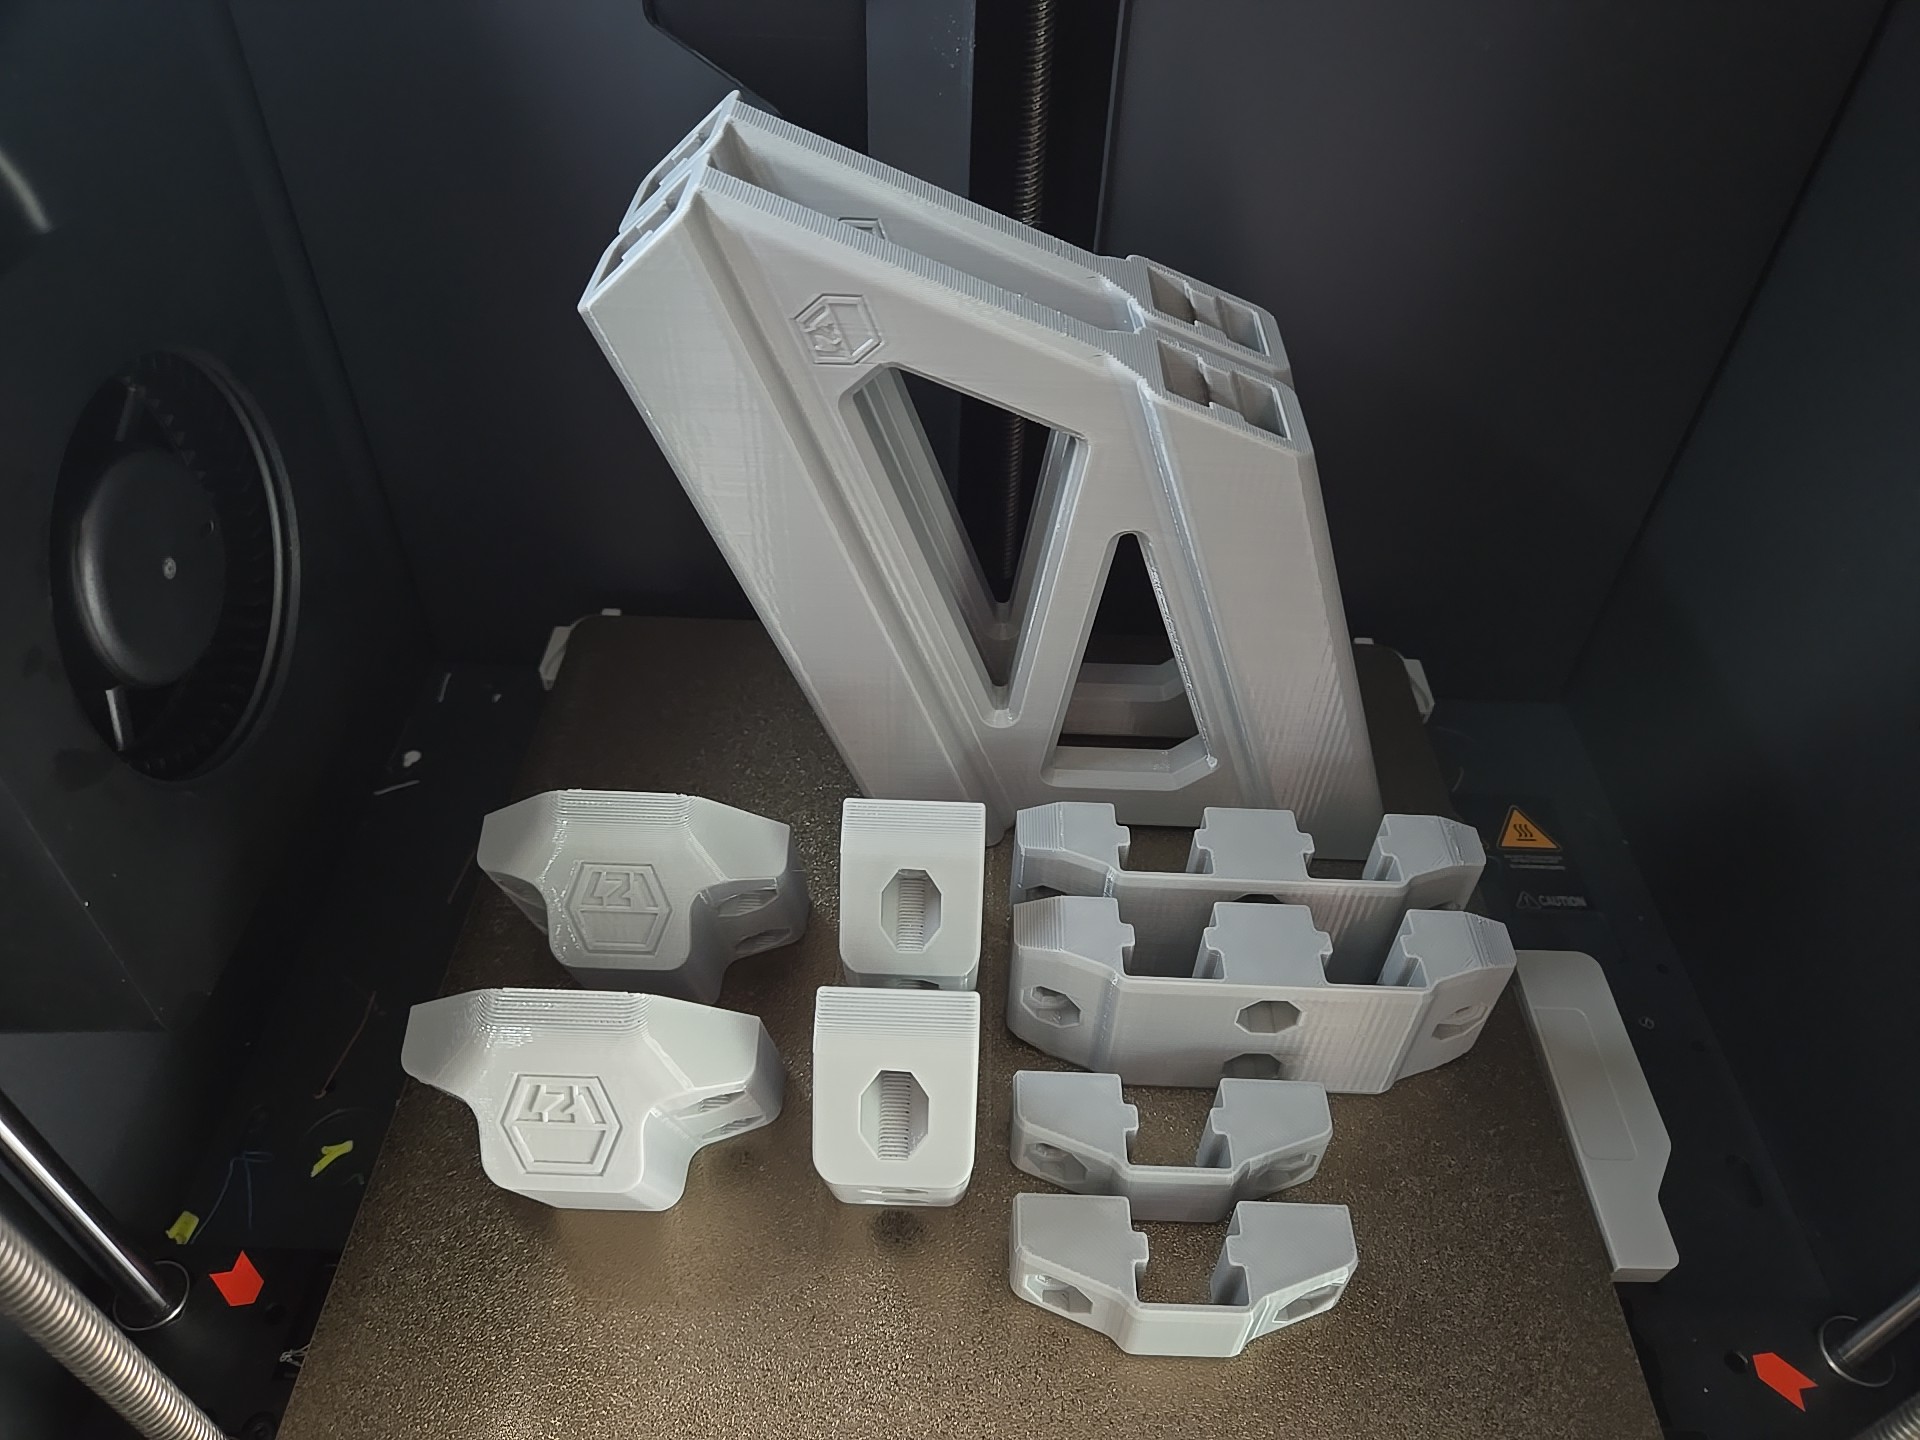
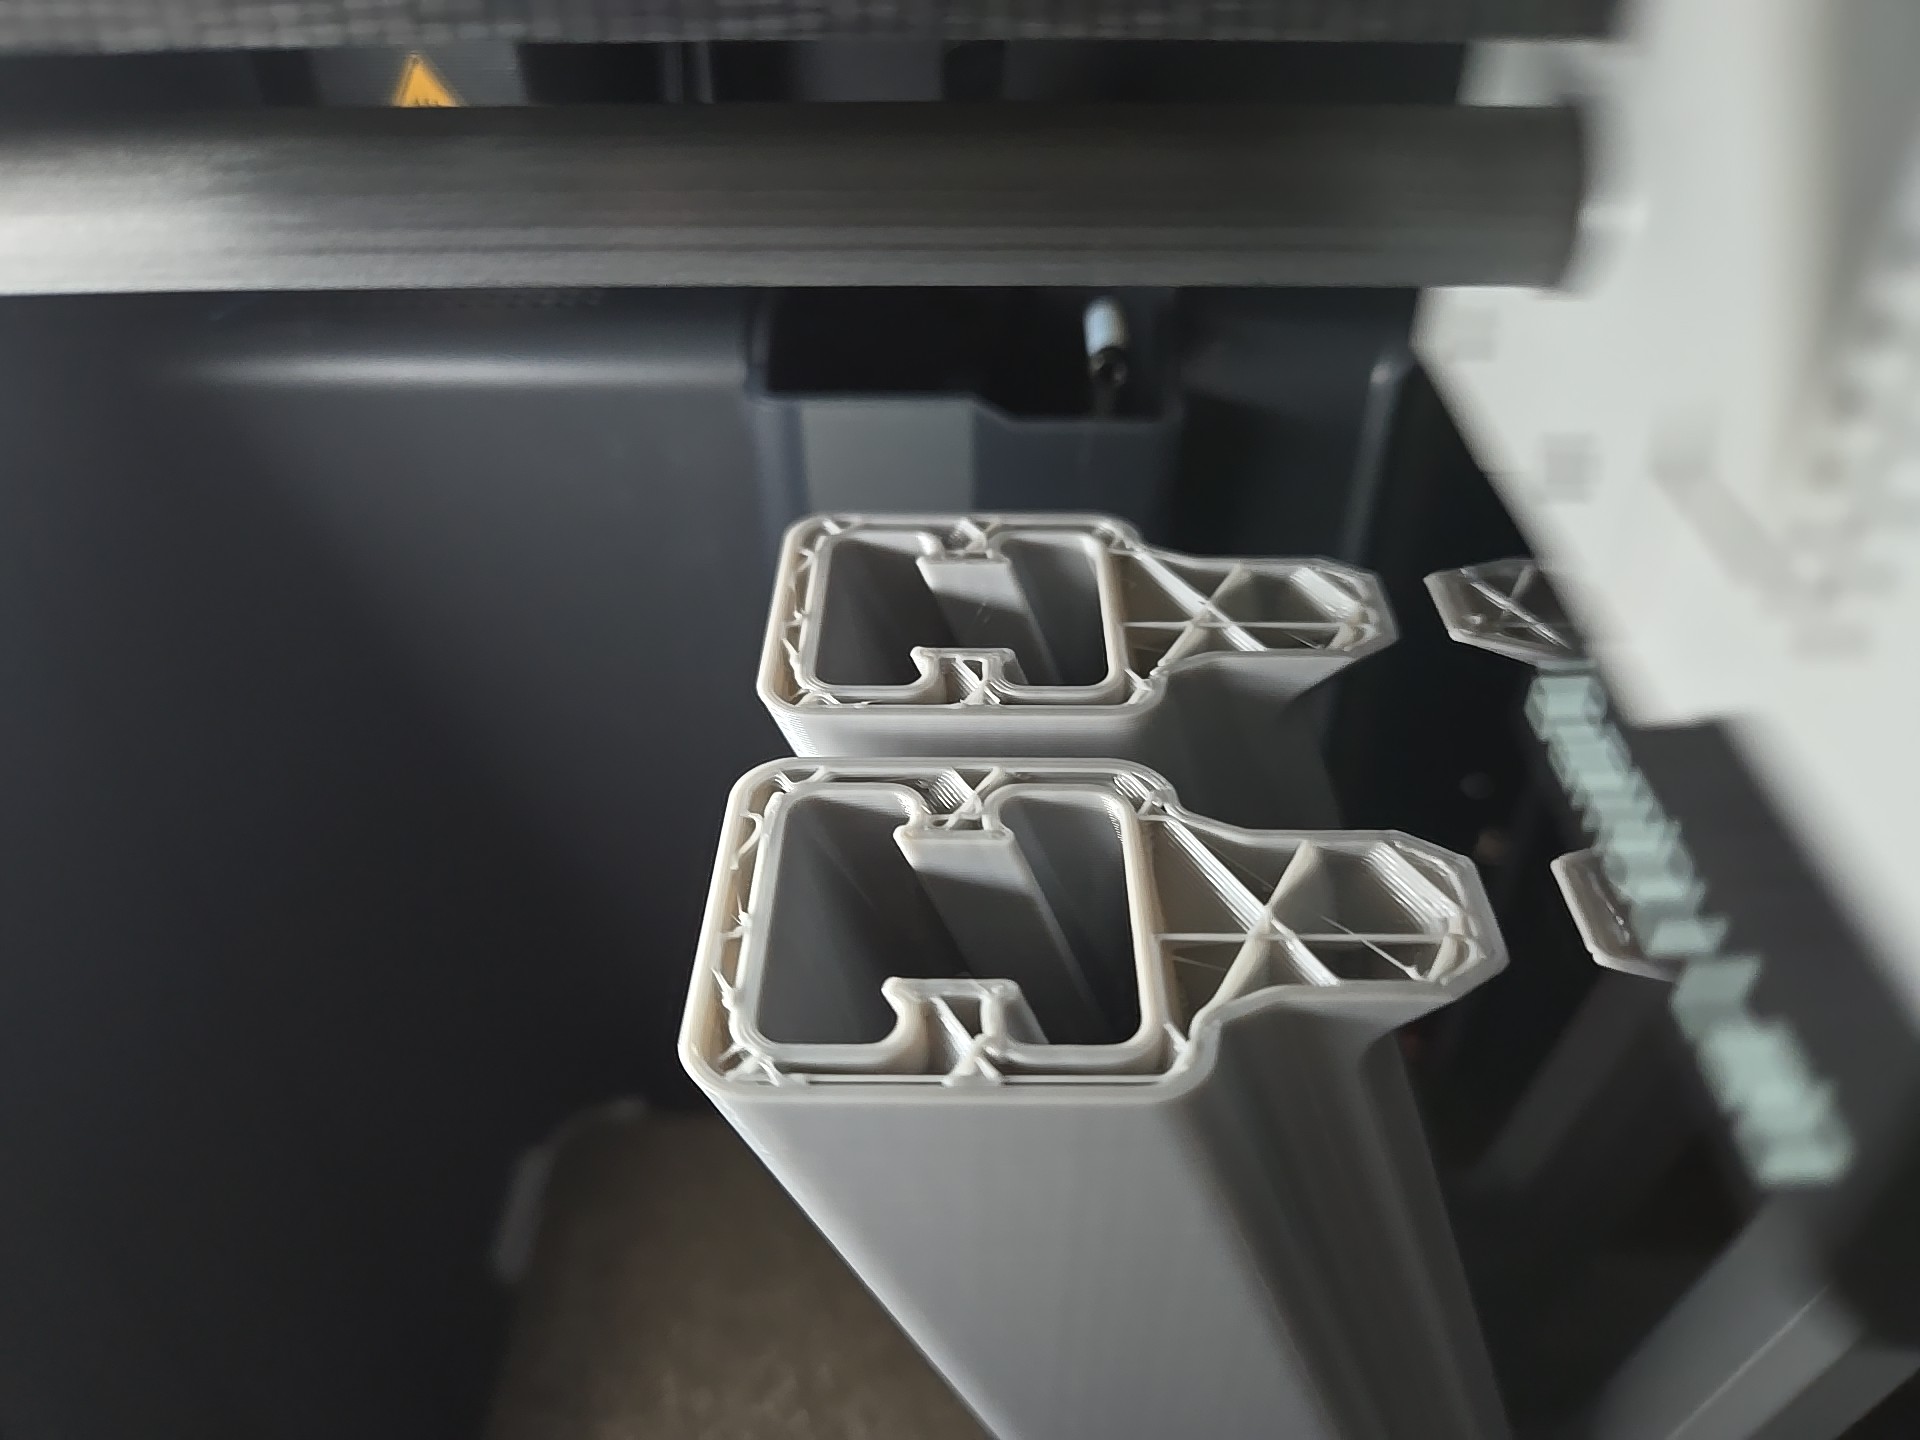
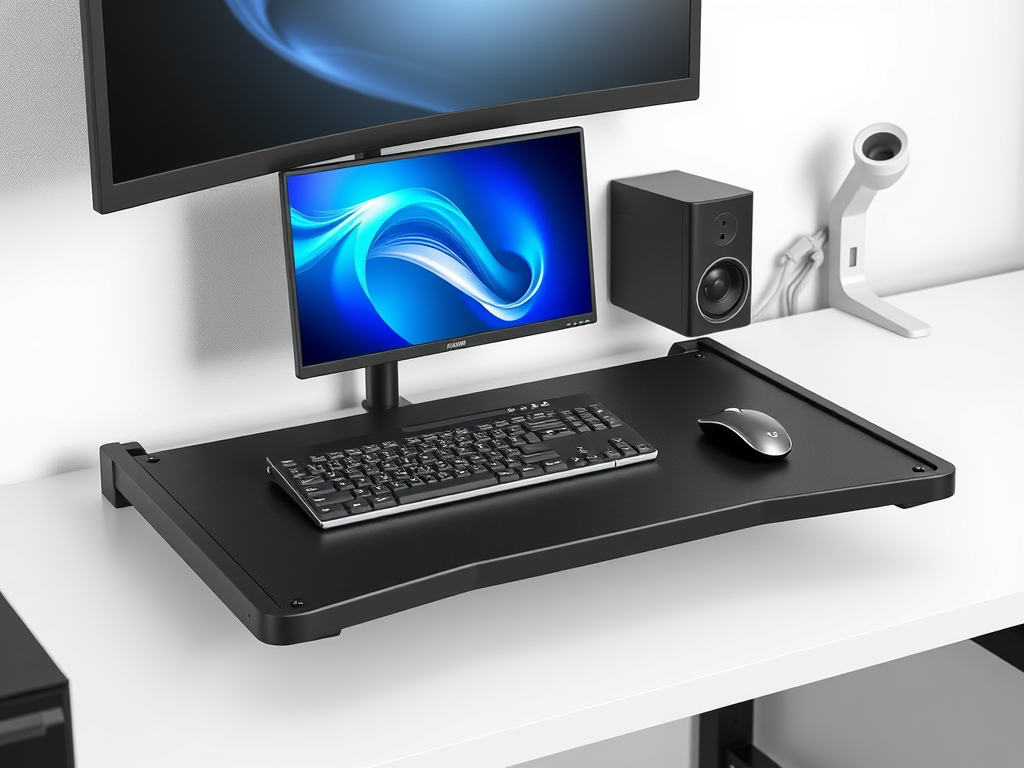
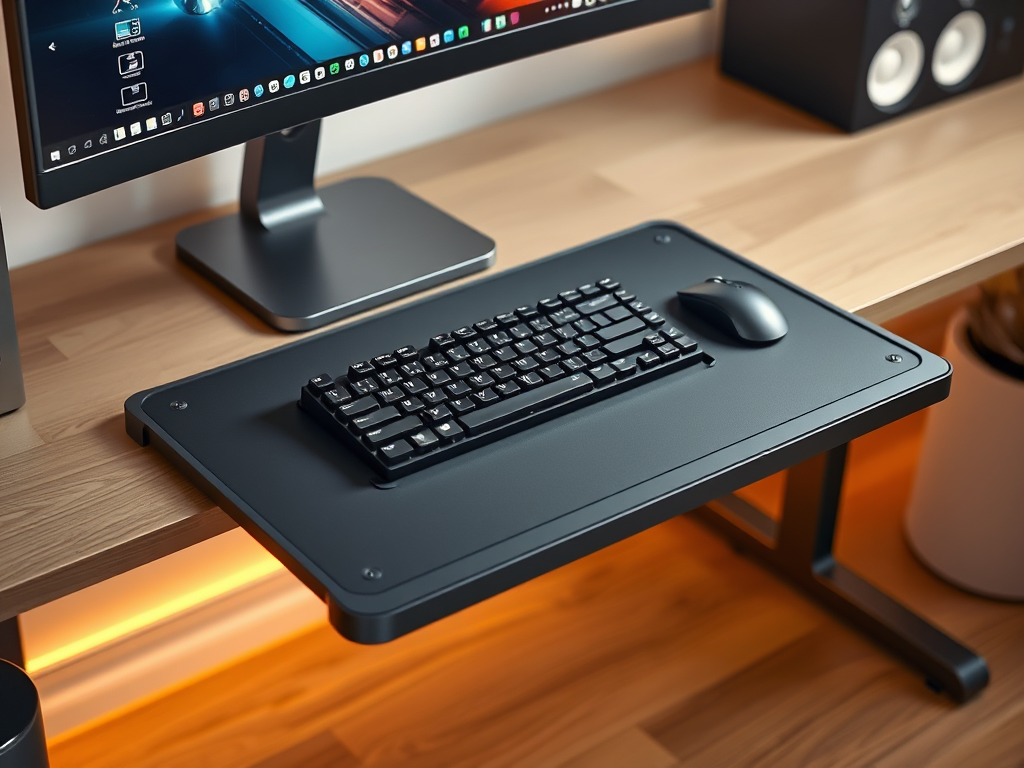
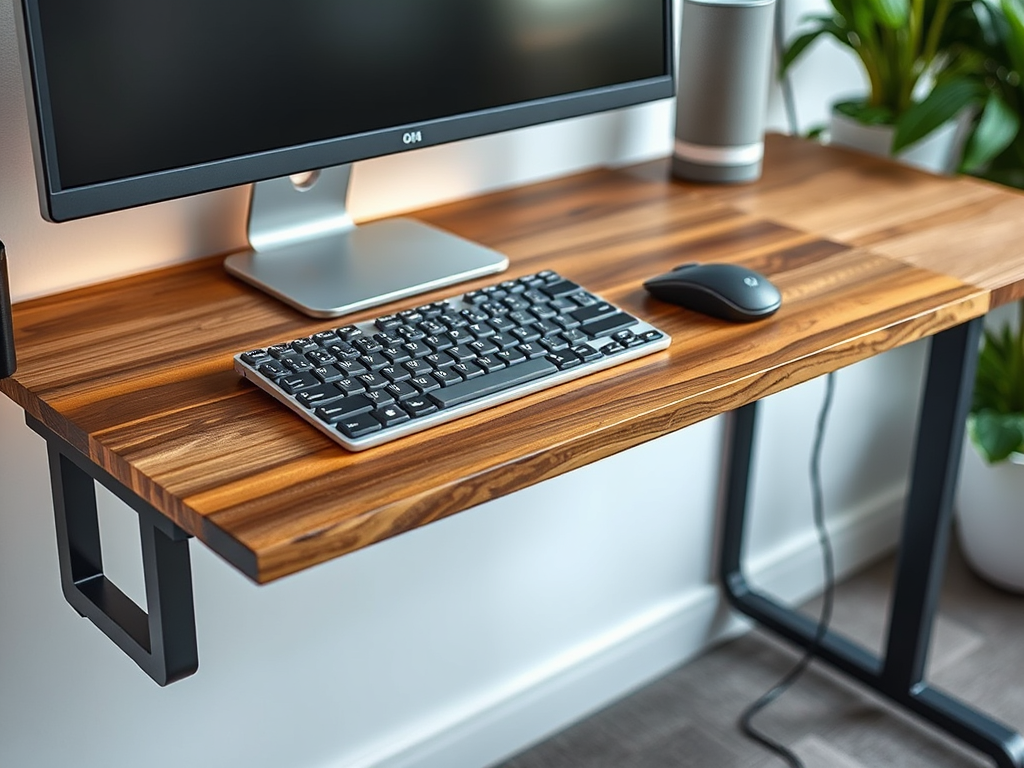
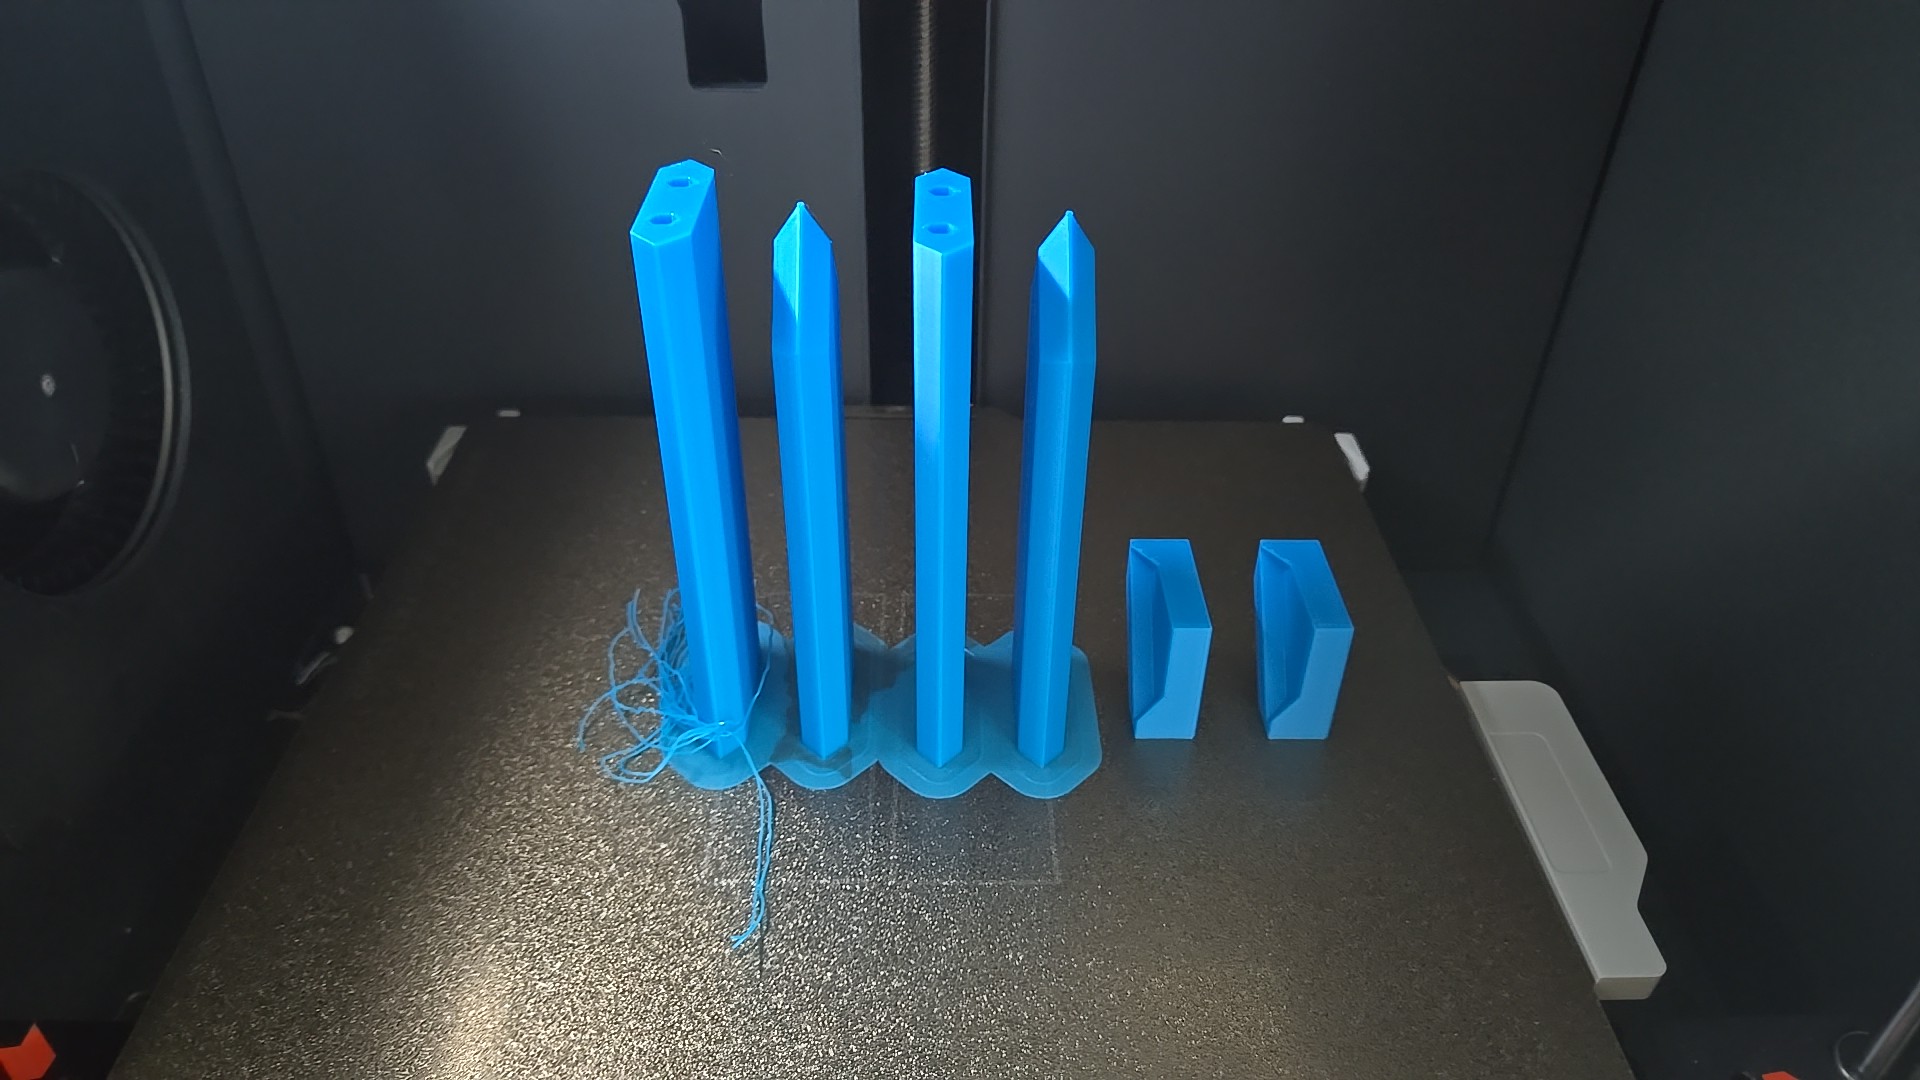
Here’s a gallery of the newly printed components:


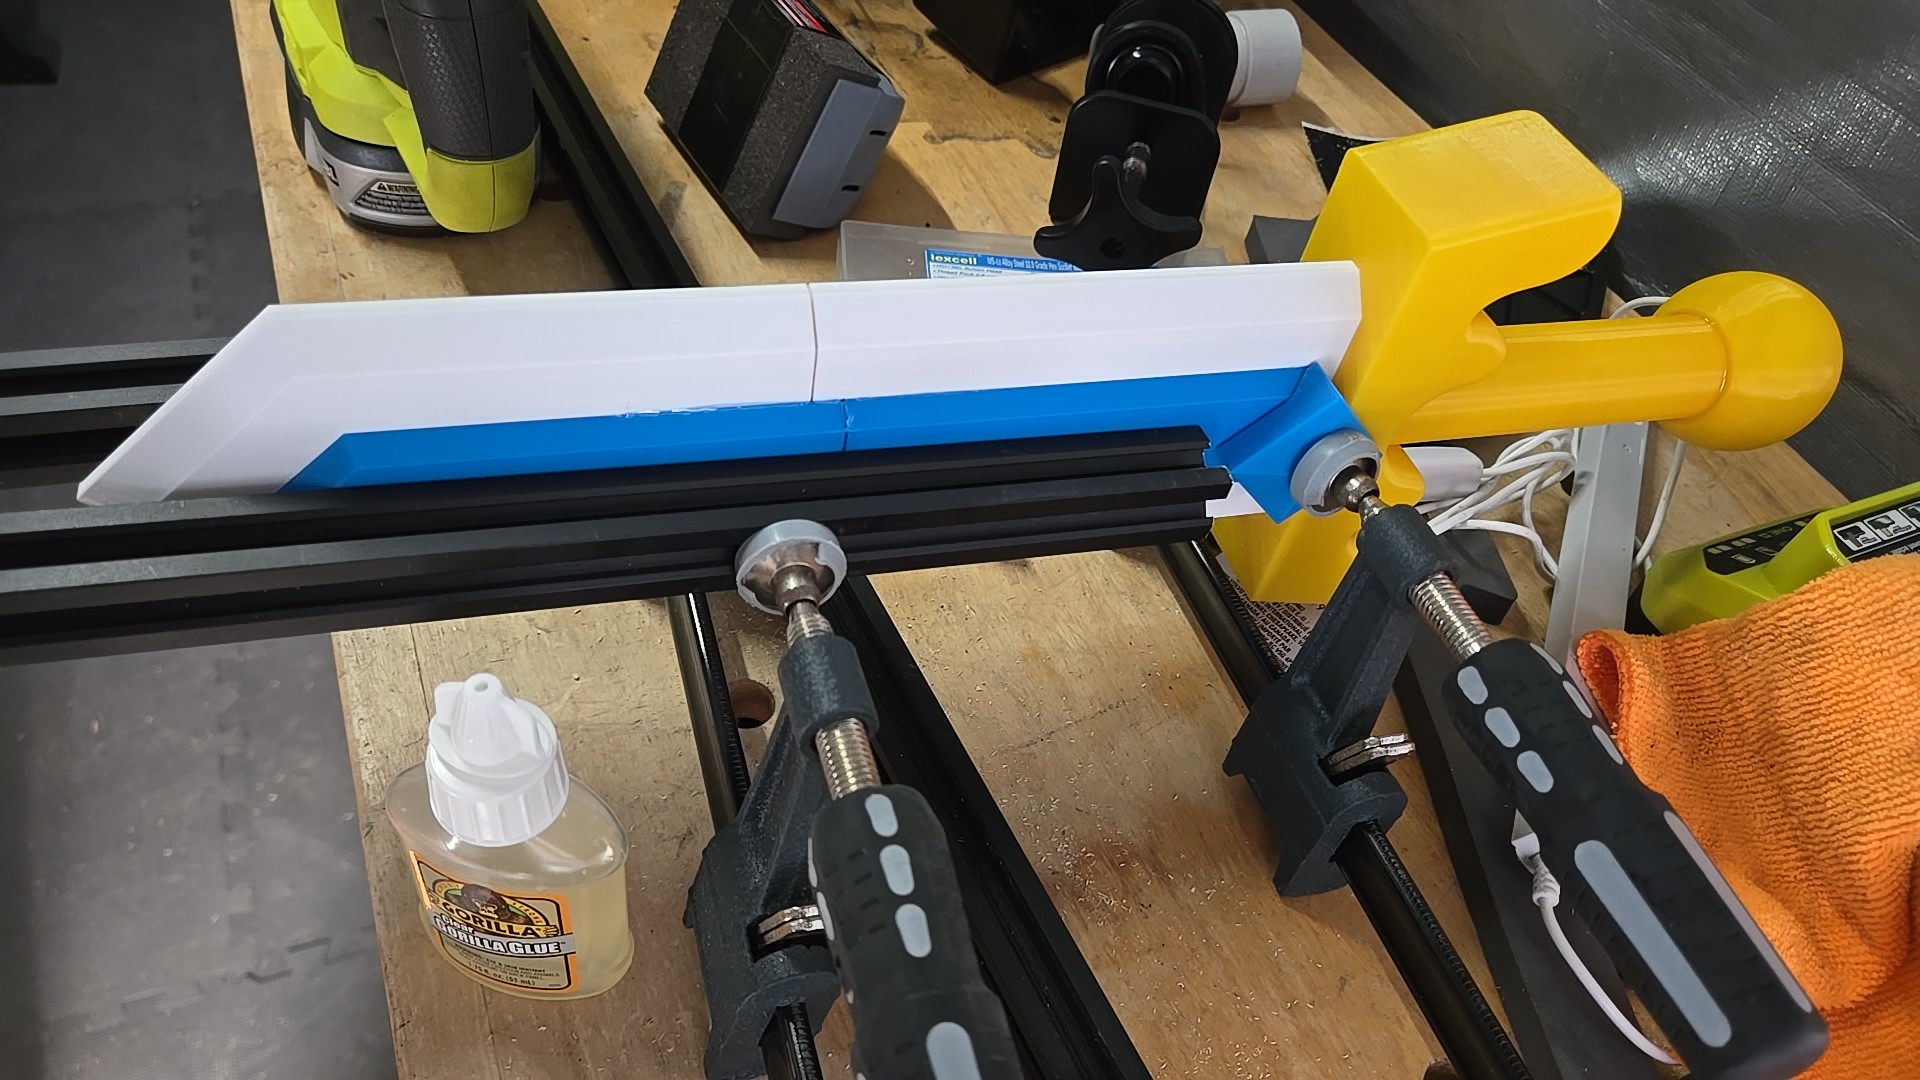
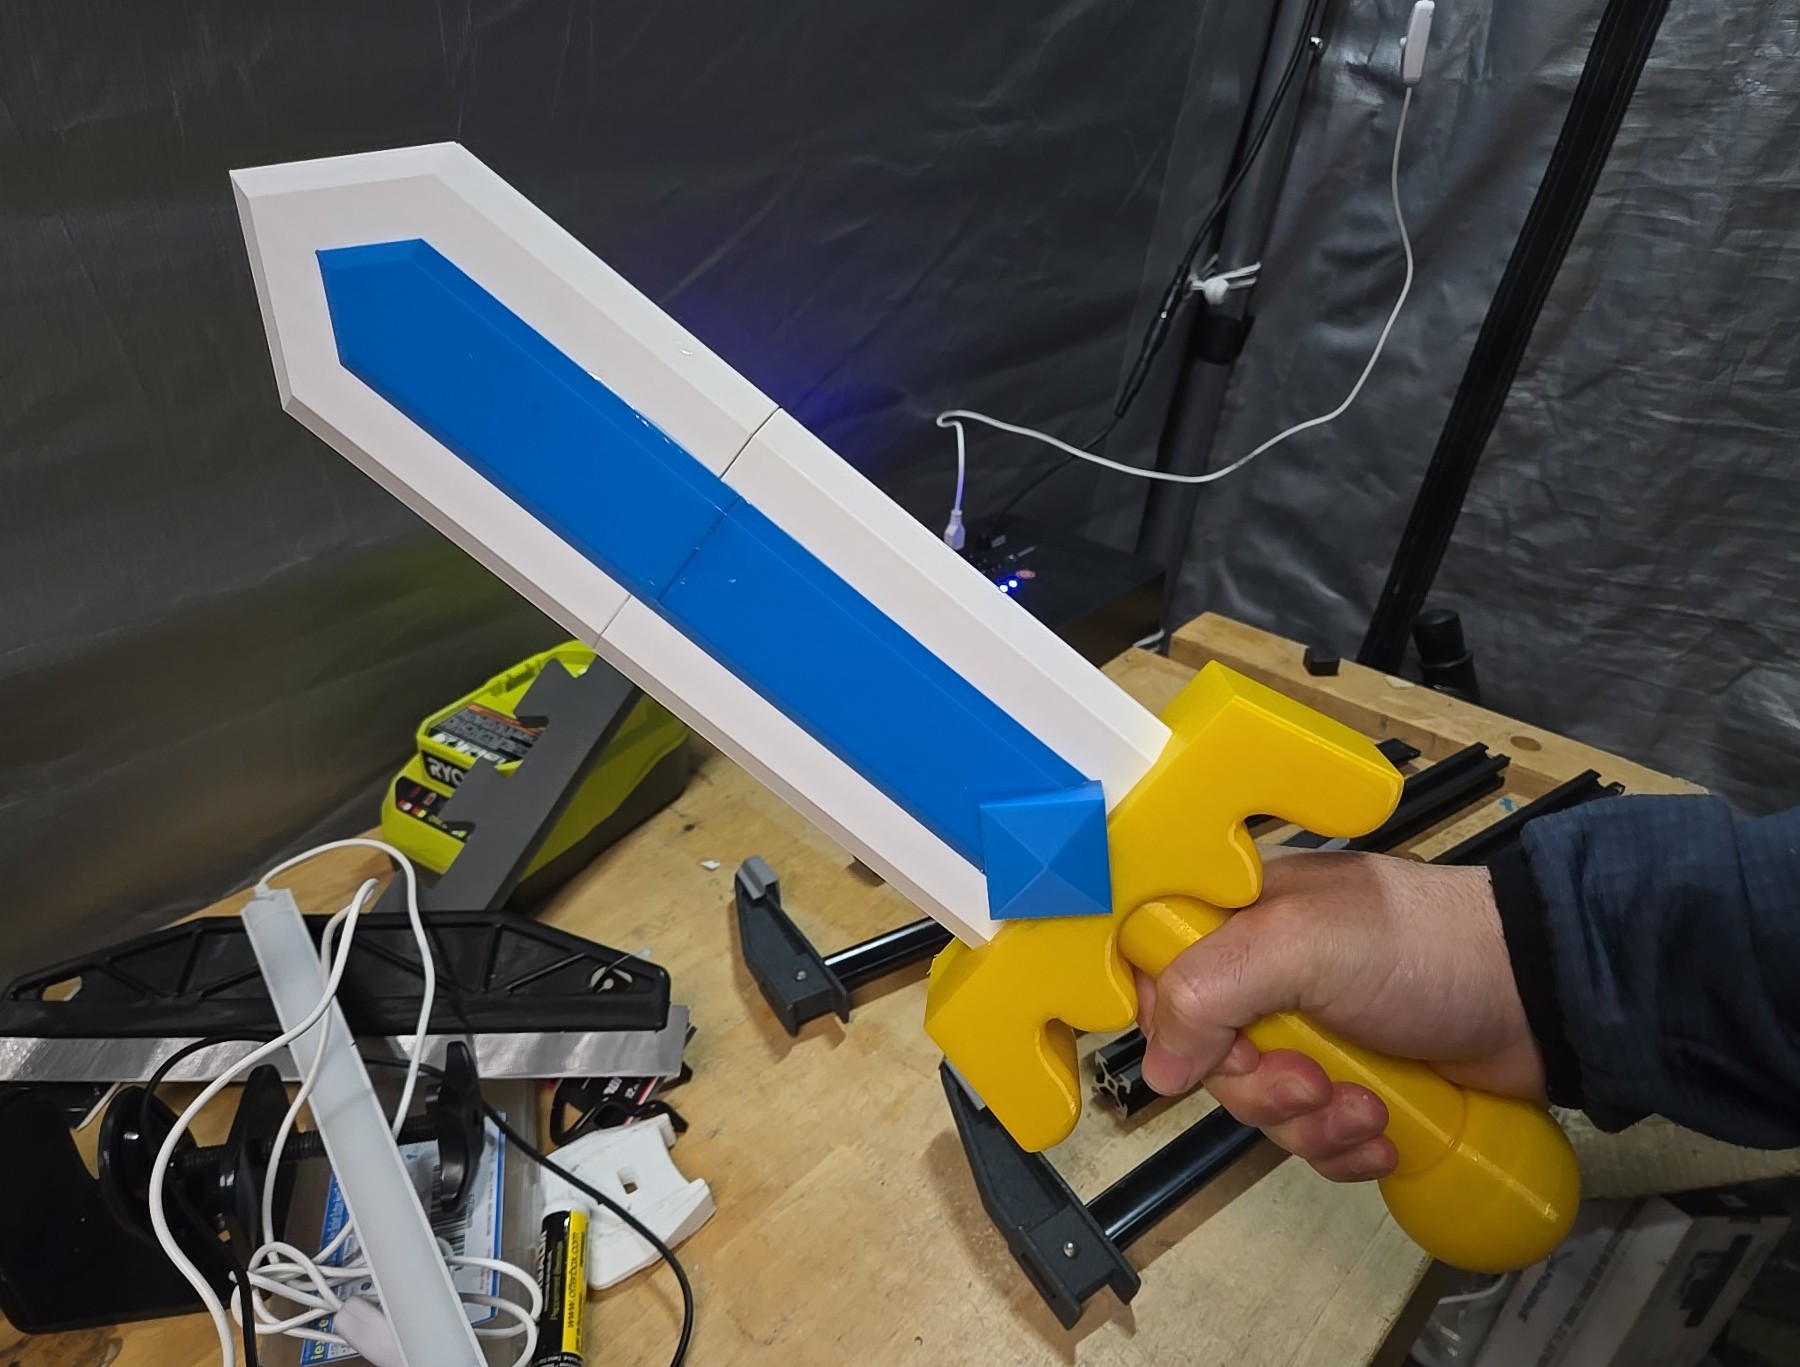
My daughter’s birthday is coming up pretty soon and she is a huge fan of the Cookie Run Kingdom mobile game, she is also a fan of my 3D printer and she’s requested stuff to print before. No special request from her this time but I decided to print something related to that franchise and stumbled upon a prop from a character she likes, Sea Fairy’s sword.
This is a very straightforward print, I didn’t have gold color on hand so I used yellow on PETG, the accents required two different blue hues but had only one. Total print time was 15h25m.

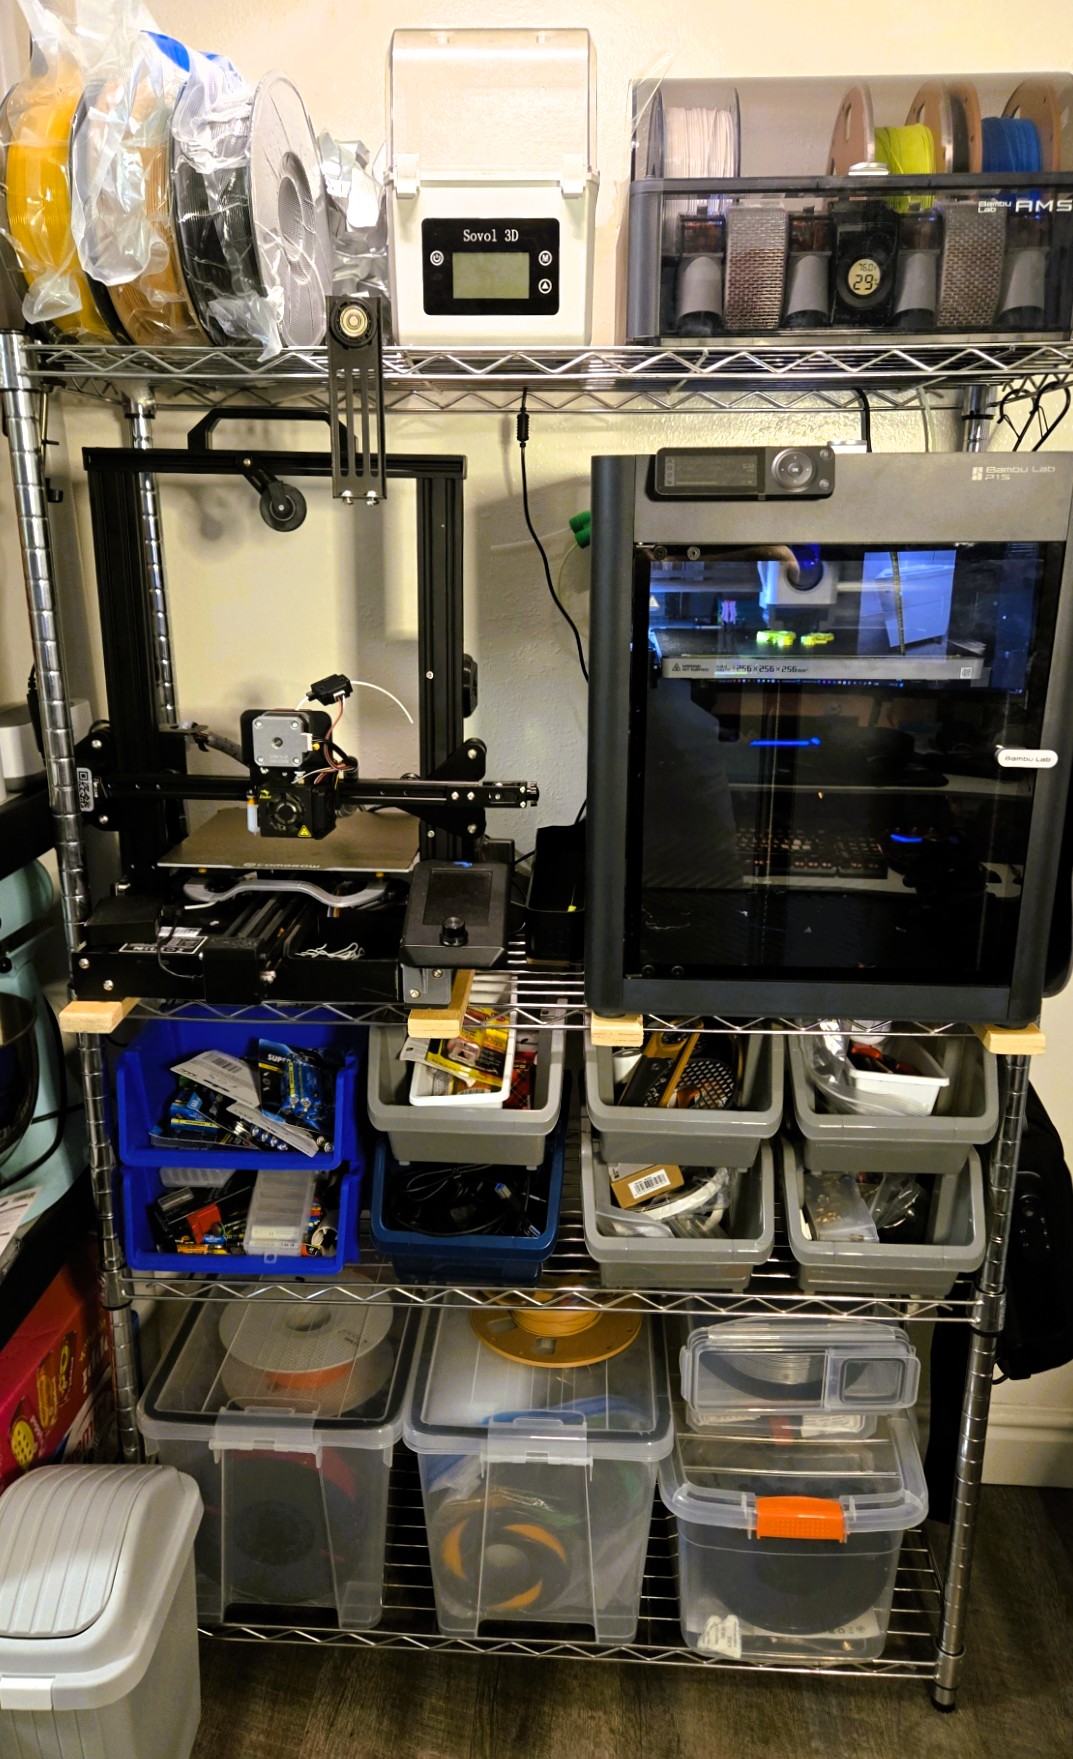
Recently consolidated and organized my 3D printing corner and here it is going from the bottom-up left to right:
Bottom shelf: Bulk filament storage, first two containers were air sealed using weatherstripping, there’s also two air-tight cereal box containers which will be transformed into sealed individual filament dispensers
Next shelf: Small materials, tools and supplies, batteries, magnets, bearings, glue/resin, foam and tooling and replacement parts for the two printers
Printer shelf:
Top shelf: filament dispensing and storage, there’s some recently used filament spools inside vacuum sealed bags, a dual filament dryer which I use to also dry desiccant and the amazing Bambu Lab AMS (Automatic Material System) which is the next biggest thing for 3D printing. I got this AMS as a bundle with the P1S and I totally love it, besides multi-color printing, it contains four material/color spools ready to go at any given time in a semi-sealed container. I printed desiccant containers to add inside to help reduce/eliminate moisture.
This was a quick tour, nothing much or big but finally organized and ready to go.
